
This is a little unusual armour, so a little of history (as usual courtesy of Wikipedia) can be interesting:
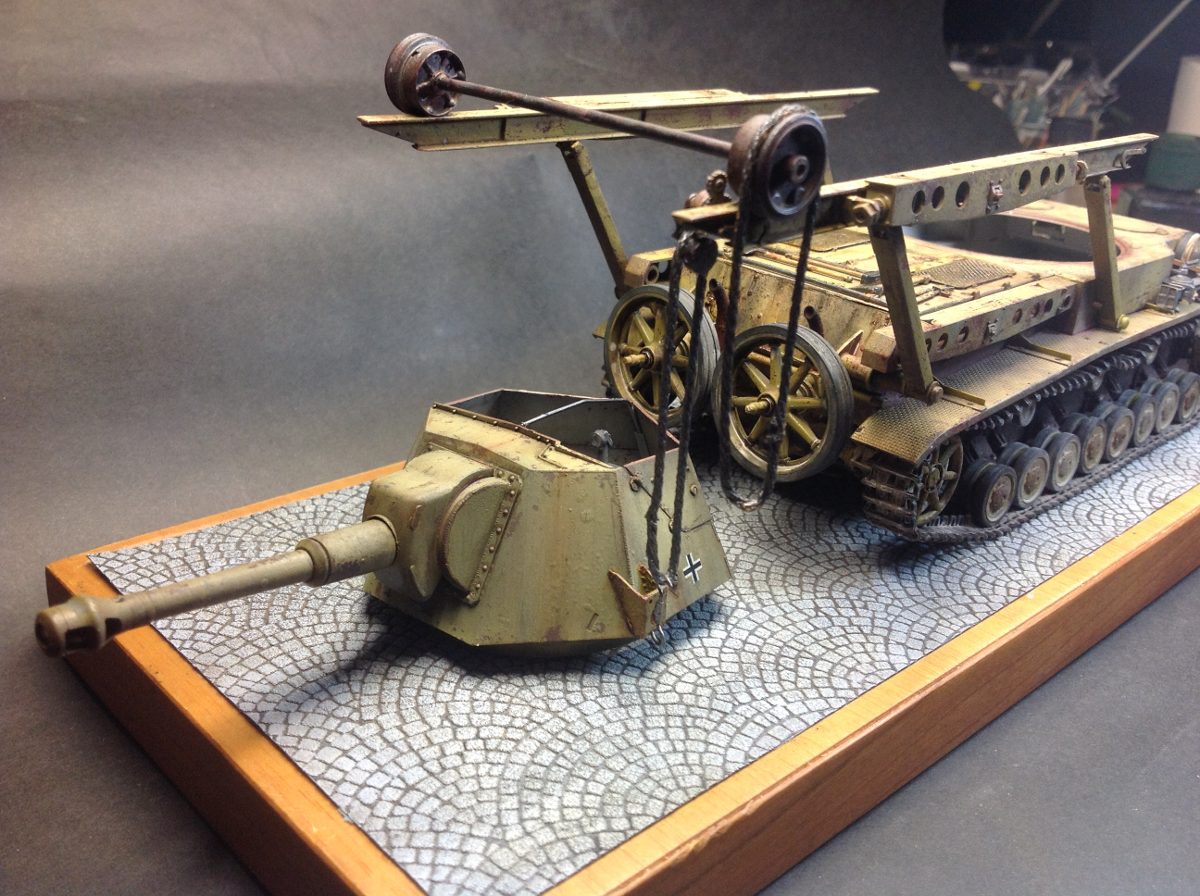
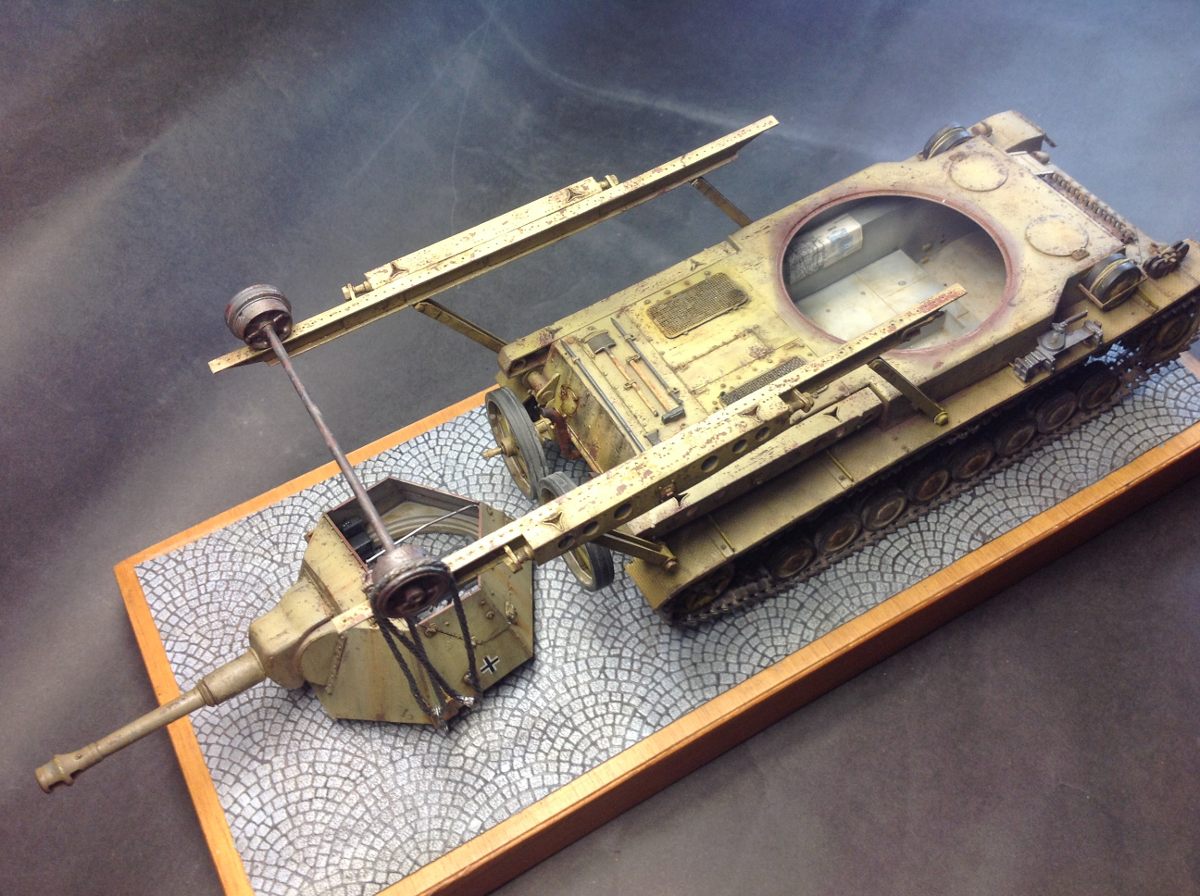
The Heuschrecke 10 (English: Grasshopper 10) was a prototype self-propelled gun and Waffenträger (English: "Weapon carrier") developed by Krupp-Gruson between 1943 and 1944. The official designation of the vehicle was 105 mm leichte Feldhaubitze 18/1 L/28 auf Waffenträger Geschützwagen IVb and was to be built in Magdeburg, Germany. The Heuschrecke featured a removable turret which could be deployed as a pillbox or towed behind the vehicle as an artillery piece.
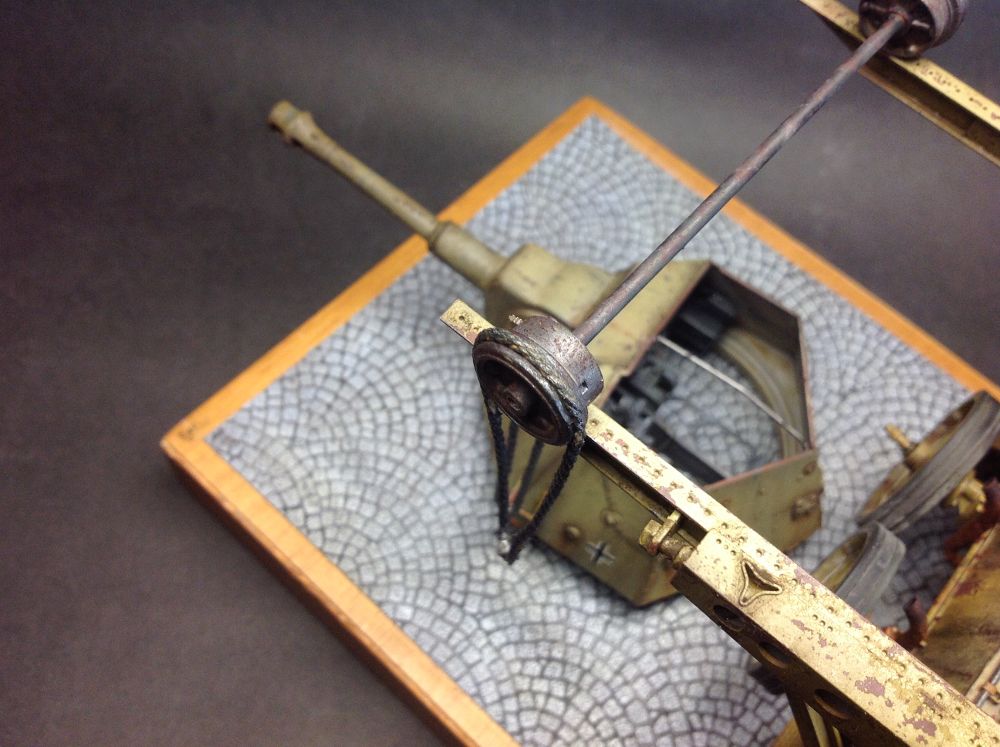
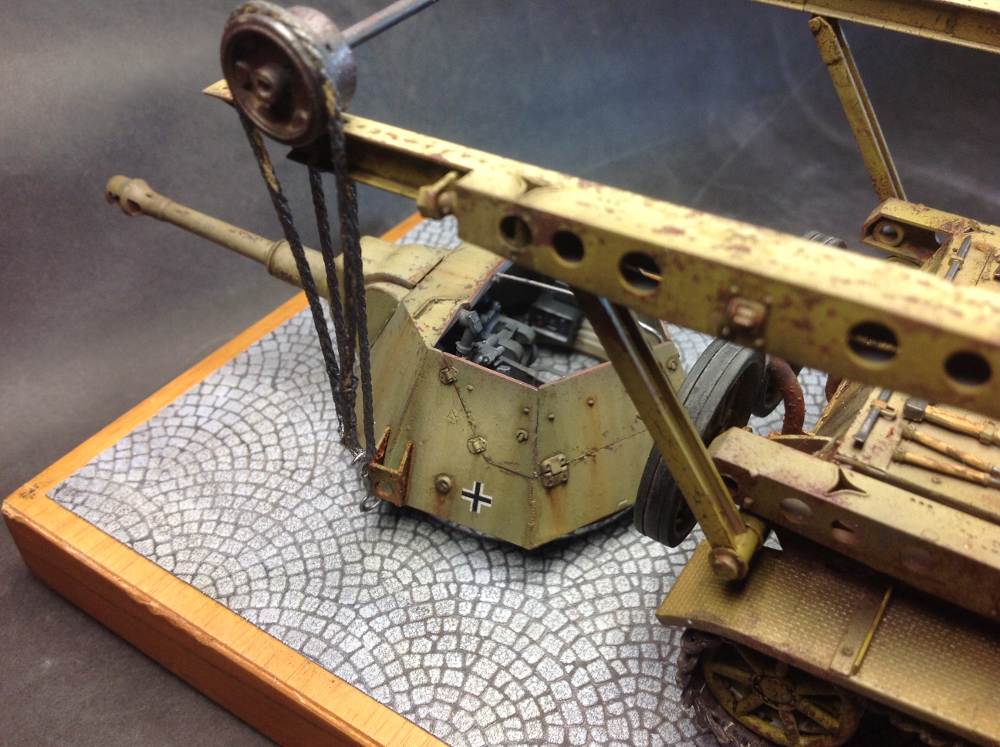
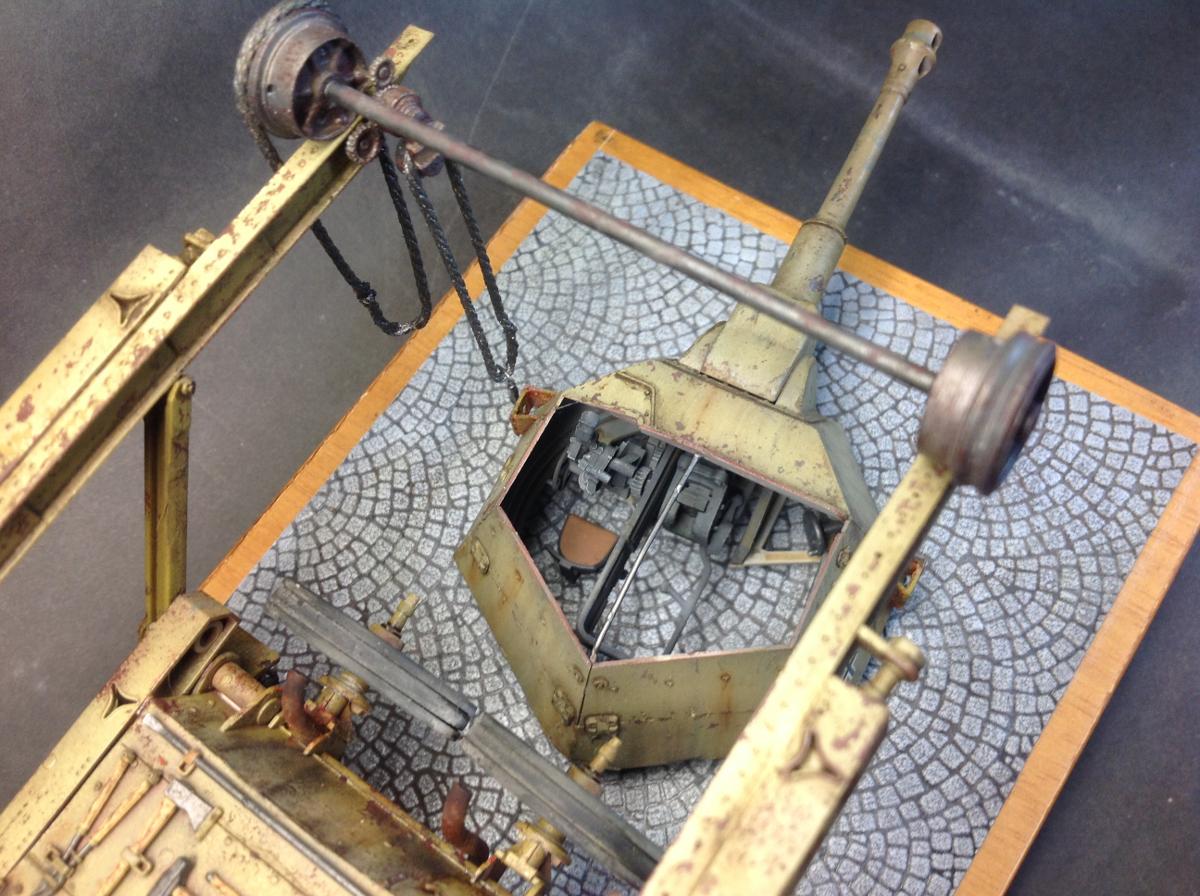
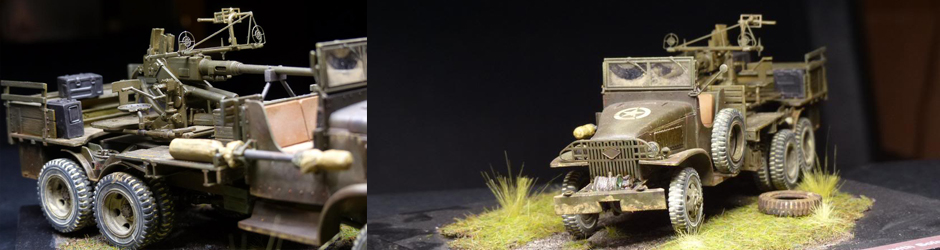
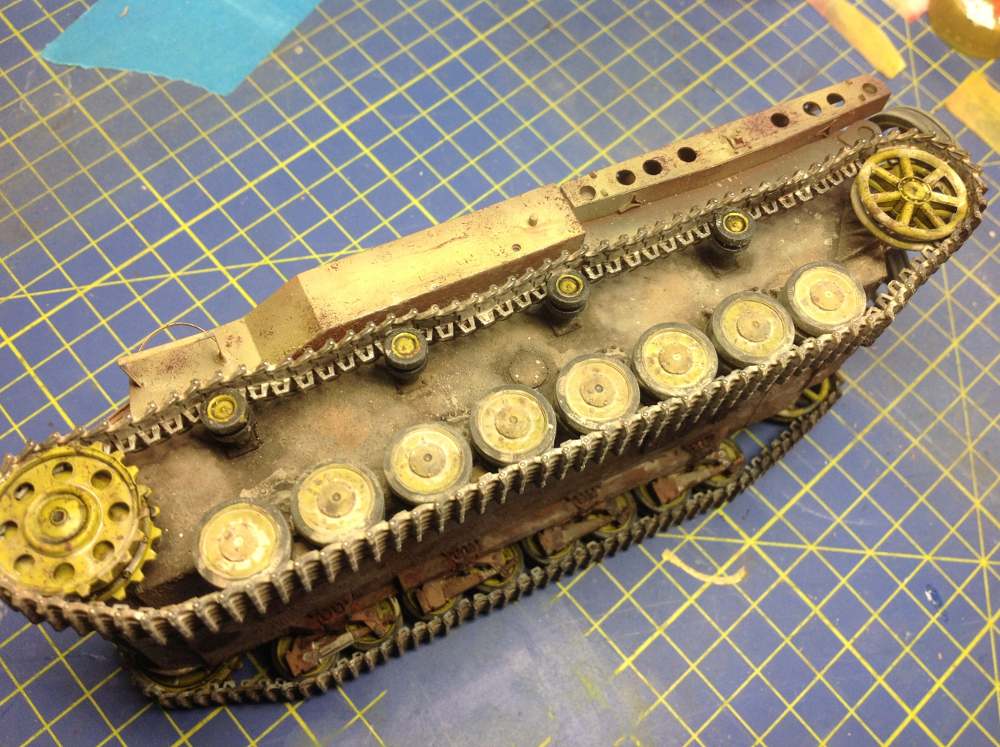
Regardless if the subject is unusual or not, there are 2 mainstream kits dedicated to it: the Dragon and the Trumpeter. I went with the Dragon, but later i was not happy with my choice, because the kit does include the parts to represent the mechanism to hand and move the turret. And since i wanted to show the model just like that, i had to scratchbuild them by myself. The result is far from accurate, but at leas is plausible at the first look, as you can see from the pics (and as Jeen Roddenberry always said to the Star Trek director's when it was time to show something "scientific"). To do it, i used some old spare parts: some old tank's wheels, that i had to glue togetherand modify, an hemp small rope, and other bits.
One more note about the kit: Dragon kits are famous for their bad instructions. Well, this kit won the first prize in the Dragon bad instructions: vague, wrong, inaccurate, missing informations. Very badly done, Dragon: congratulations!
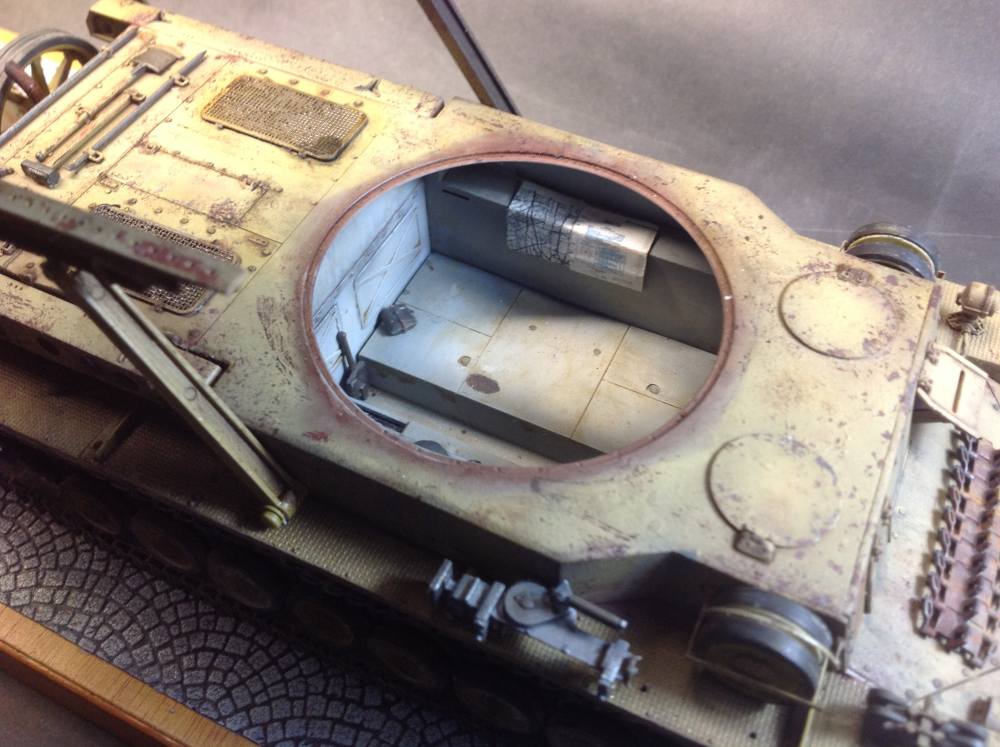
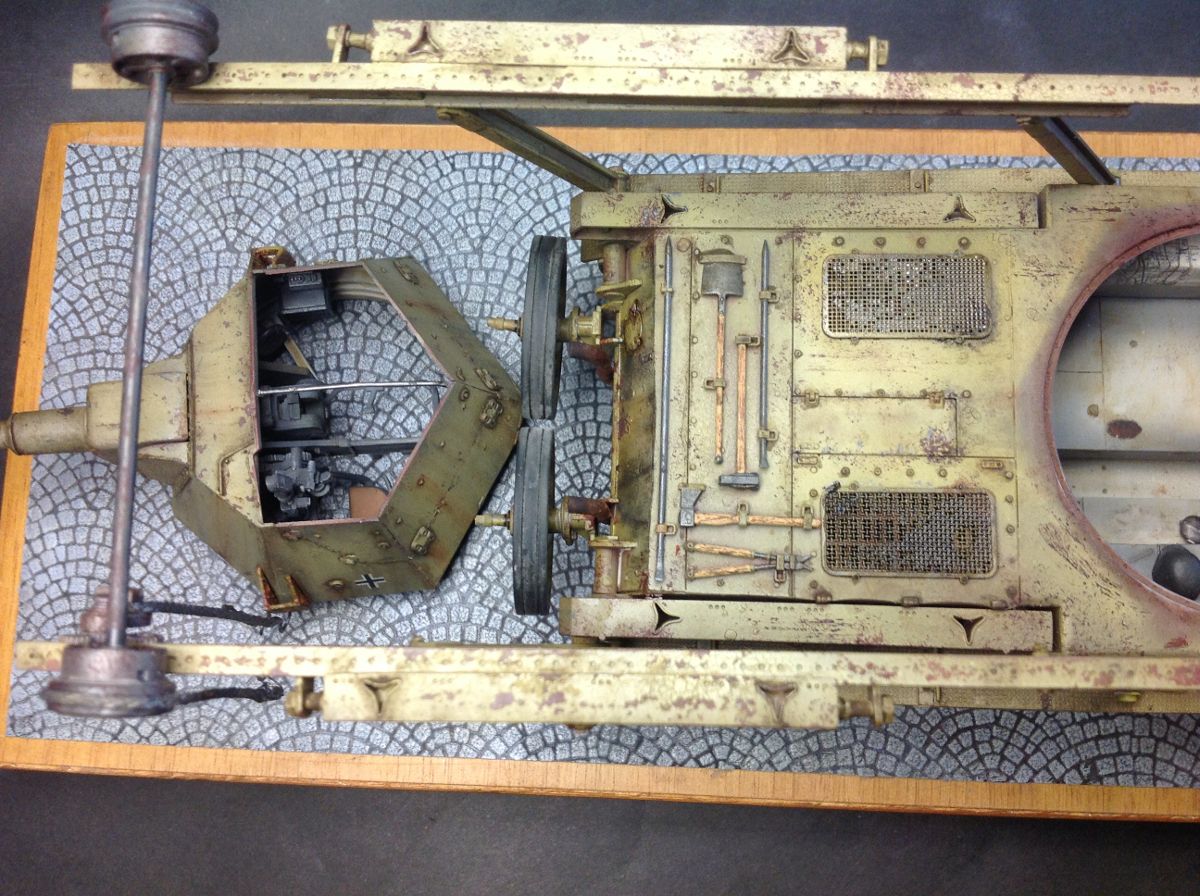
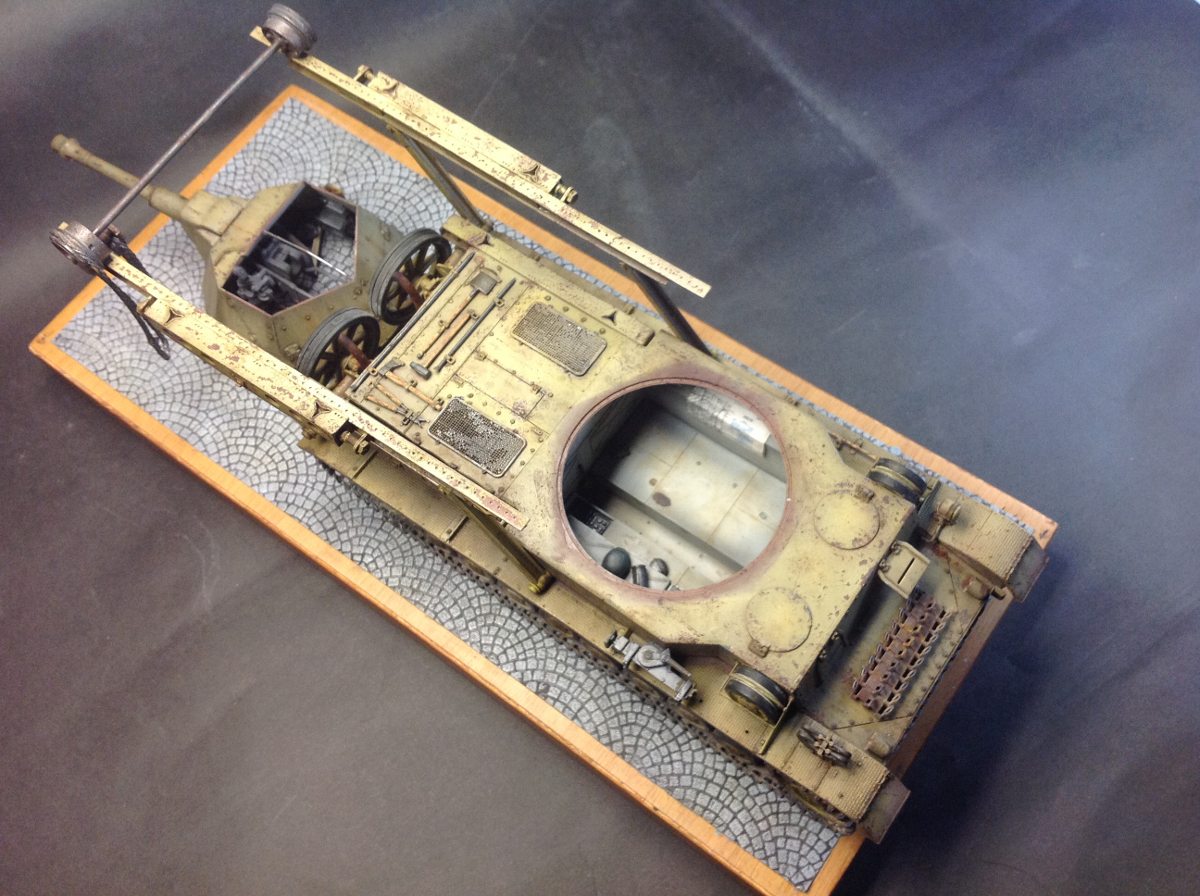
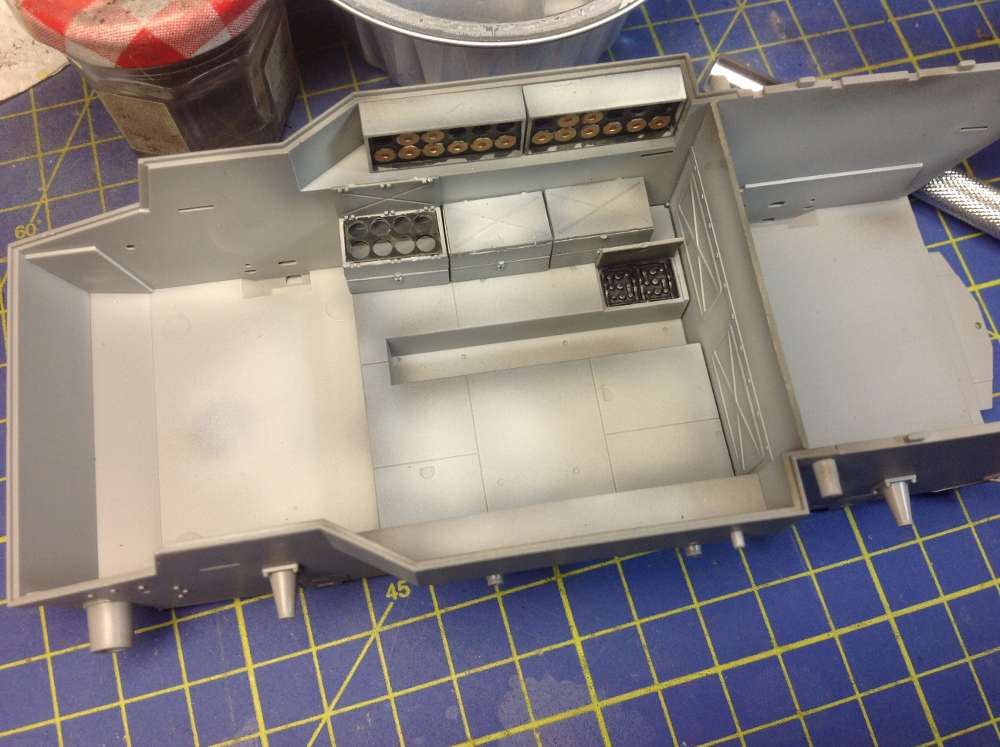
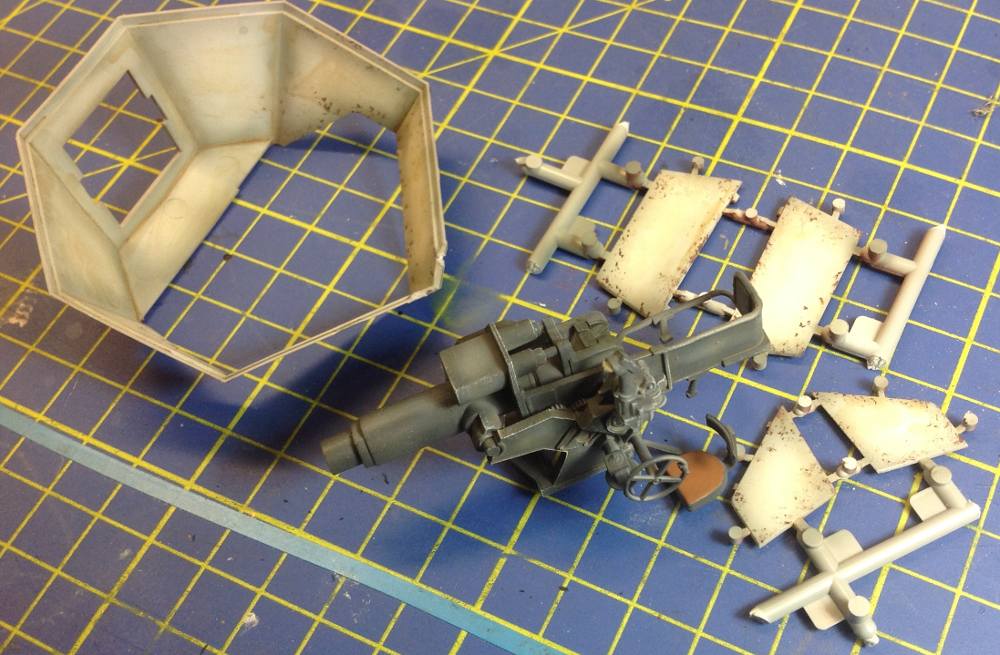
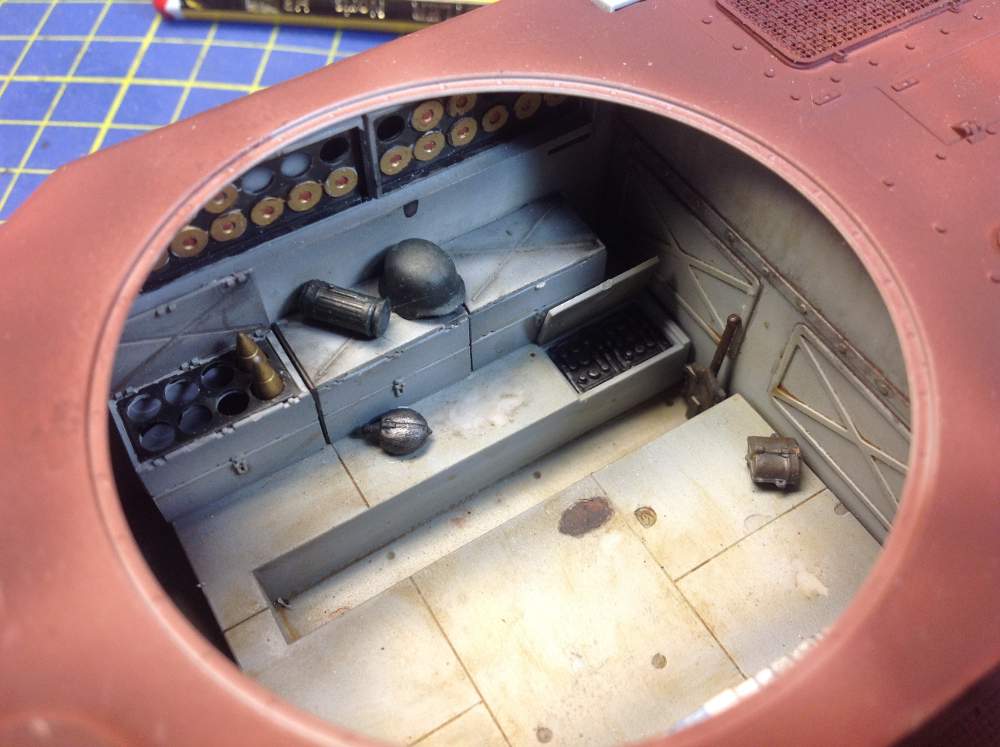
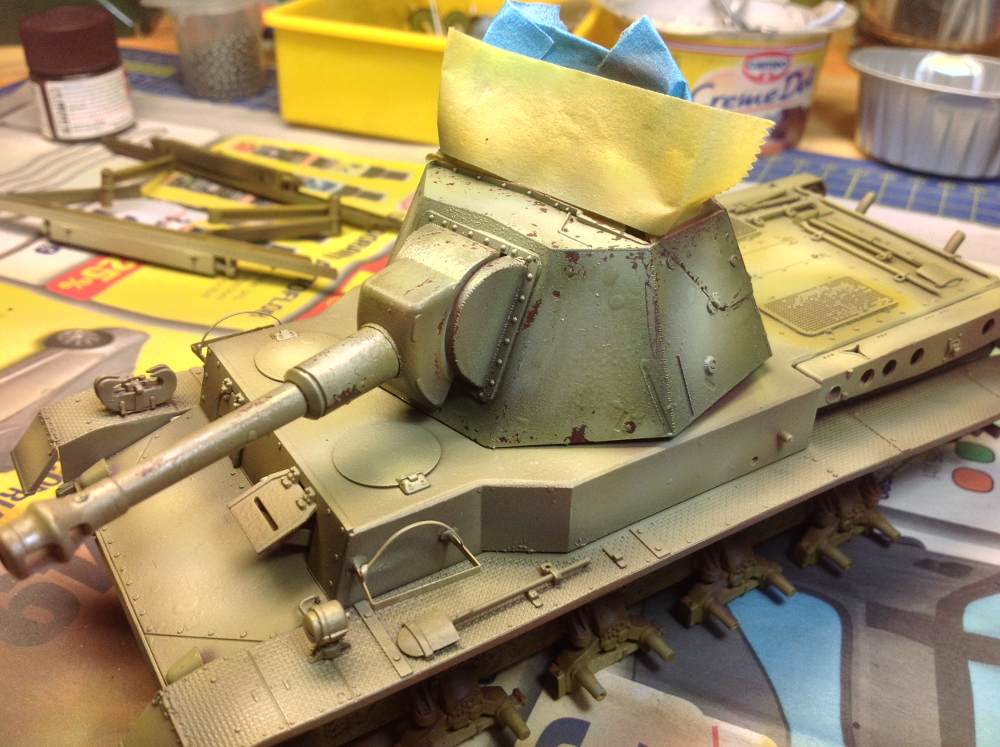
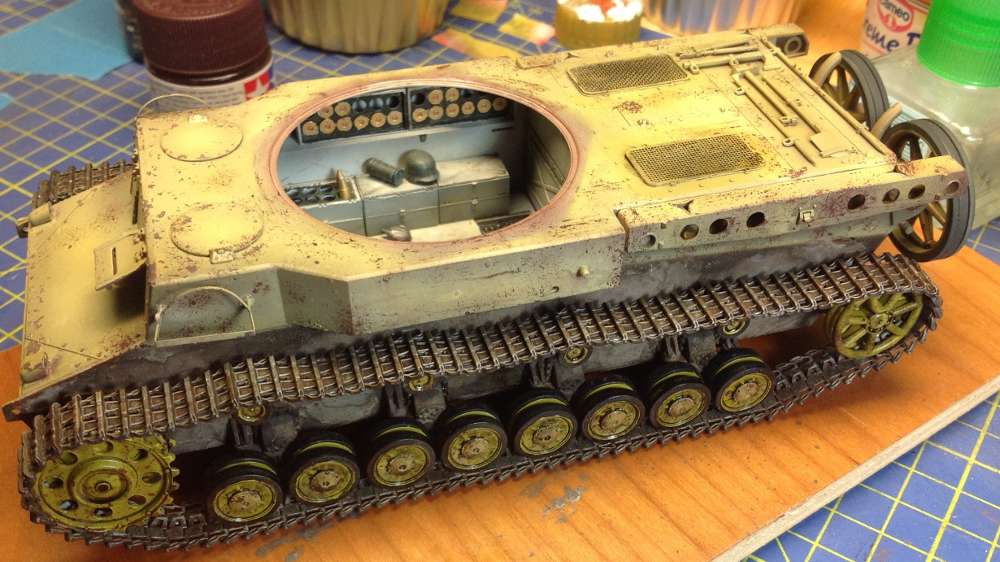
Construction started from the interior: indeed there is a nice fightimen compartment, and Dragon was so kind also to provide some ammo. I also added some extra spare parts, just to not make it look empty (i also added a small map that i printed by myself). The gun is nicely represented, and all the pieces go in their place with no troubles at all (here a point to Dragon).
On the side of the hull, under the fenders, i added some Vallejo paste: i like to brush a very thin layer of it, to give a texturized effect that will help a lot later, when it is time to paint it and weather it wiht pigments and washes; I do the same thing also with the exhaust).
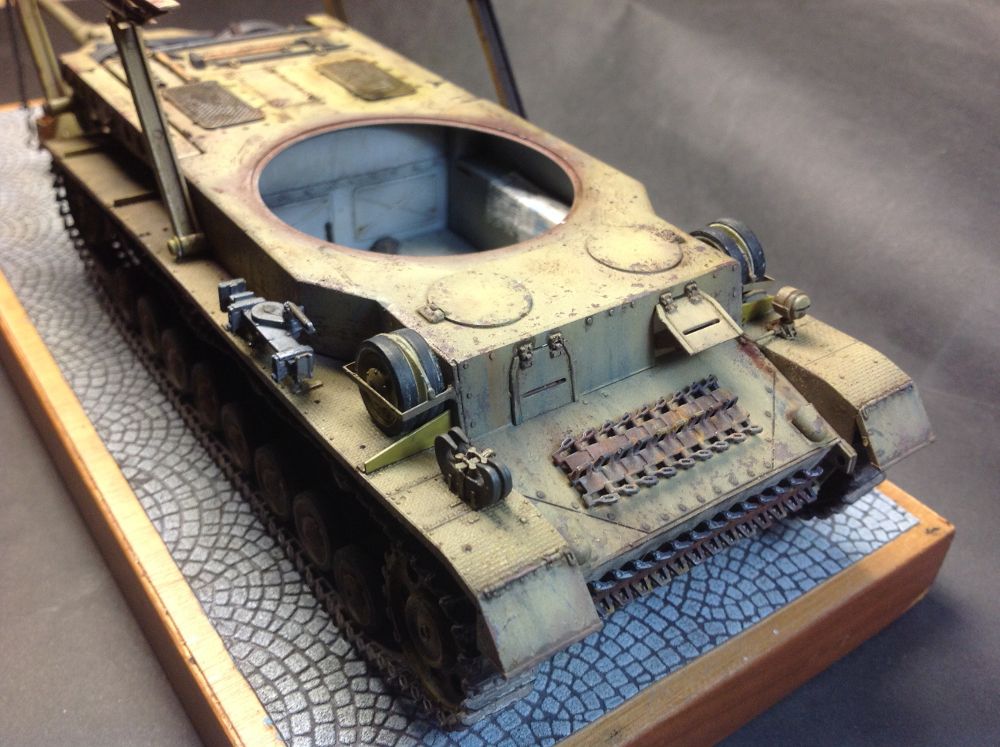
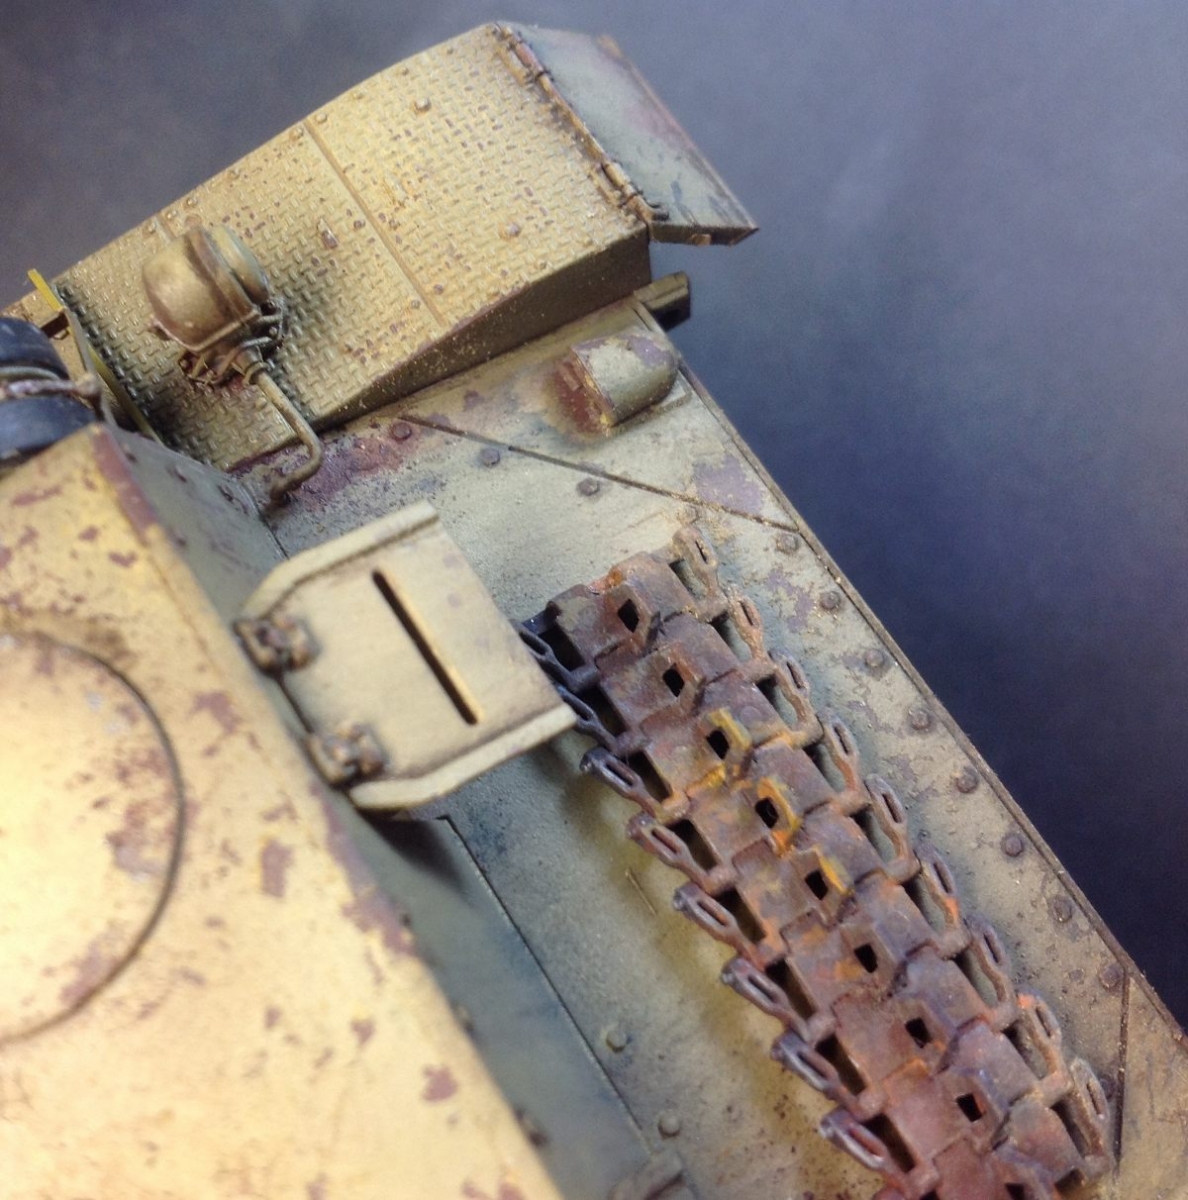
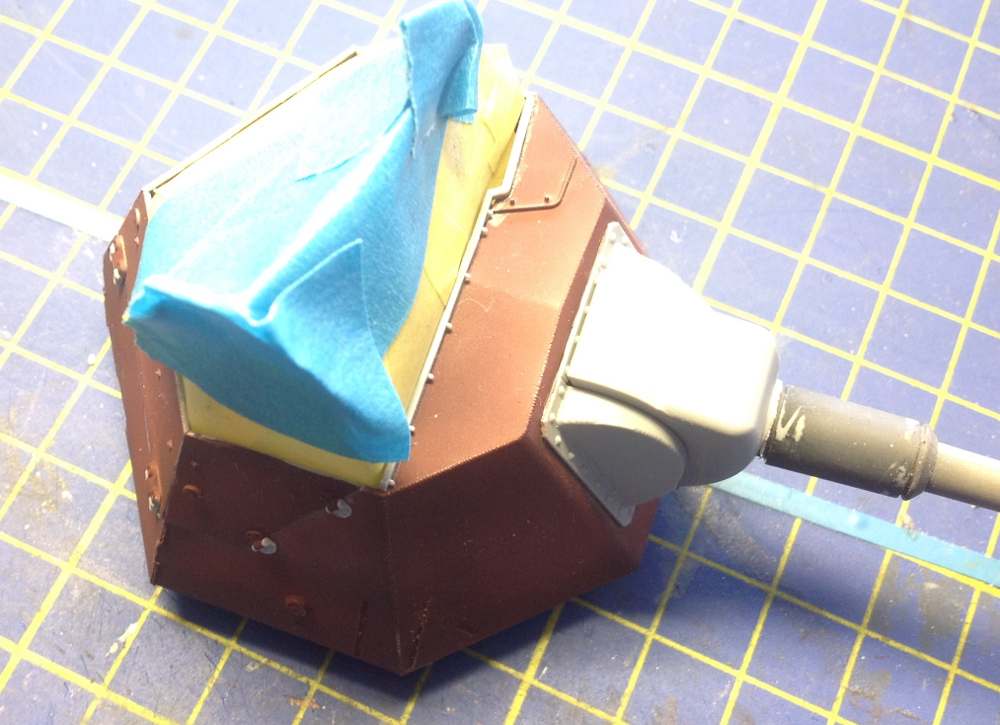
The hull wan painted with red primer, followed by a coat of hairspray, and then some color modulation using the AK Dunkelgeb set. Chippings were a mix of hairspray and sponge, and sponge using an old stiff brush instead of the sponge.
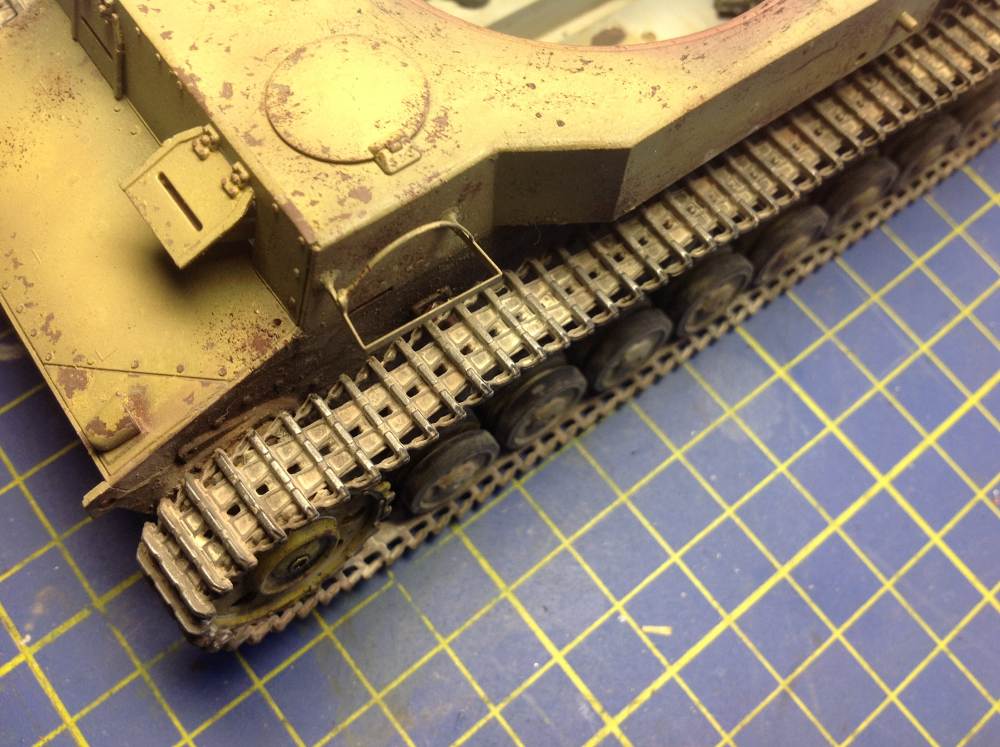
The tracks were the usual Magic Tracks, that honestly i hate. To do the things worse, the instructons give no info at all about how many links you need, and whic color of the provided links goes on which side... Dragon loves to make you guess and google a lot. Anyway... i managed to install them (before to glue the fender) and then i painted and weathered them.
The weathering was a mix of enamel washes, oil washes, pigments, streask and all the usual stuffs, plus drybrushing.
For the base, i used an interesting Tamiya product: it is a piece of paper, with one side coated with some sort of "rubber", where it is slightly engraved the road paved texture. I recomend it to everyone, it works wonderfully. I painted and drybrushed it, after having glued it on the wood base.


And here the final reveal... hopefully you enjoy it as i did to build it.