
Model, text and photos by Luca Cinacchio
Recentrly I partecipated to a Group build in the Flory Models forum, dedicated to the Korean War.
I had since long time this kit on my stash, and so i decided this can be the good occasion to build it.
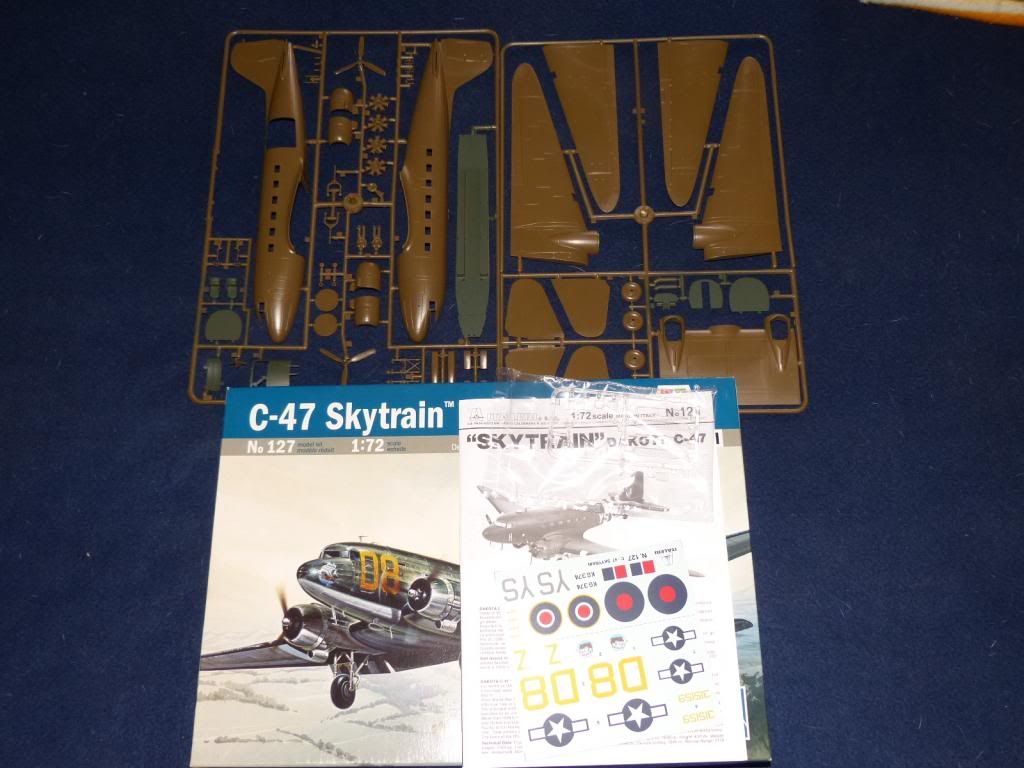
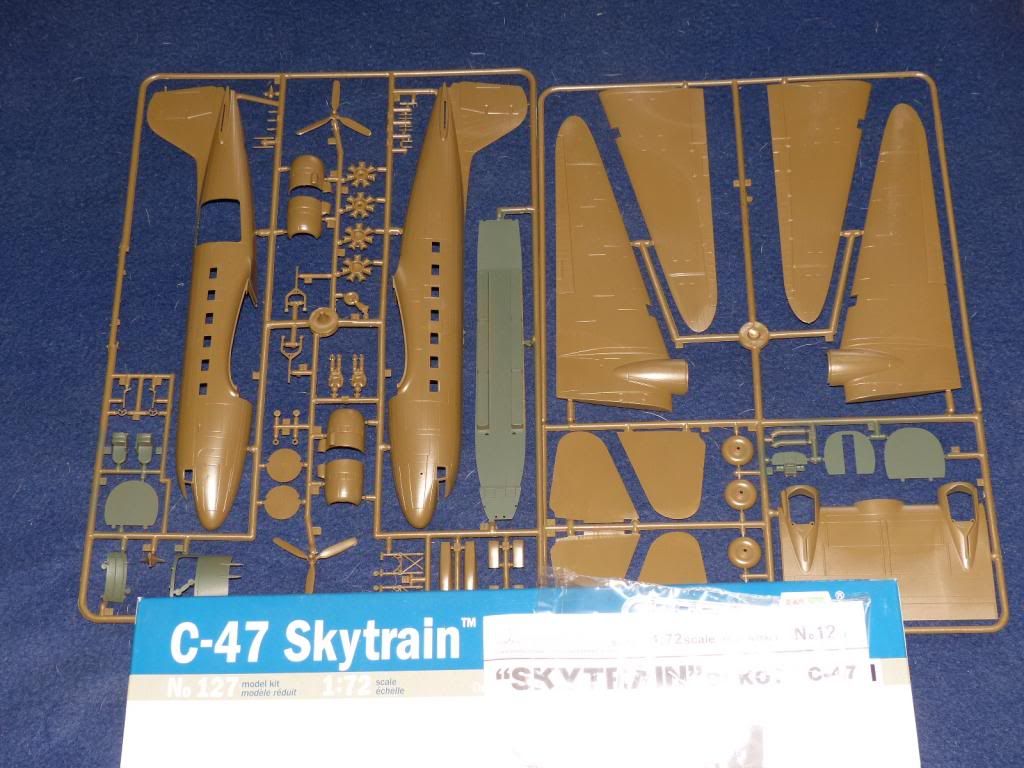
It is an old kit, with not so much details and not the state of the art, but still an enjoyable one.
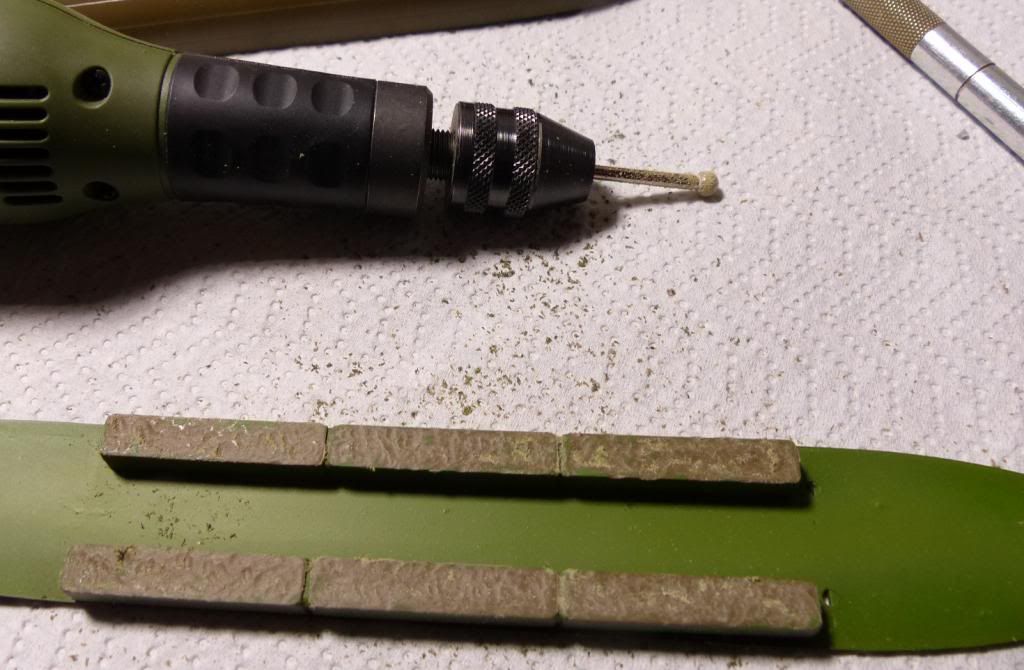
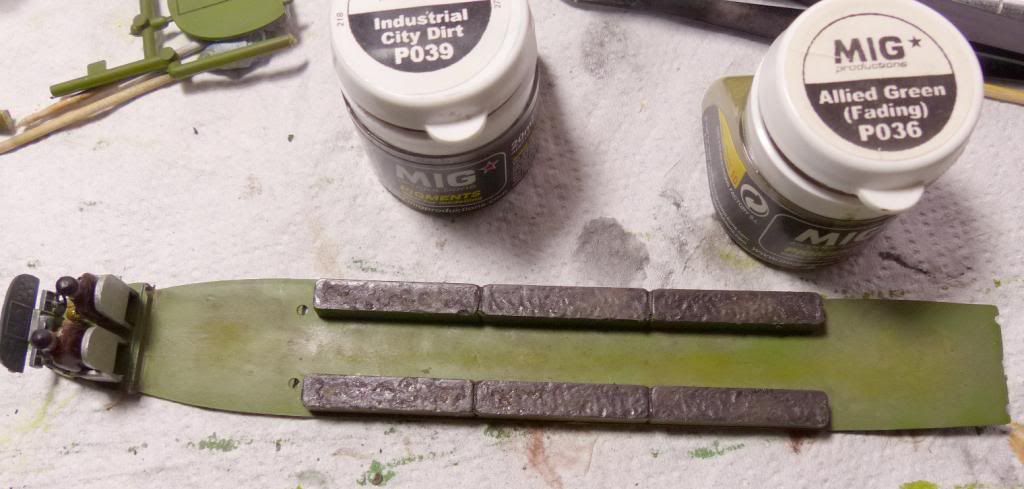
I started the construction adding some details on the interior. First were the benches... they are moulded deadly flat, and so with my motor tool i added some "rough texture".
Then with some plasticard strips (1mm and 0.75 mm wide), i built the frame structure inside, using a dsmall cisel tip to add the rivets.
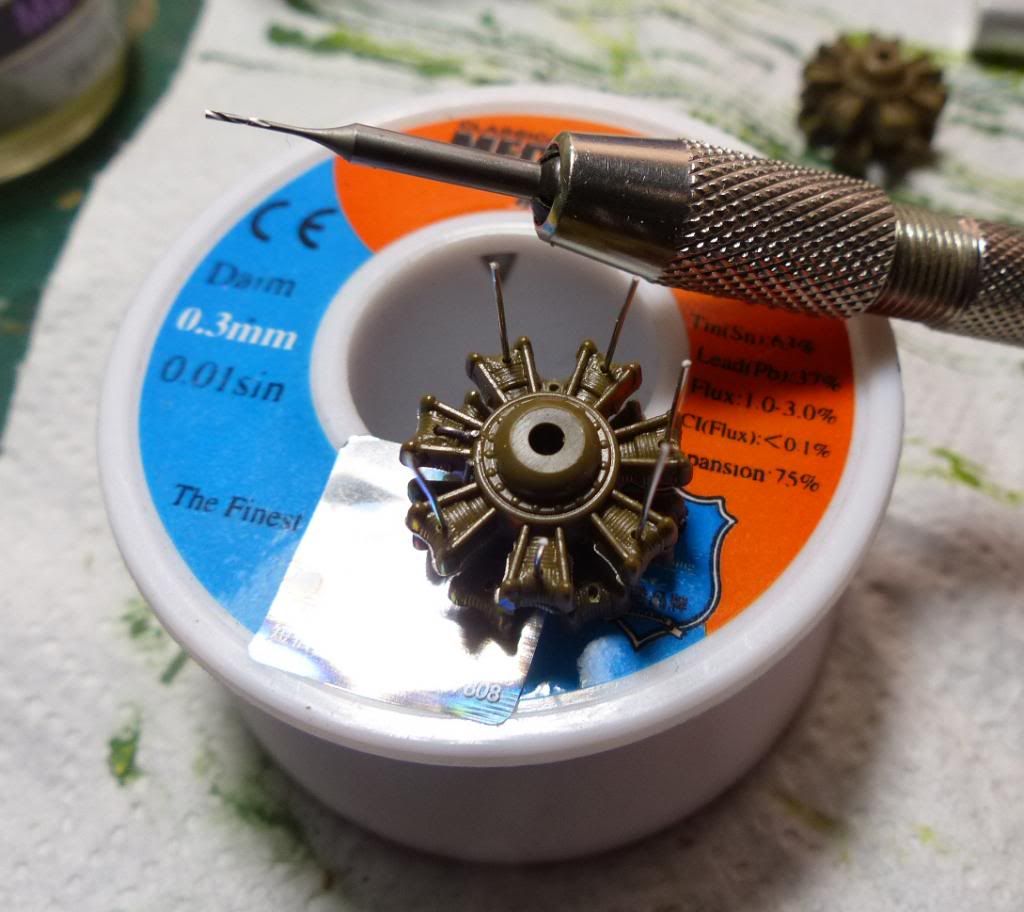
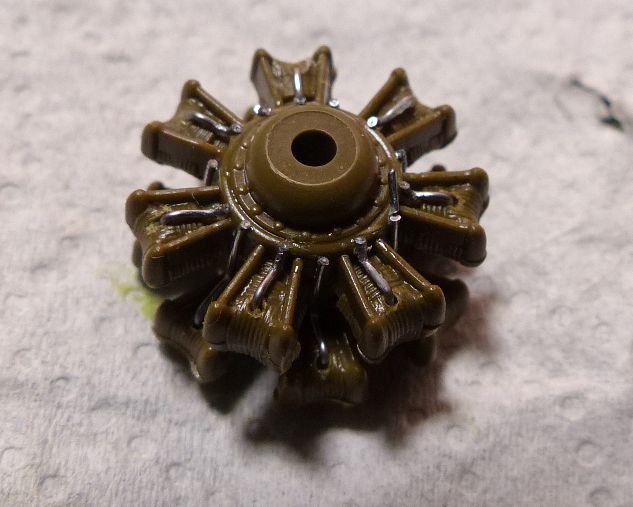
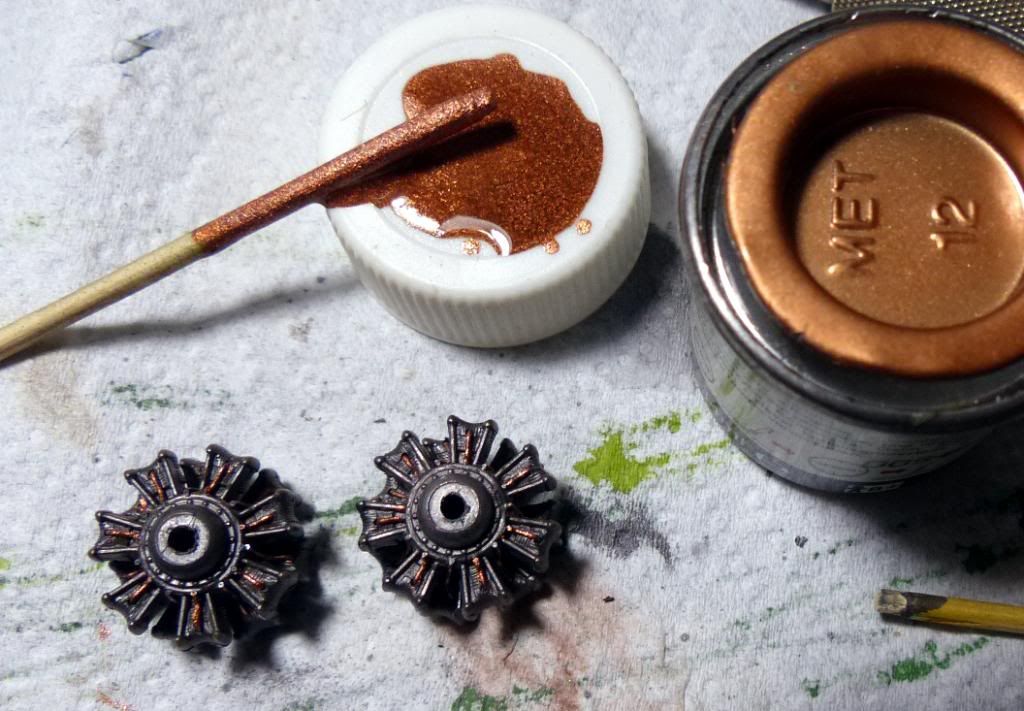
I decided to add to the engines some details, using some 0.3 mm lead wire. Finally i painted the engines with ModelMaster metallic buffable colors, and some Humbrol coper for the pushroads.
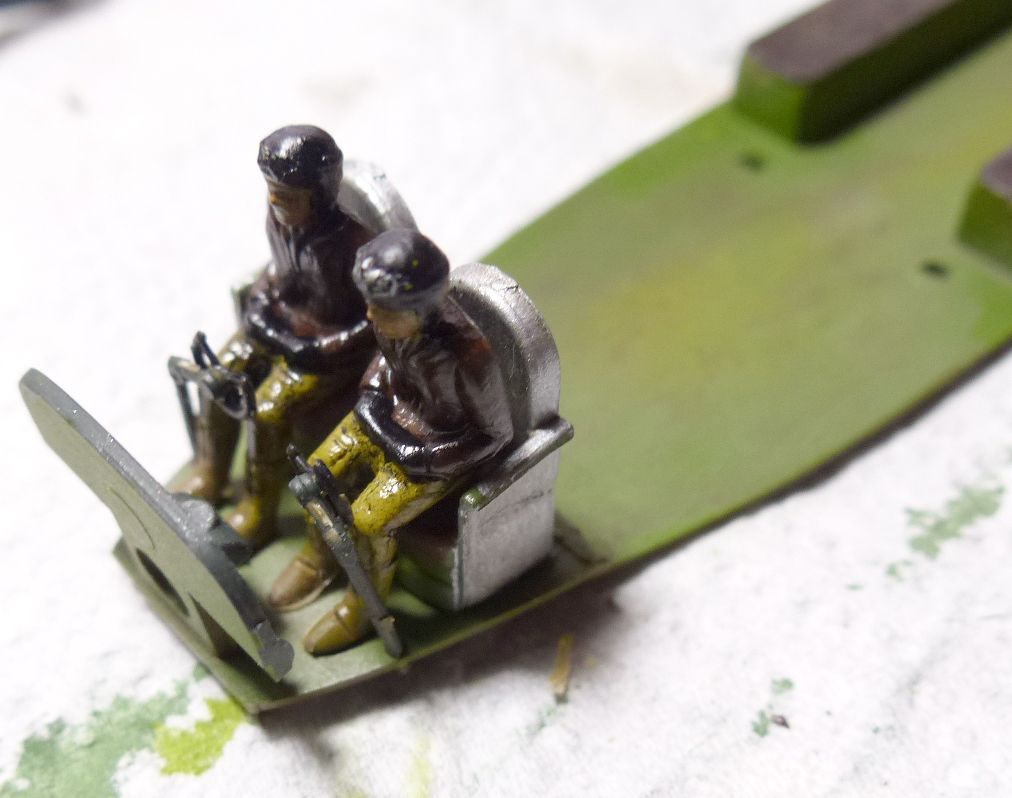
Meantime i painted in dark brown the benches, and finished the cockpit. Almost nothing will be visible of it, so i decided to not waste time in adding details to it.
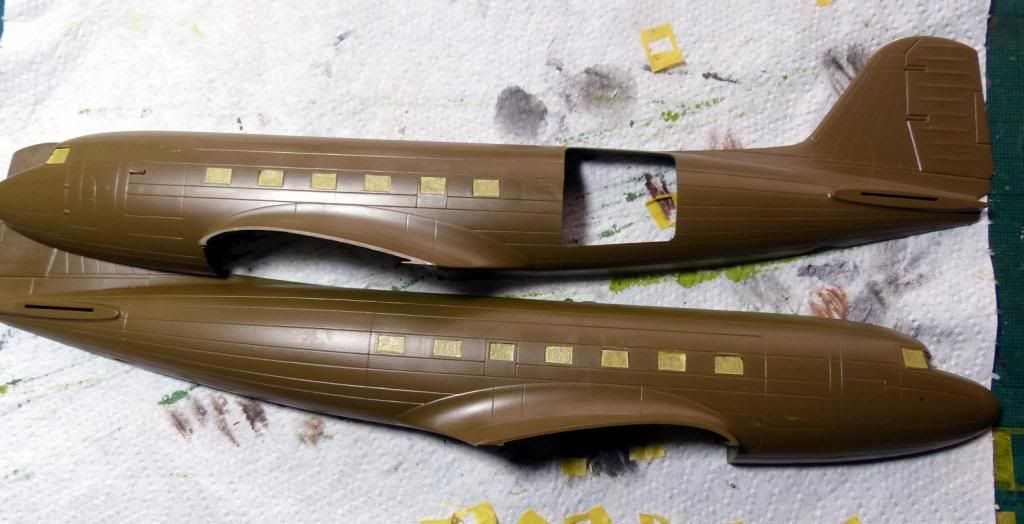
A wash and a pinwash on all the Interior Green surfaces was applied. Next on the list was the tedious job to mask all the windows.
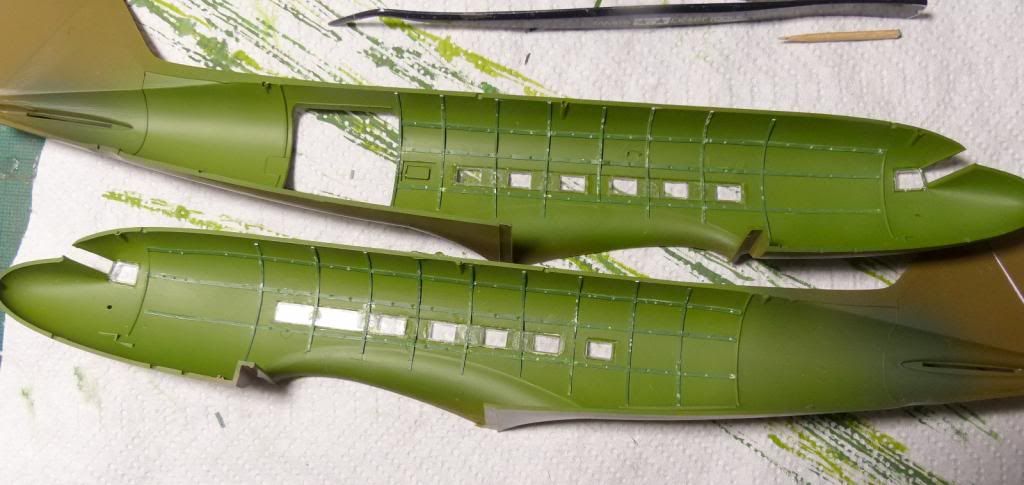
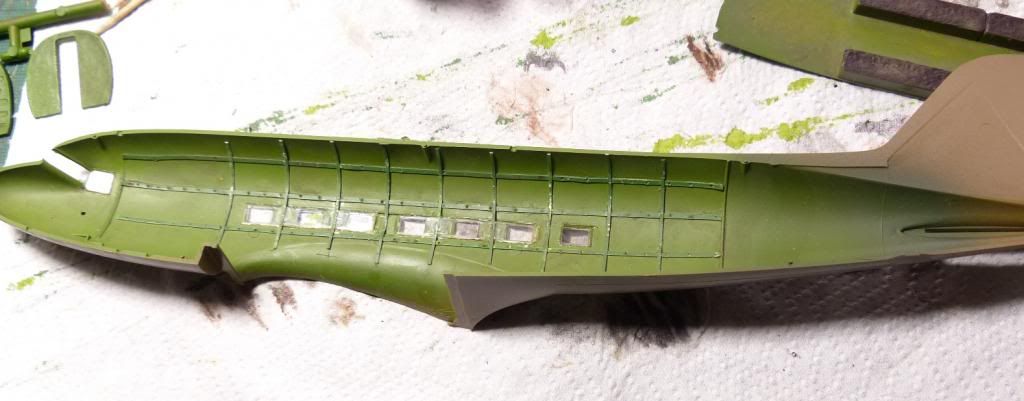
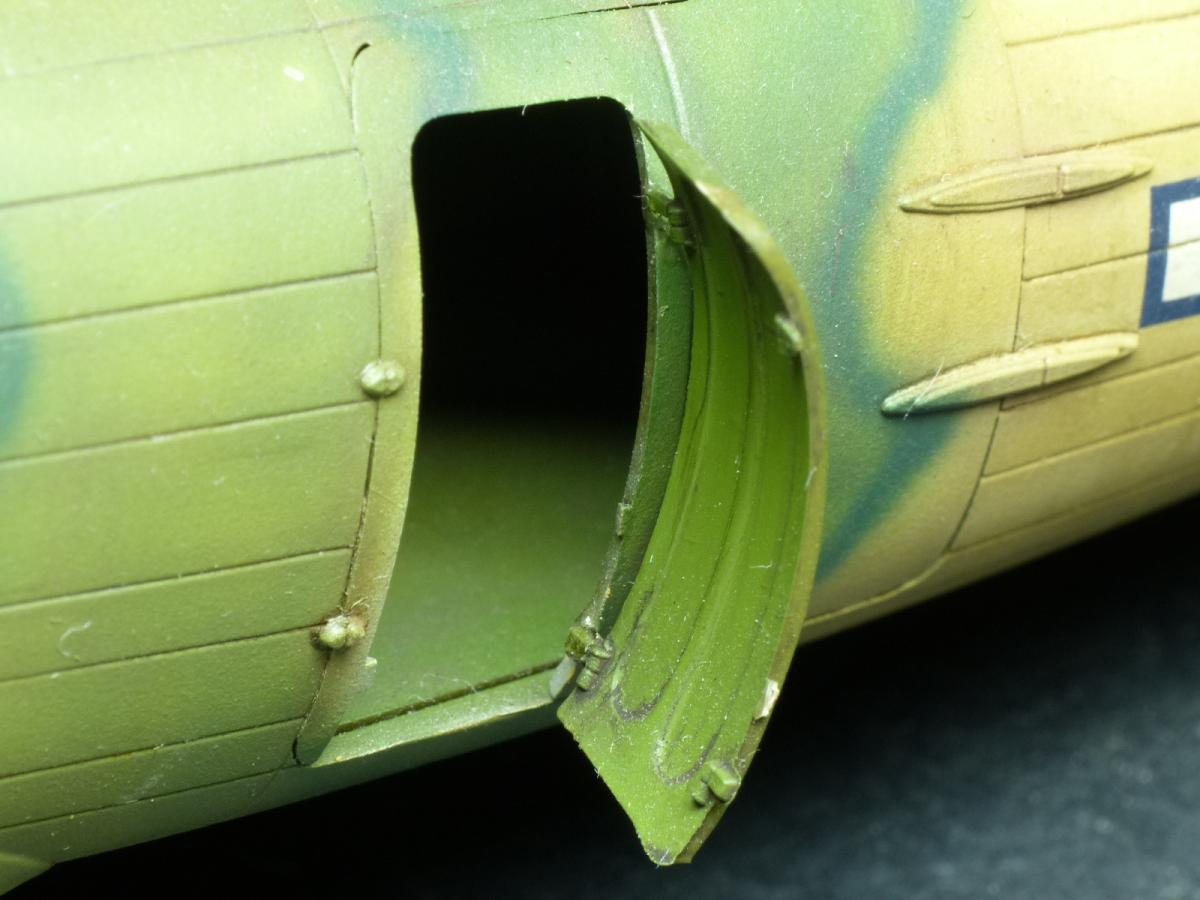
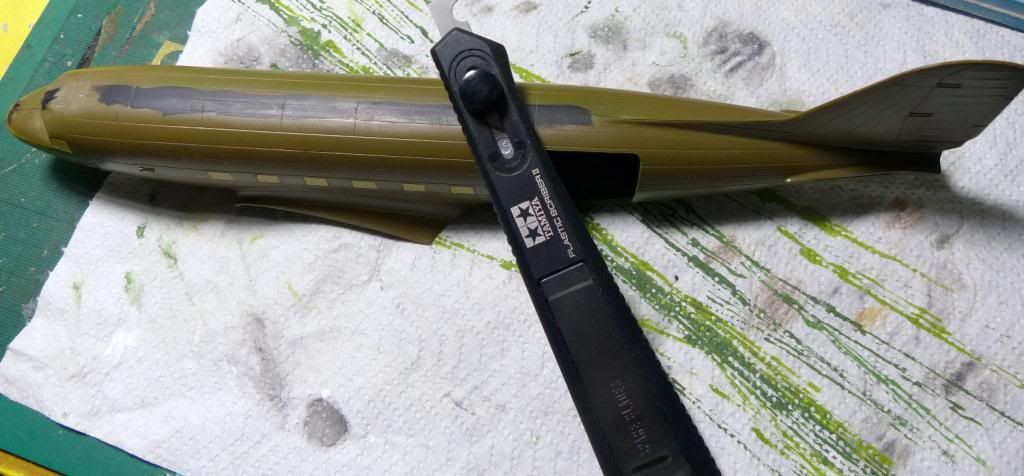
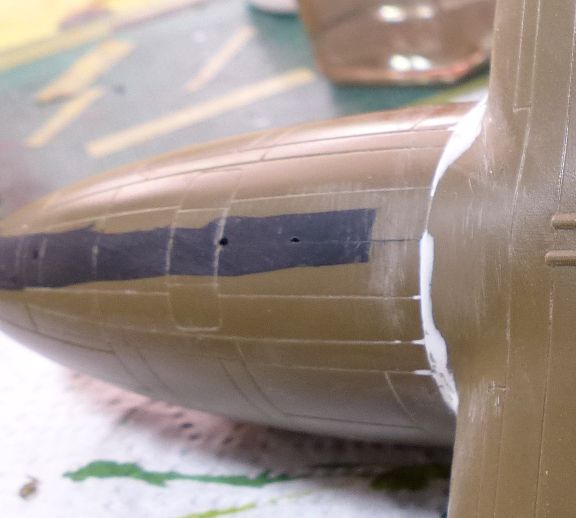
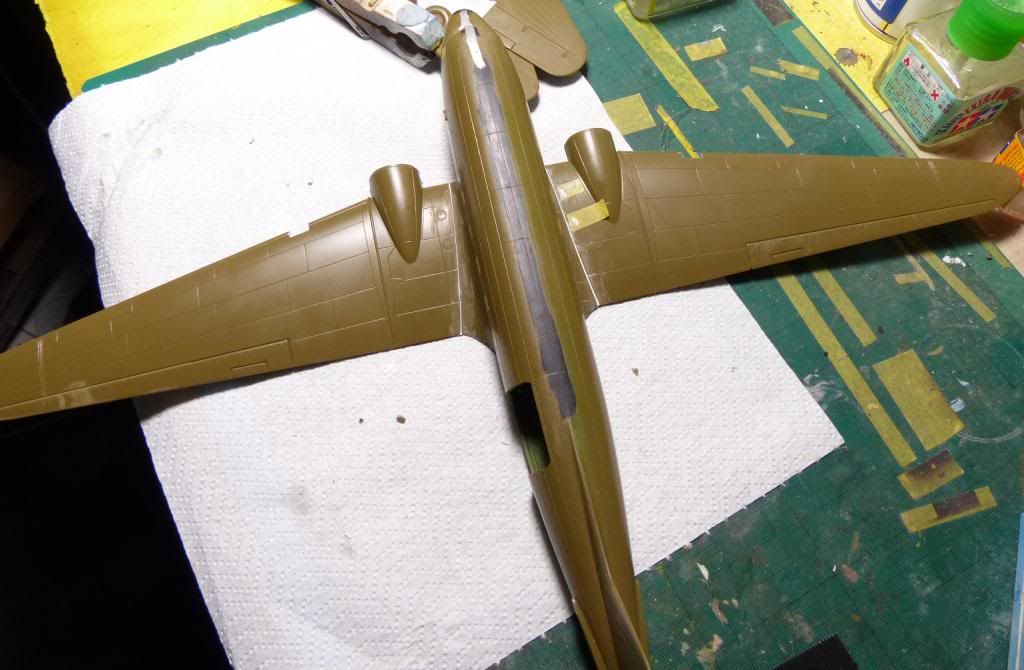
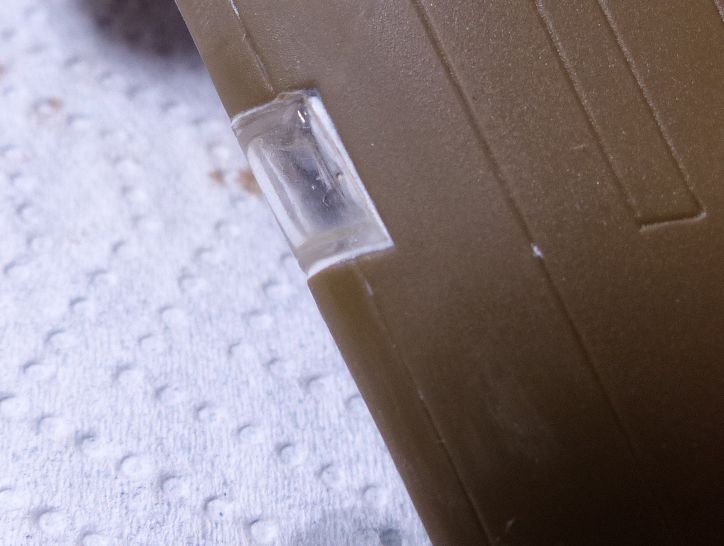
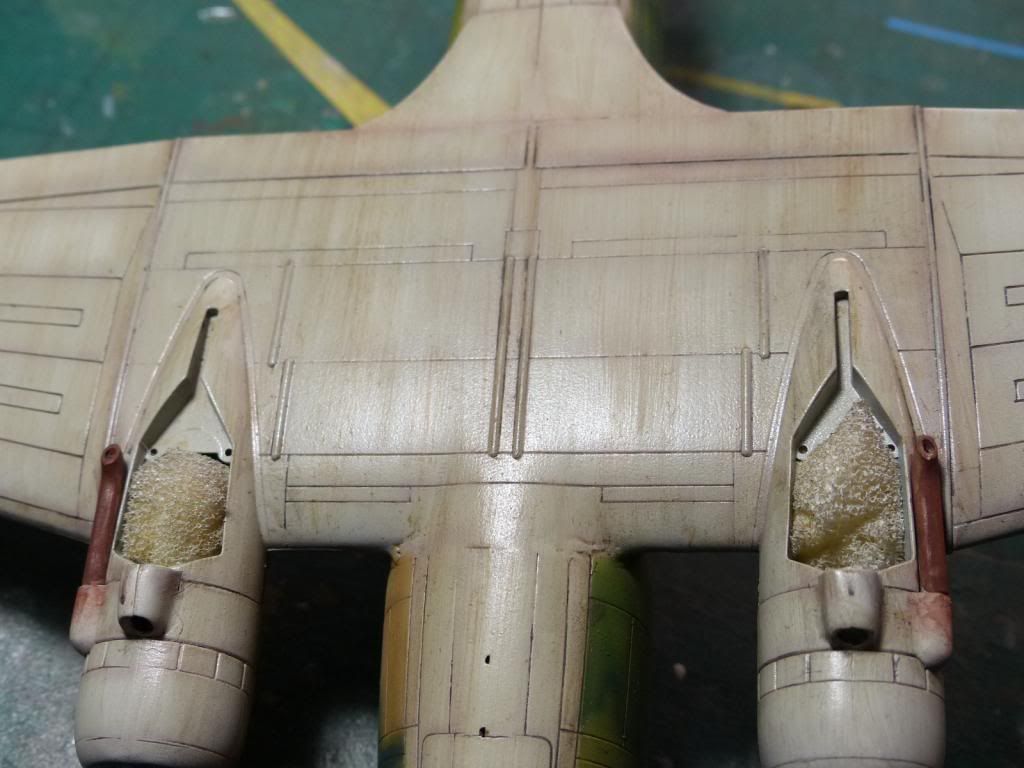
The 2 fuselage halves were joined and some filler applied: after checking with some dark paint that the filler was sanded well, i rescribed the obliterated panel lines. Wings were glued: as you can see the fit was not the best one, and some filler was required. Some putty was used also for the cockpit main windshield and for the lights (inside the wings bay of them i painted some silver).
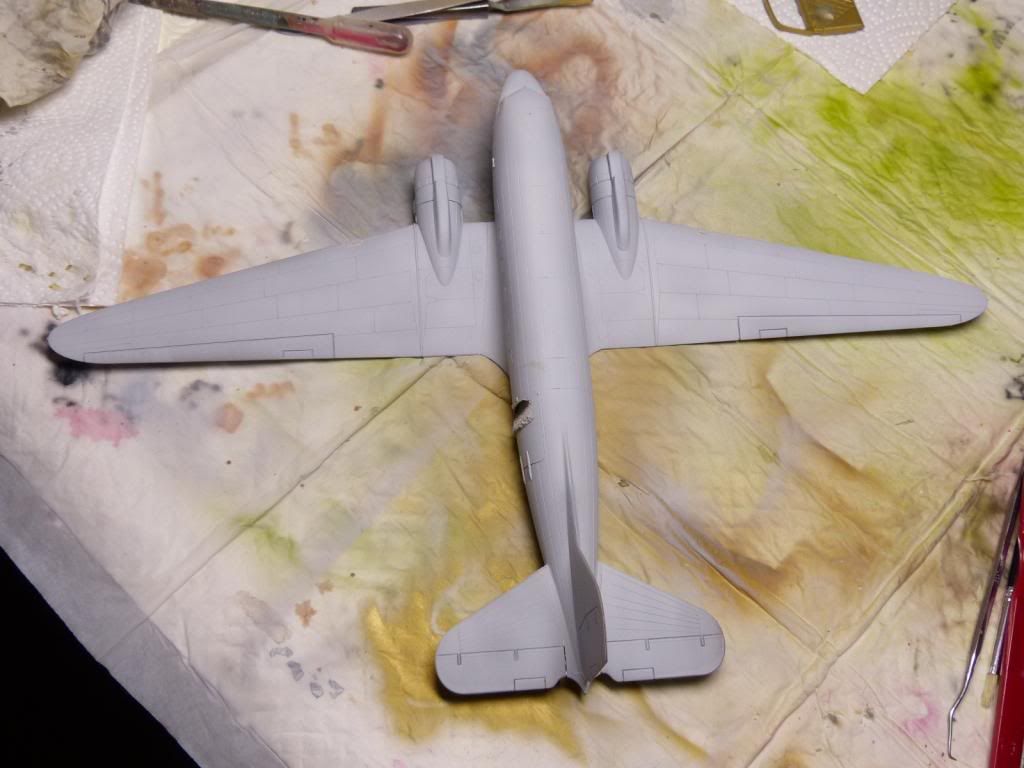
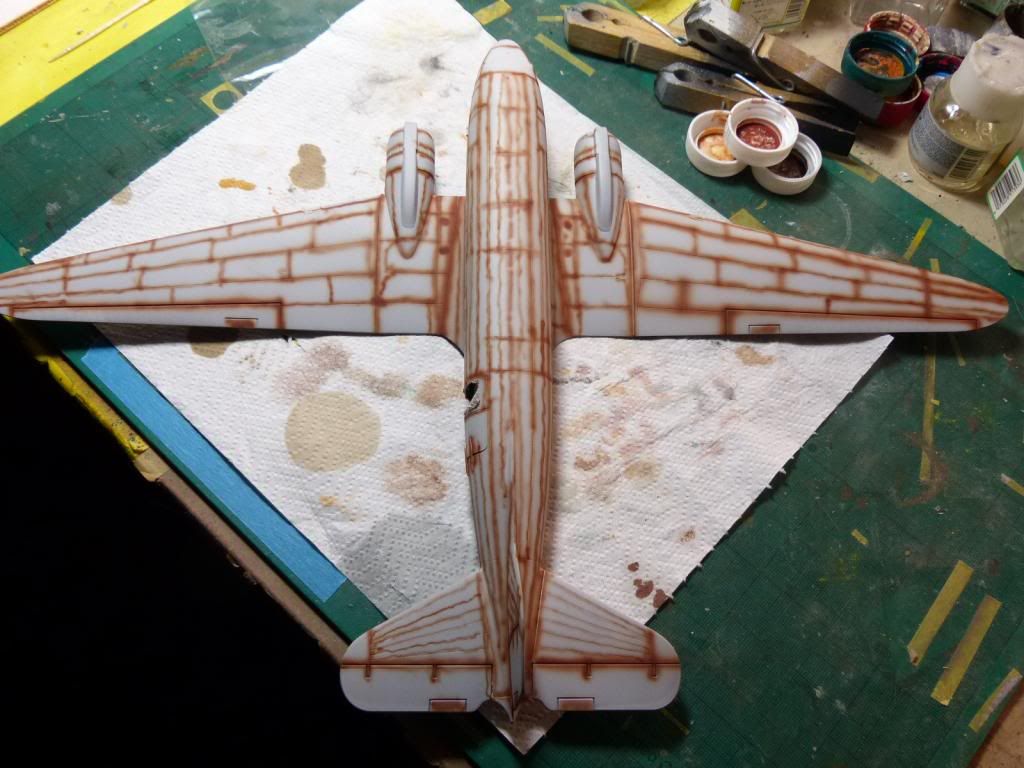
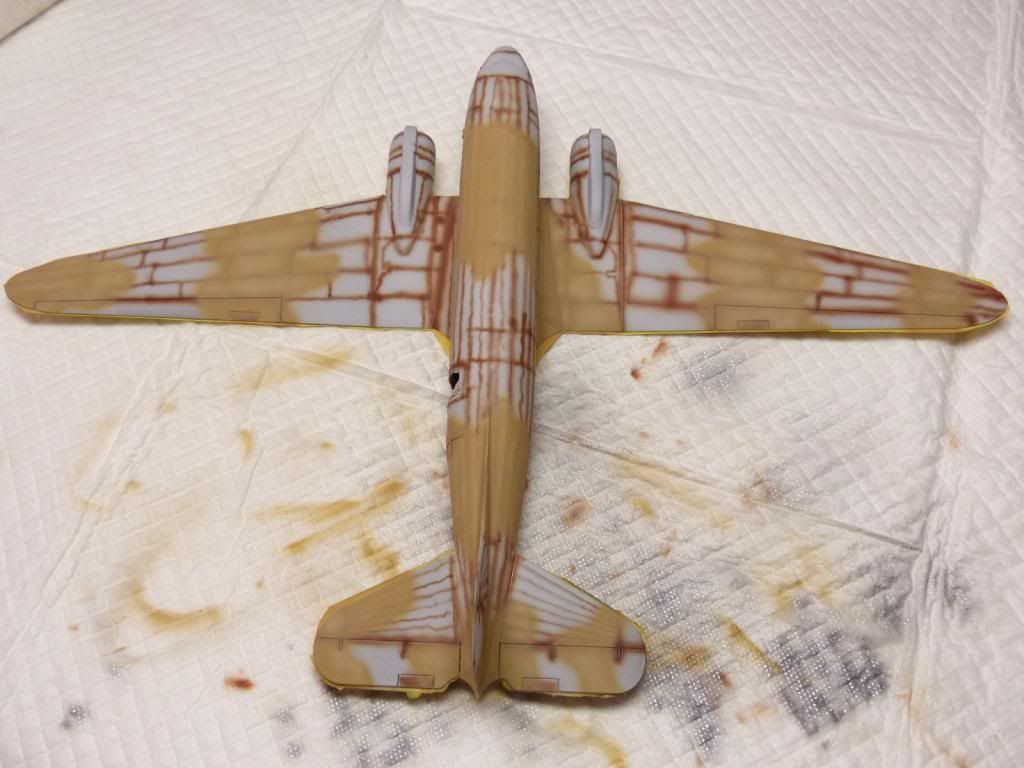
The model was promed with some grey Vallejo Primer. After priming the plane, i airbrushed the pre shadow. I didn't use the classic black color, but a reddish brown, because i think it will match better the camo scheme that i am planning to use.
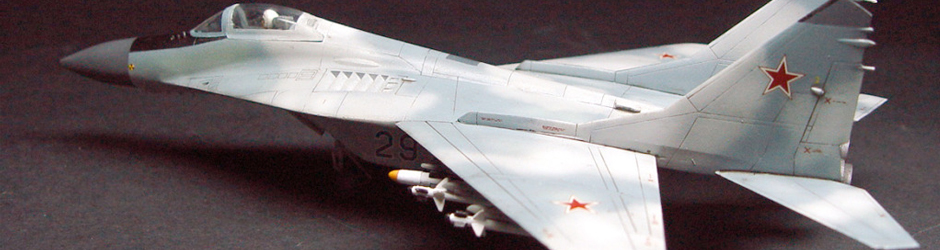
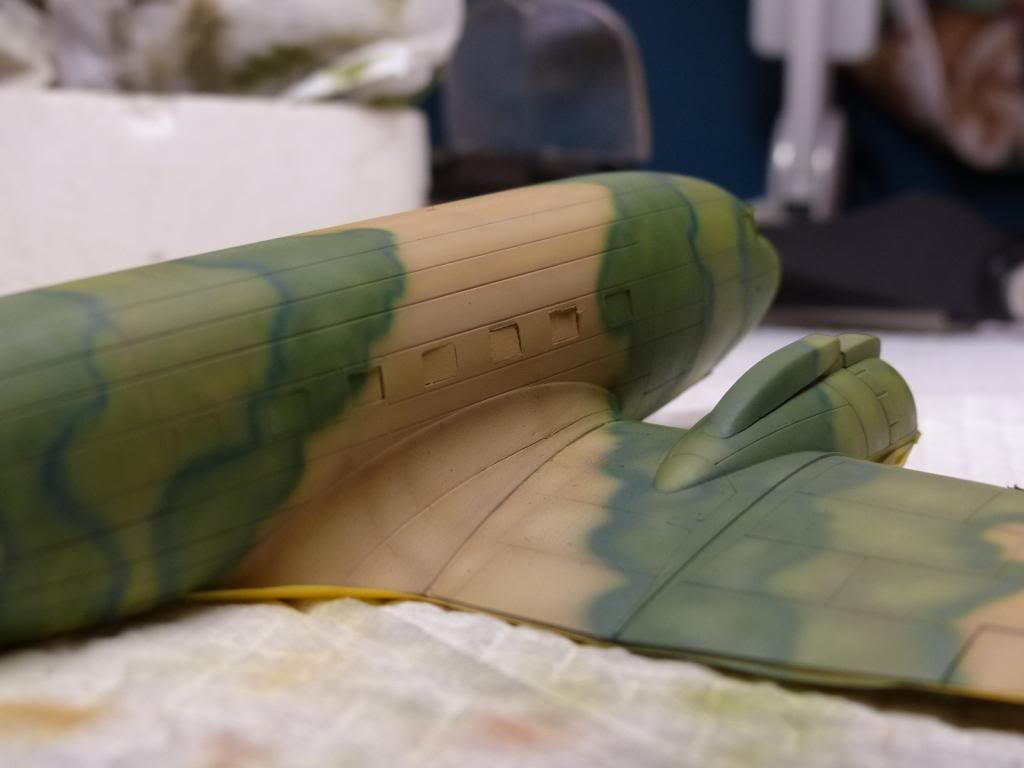
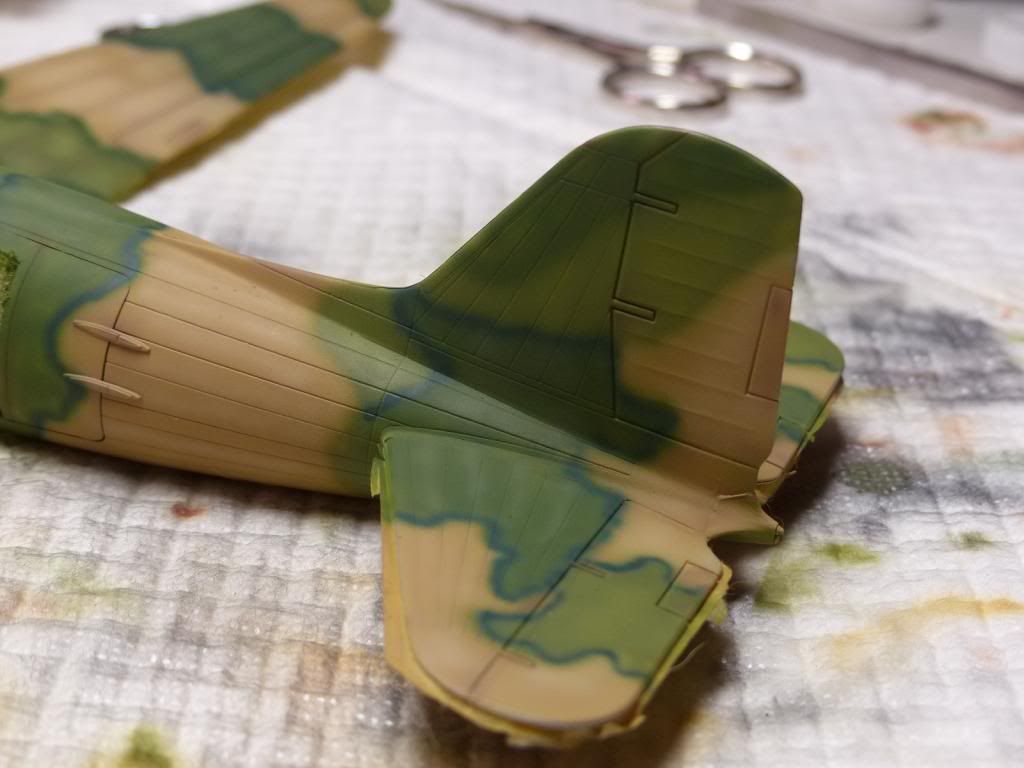
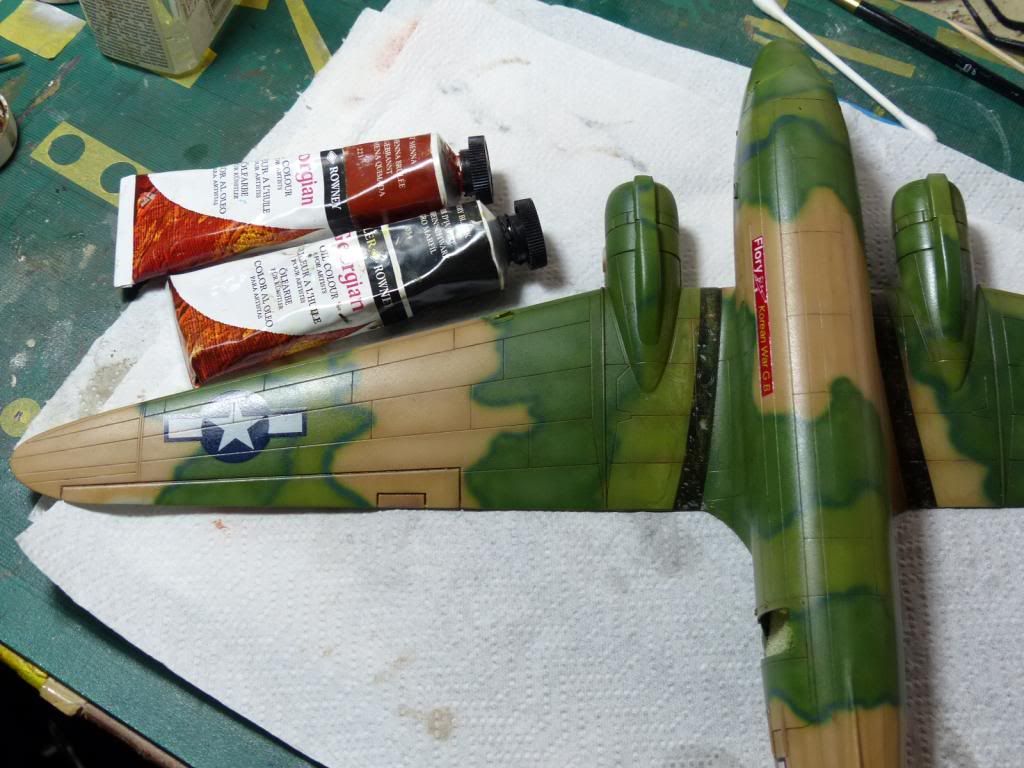
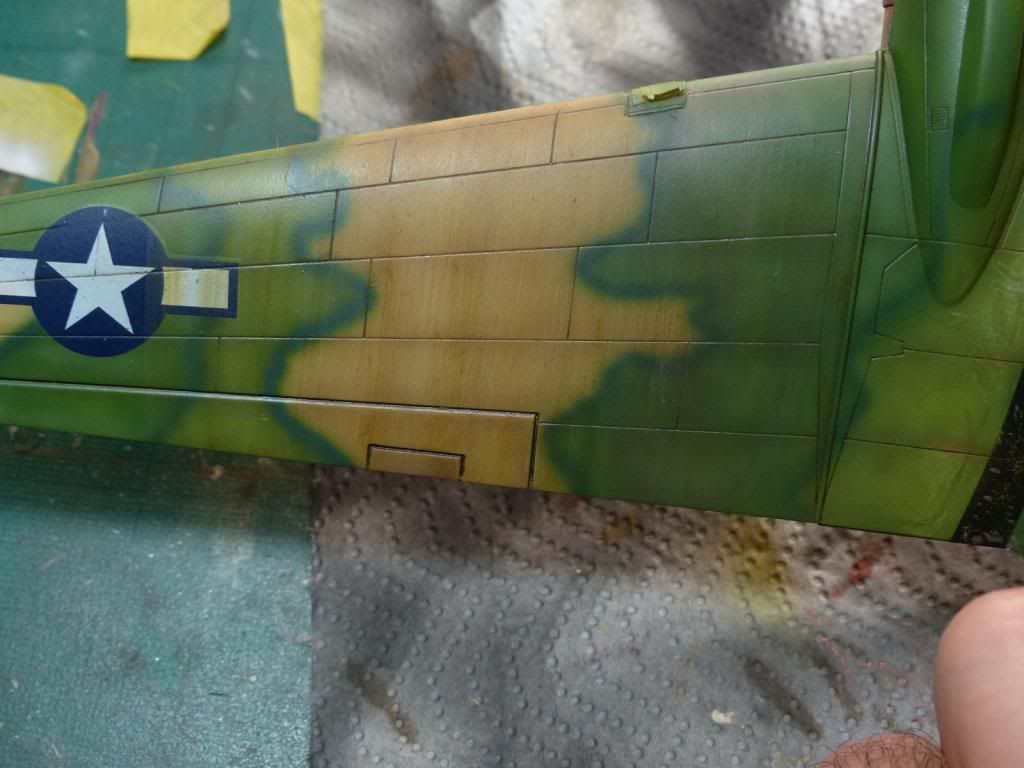
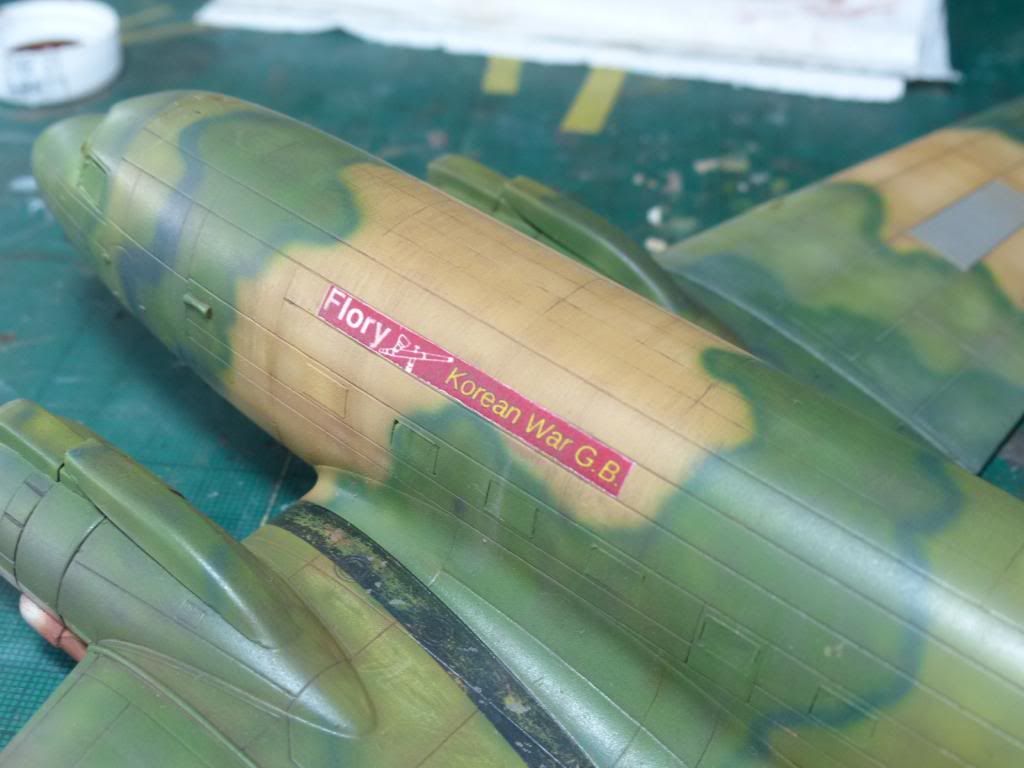
Indeed, I choose an unusual camo scheme that i saw on internet: 3 colors (light brown and two shades of green), with 2 shades of different green used for borders.
So the first step was to airbrush the light brown. I did it freehand and used a mix of Tamiya colors. As usual i apply light misty coats, building solowly the final color, and try to preserve the preshadow.
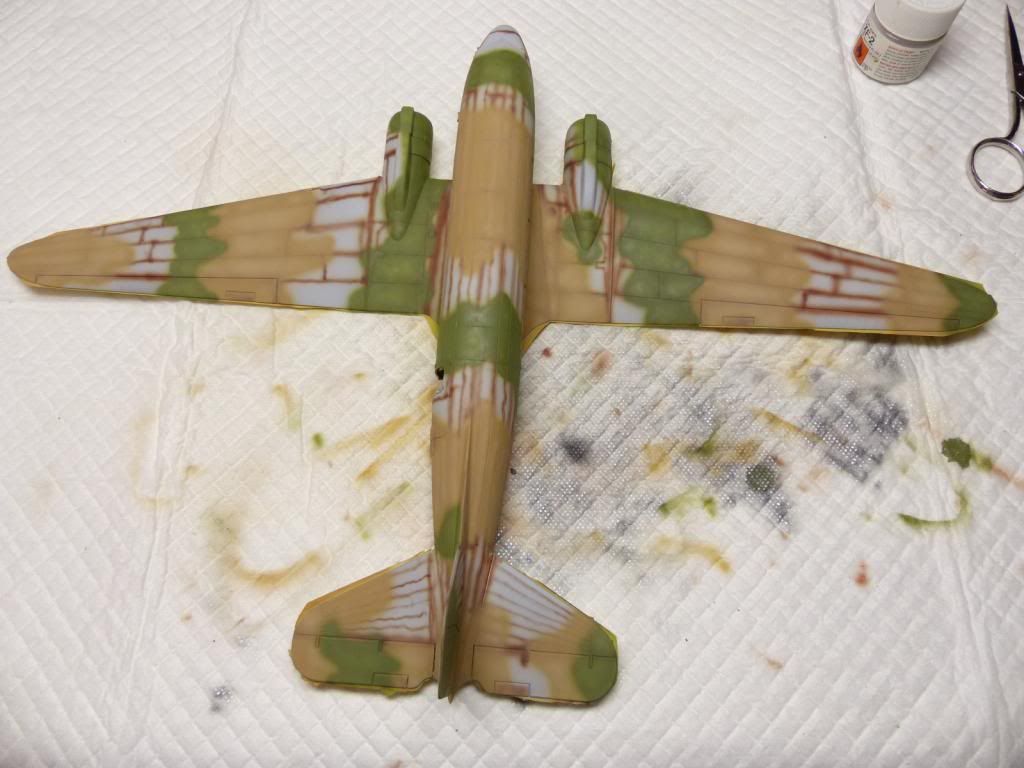
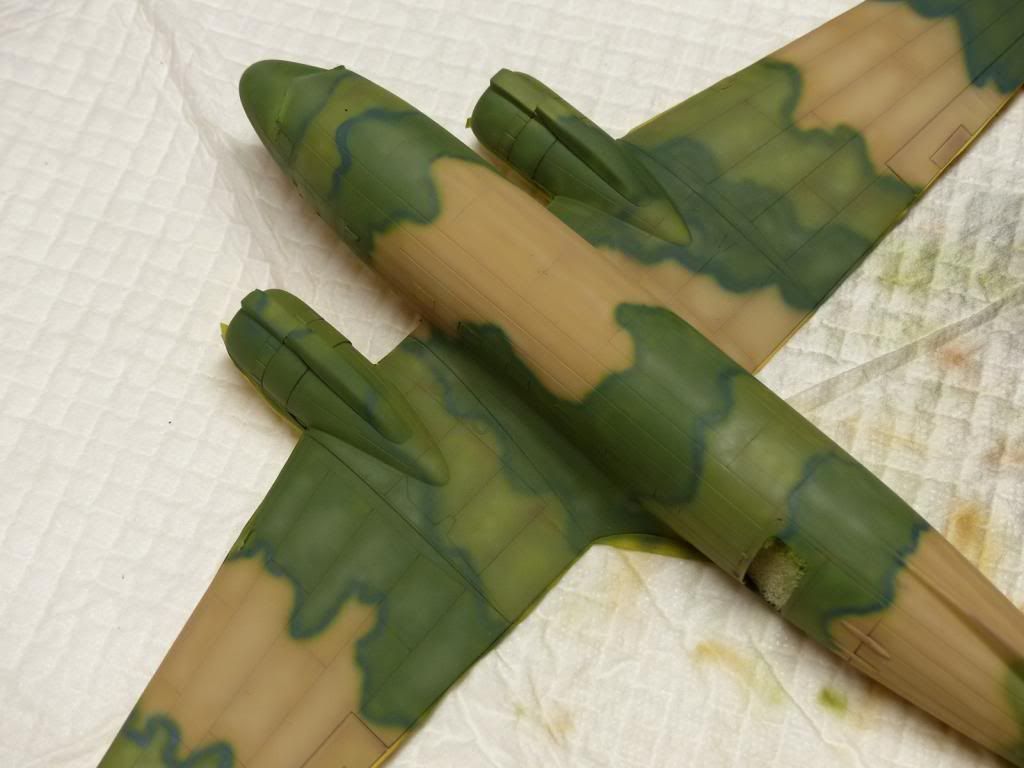
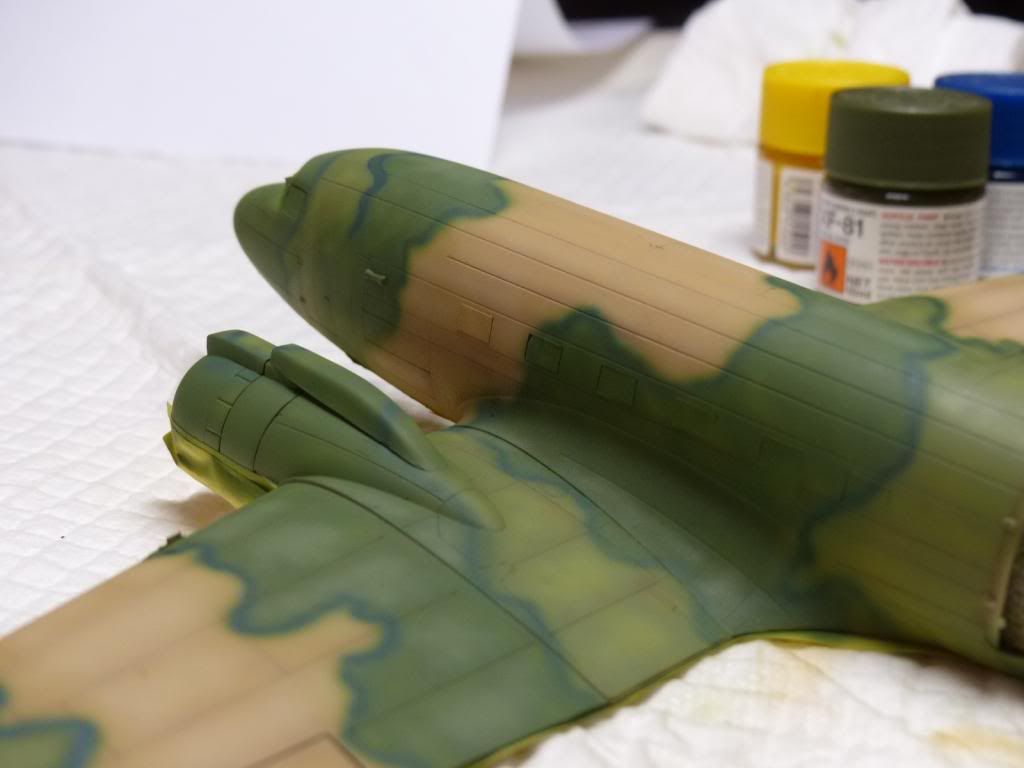
The second color was the lightest green. The darkest one followed, and then the borders.
.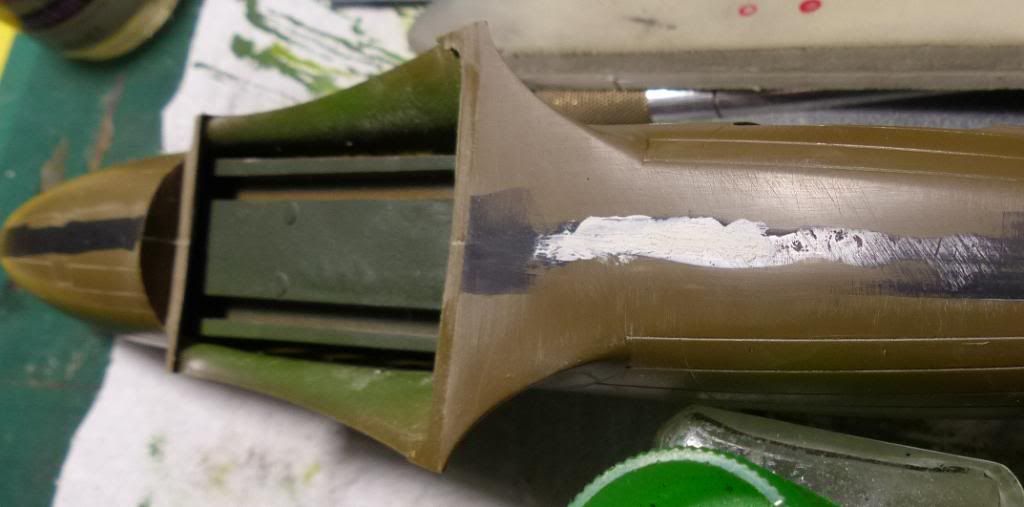
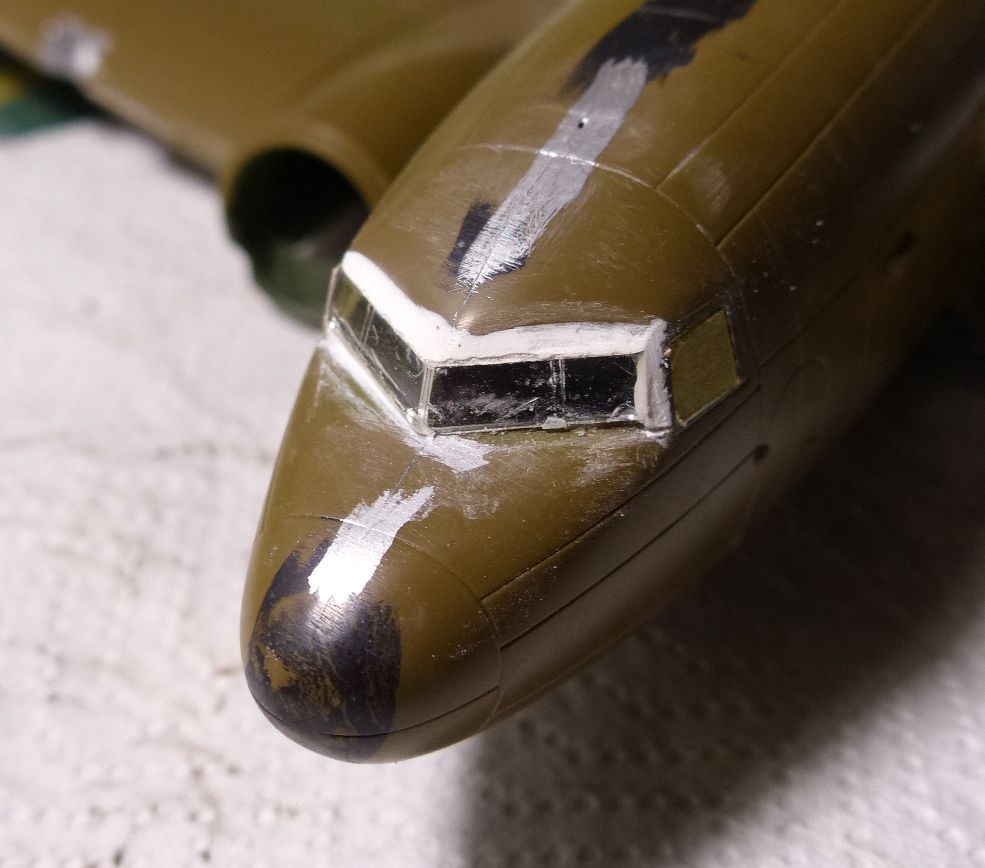

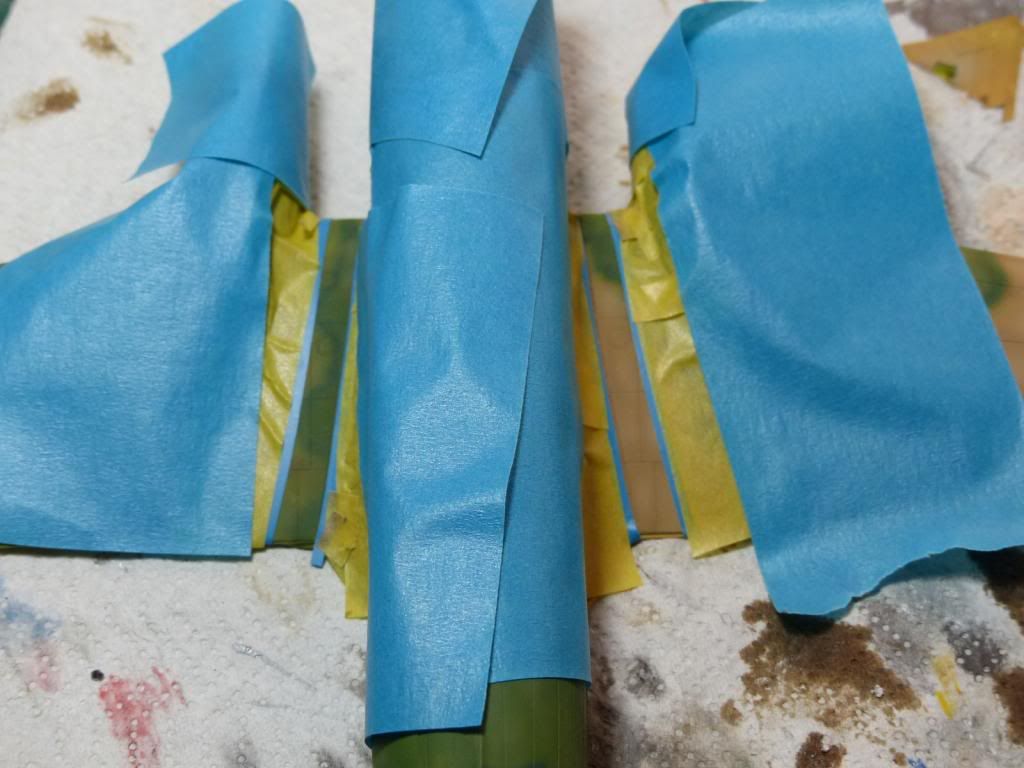
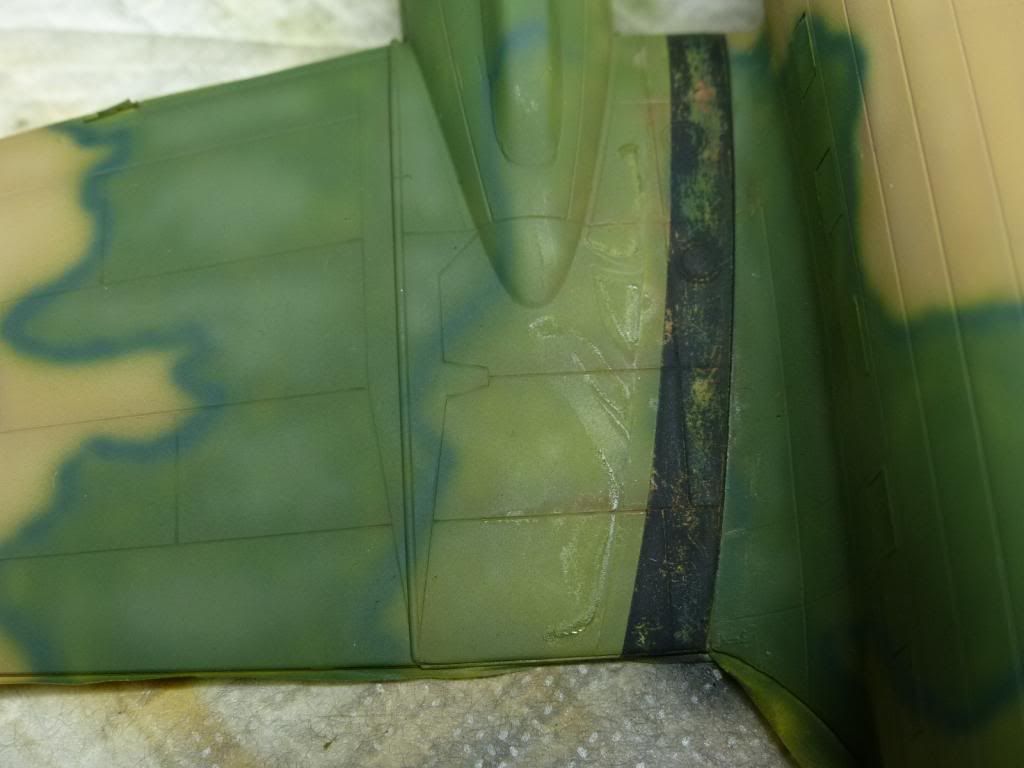
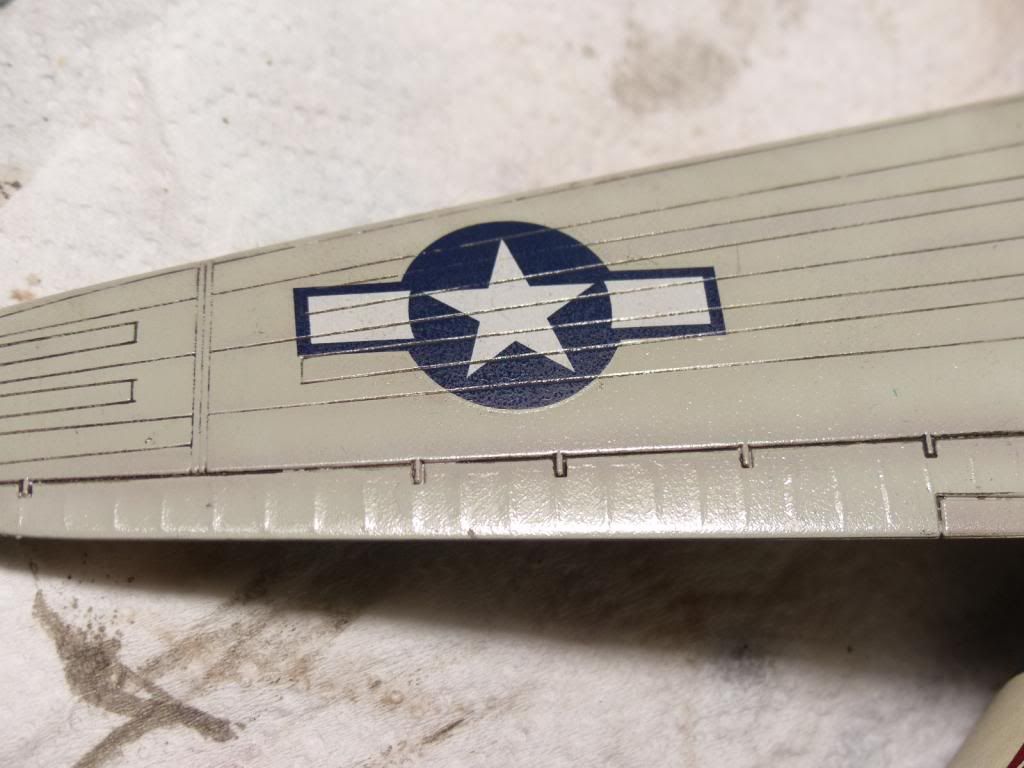
If you are planning to paint the black strips the the wing roots, it is always better to do it BEFORE to paint the camo, masking them.
But i forgot to do it, so now ii had to face a more tedious masking job, to paint my strips. I also apply some hairspray, because i am planning to chip them.
The blue fine masking tape (the one used on the internal border) left some tacky residual... not the tamiya quality. I will fix it with some saning paper (with Micromesh), and furthering weathering, but before i scrub the strips with a brush damped with wather, to produce the hairspray chipping.
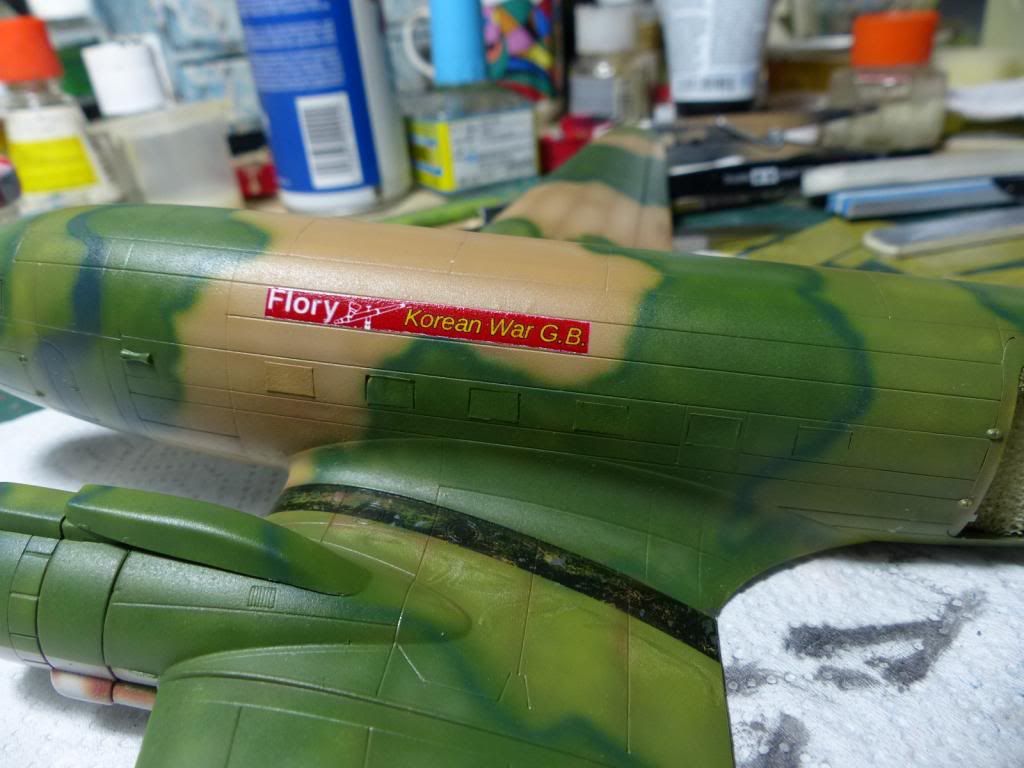
The kits didn't have specific decals for the Korean war. I didn't find on the net any suitable decals. Buying some generic decals of unit's numbers and letters seemed to me just a wasting of money... having a number an historical correct number or not, doesn't change the look of the model at my eyes.
So i decided to go in a different direction.
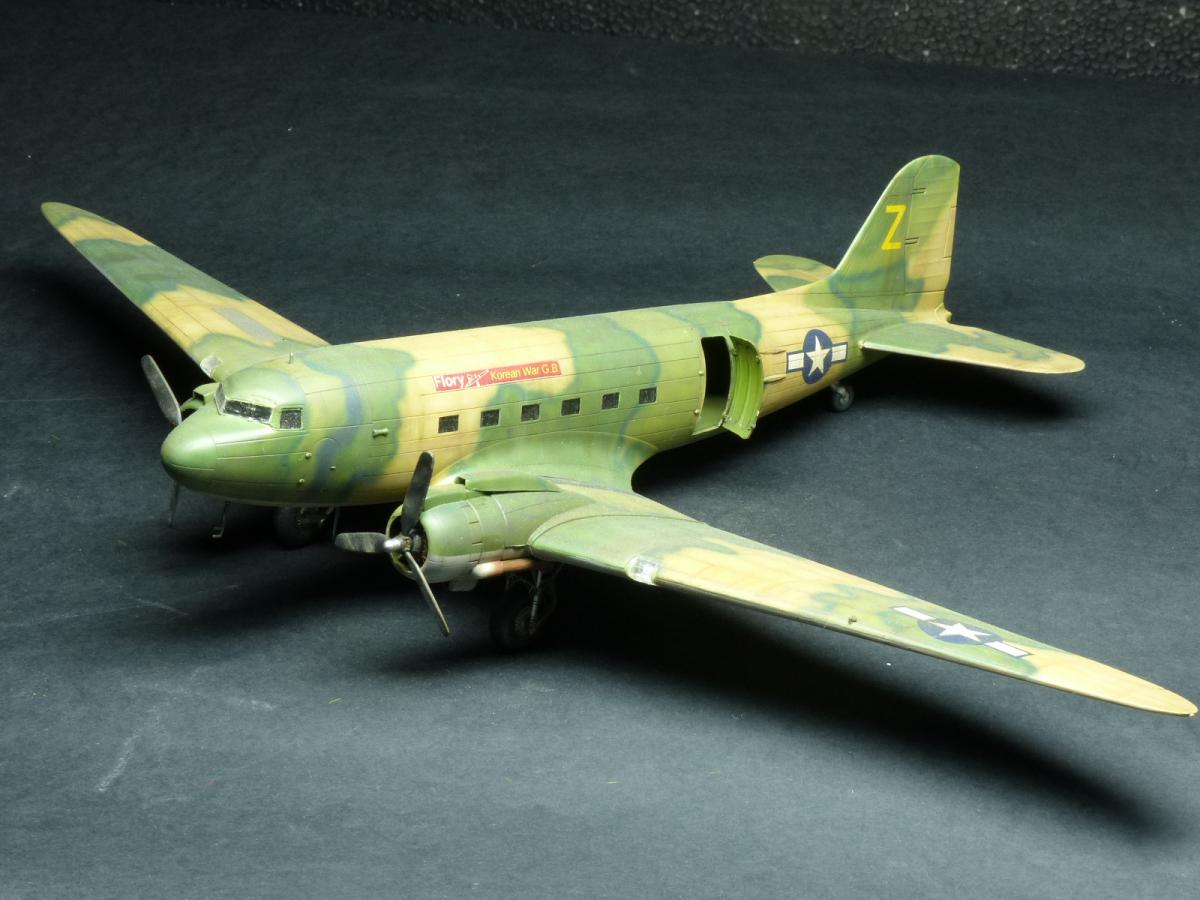
I just bought some weeks before a couple of pages of blank decals paper for inkjet, and i decided to do a test with this build. I decided to make a very special Korean War decal, as you can see.
By the way, the decals that i bought disappointed me. They are very tick: i could get the same result with a piece of paper glued on the model. I don't know if all the decals papers fro inkjet are like this one, or better... anybody knows a good brand?
Next I also applied the other decals.
After repeated applications of decal's setter (i want them fully inside the panel lines, to be consistent with the washes), I made an wash with tuperintine and oil colors.
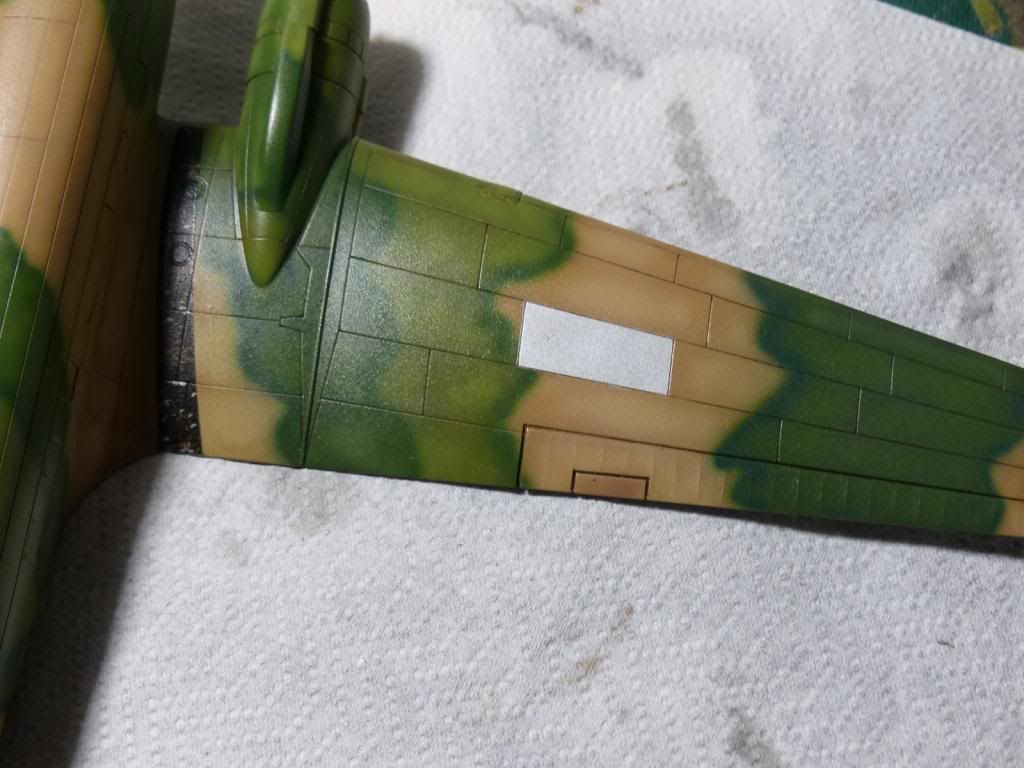
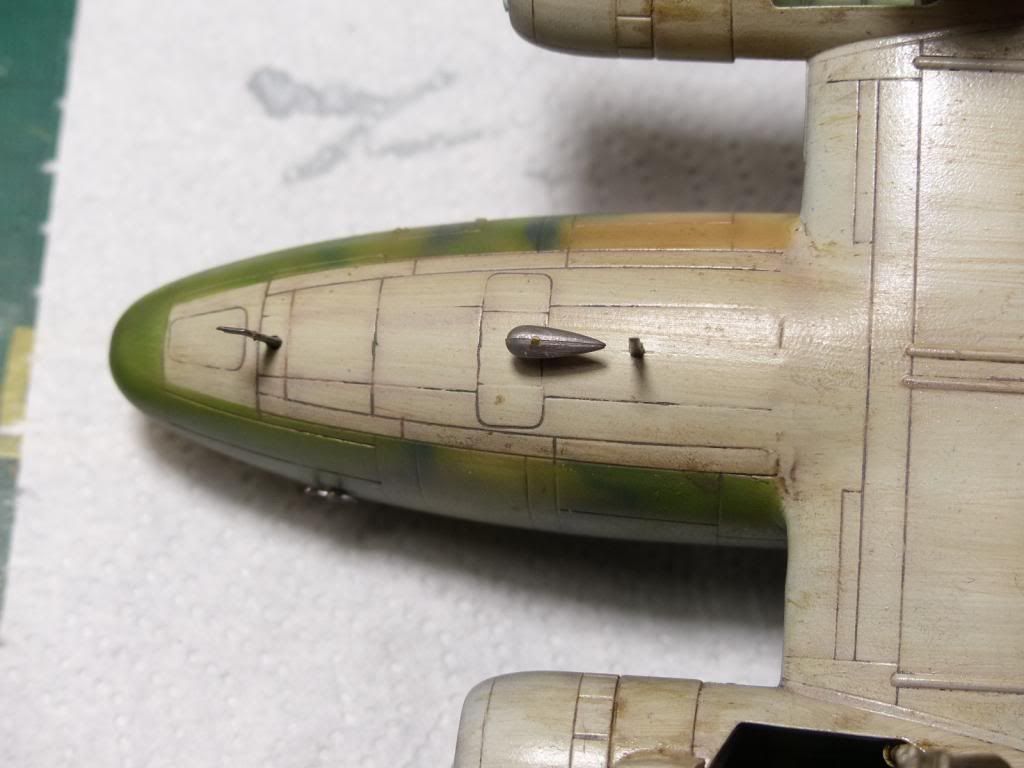
Before to apply the wash, i also painted a singol panel in aluminium color, to simulate a damage repaired by the ground crew that didn't have the time to repaint it.
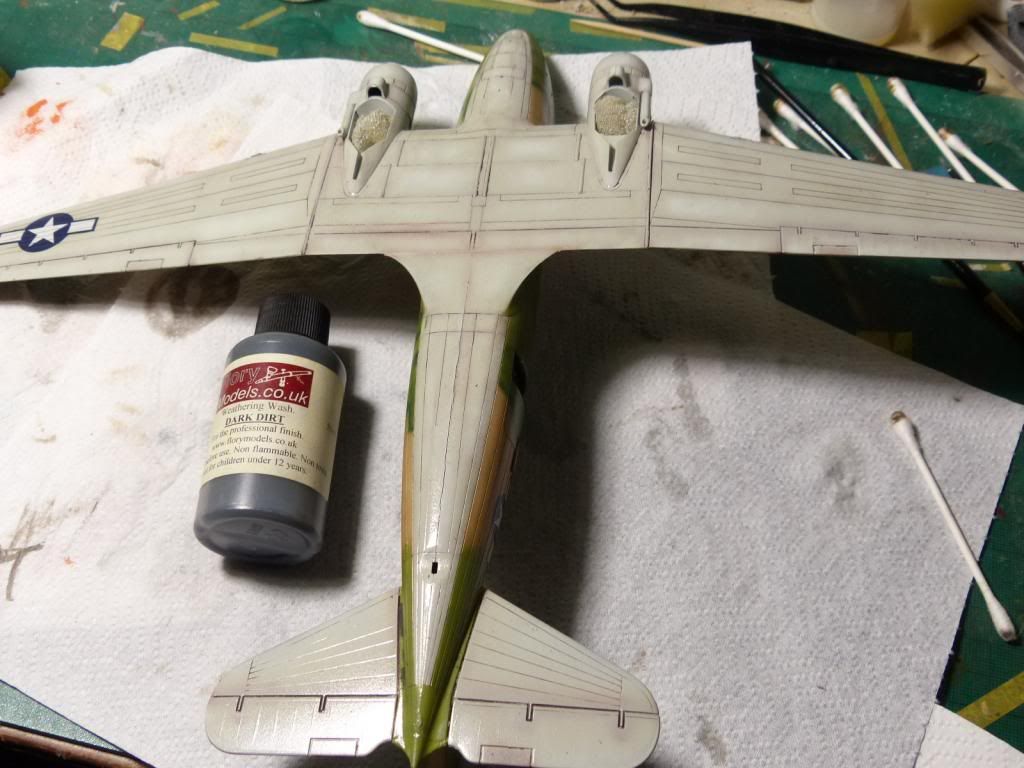
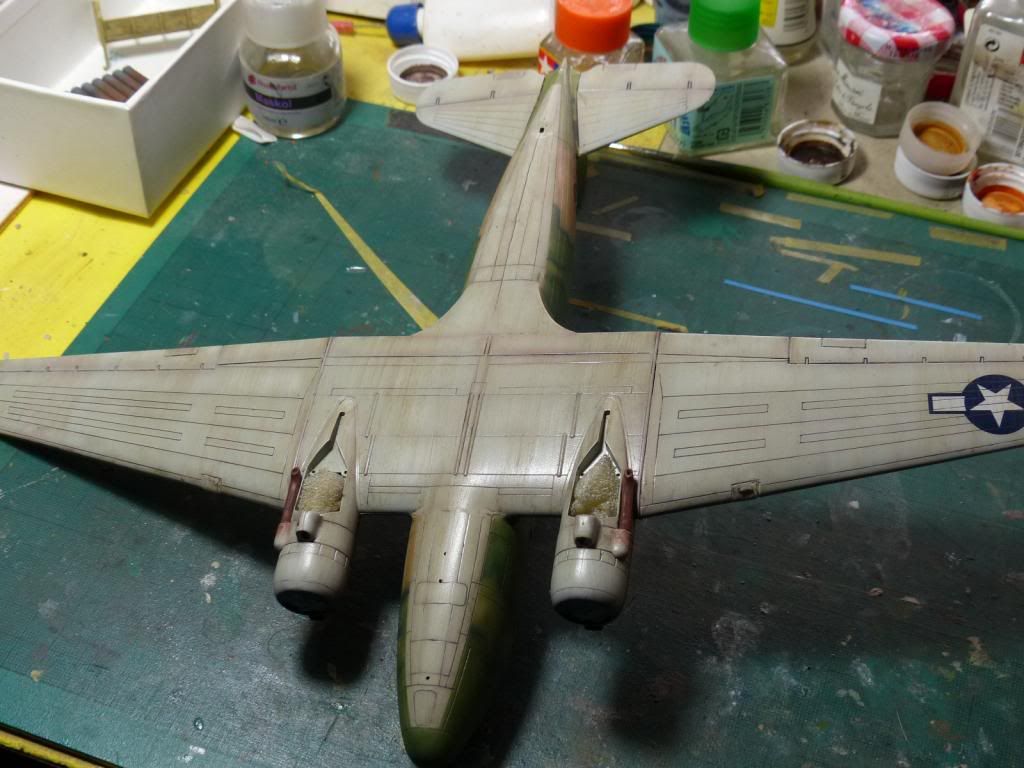
For the underwings camo, i used the Flory wash.
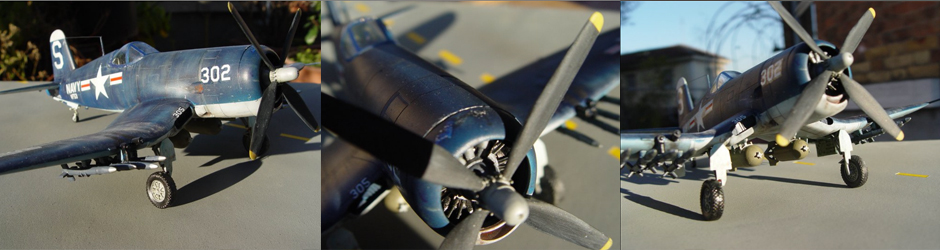
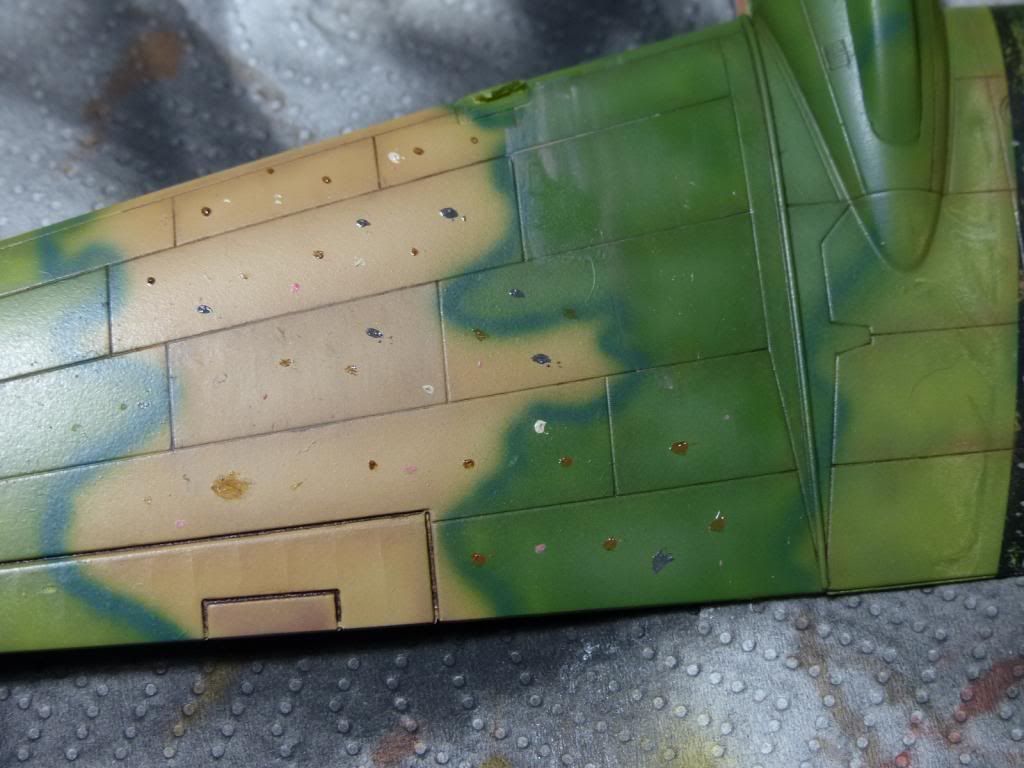
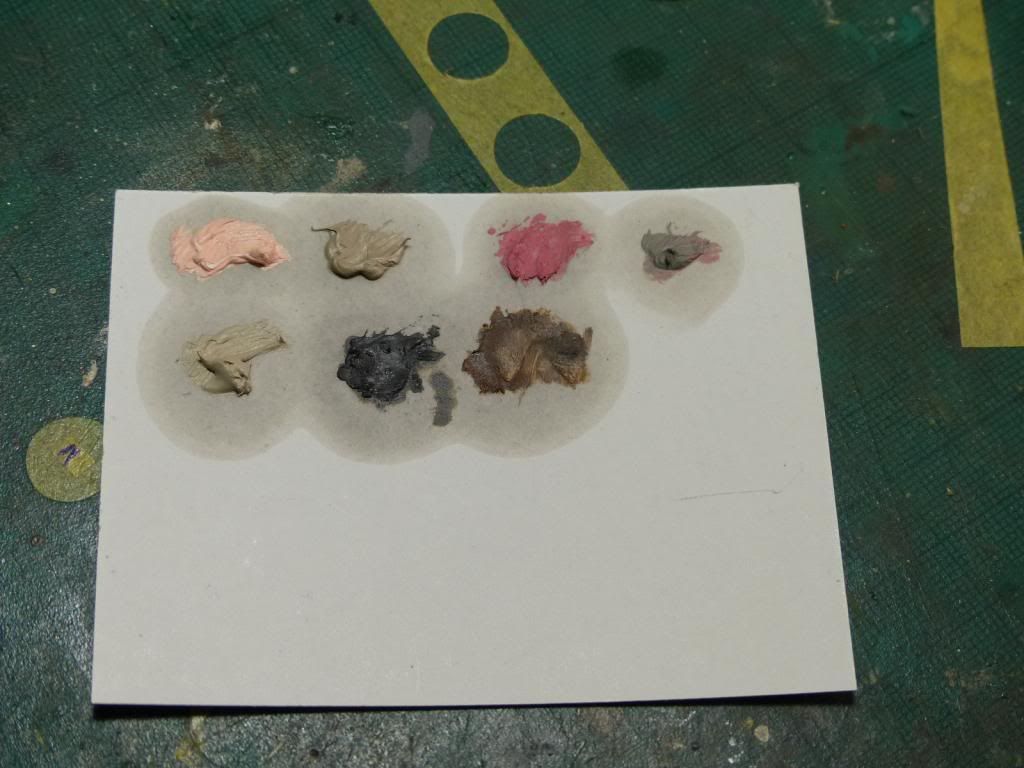
For this plane i wanted a very worn look, so i went with the dot mapping to produce subtle streaks all over the surfaces:


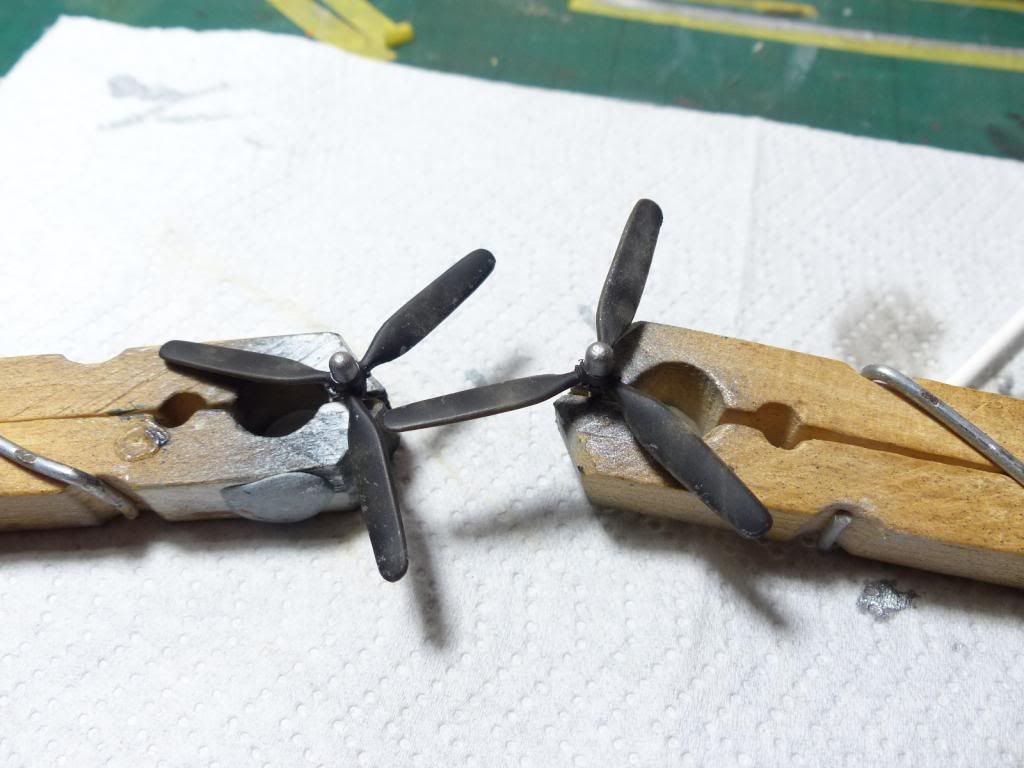
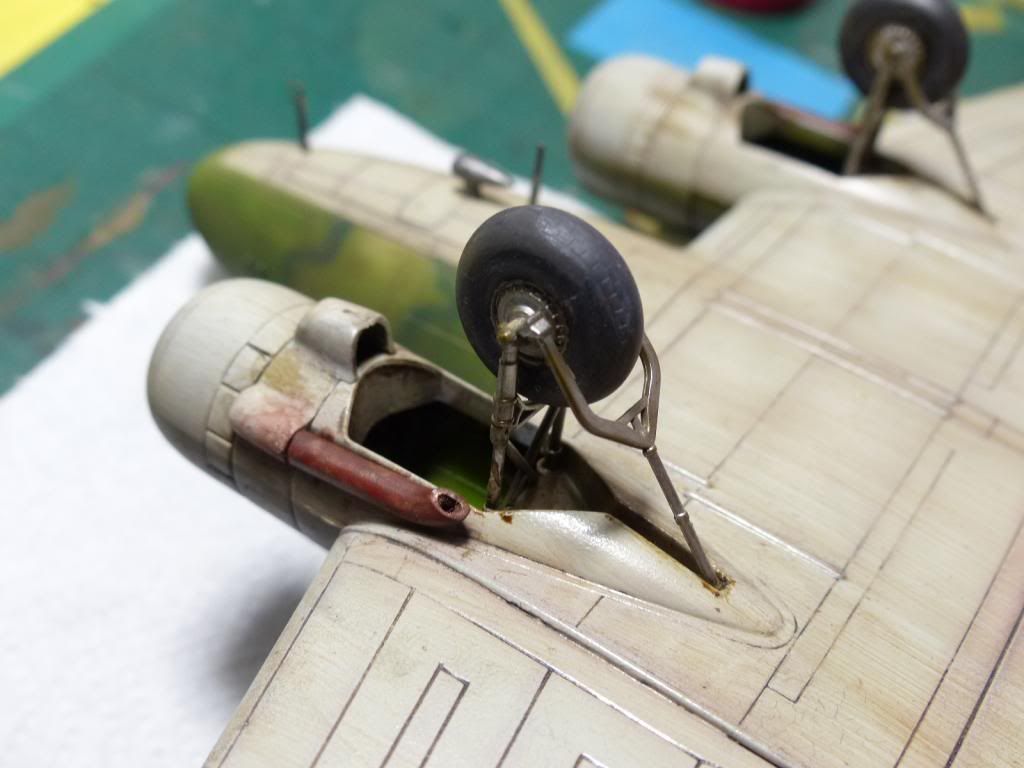
Also the propellers needed some weathering (pigments) and chipping. Next I assembled the landing gears and also painted the exhausts.
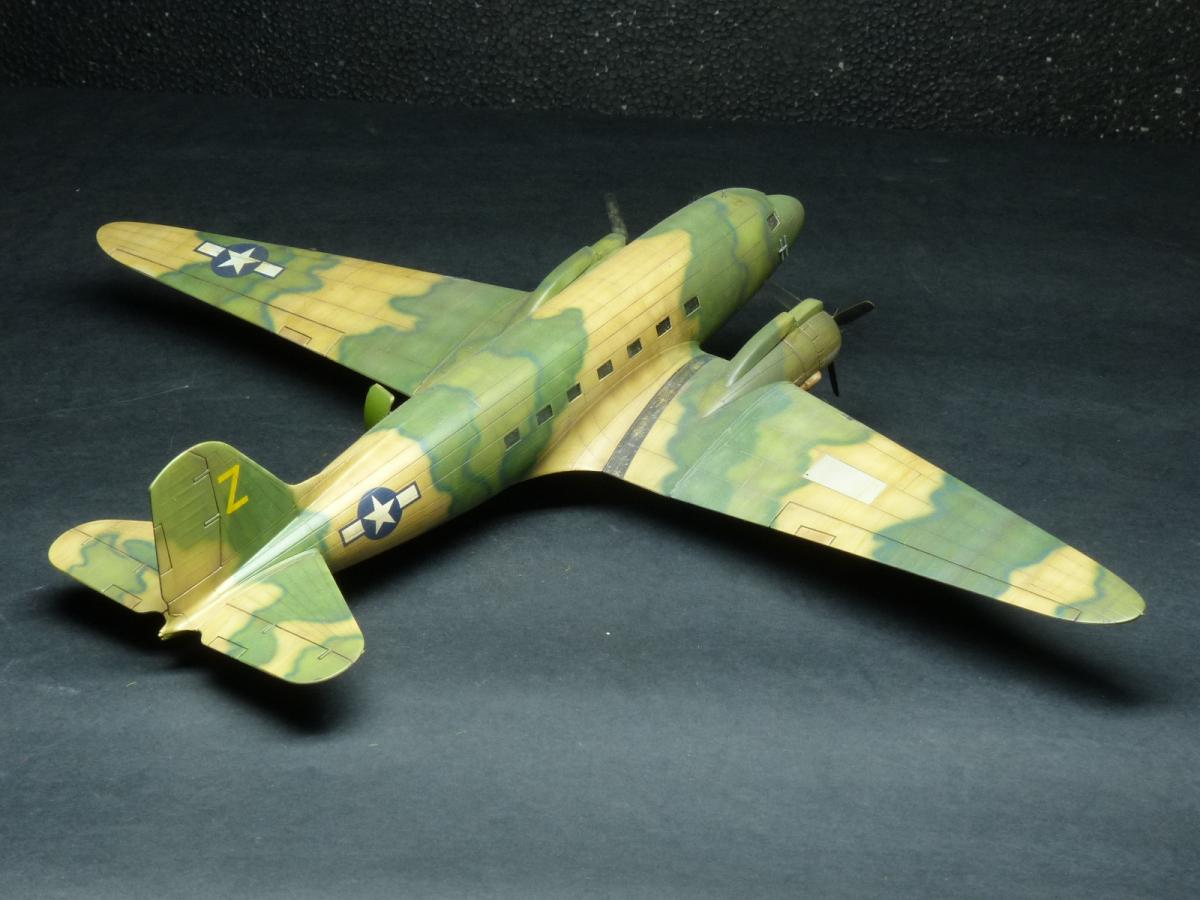
Finally I added the last bits to complete the model.


And here the final reaveal images: