
Model, text and images by Dan Mc Geever
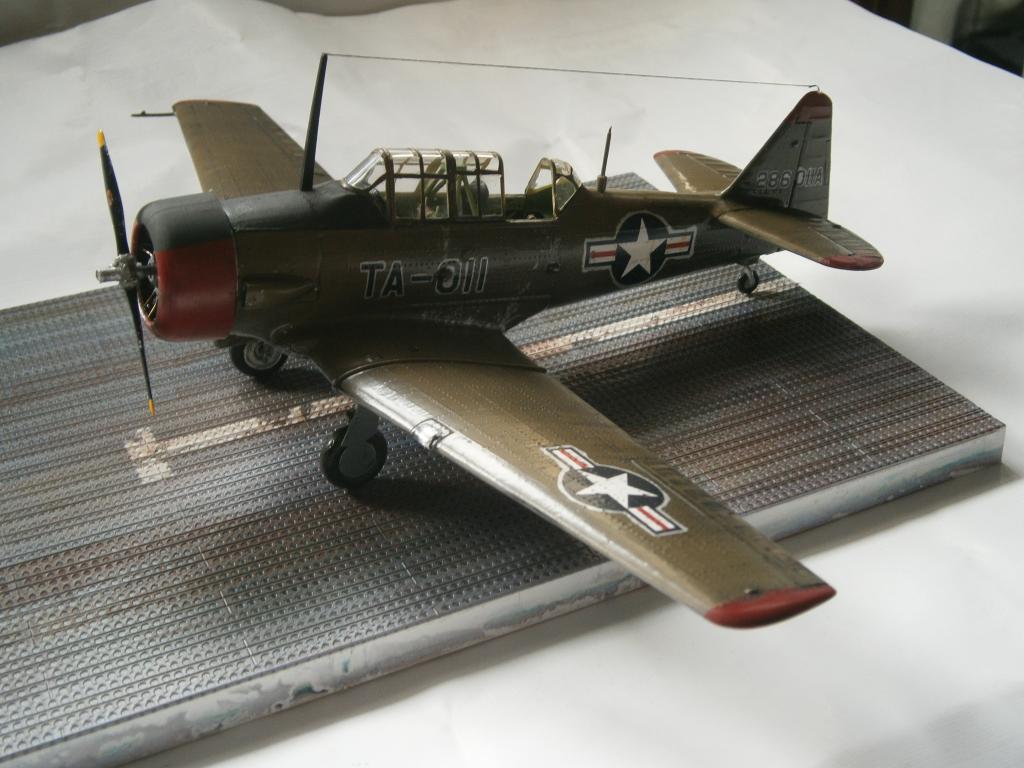
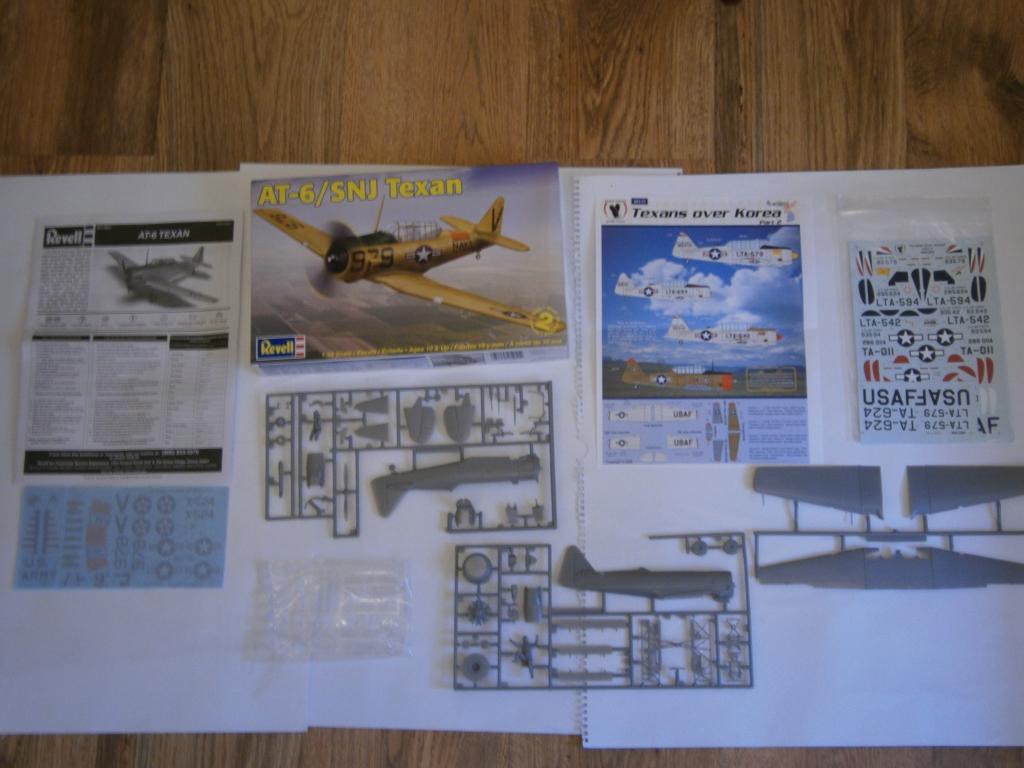
For this GB I would like to attempt the 1/48 AT-6 Texan. The scheme will be in olive drab from a Texan based in Taegu in 1950.
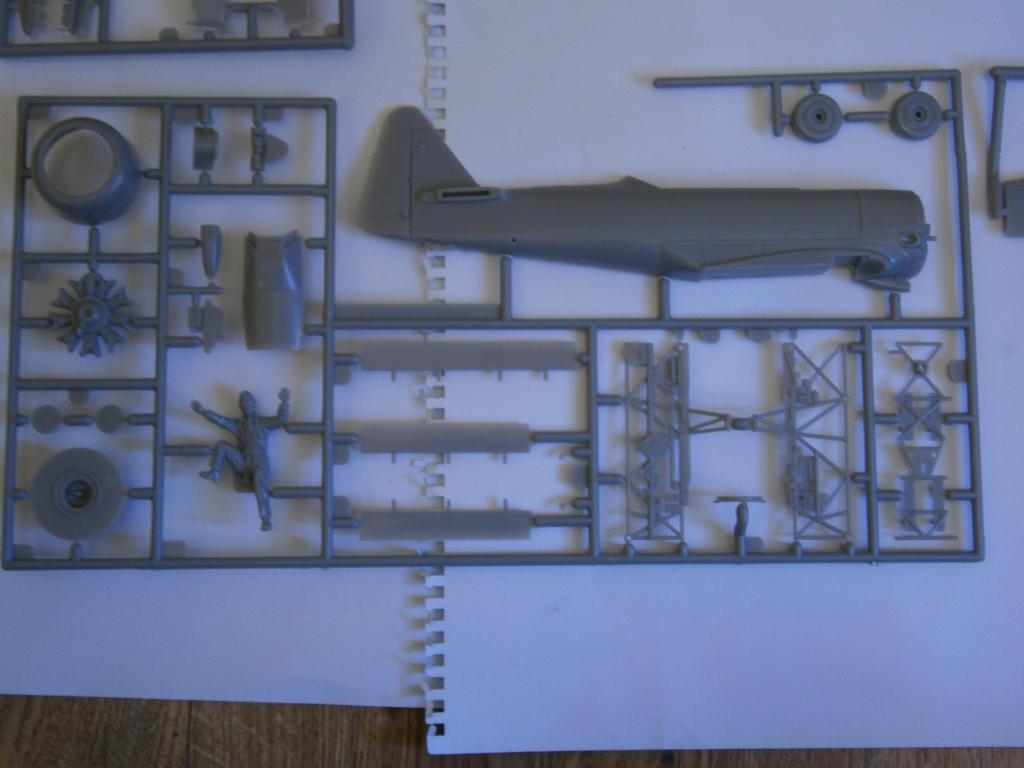
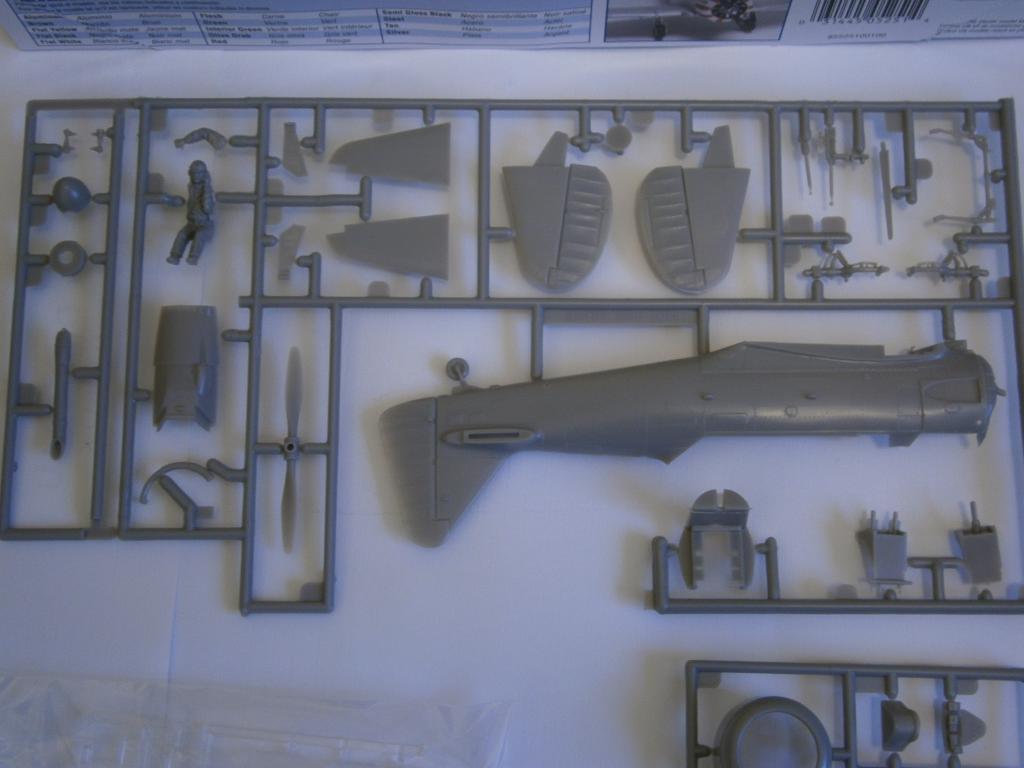
This kit is from 1979, I know this because the rear tailplane has it marked on the surface itself, not hidden away or on the sprue like most models. Not good!! As this kit is older it also has raised detail everywhere and almost covered in rivets. If I had the skill I would attempt to rescribe the lot, but I will see how I get on with it in this condition.
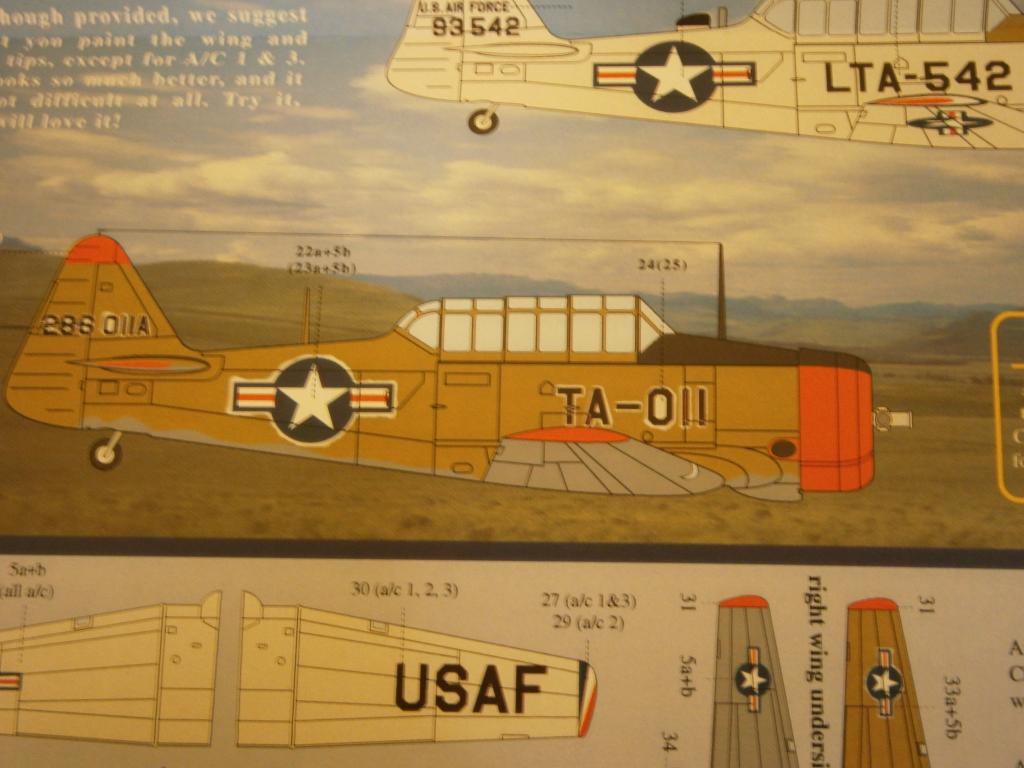
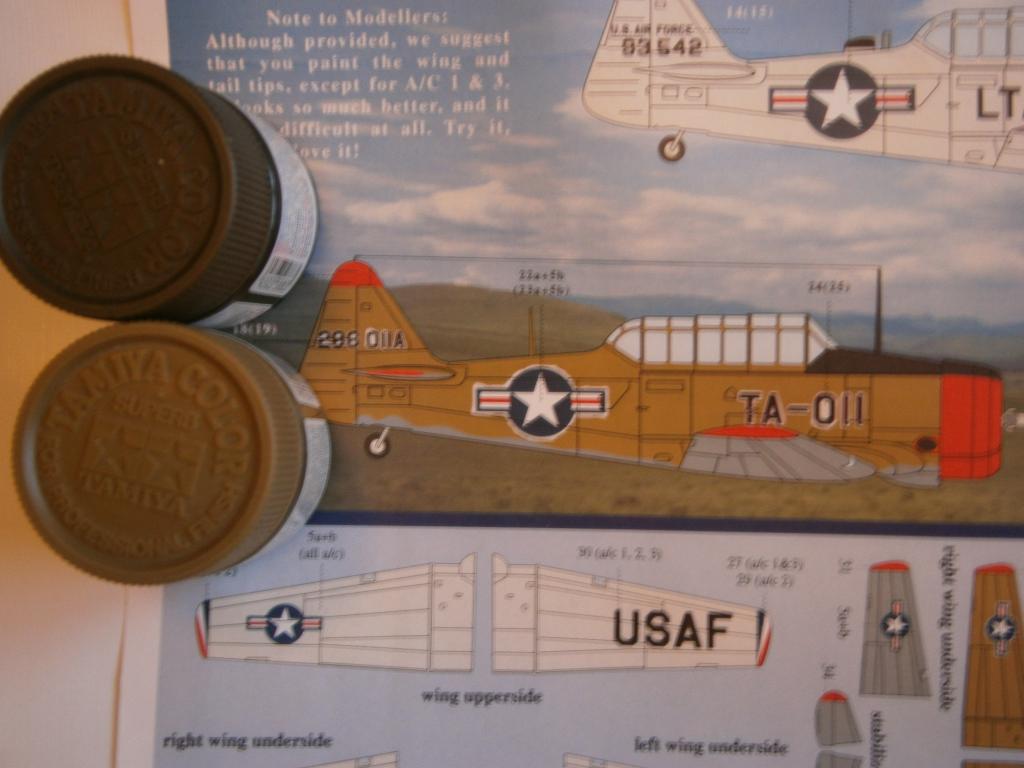
The scheme will be taken from Eagle Cal decals entitled Texans over Korea pt.2, the kit decals will be used for the cockpit detail and any other stencils that may be required.
Here are the photos (kit decals are on the left under the instructions, eagle cal decals on the far right).
I managed to get rid of the 'Made by Revell' tag on the rear tailplane with some careful (ish) sanding and I ran a rivet wheel across to try to re-instate some of the detail, though the detail is raised and the rivet wheel puts dents in it. I haven't really got the inclination to sand and rescribe all the raised detail, so sanding and filling will be a careful task.
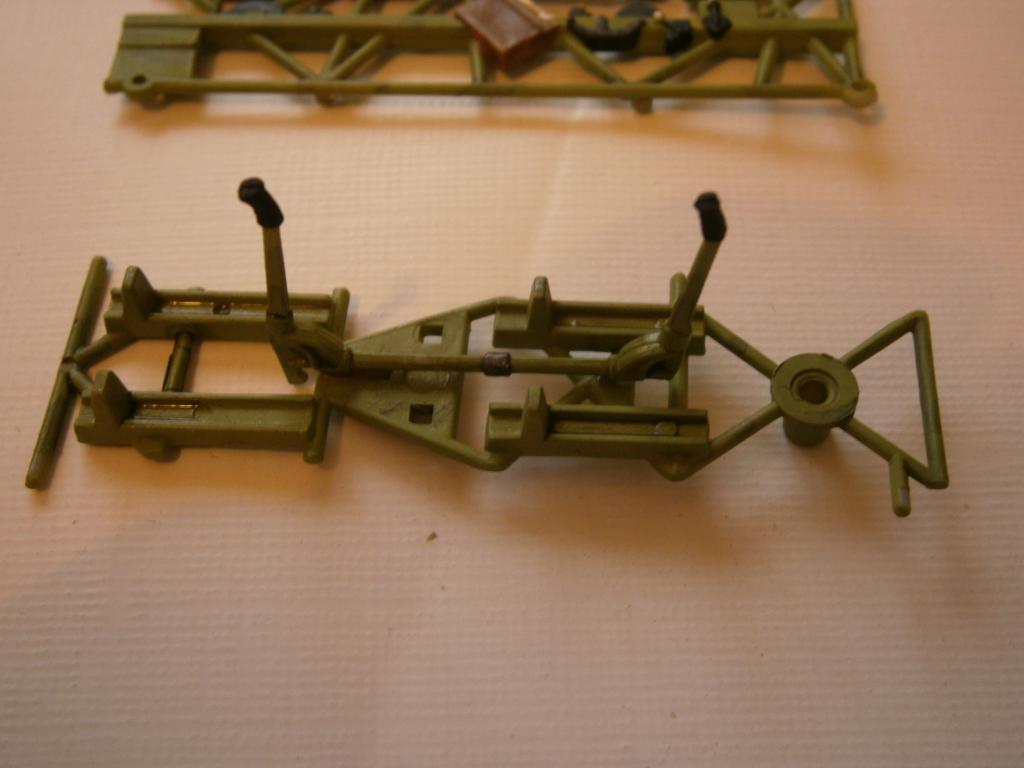
I have sprayed the interior parts with Tamiya XF-4, and the black parts have been given a coat of XF-1. Looking ahead with the instructions there are a couple of unclear instructions that I may need some clarification on. I will report those when I come to them.
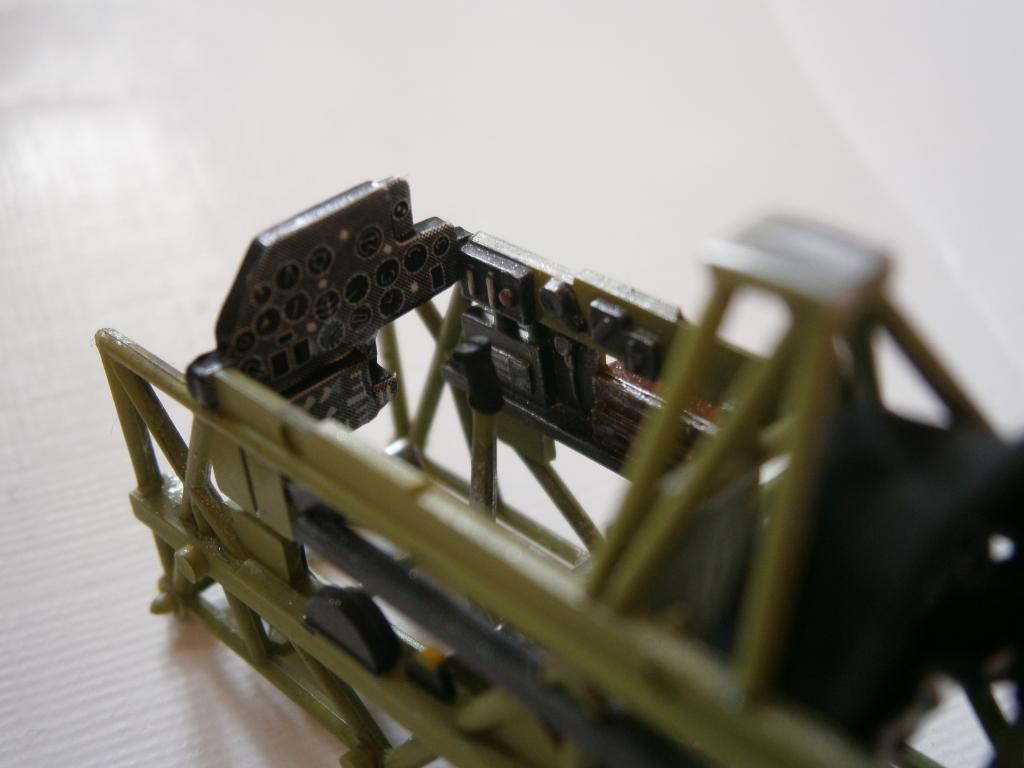
Got the cockpit all but finished, I have used some artistic license for the cockpit details. Used both dabbing with sponge, and drybrushing flat aluminium onto the details and used a heavily thinned XF-1 for a wash effect. Am pretty pleased with the result thus far:
Cockpit before the drybrush and wash, and after.


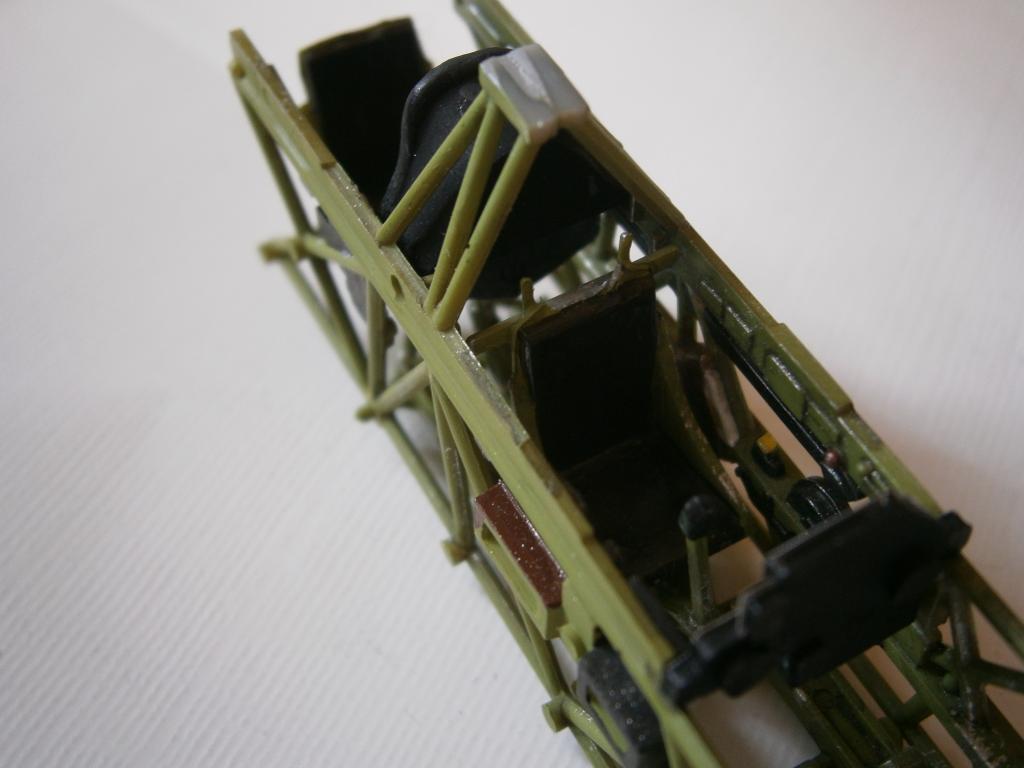
Well the cockpit now looks like a cockpit, more or less. There are no fit issues so far with this kit, and dry fitting it into the fuselage halves also looks like it could be an almost pain-free process, but we will see.
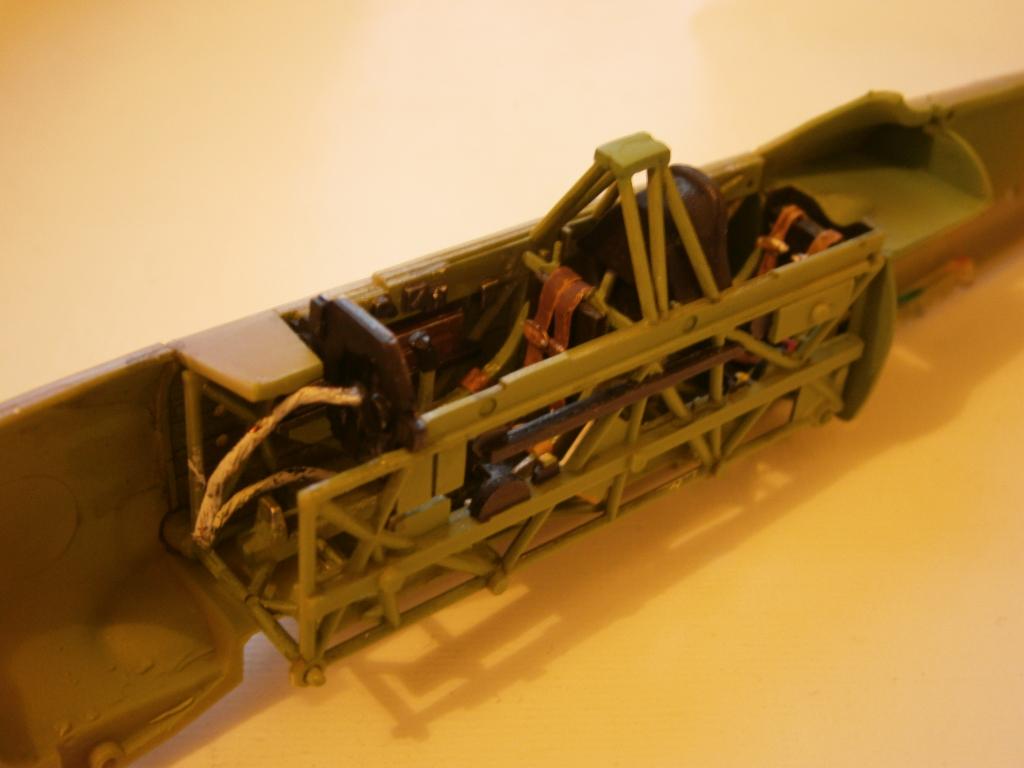
When I had the cockpit 'completed' it still felt a bit bare to me. So I took it upon myself to make my own seat belts using the handy guide on the front page of the site. They aren't perfectly in scale, but my skills can only go so far. They look good enough to me, I hope you agree.
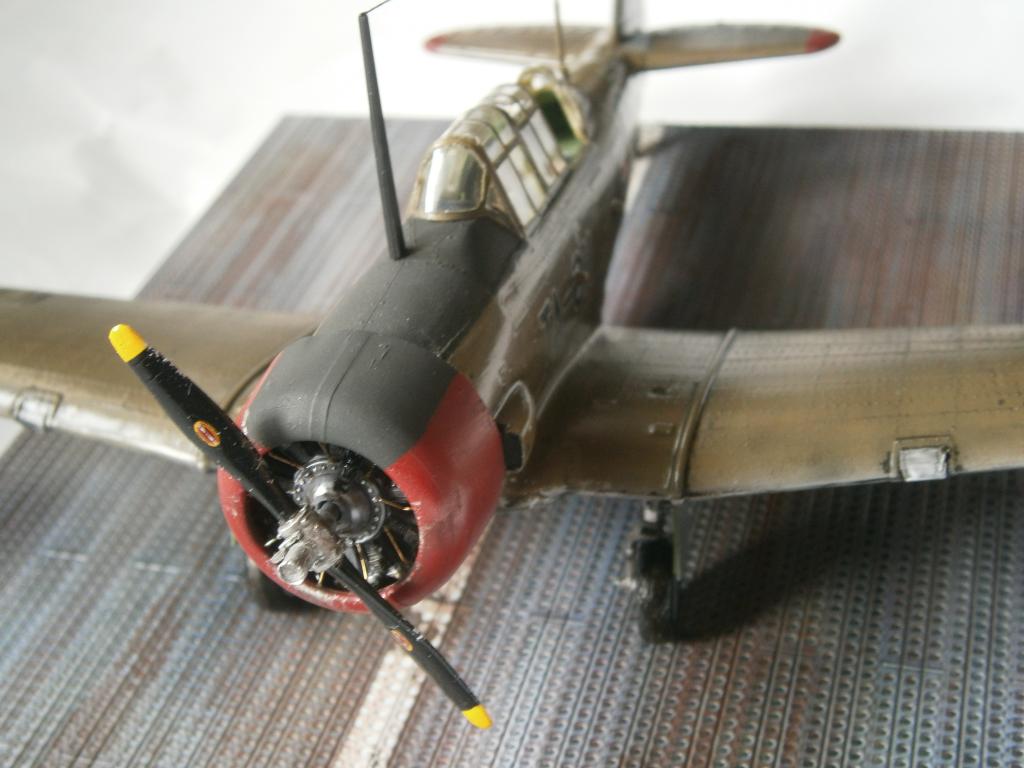
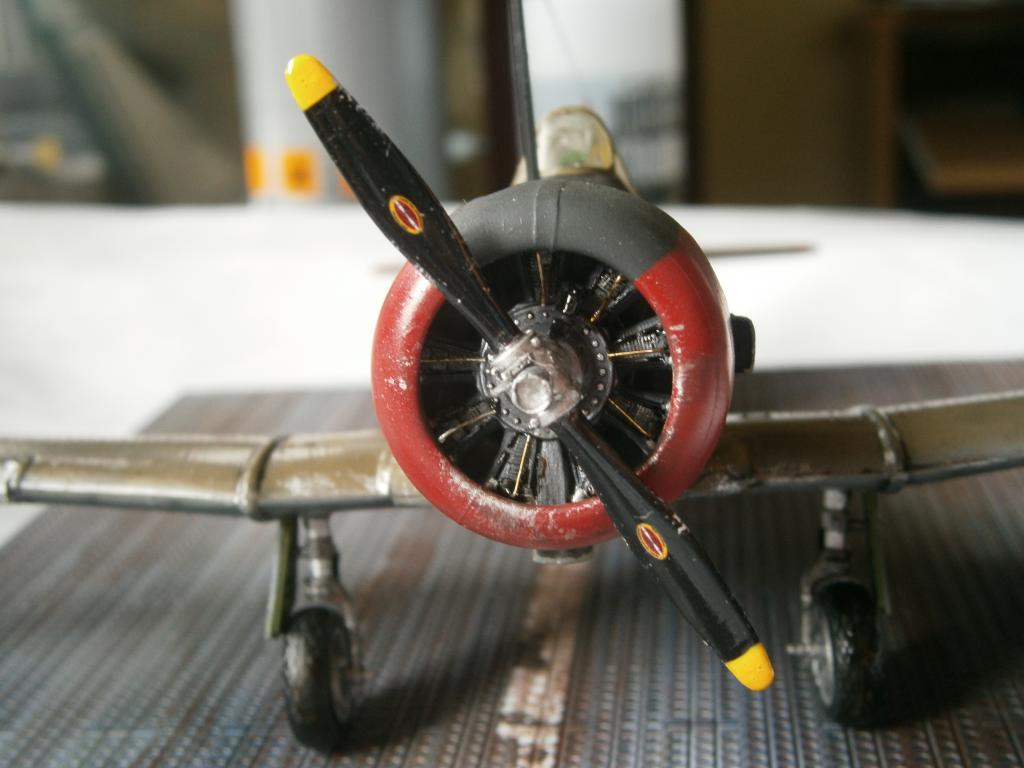
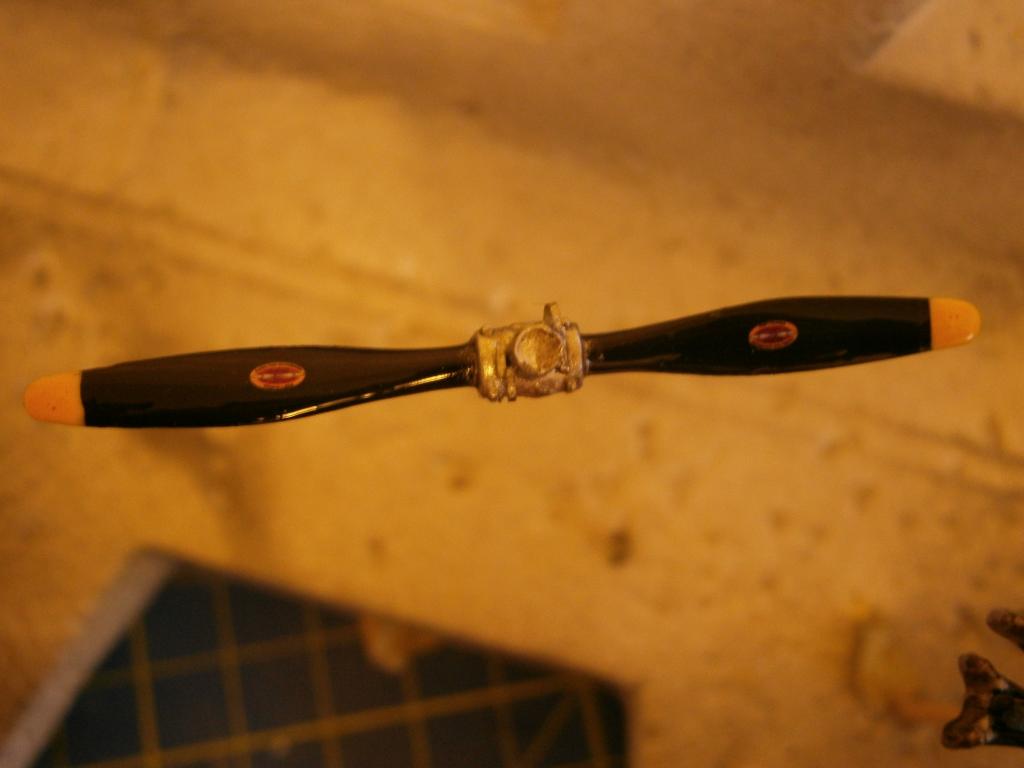
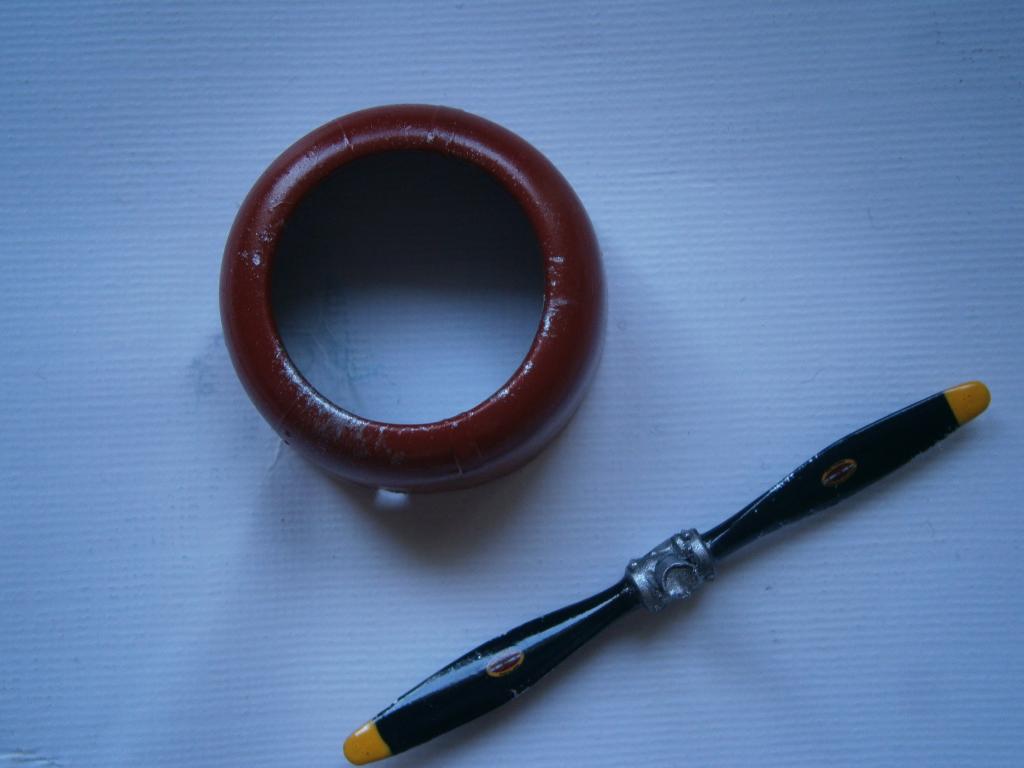
They were made from Tamiya tape cut to 1.5mm width and some thin copper wire was used for the buckles. They were painted with a base of Tamiya XF-59 with the buckles painted XF-16 and then they were given a dip into Flory Models Mud brown wash. I liked the effect. Got the cockpit finished and manged to complete the radial engine and propeller. With the engine I used metalizer Iron paint and buffed it and aluminium to pick out some smaller detail. I have also used some 0.2 copper wire to create the ignition leads. Its not perfect by any standard but as it is inside the cowling it won't make too much difference.
Propeller all shiny and new, this will be weathered later on.

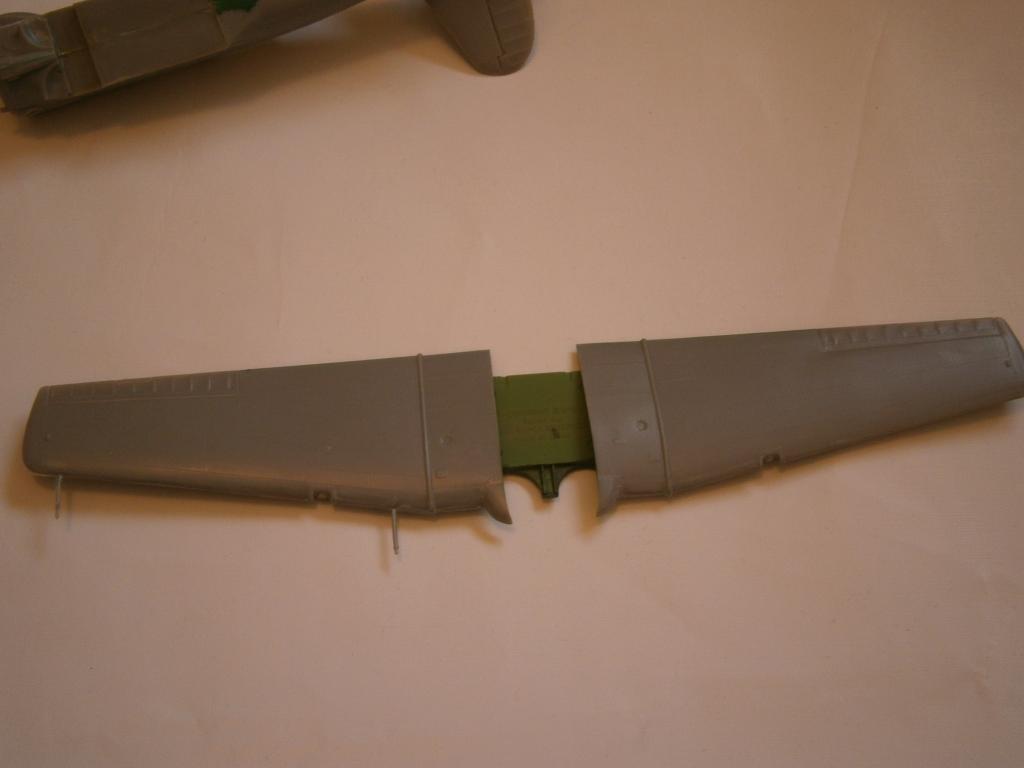
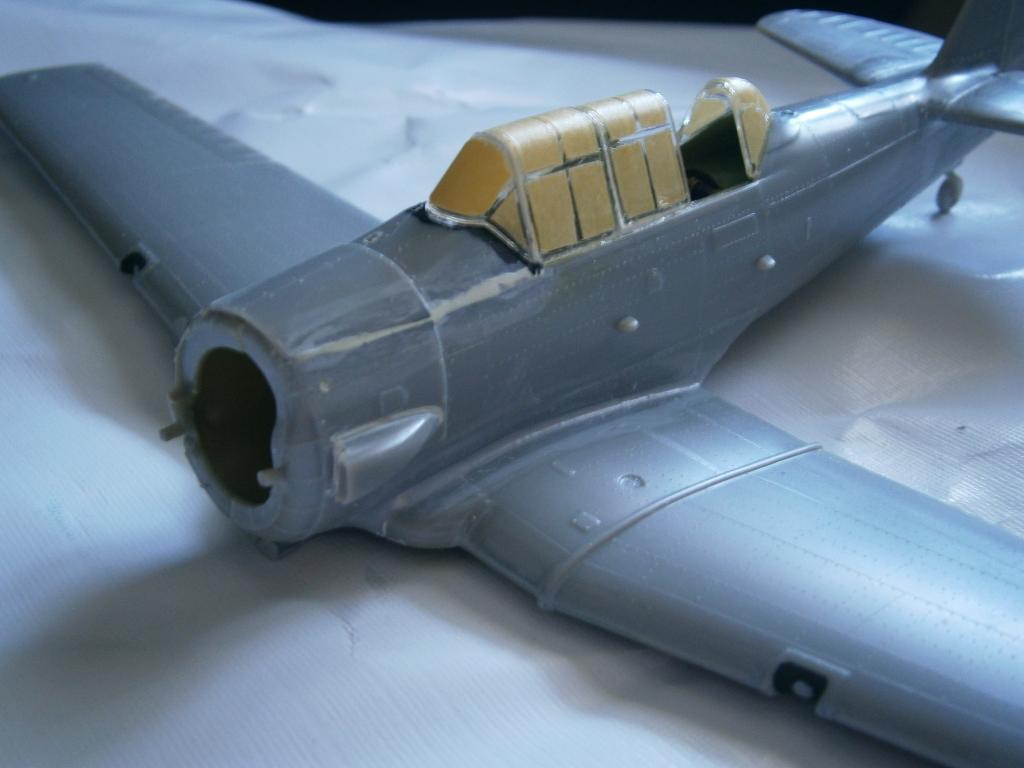
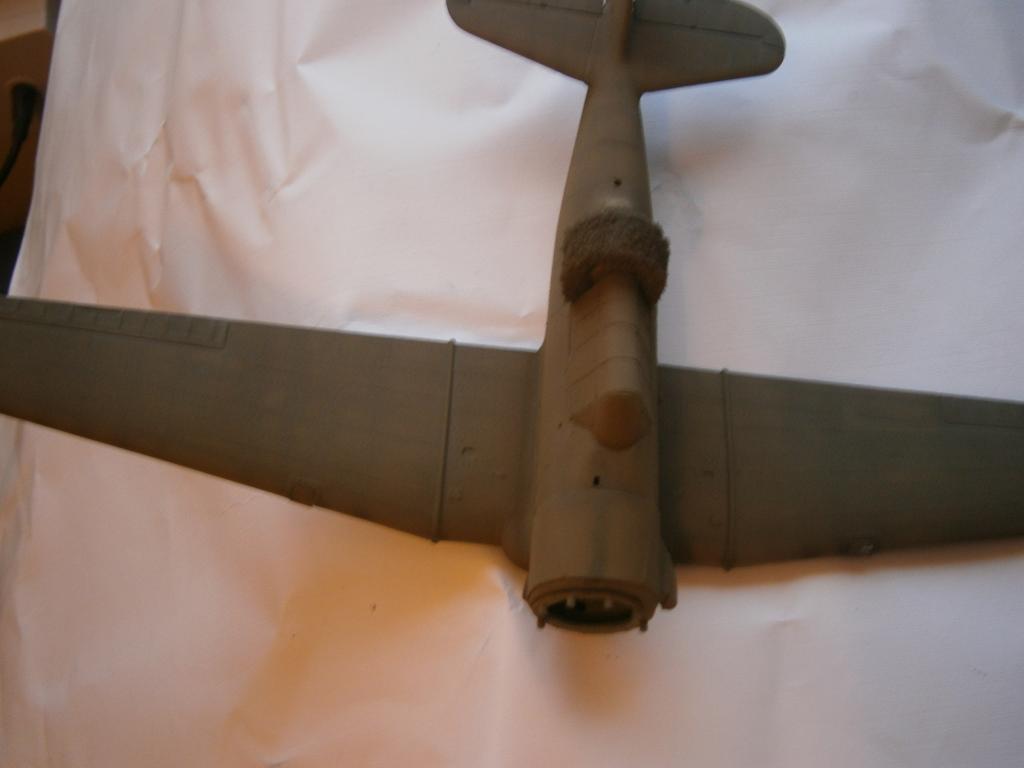
I have managed to bring the two fuselage halves together, with the tailplanes attached and the wing halves brought together.
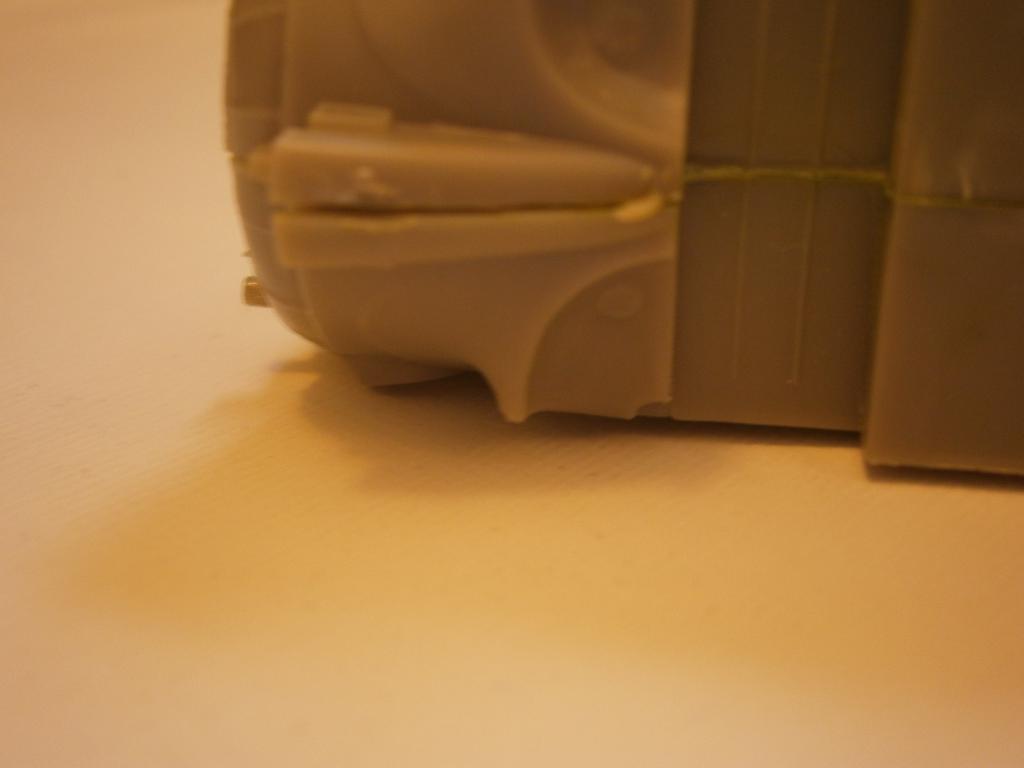
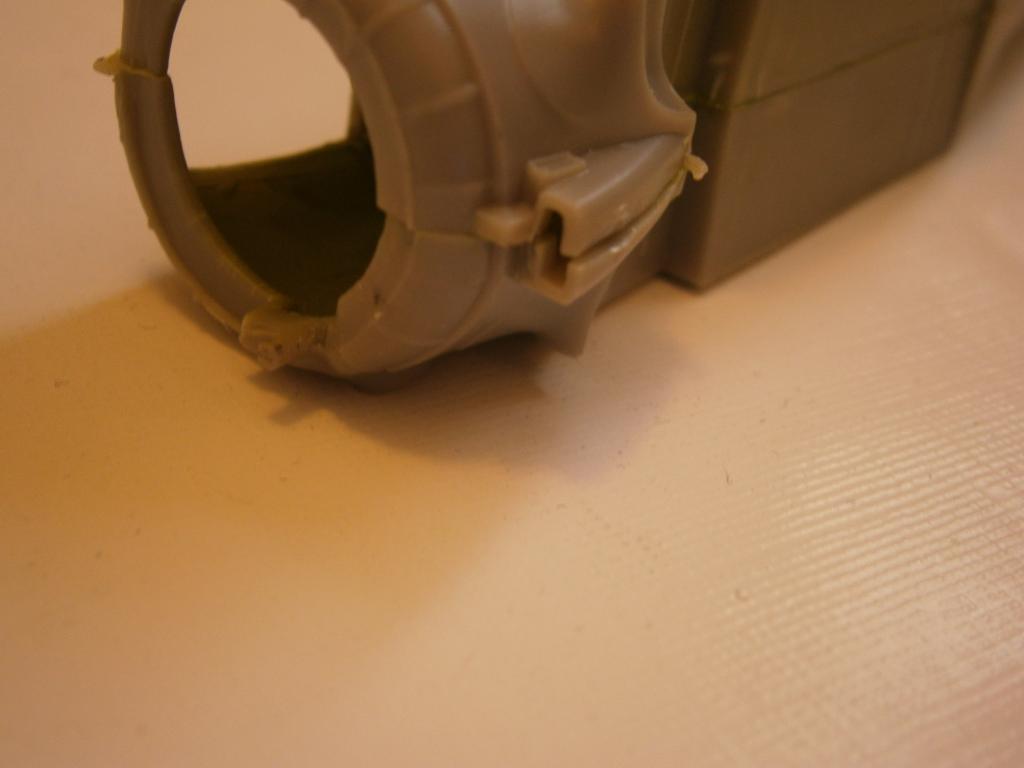
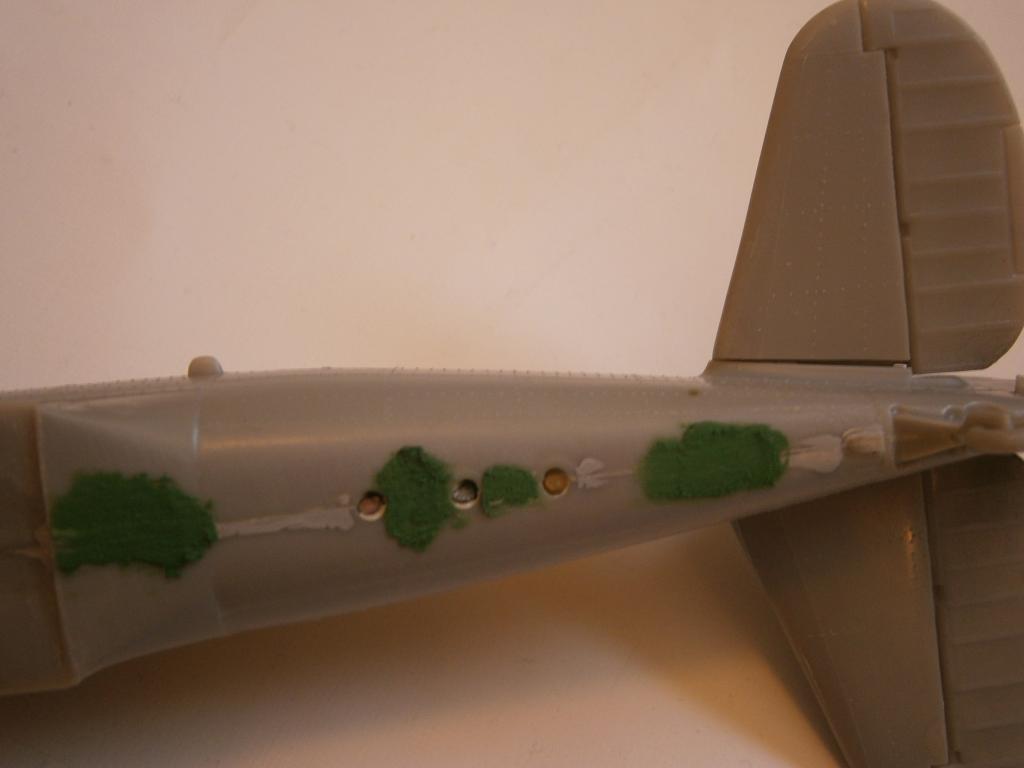
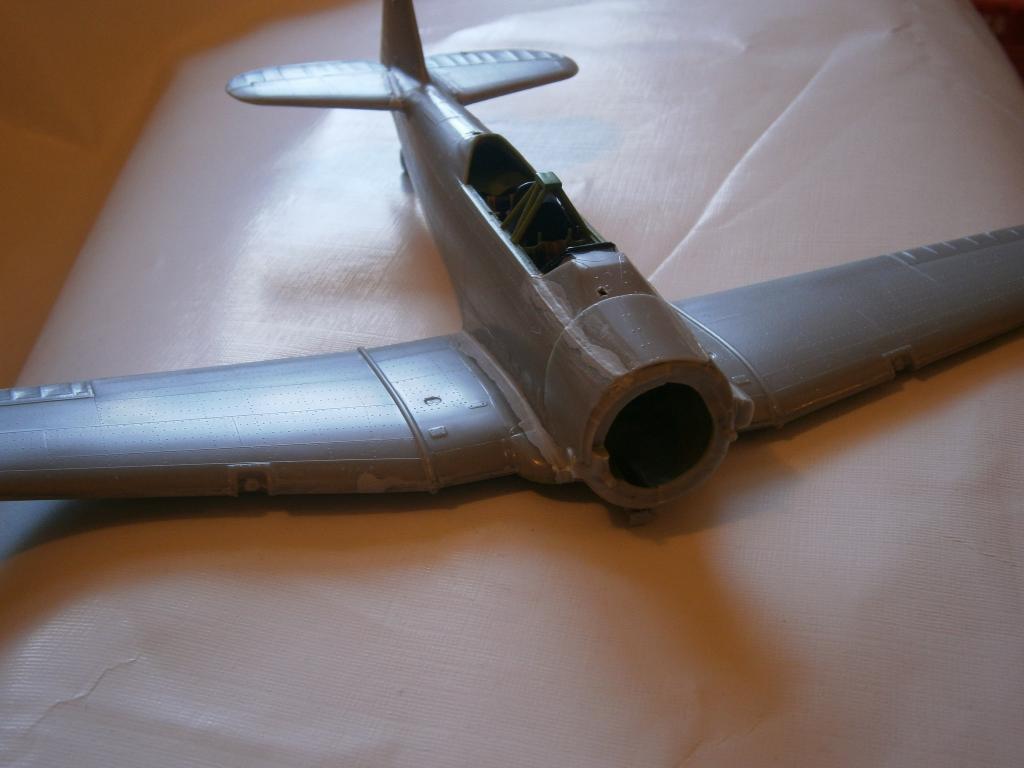
There were quite a few nasty gaps, most noticeably in the area where the wheel wells are, and the air intake right at the front also had a nasty gap. This has had some green putty and sanded back but will require some more attention I would imagine.
The seamlines have had two coats of Mr surfacer 1000 ready to be sanded back.
You may notice that the aircraft recognition lights have been forced out of alignment when the two halves come together. I may end up poking them through and replace with crystal clear when the paintwork is complete. This will of course leave the piece inside to rattle, but as it is static it isn't going to bother me. Here are the pics from this weekends work. Nasty gap that requires a few goes of green putty.
Fully installed cockpit.
Another nasty gap that will require plenty of filling
Starting to sand back the nasty gap at the front, will almost certainly require another session if not two.

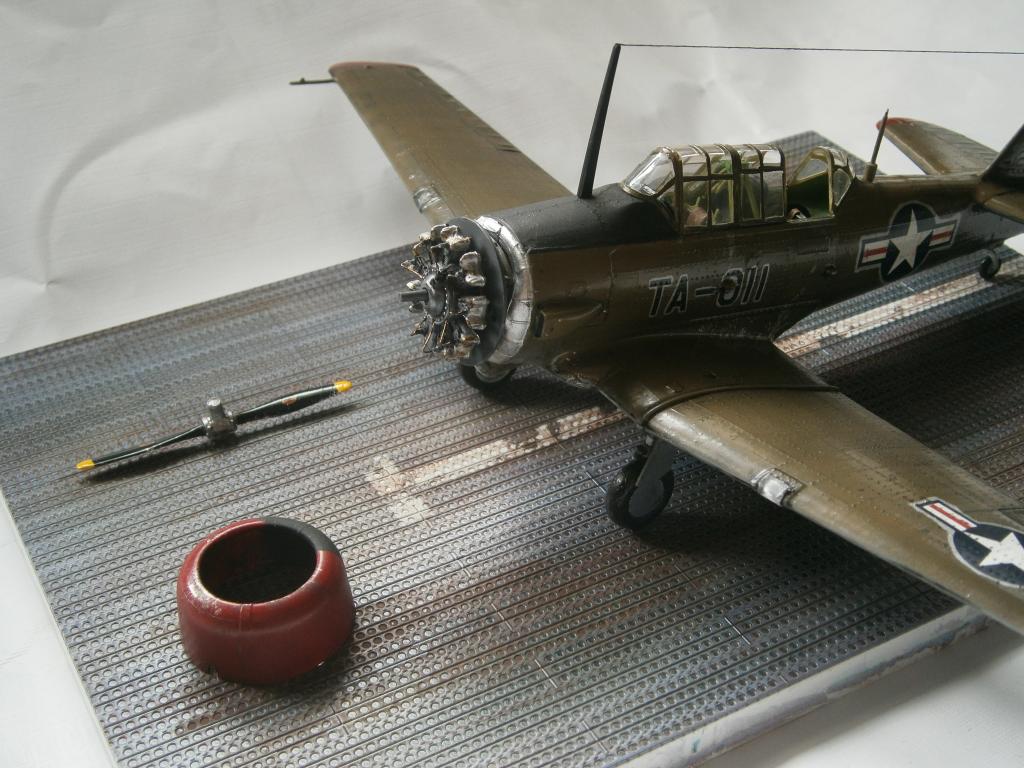
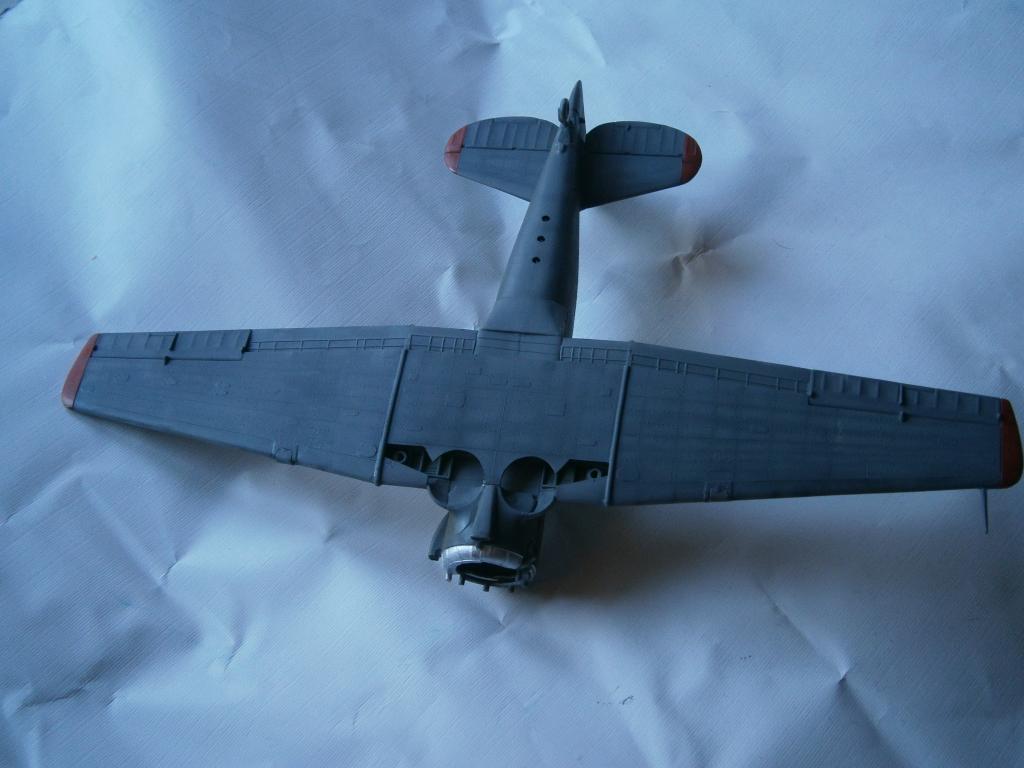
So it's taken a long time to get the filling and sanding completed. Plenty of Mr. Surfacer 500 as well as squadron green was applied and using grades of sander and cellulose thinner to clean it up. It is now at the primed stage, using halfords grey primer; and I am now thinking ahead as to how to display it and so I have on order an Eduard PSP 1/48 base in the hope to give it some meaning when it is completed, and I may even add some ground crew figures if the build goes well and I have the time to do so. So watch this space....
Wings on and plenty of filler on the wingroots and the anti glare panel
Cowling painted XF-7 and given a little bit of weathering as has the prop. Both have been brushed with Vallejo matt varnish
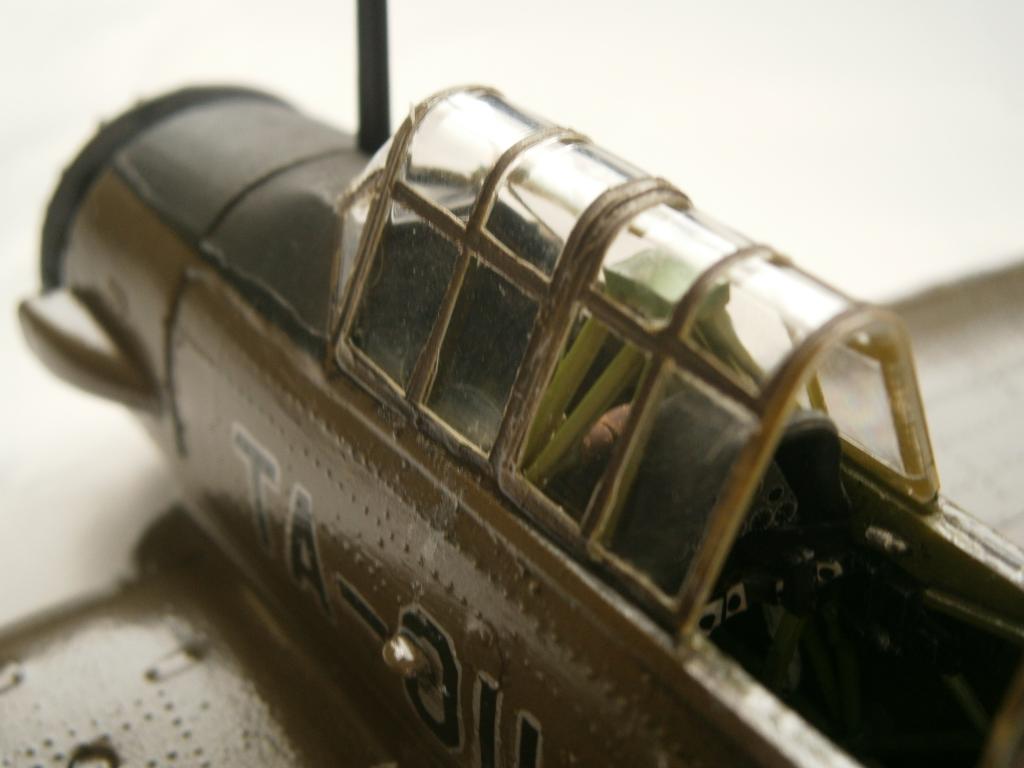
Seams tidied up as best as I could and the canopy masked with strips of Tamiya 10mm cut down and glued into position with krystal klear.
Hard to see but the canopy was given a couple of coats of the interior colour and the seamlines given a dose of XF-1 to check.
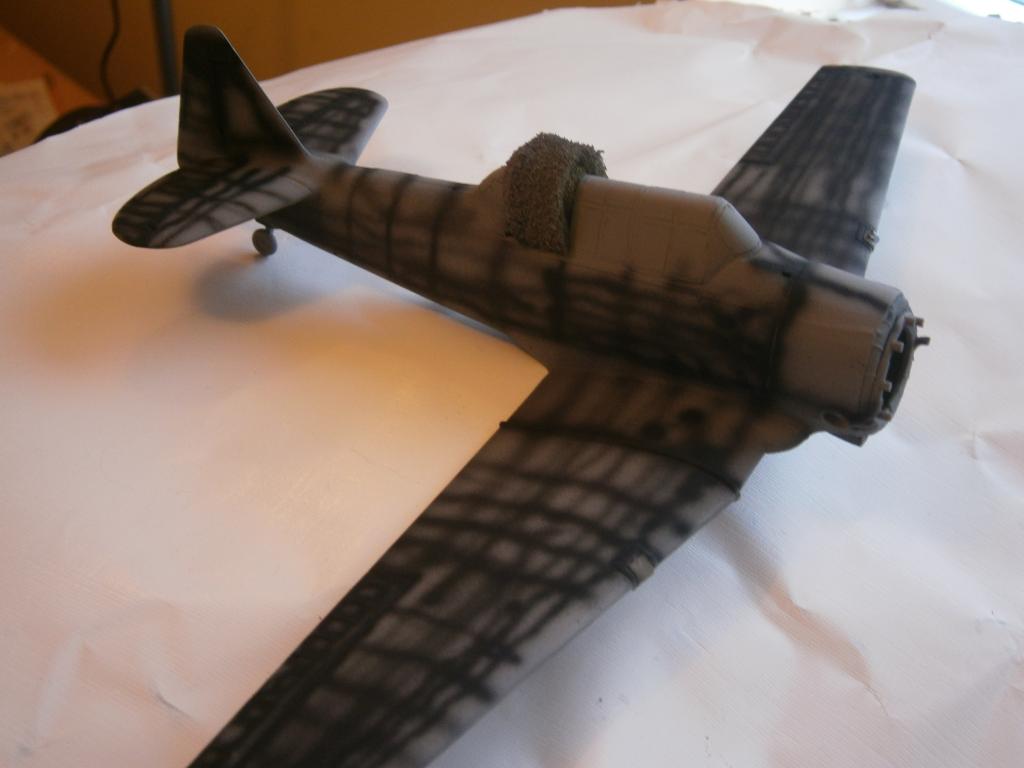
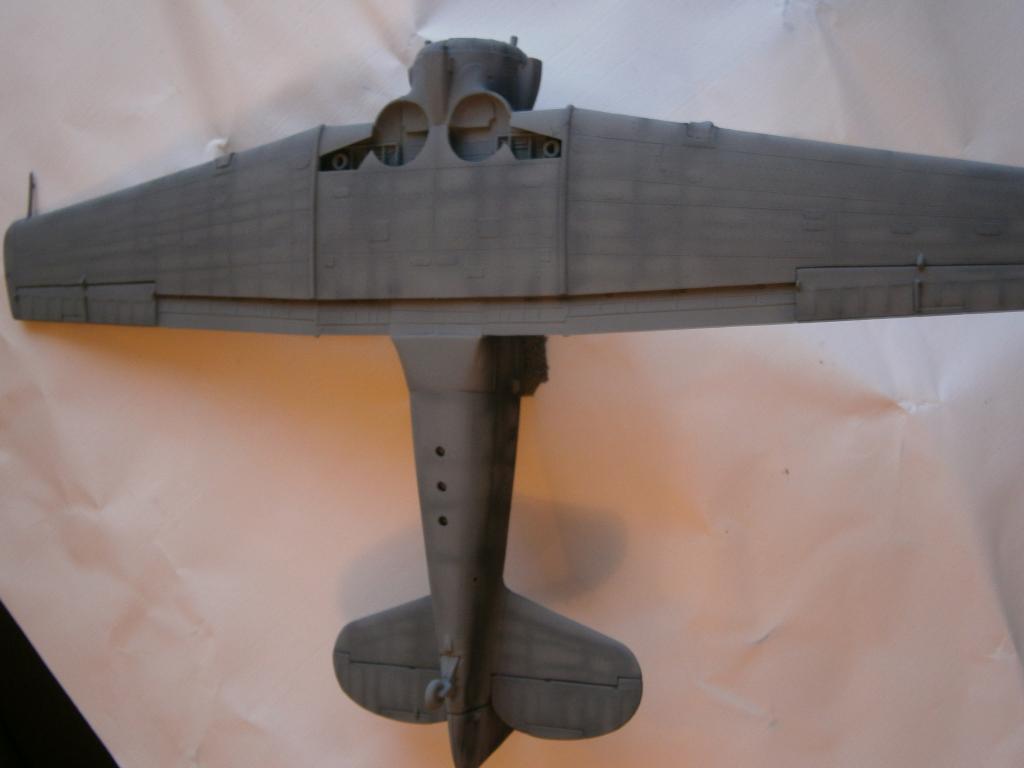
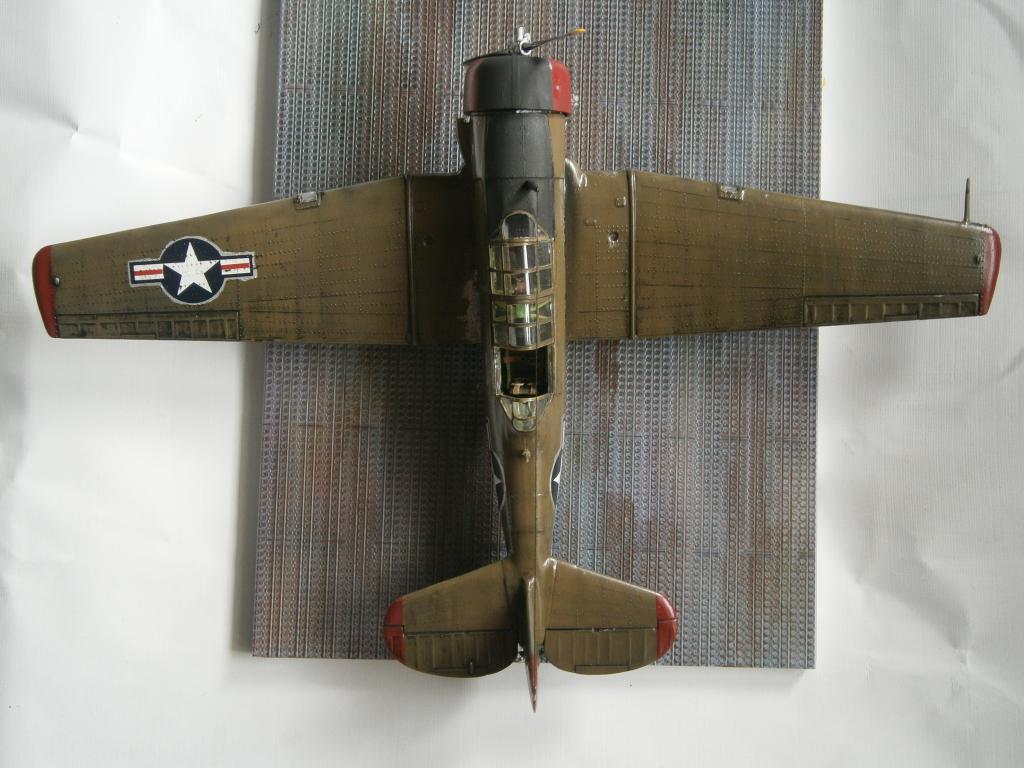
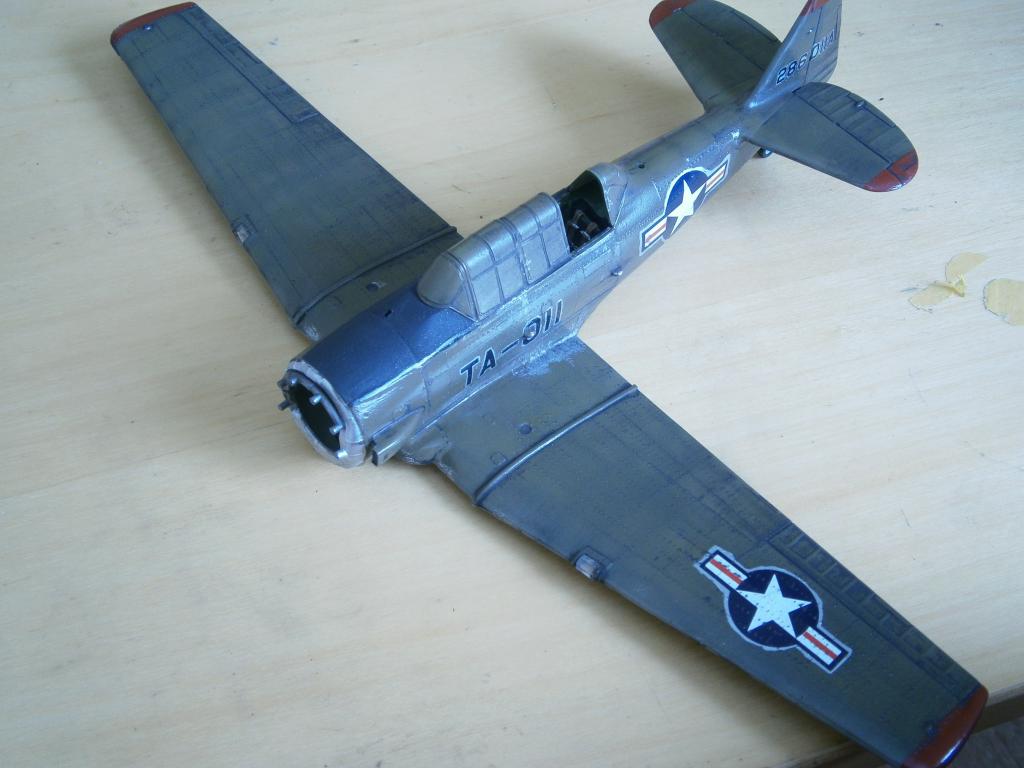
So pre-shading done and the first coats of paint on. I've used Tamiya XF-53 for the undersides and elected to use XF-49 Khaki for the base colour instead of the instructed Olive Drab. The khaki to me seemed a better colour match on the guide I was given with the decals. The coats I have applied look pretty good so far, so once I have left it to dry overnight I will see whether another coat will be necessary as I want it looking a well worn aircraft.
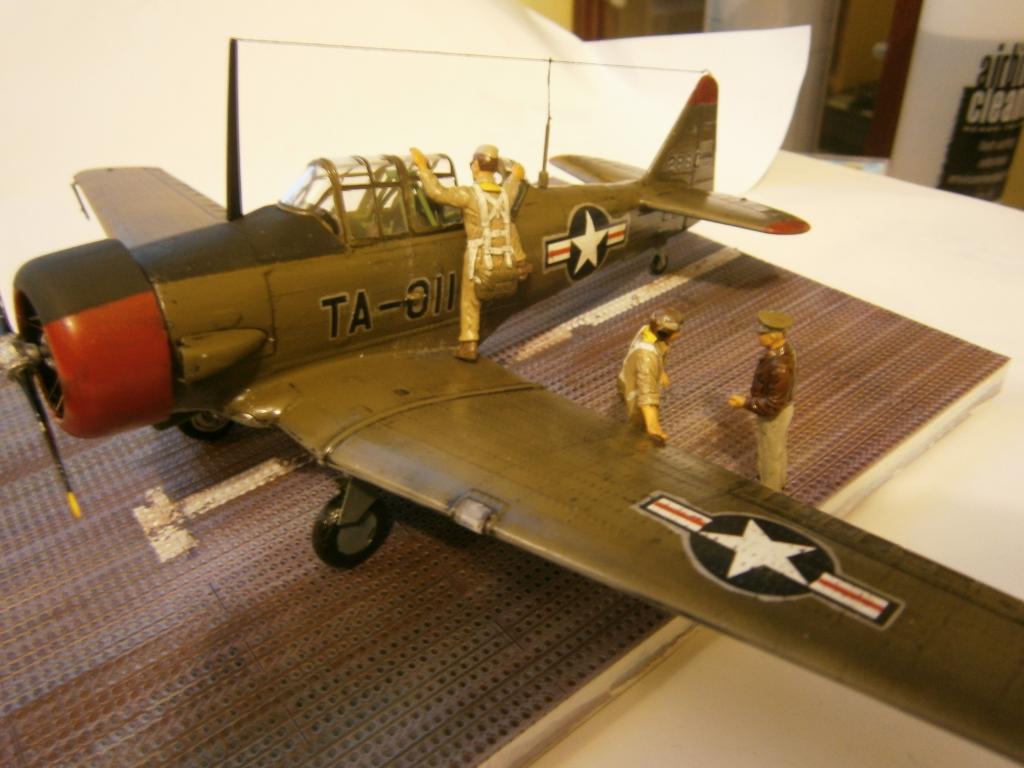
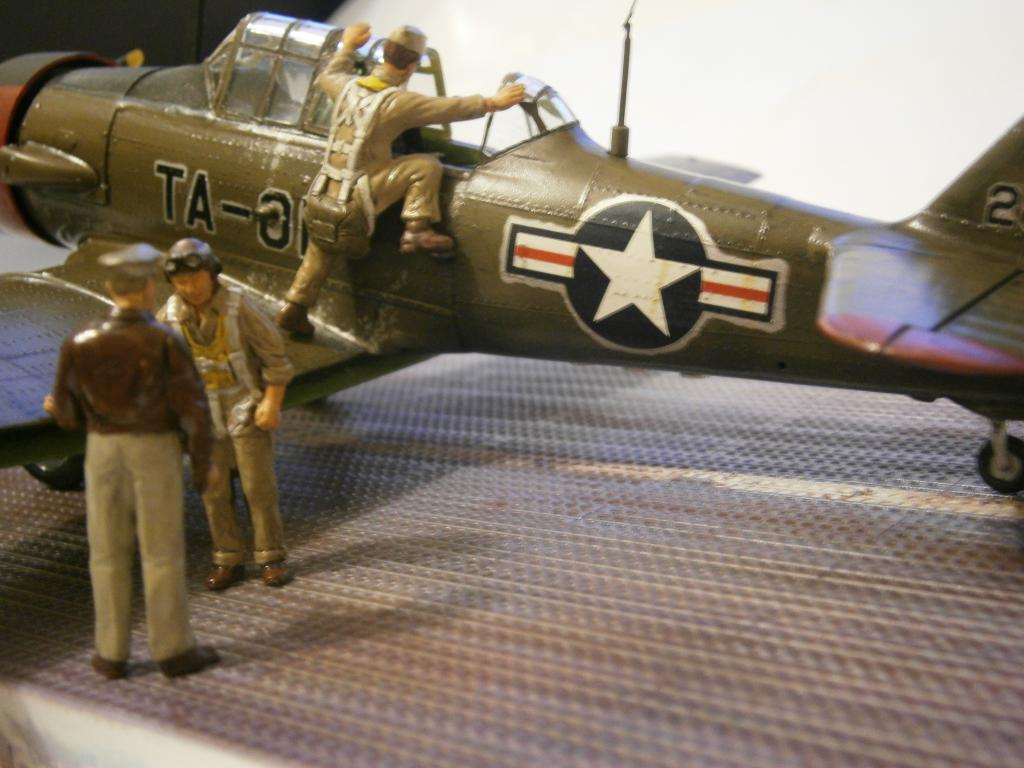
Neutral Grey underside. The top colour is XF-62 Olive Drab and the bottom colour is XF-49 Khaki. The instructions call out olive drab but going on the profile it looks more like khaki. Plus it might give it a more worn look being lighter, we will see. One coat of the khaki colour applied. I had my Eduard PSP 1/48 colour base arrive......very nice, as well as my additional crew members from ICM. I also managed to paint the wingtips and tail tip a dull red colour which I was pretty pleased with.
Then today I started masking up the texan for the wheel wells, flaps and anti-glare panel, as well as masking up a 'T' shape on the base to depict the parking area for the aircraft. This was also dabbed with a bit of maskoil on a sponge to help give a well worn effect when the paint is sprayed on....this is when the bad bit happened.
As I was just cleaning the needle on the airbrush I carelessly got my leg caught on the hose between the compressor and airbrush and it landed nose first onto the floor.
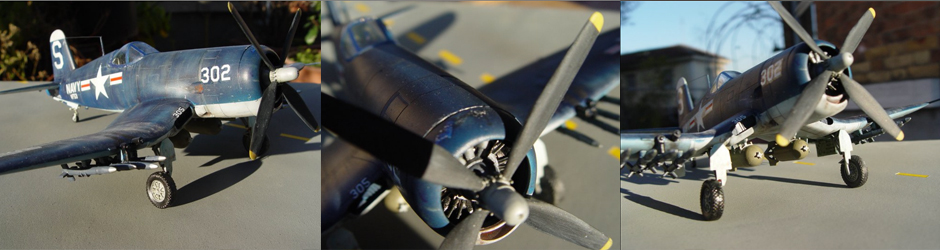
So now the base is all but complete, with the maskoil giving a good worn effect on the floor marking as well as use Flory models mud brown wash for added staining. The anti-glare panel and flaps have been painted and the decaling has begun.
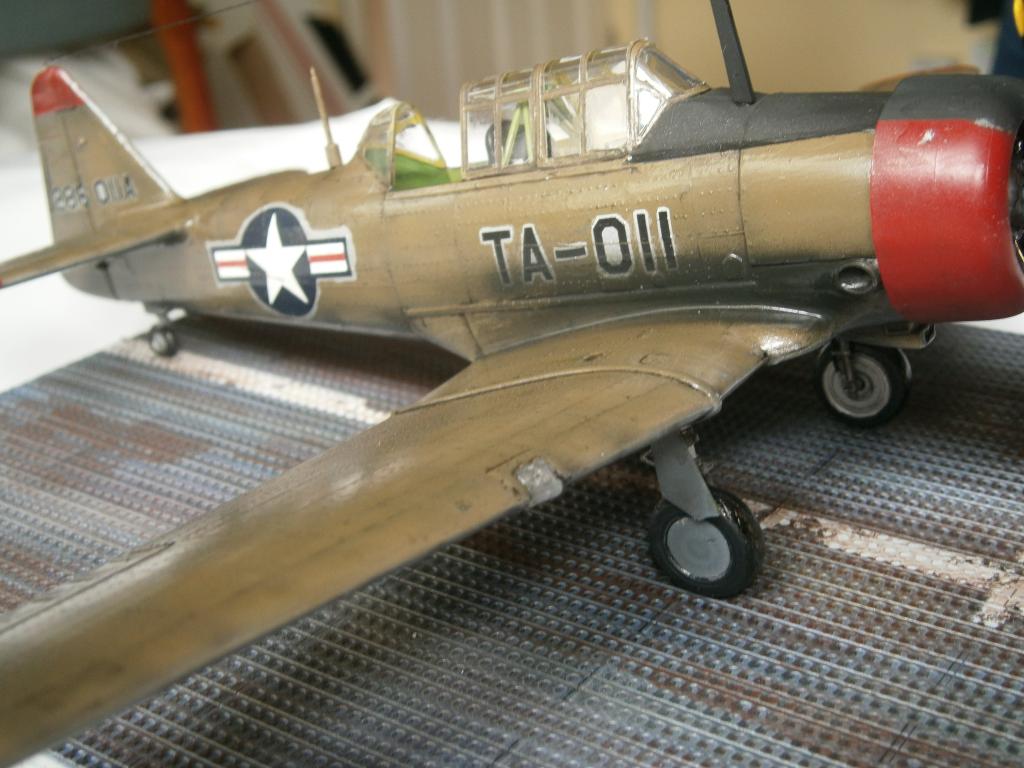
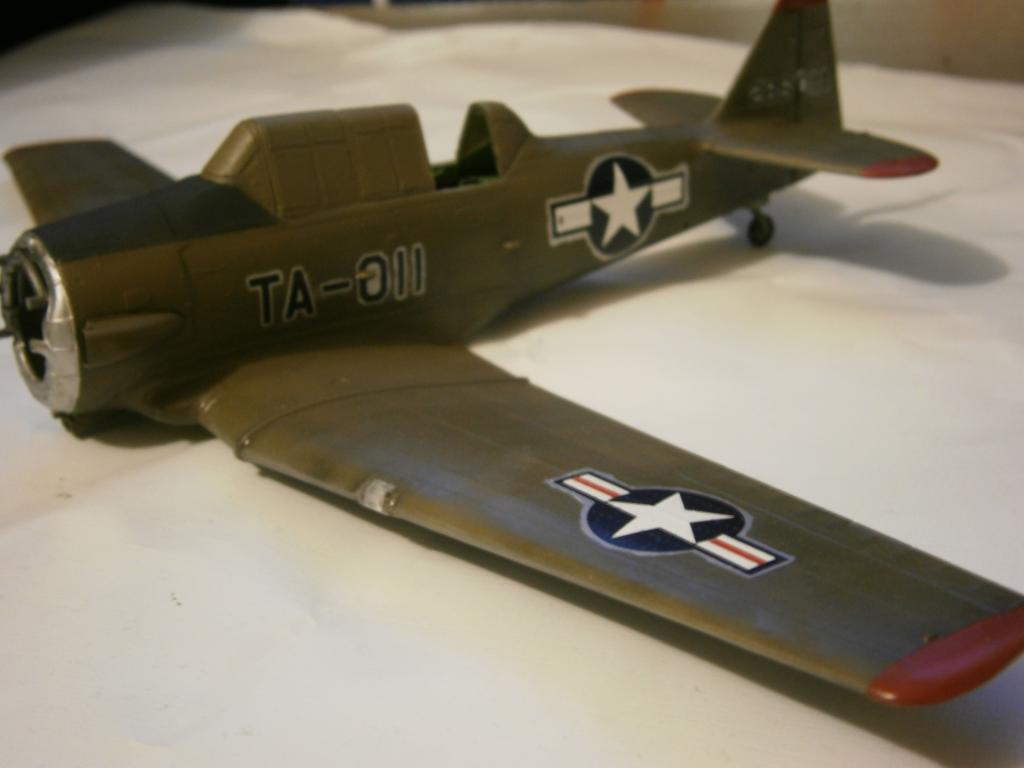
The decals are very nice and pretty tough, but adhere to the model very well, with the aid of microset & sol giving a good look, allowing the plentiful rivets to show through. There are very few decals to go on this aircraft, and the silvering around the decals is deliberate. It is supposed to show a roughly painted aircraft in service.
Final hurdle now, Decals are on and sealed with two coats of vallejo gloss. I attempted some weathering using a sponge and tamiya XF-16 flat aluminium and a graphite pencil. this was on the wing root and fuselage side where the pilots and co-pilots would be getting in and out.
The whole plane was then given a liberal helping of flory models dark dirt wash. This gave a nice effect to me, but the photos don't seem to do it justice.
I then tried to do some exhaust staining. Practicing on a spare, I used some tamiya X-19 smoke on a khaki surface. The effect was too subtle for me, so i opted instead to use tamiya XF-1 thinned down. Unfortunatelythe consistancy between thinner and paint wasn't quite right and I got a thicker stain than I was hoping for, but it hasn't completely ruined the model and I opted to just leave it alone.


This project was a very steep learning curve for me, the kit itself wasn't the worst despite it's age, but did take a bit of graft to get it to completion. It isn't going to win any awards, but I am happy with the result and I would go as far as to say that I would build this kit again.