
Model, text and images by Luca Cinacchio
I like weathering: on armors, and on planes too. My modelers friends are used to my models depicted in very worn conditions. But for my non-modelers friends things are a little different... many time, when showing them my models, they says "But isn't it dirty?". and each time i have to explain what weathering is, and that most of the times it is harder to do a nice weathered model than depict one "factory new".
So, to show them that if i wish i can also present a "clean" model, i looked at my stash, looking for some colorful subject.
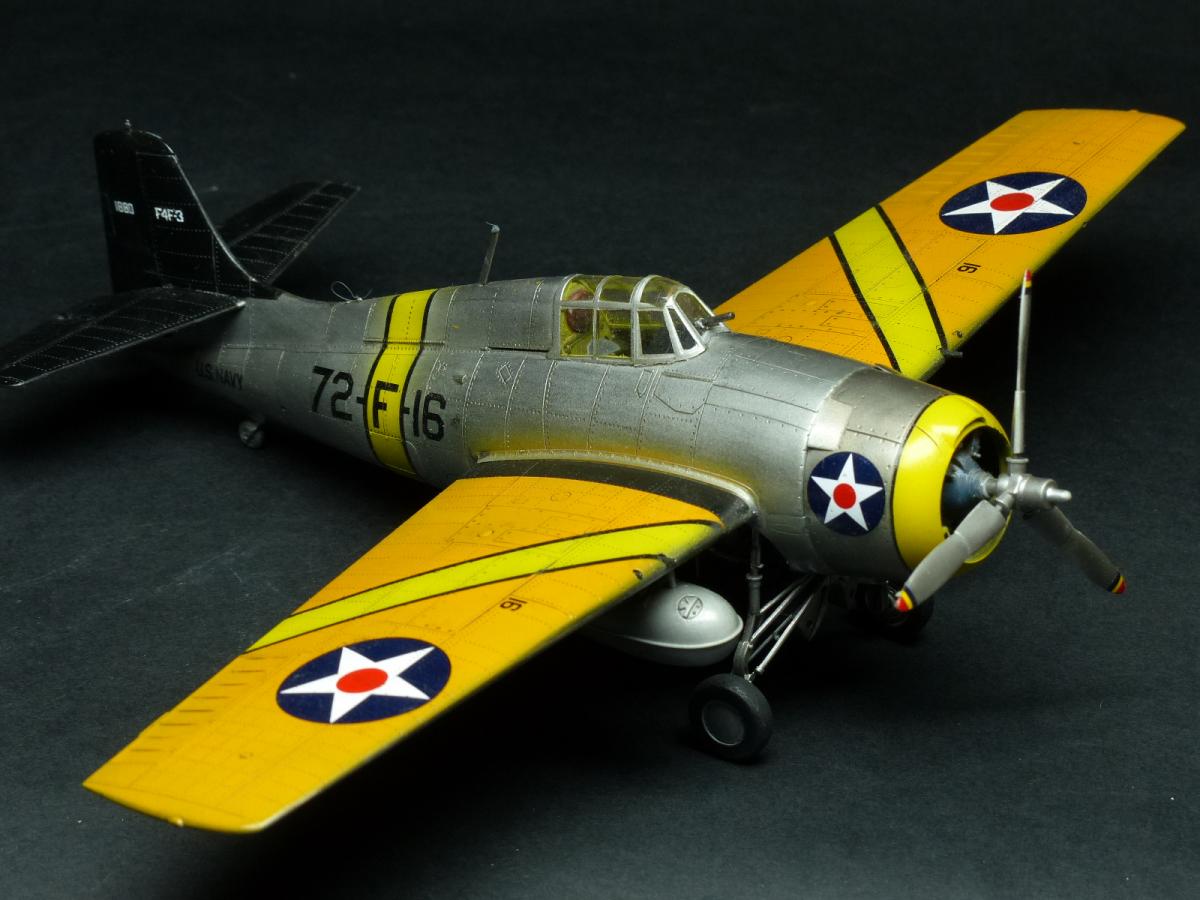
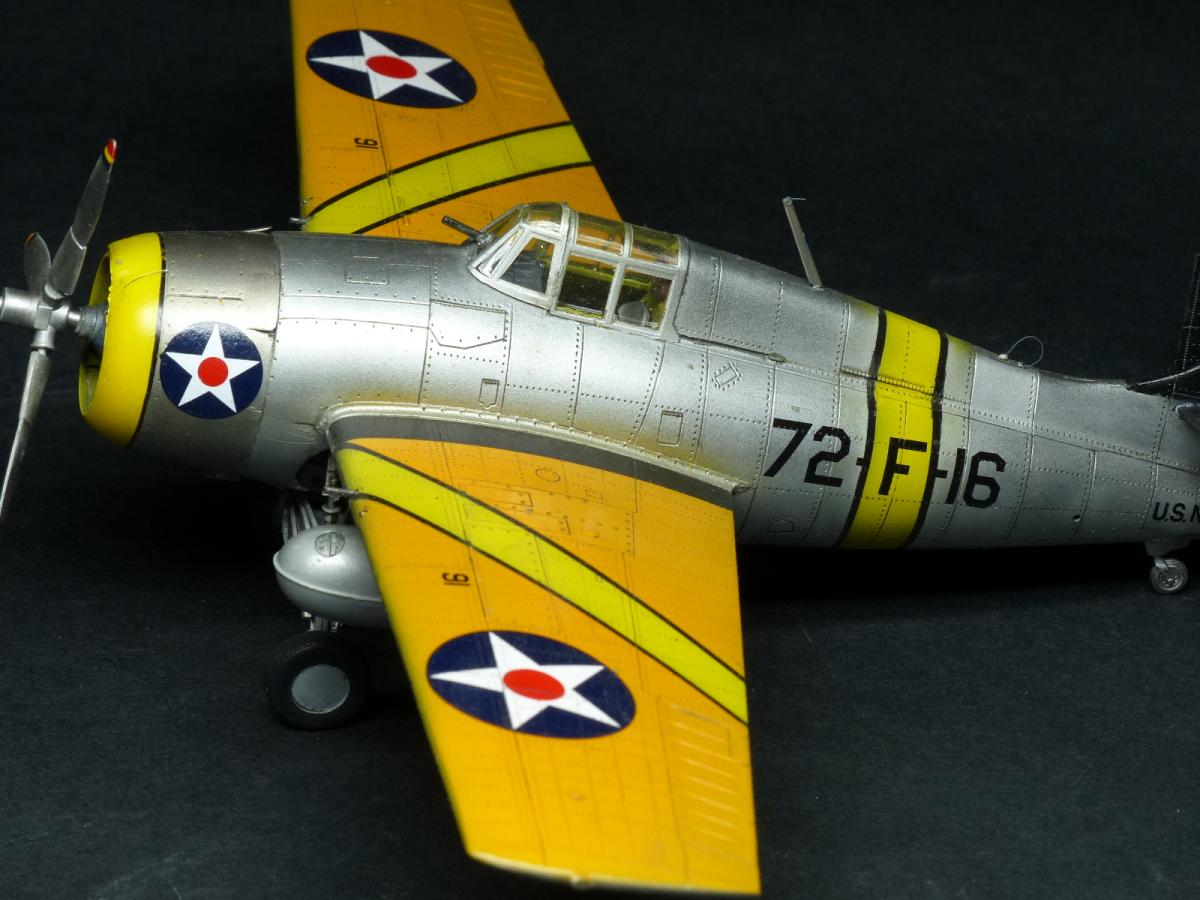
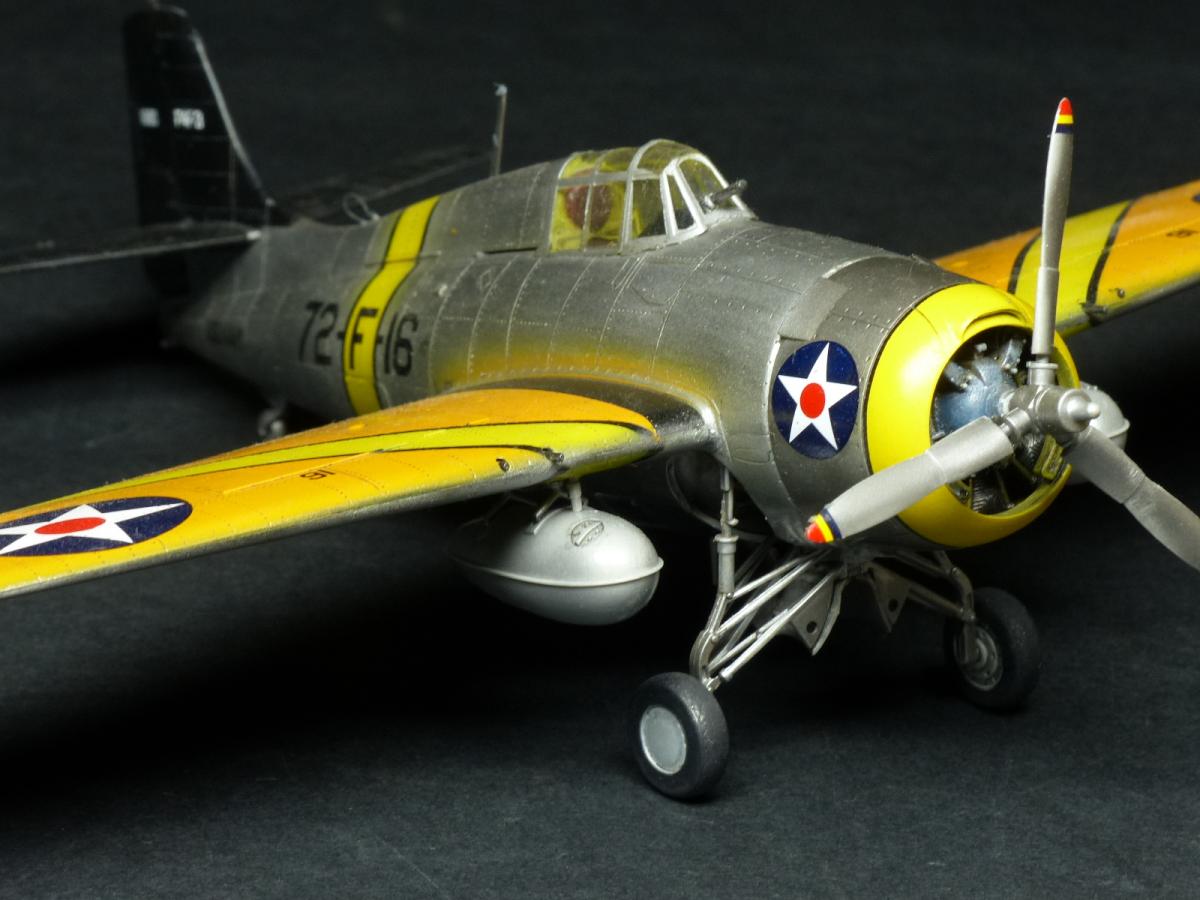
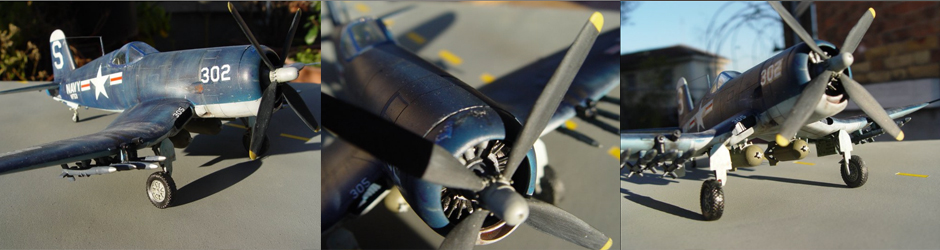
The HobbyBoss Wildcat, represented in the box-art in its pre-was colors, was the perfect subject...
The kit, as usually with the HobbyBoss products, is a pleasure to build. Clear instruction, good engineering, no gaps: everything you need to focus on the creative job, and not on fixing mistaken made by the producer.
The cockpit was build out of the box: this isn't a luxury kit, but still inside the box you find everything you need to represent a nice, busy pilot's office.
For the main color i used Vallejo Aircolor US yellowish interior green, and i picked up the detail with a toothpick and Vallejo Modelcolors. All the details fitted with no problem, just as the cockpit later inside the fuselage.
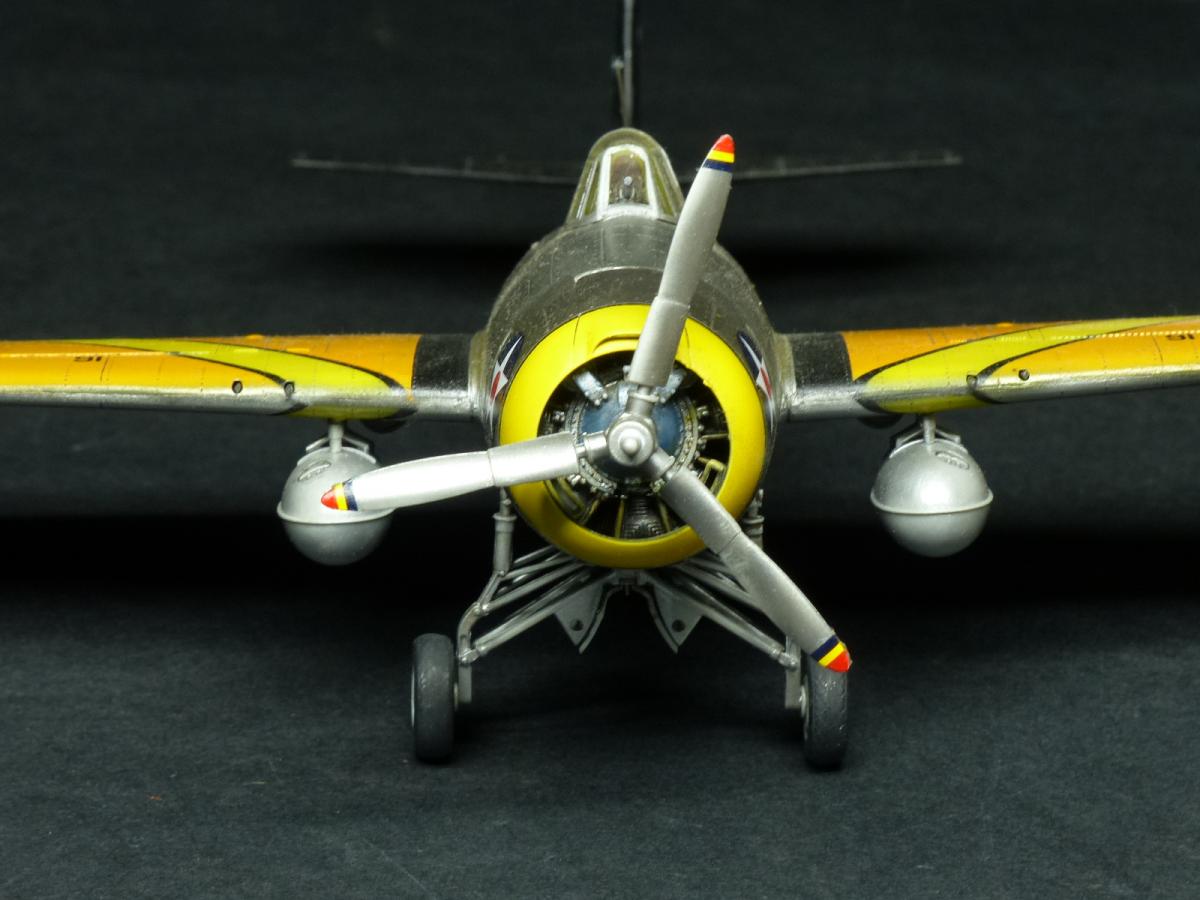
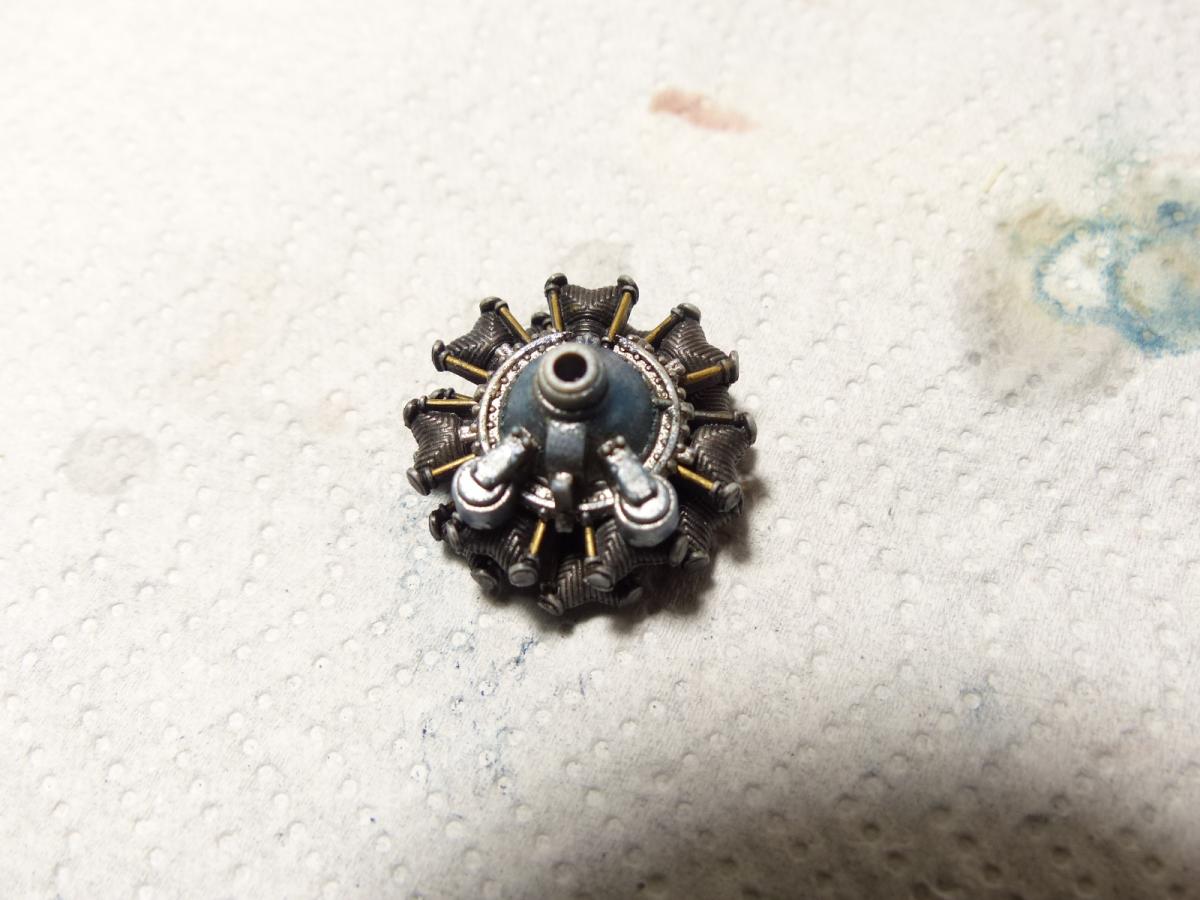
For the engine, as you can see from the photo, I did some little scratch-building, adding some injection cable with some metallic rods. To paint it, i used ModelMaster buffable colors (vallejo for the blue tone), followed by some washes.
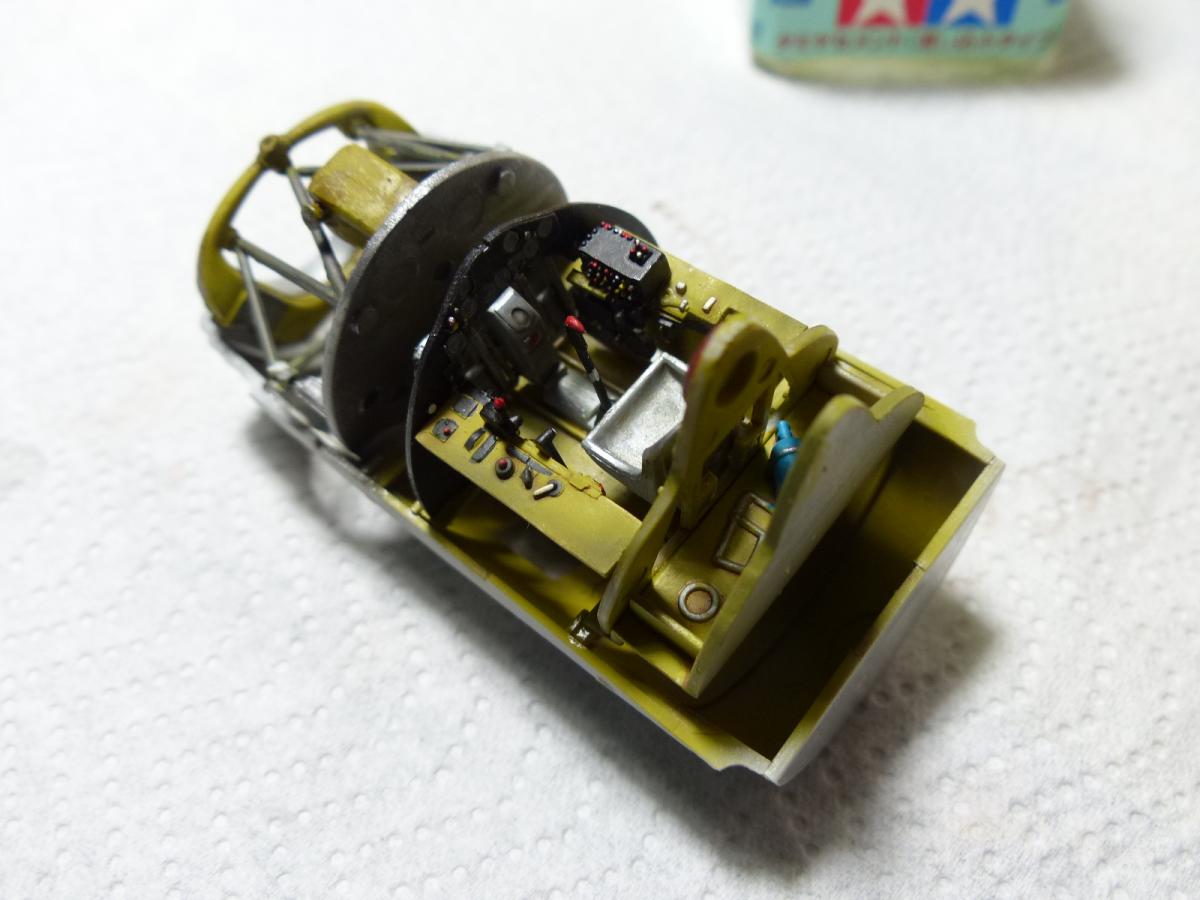
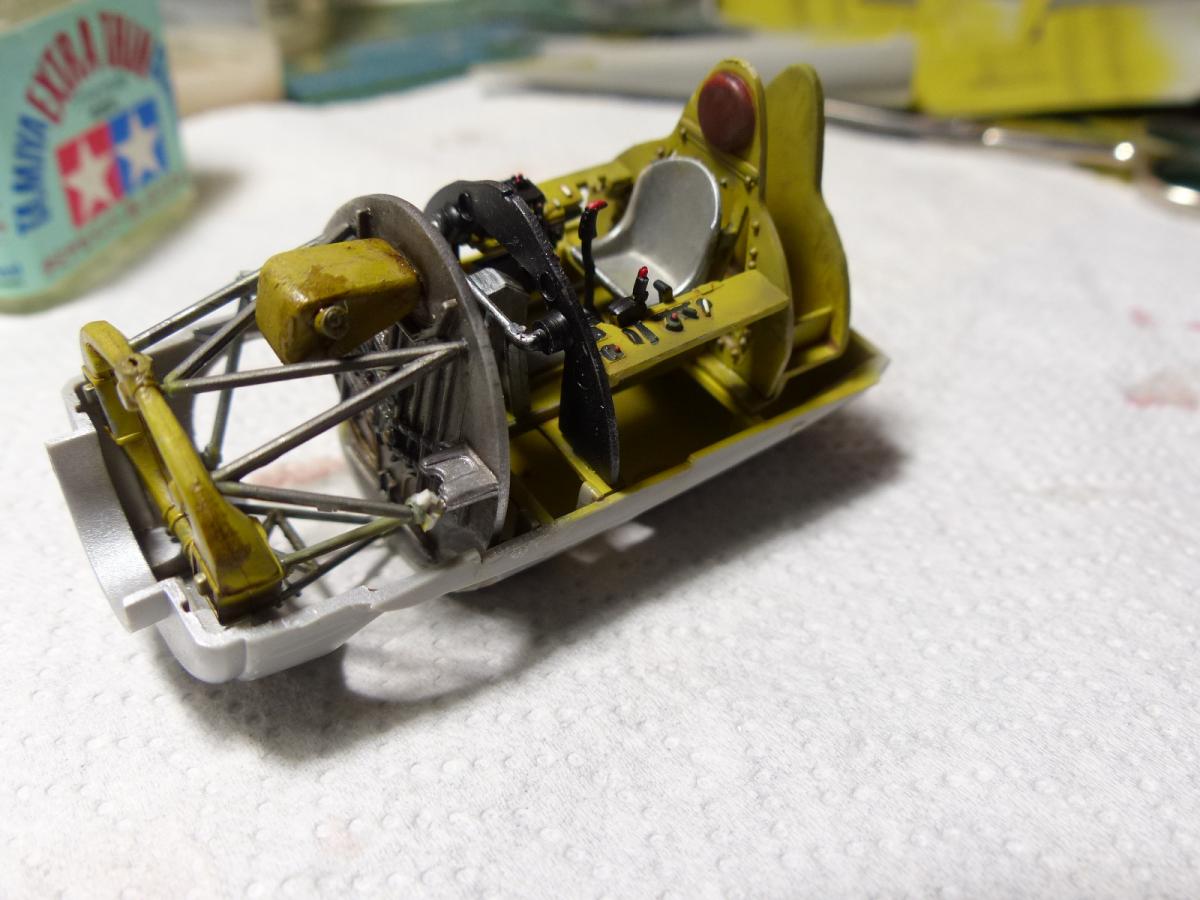
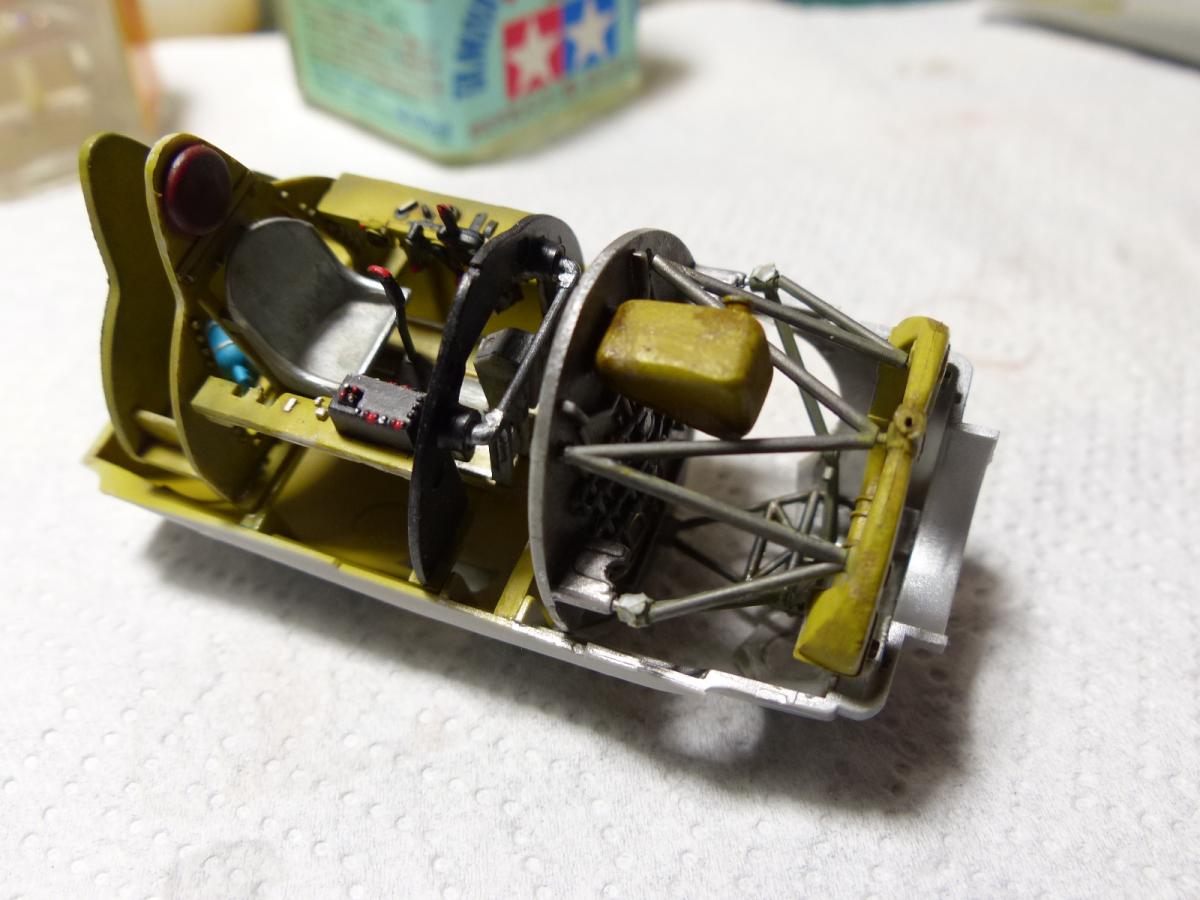
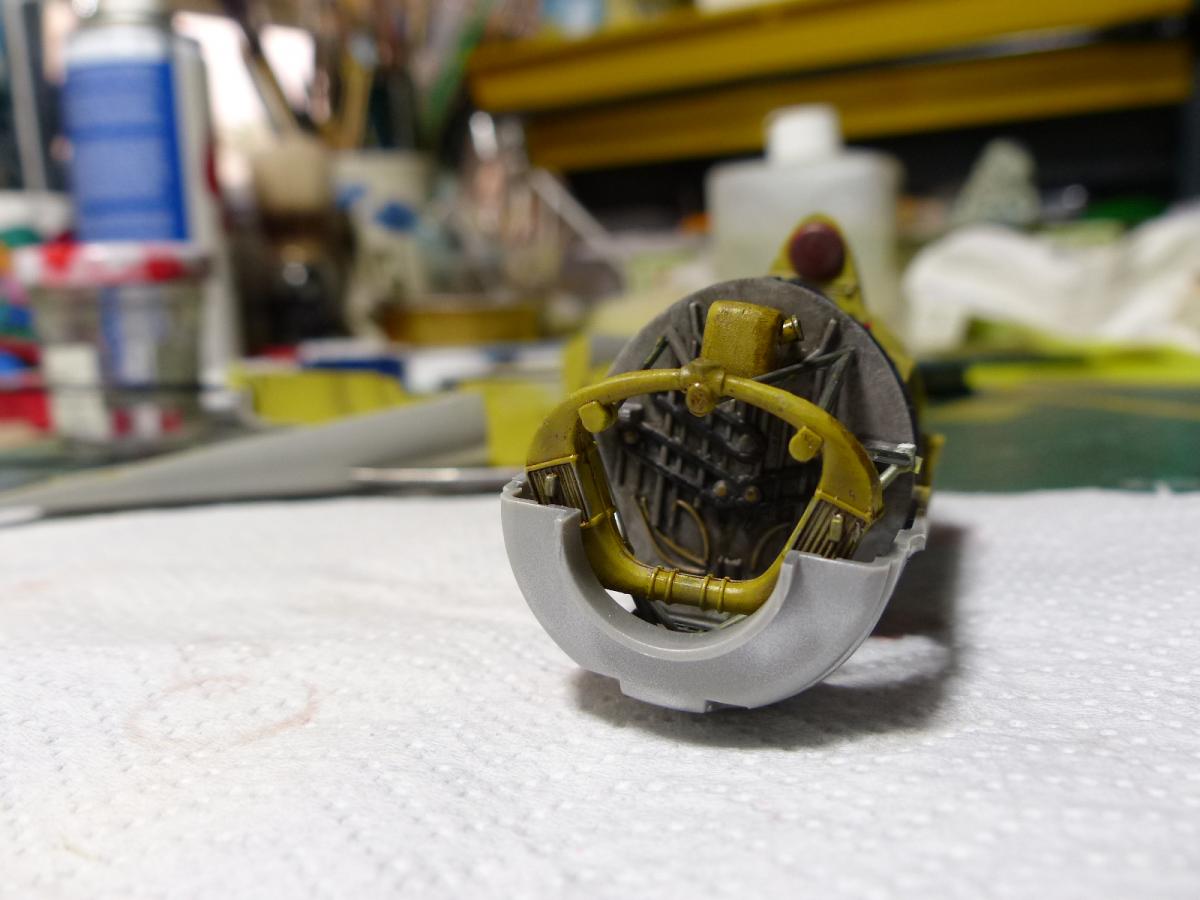
After assembling the main components, i started the painting process. This time i wanted to push to the limits my skill in masking, to avoid as much as possible to use decals.
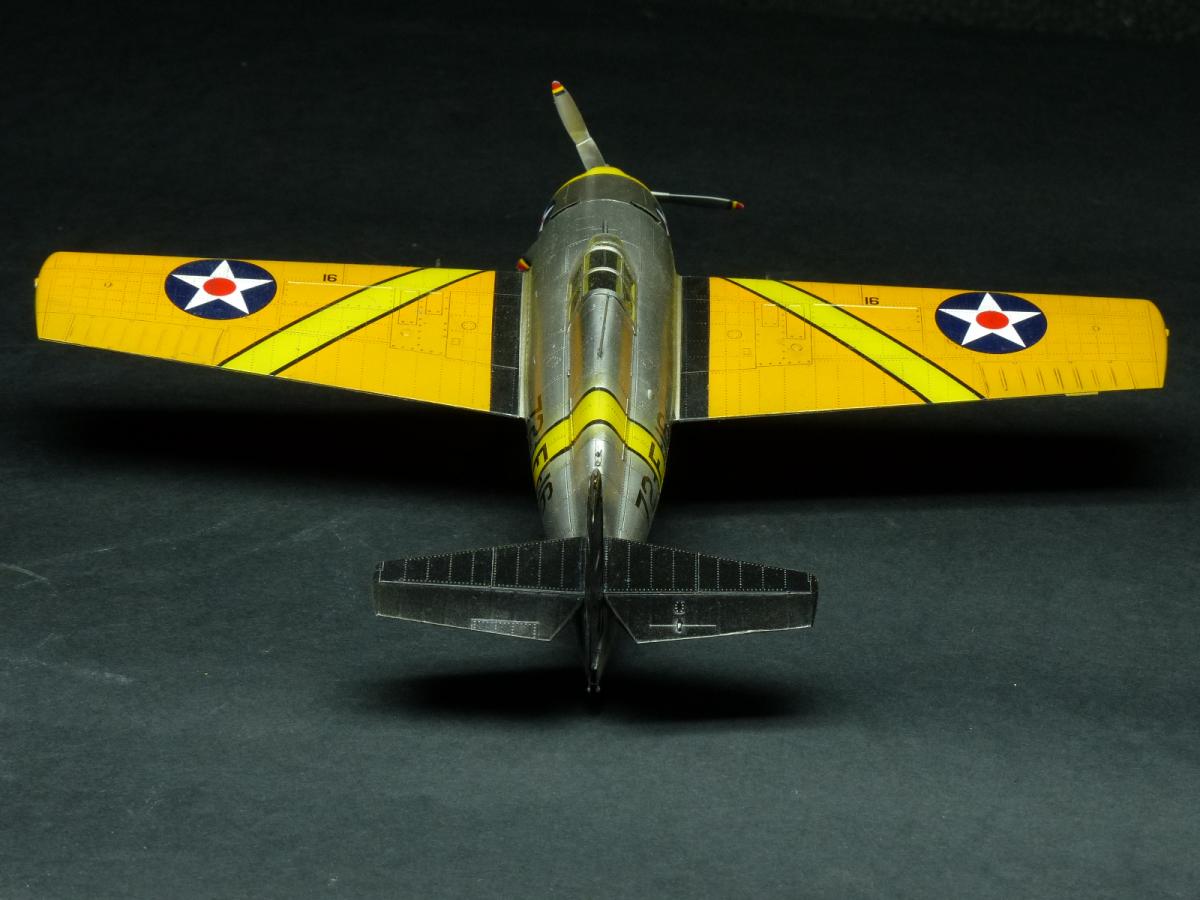
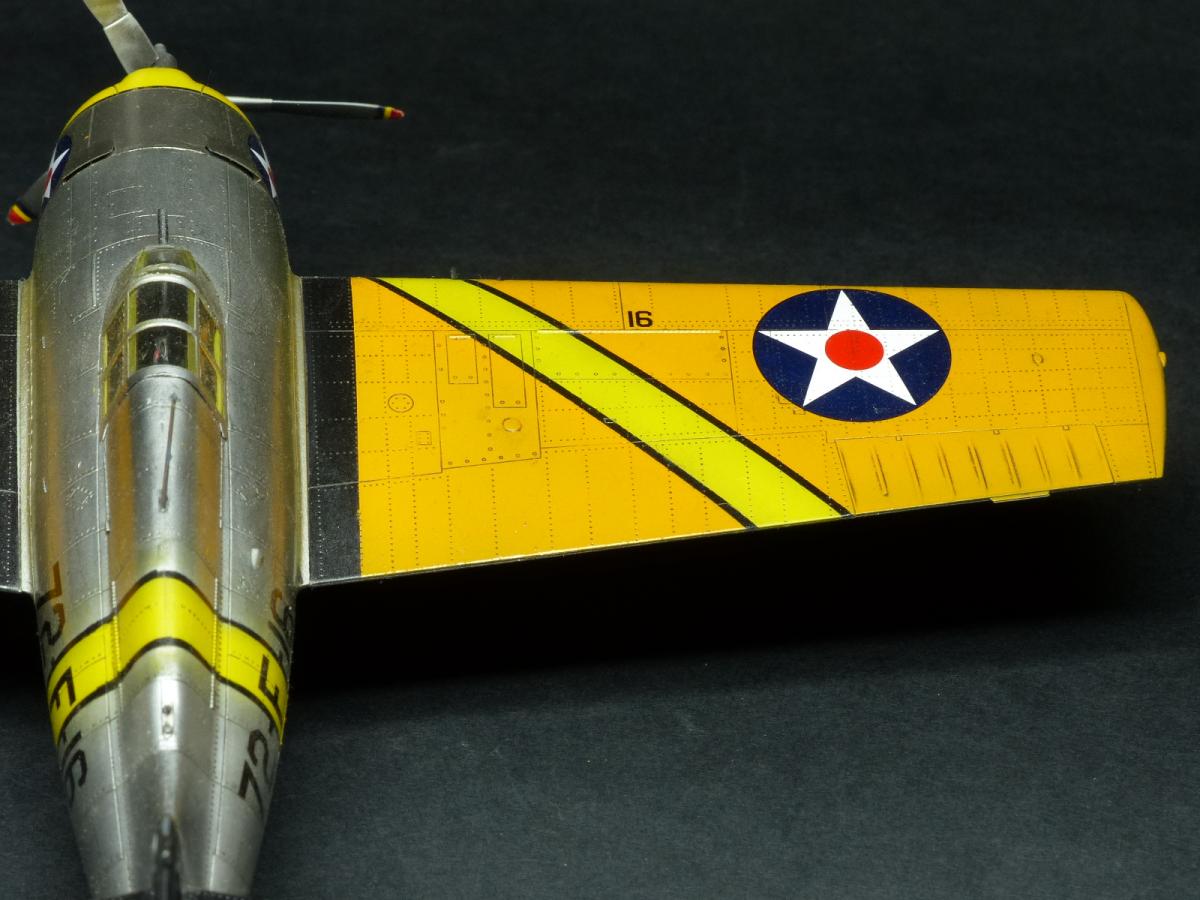
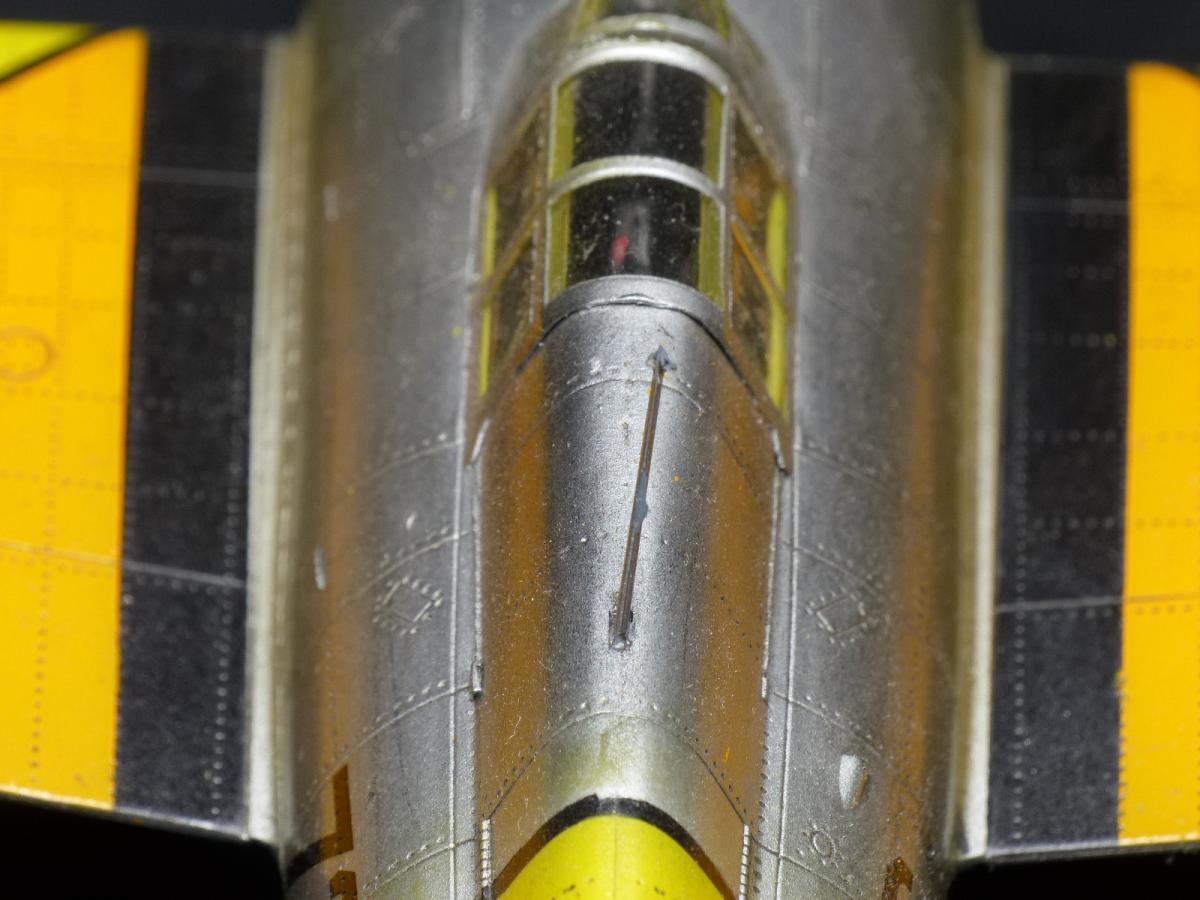
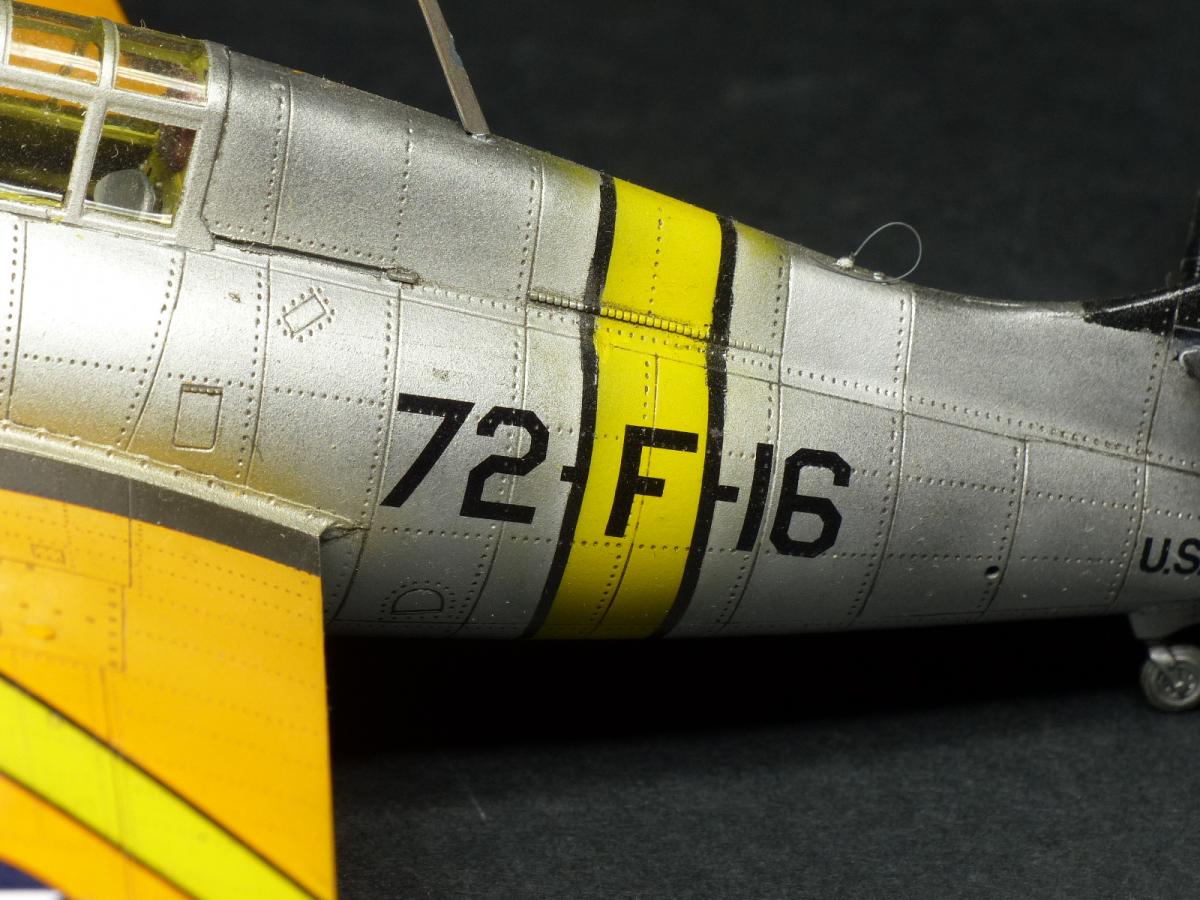
And in fact, with the exception of the stars and the numbers, everything else is airbrushed: the yellow strips and the black borders, on the wings and on the fuselage.
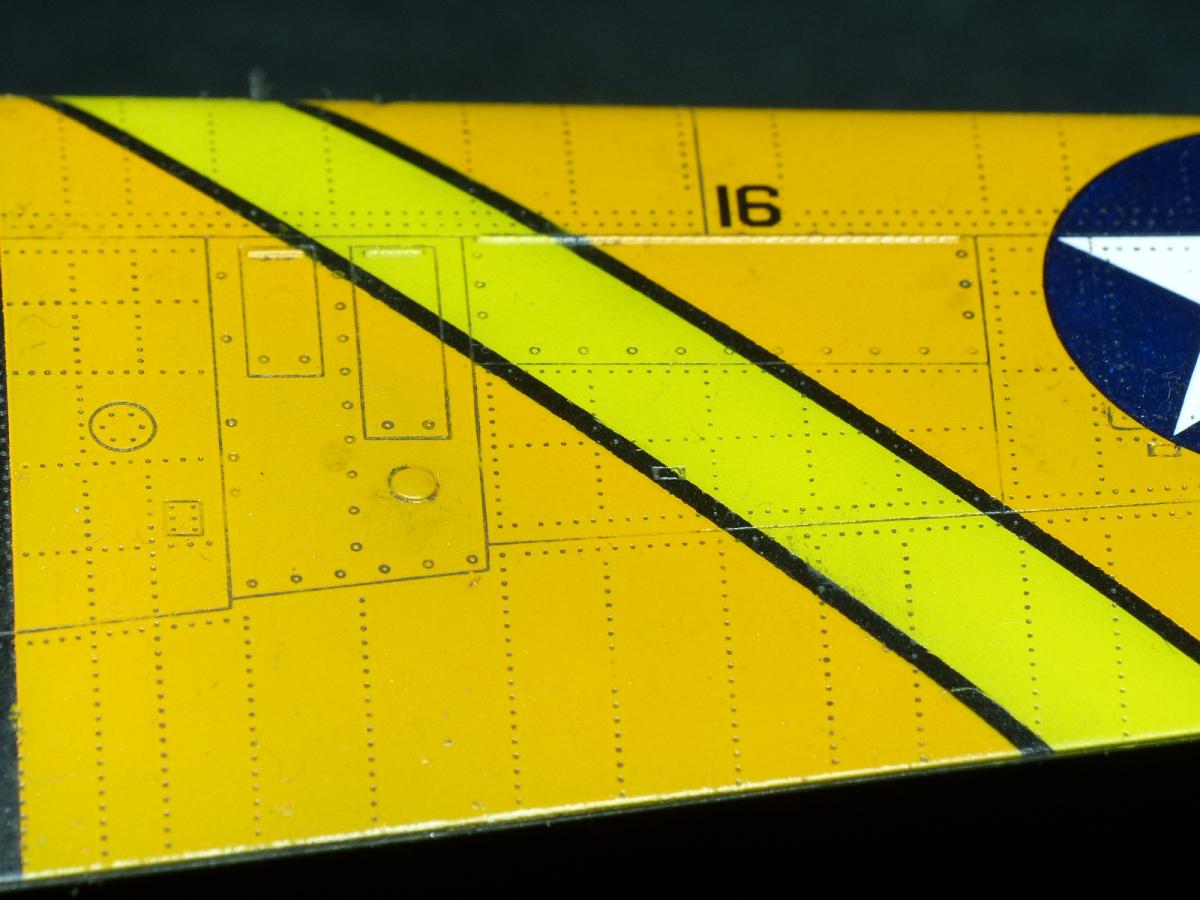
It was a long and a little tedius task, but in my opinion worth of the effort. I used same masking tape called Micro Mask, and it performed wonderfully, just like the usual Tamiya (that doesn't come in small format).
The order of painting was:
1) the black on the tail and on the wing's rooth and on the border of the yellow stripes
2) the yellow stripes (preceeded by some white, because of the troubles to obtain a nice yellow on the black)
3) the alluminium frame: as you can see there is not only one shade of metal color... the base was aluminium, then some more masking and one more shade
4) the dark yellow in the wings
For the washes i used the Flory Models dark wash: perfect when you want a clean job; and by the way the crips panel lines and rivets took it wonderfully.
Here the final reveal images: