
Model, text and images by Luca Cinacchio
This was a kit that i received as a gift. It was in the stash at least since 4 years, but recently i was looking for a quick build of something with 2 engines in 1/72 scale: not too big like the Sunderland that i just finished, but not too small as a FW 190. So, after checking what was in the stash, the kit was picked out.
After starting to build it, I felt as it was not the usual Tamiya kit... details were not so cripsy as usual, and the fit was very poor in manu areas. So I did a research on internet and i discovered that it was just a Tamiya reboxing of an old Italeri kit. Honestly i was a little disappointed, over all with the decals, that were so fragile and printed just in a stupid way (i.e. the german crosses on the wings, each one divided in 4 different extra-fragile decal).
So, although the kit is not that bad, when you look at the price my judgement is... thumb down: I am sorry Tamiya, but for your prices i pretend a good kit, and not a reboxing of a 30 years Italeri kit !!
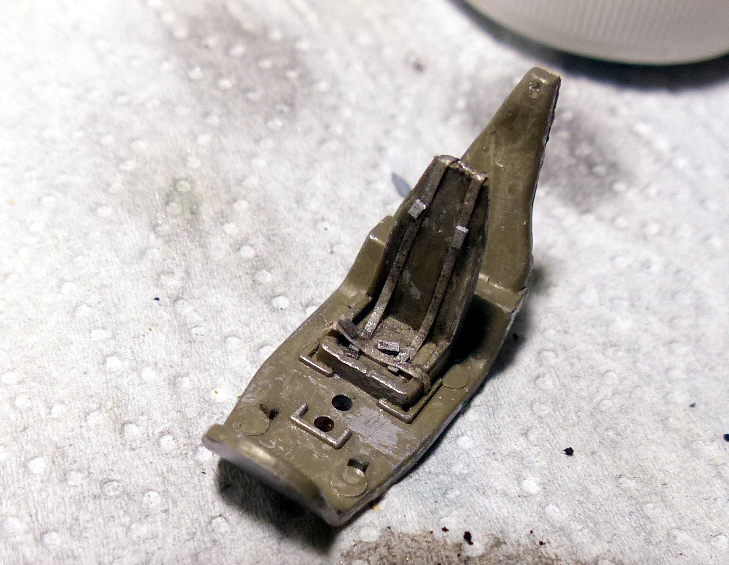
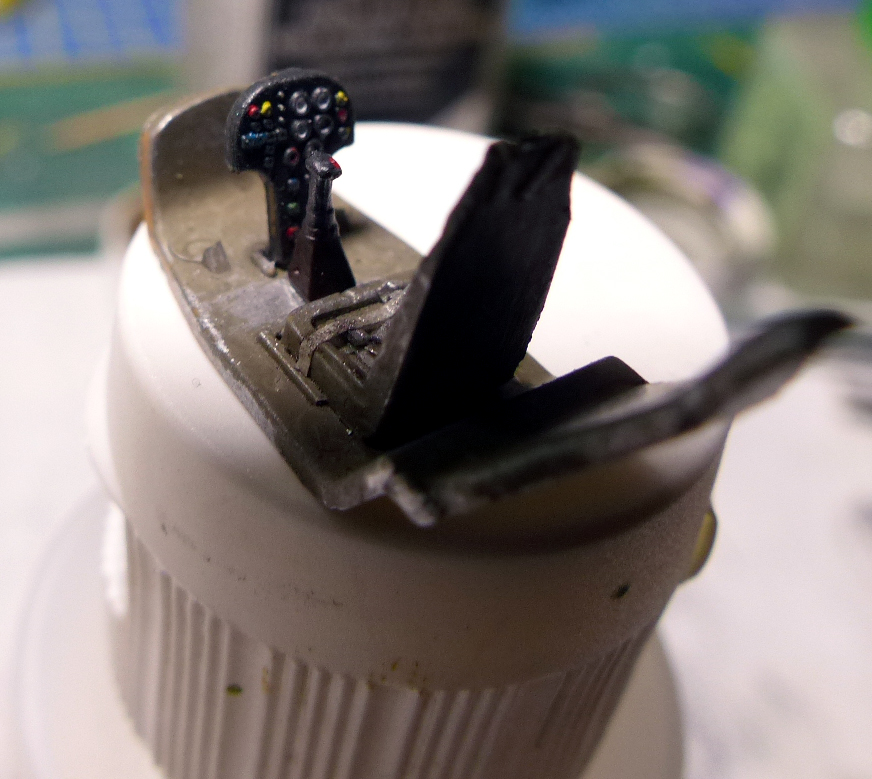
Construction started from the very poor cockpit... to make the "office" a little less miserable i just scratch-built the seat-belts using some Tamiya masking tape and some plasticard. The interior was painted with Gunze Aqueos, details were picked out with Vallejo Model color. Washes and dry-brush followed.
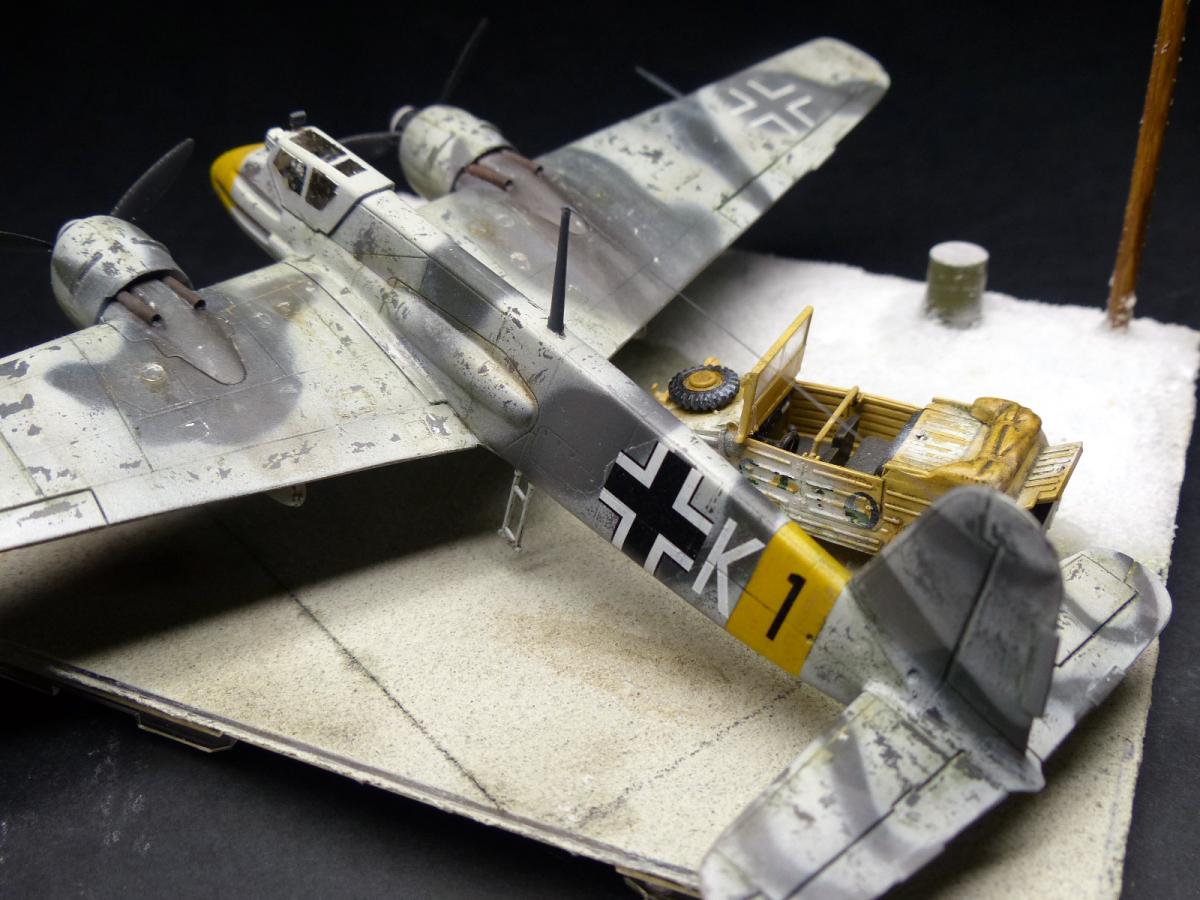
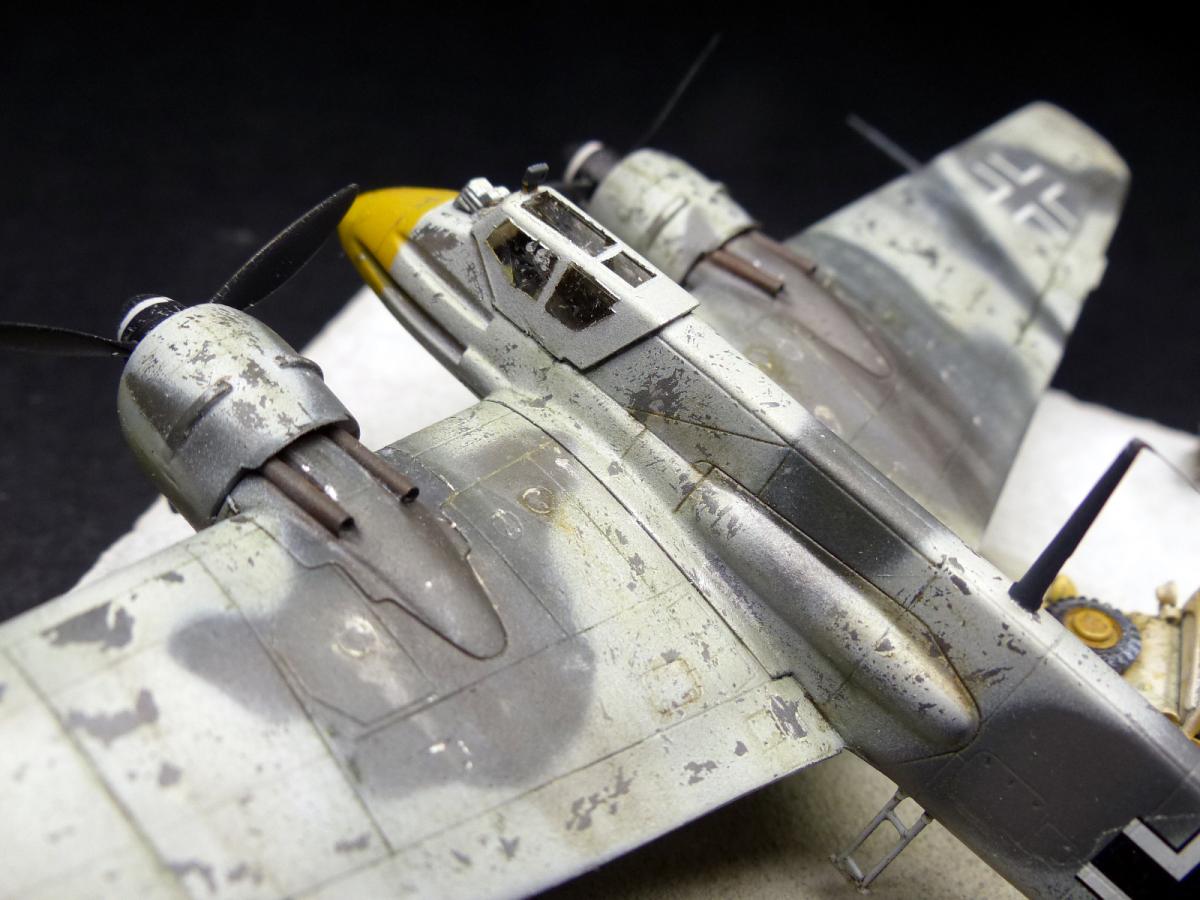
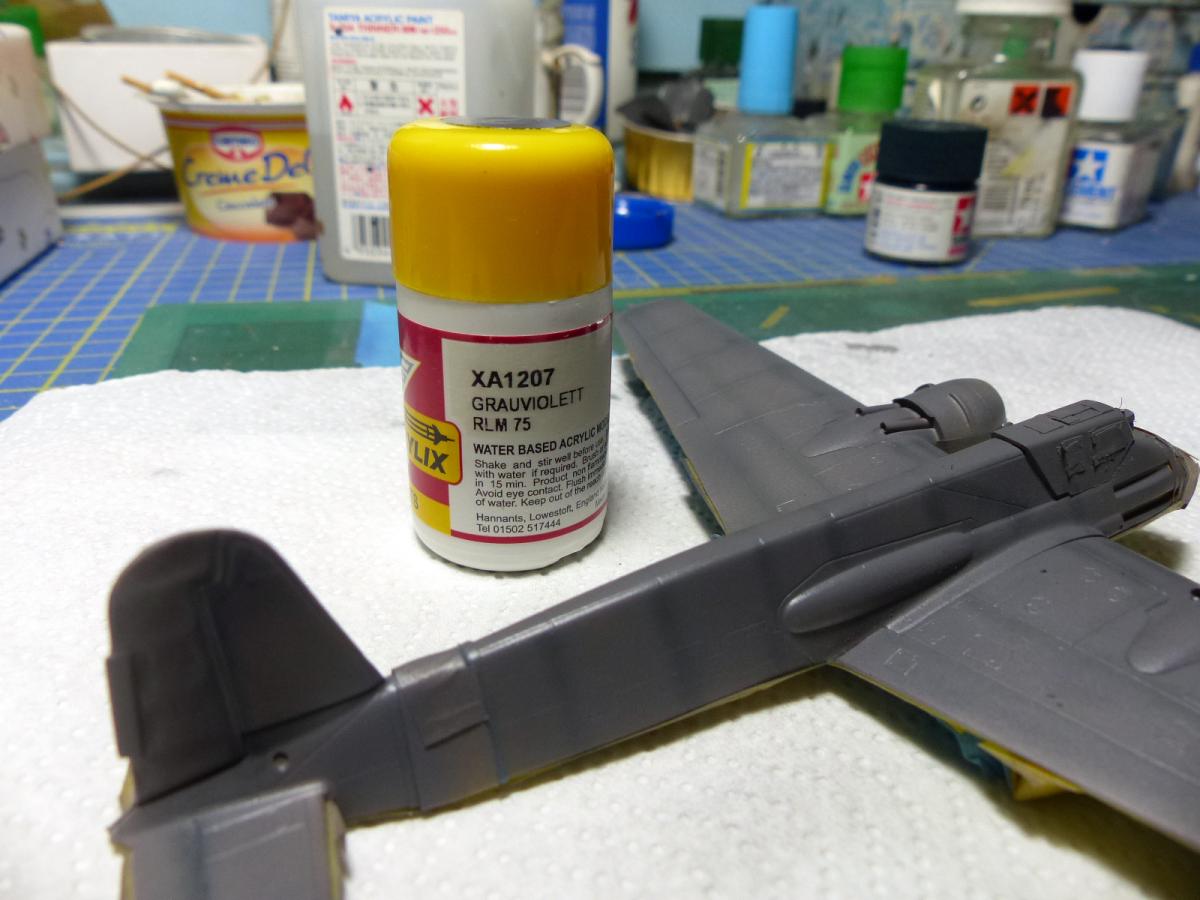
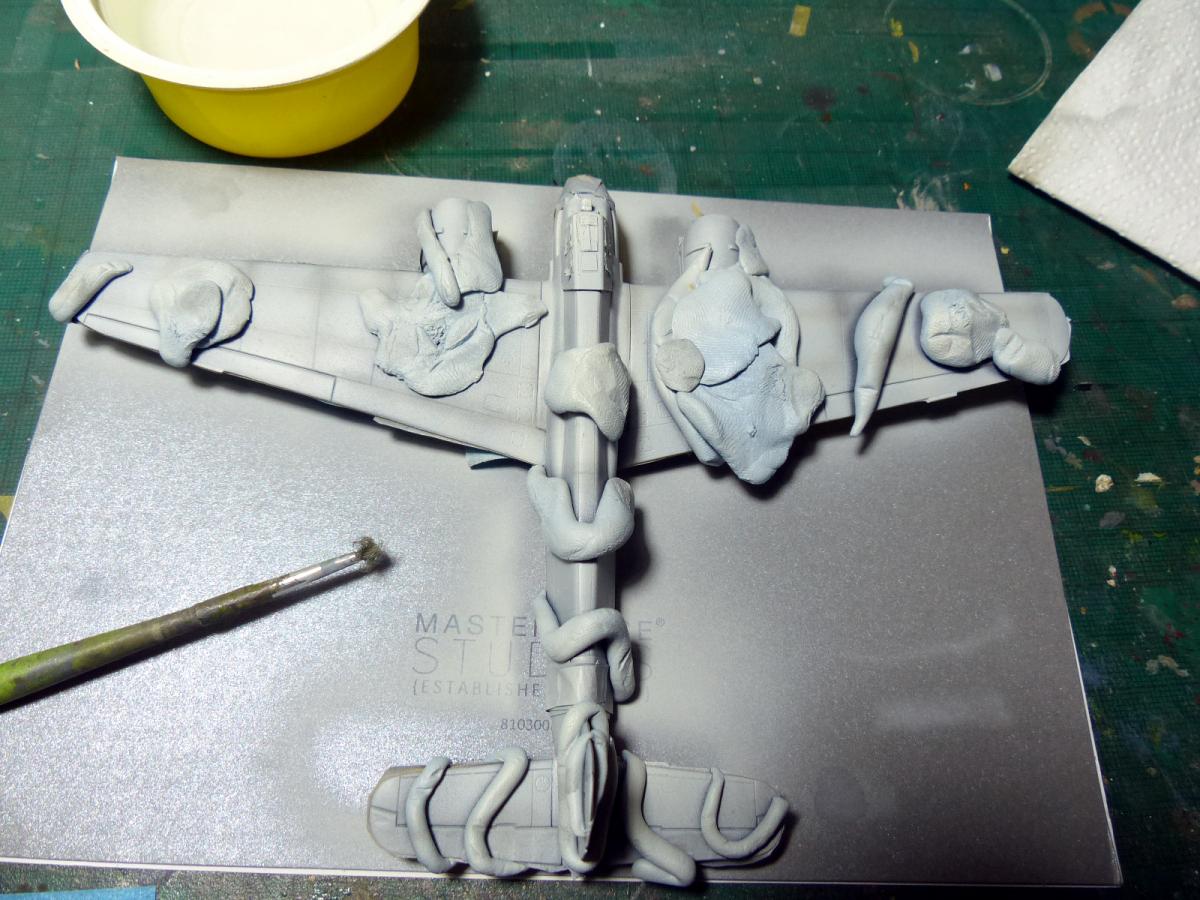
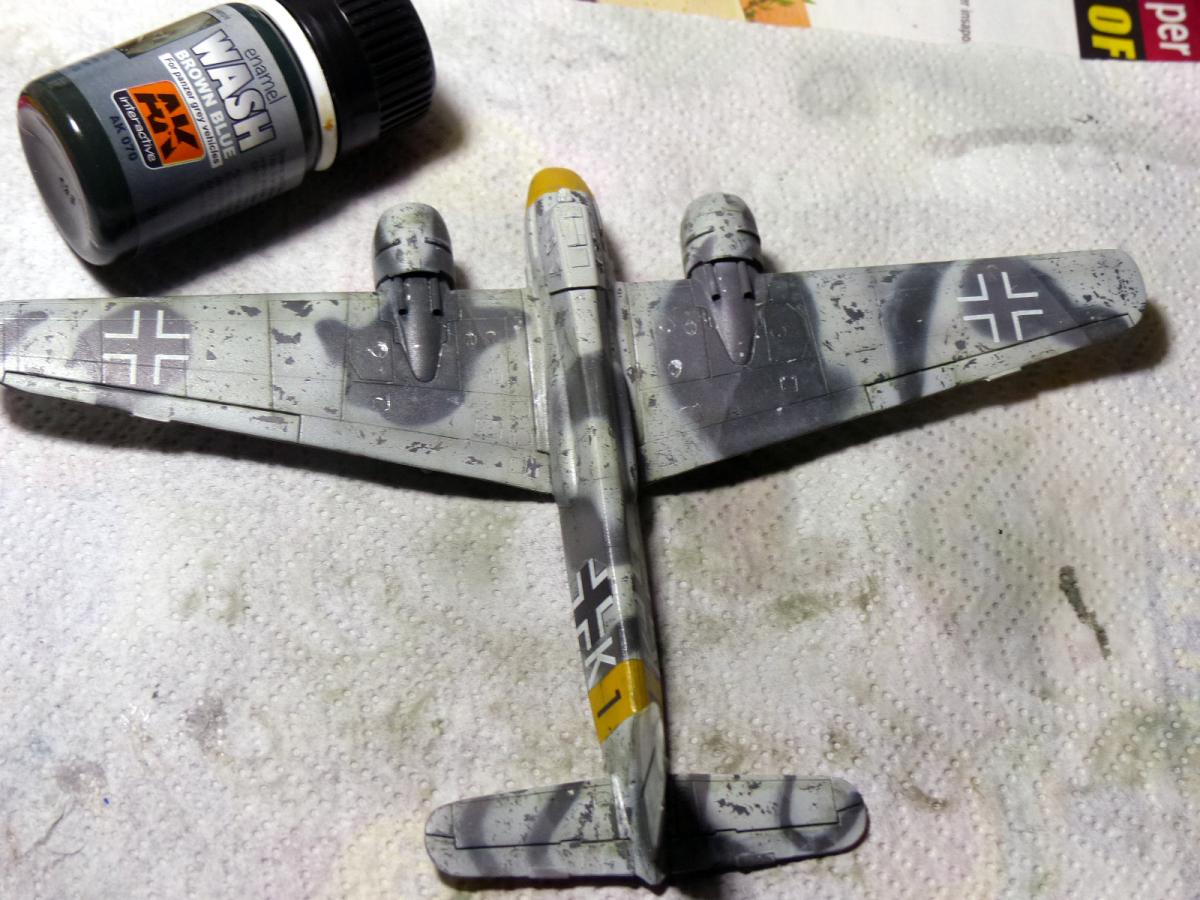
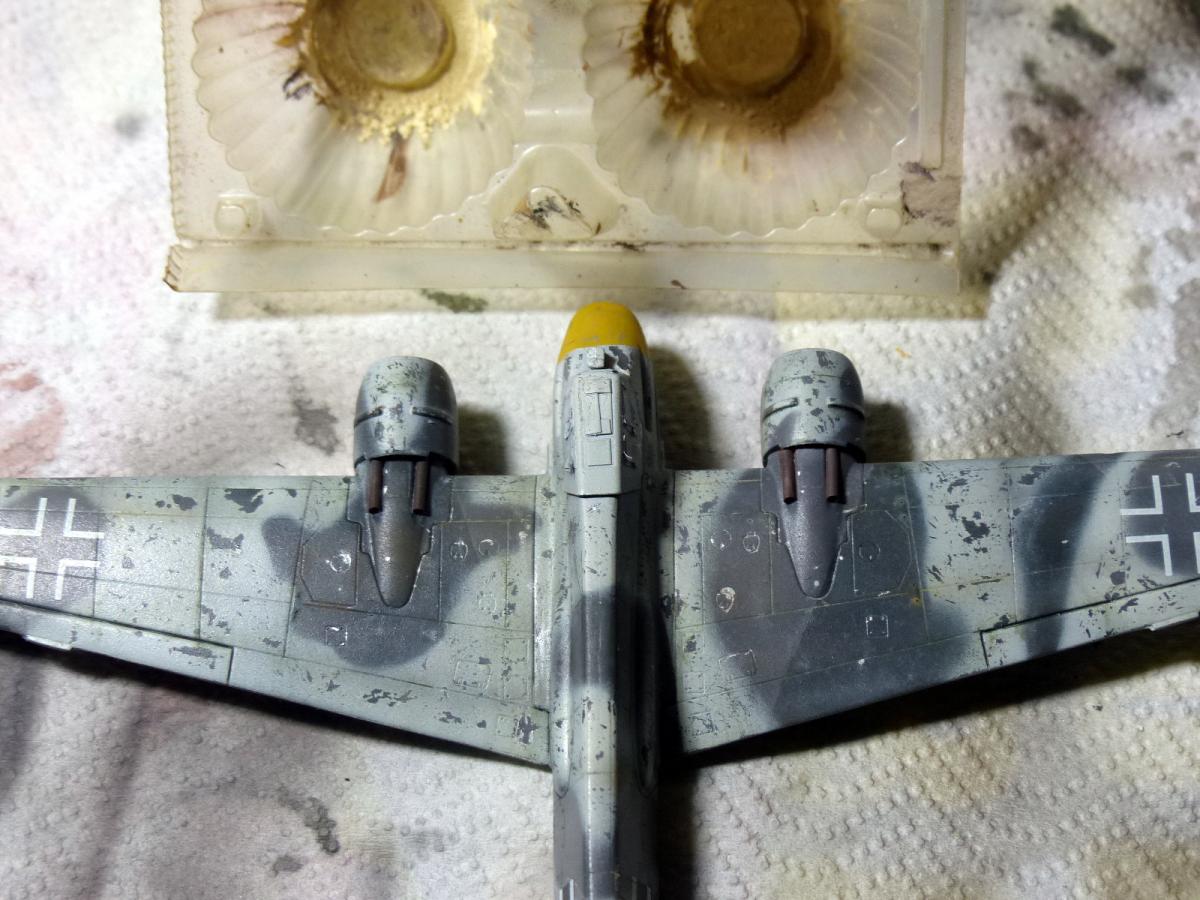
After completing the basi assembling (nothing worth to mention), i airbrushed first the RLM 75, masked it, and sprayed the RLM 74. For both the colors I used the Hannants Xtracrilix colors: they have truly a great range of colors covering the full Luftwaffe range. I read around some complains about these colors, but honestly for the they performed very well, with not problem at all, leaving a solid layer (that was severely tested later) with a nice satin finish. I masked the 2 colors with some Blue Tack, and after applying the hairspray i sprayed a coat of Vallejo white, and then did the usual chippings work with the brush damped with warm water. At the end i masked and painted the yellow strip, using Tamiya yellow mixed with Gunze Orange.


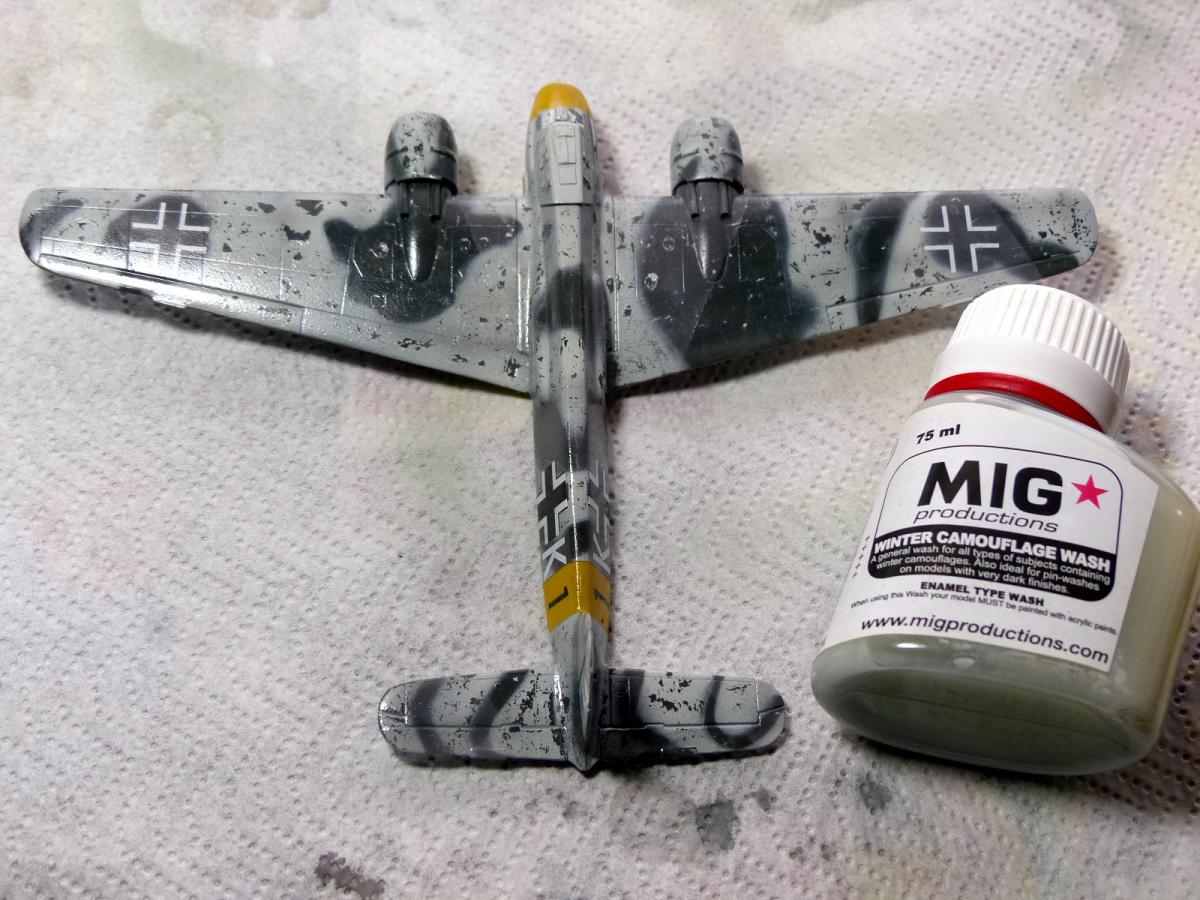
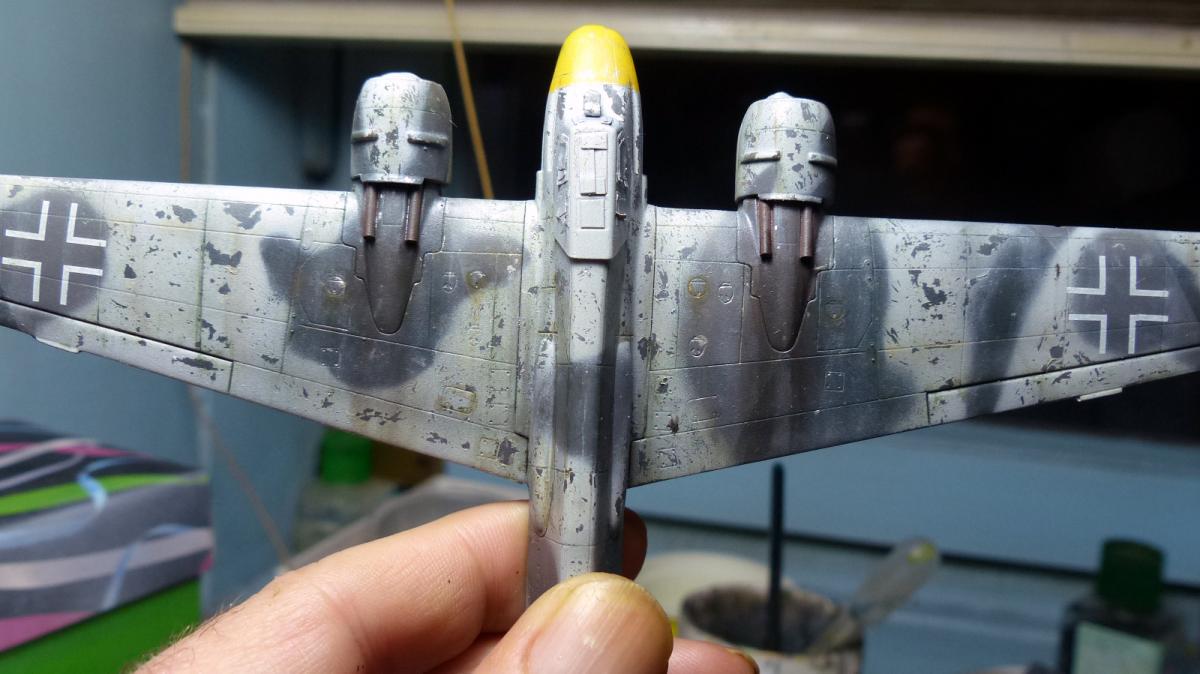
Weathering time: the first step was a Mig Whitewash all over the model... this is a subtle wash, just to give a winter hint to the model. For the panel lines, i used a gray-blue wash from AK interactive, perfect for the winter cold tones of this model. Then i applied some pigments... not too much, just a little to increase here and there the worn effect. The last step of the weathering was the OPR (Oil Paint Rendering), to create some streaks.
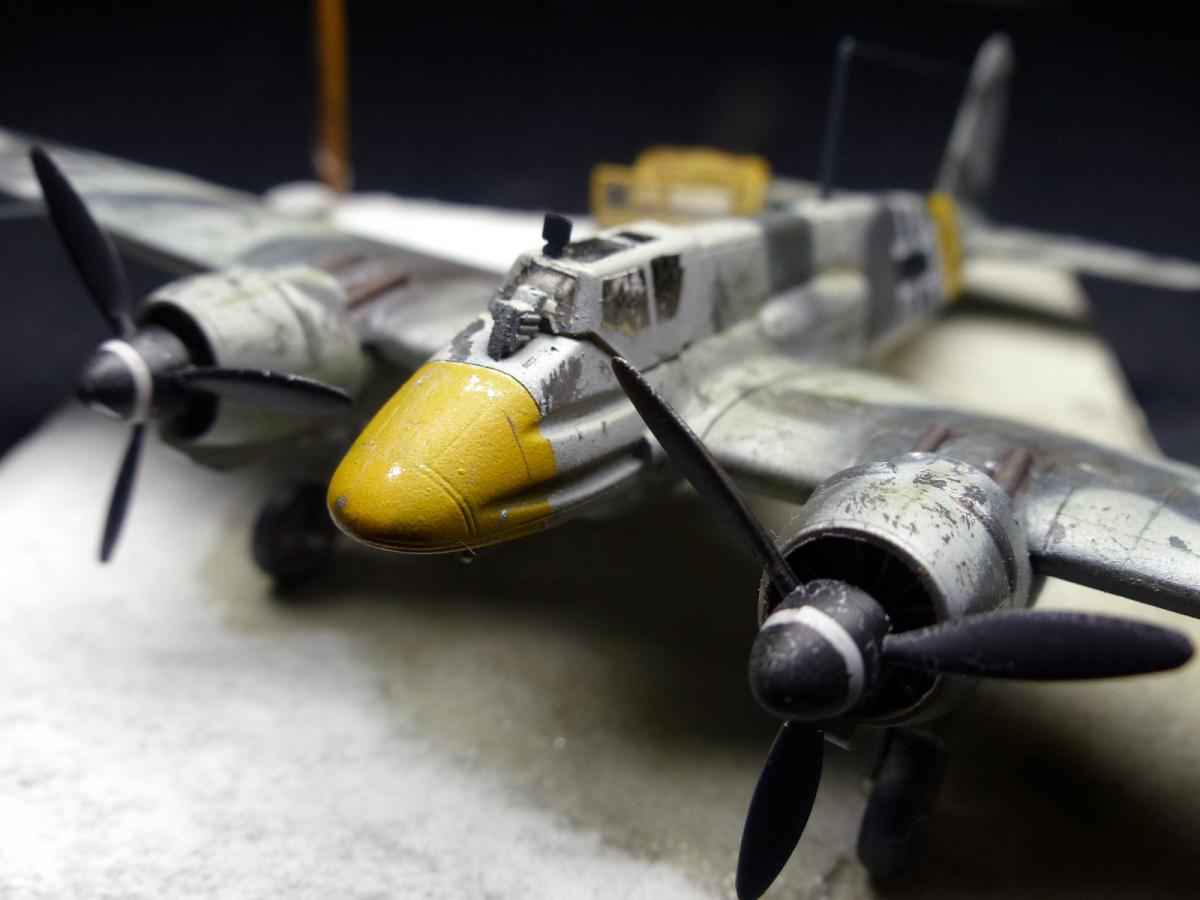
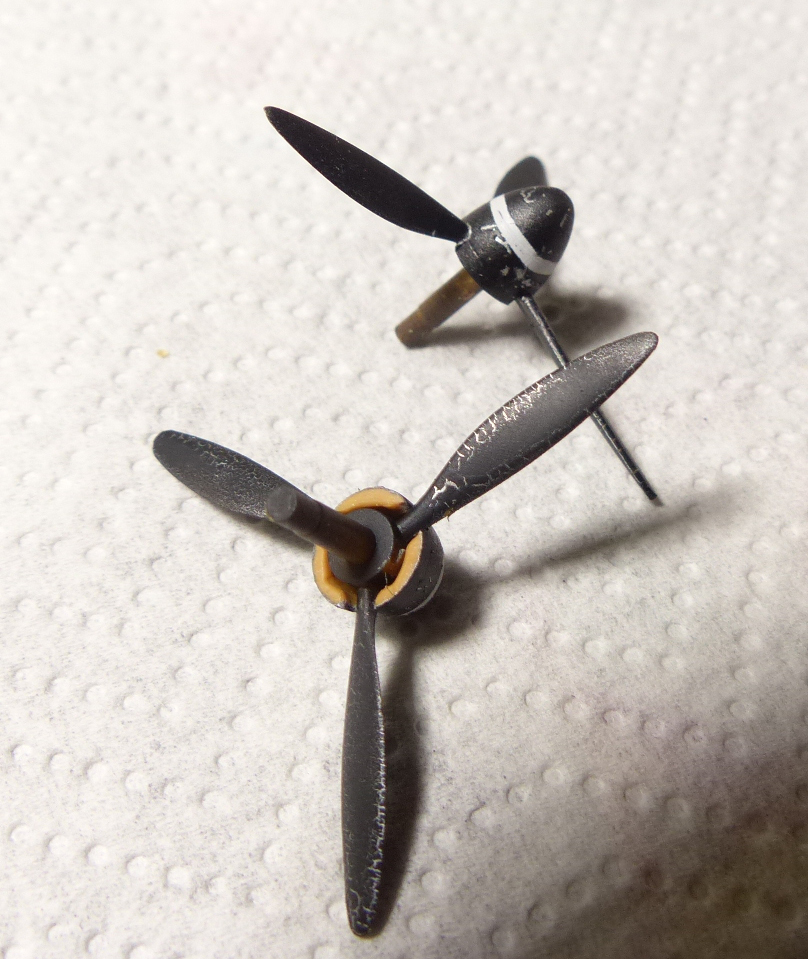
After painting and weathering the propellers and other details, the building was completed, and it was time to start the small diorama base.

The diorama base
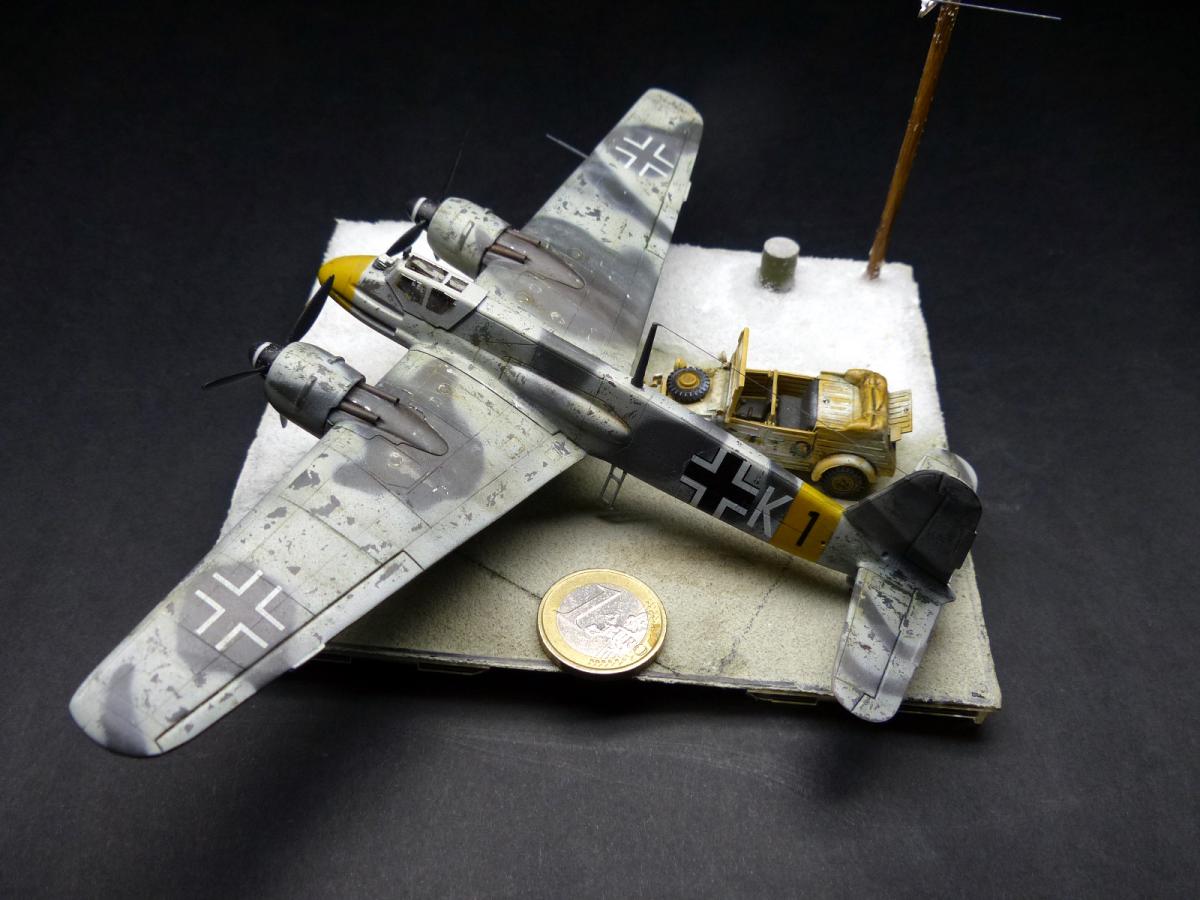
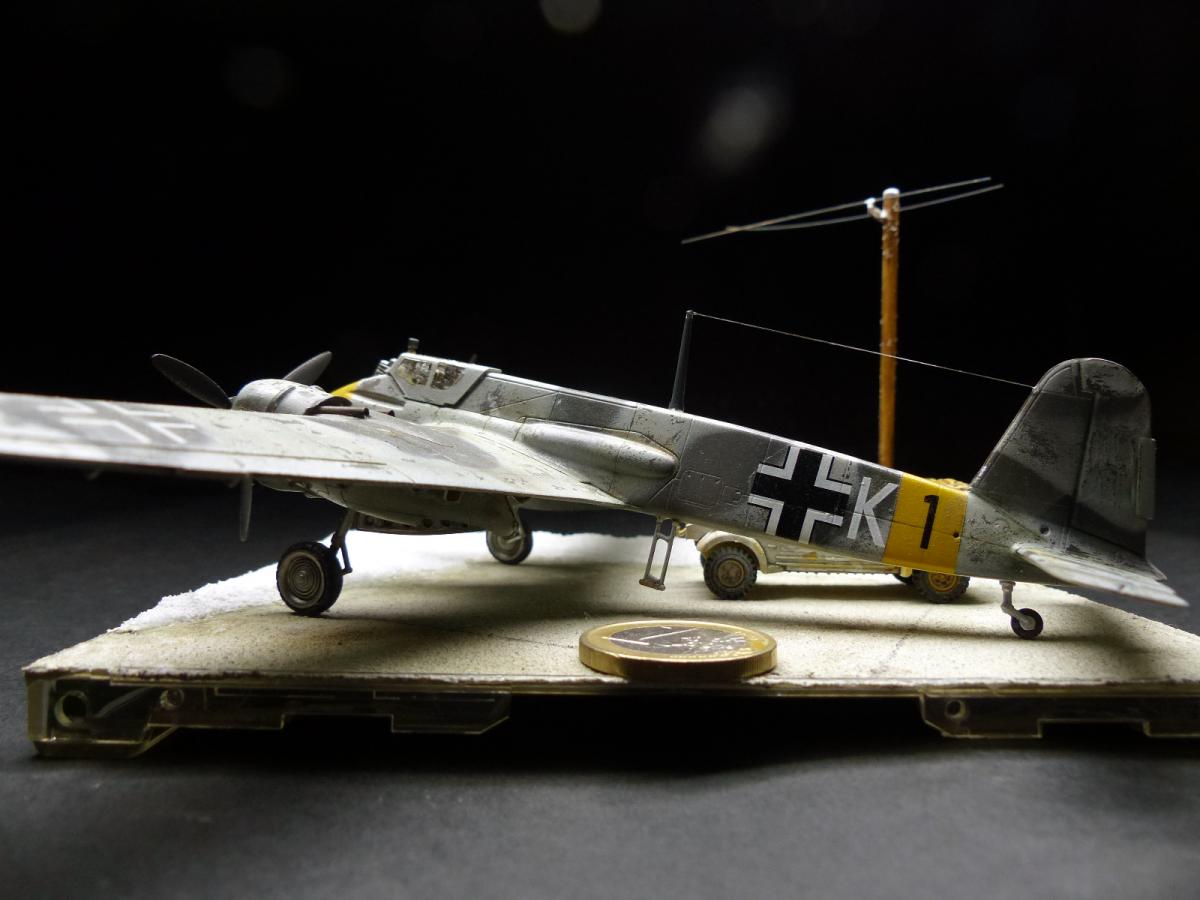
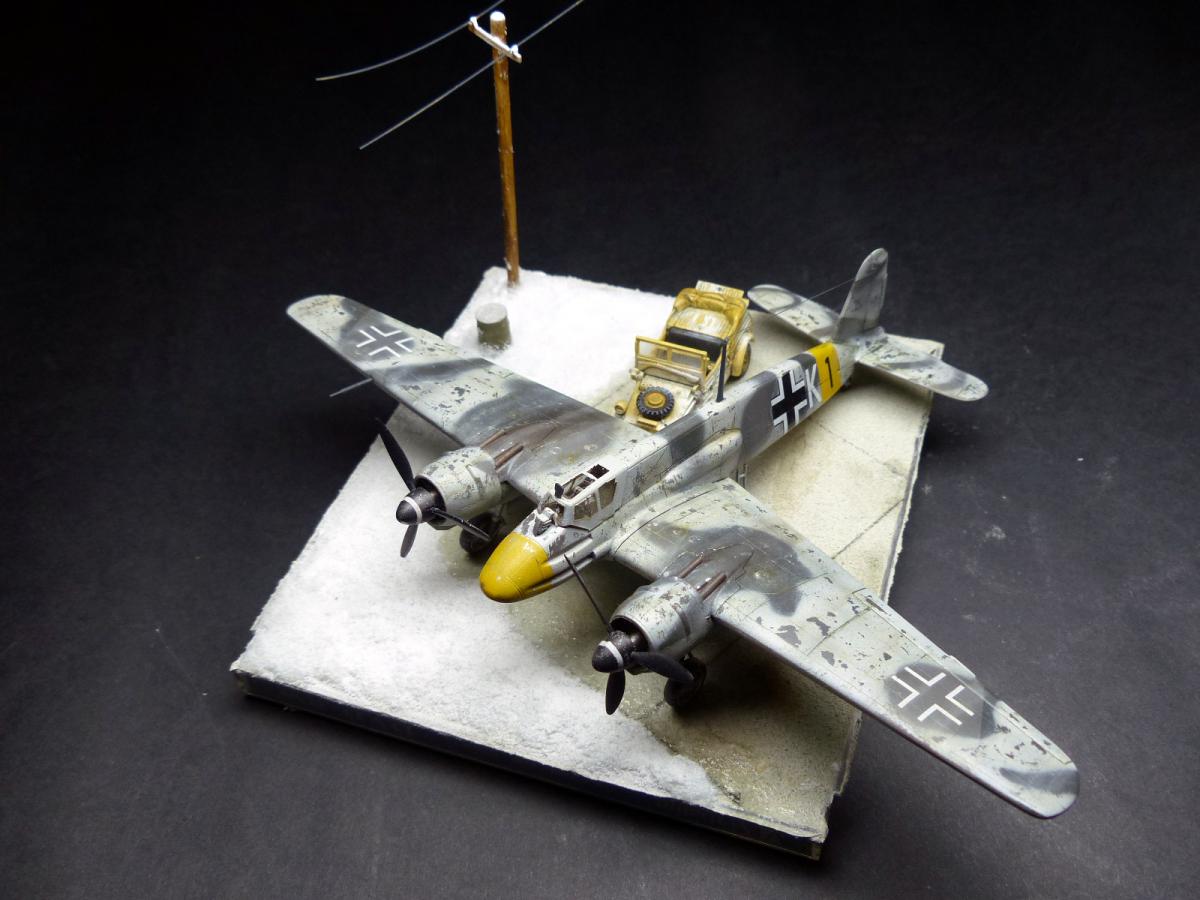
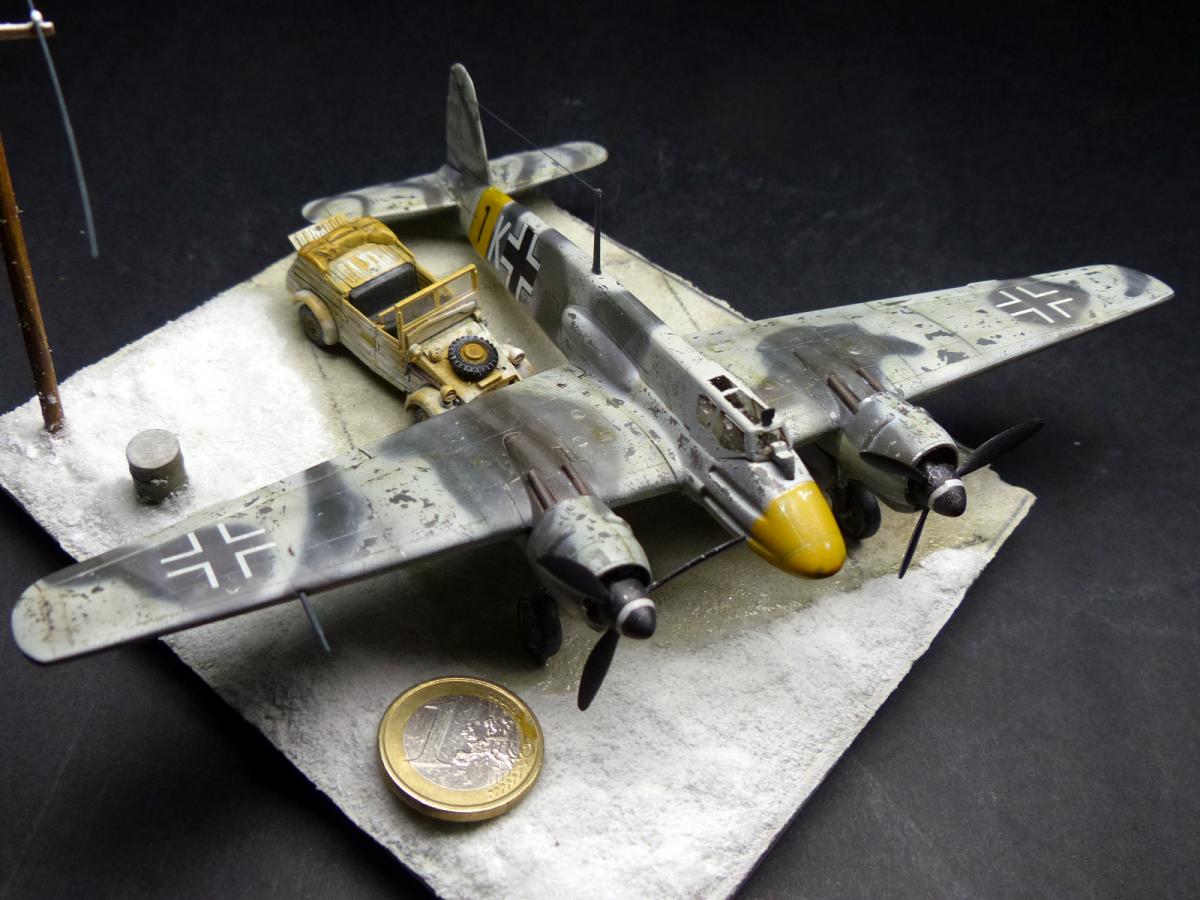
Quiet often i like to display my 1/72 planes on a small diorama base. Being a smal scale, it doesn't take too much space, and truly enhance the model. For this scale, my favored material is... the plastic crystal cover of the old CD. Perfect size, free, always at hand.
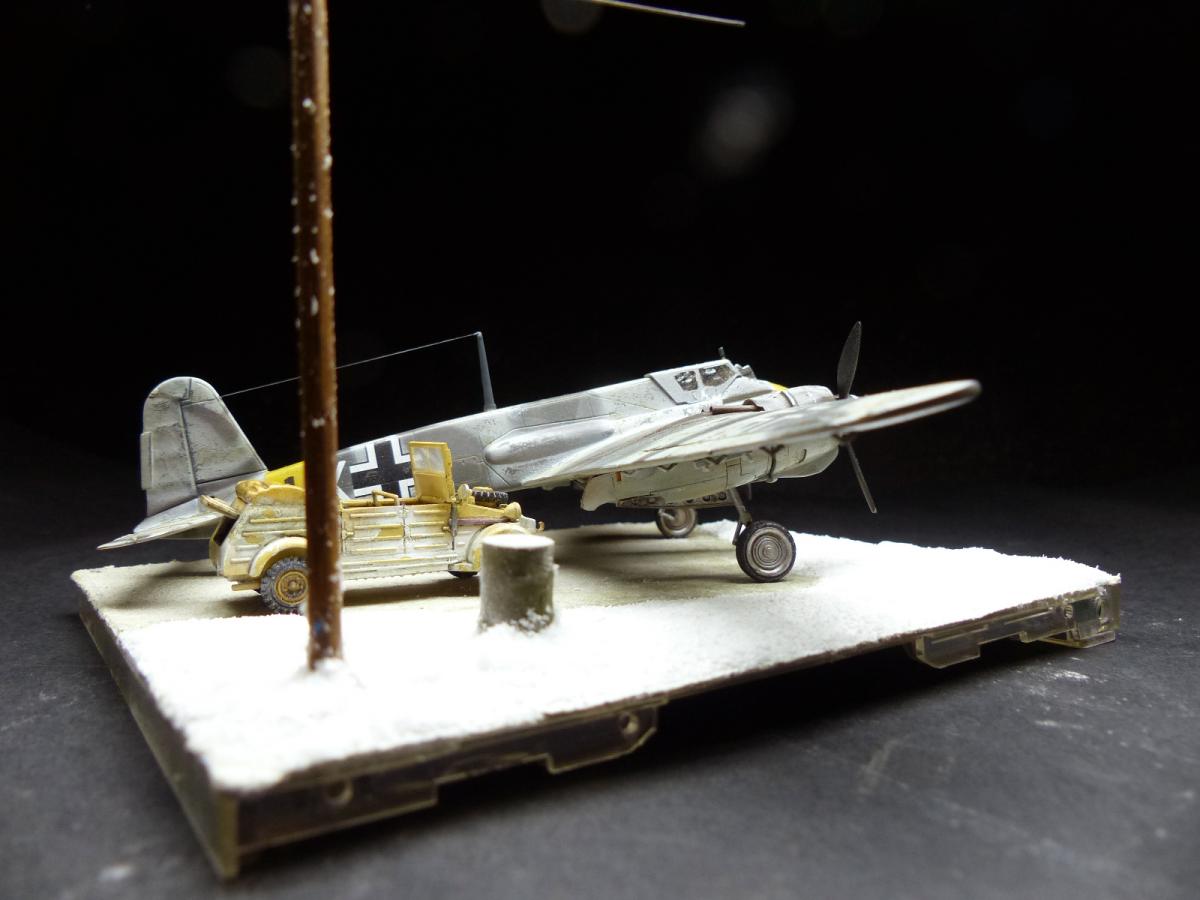
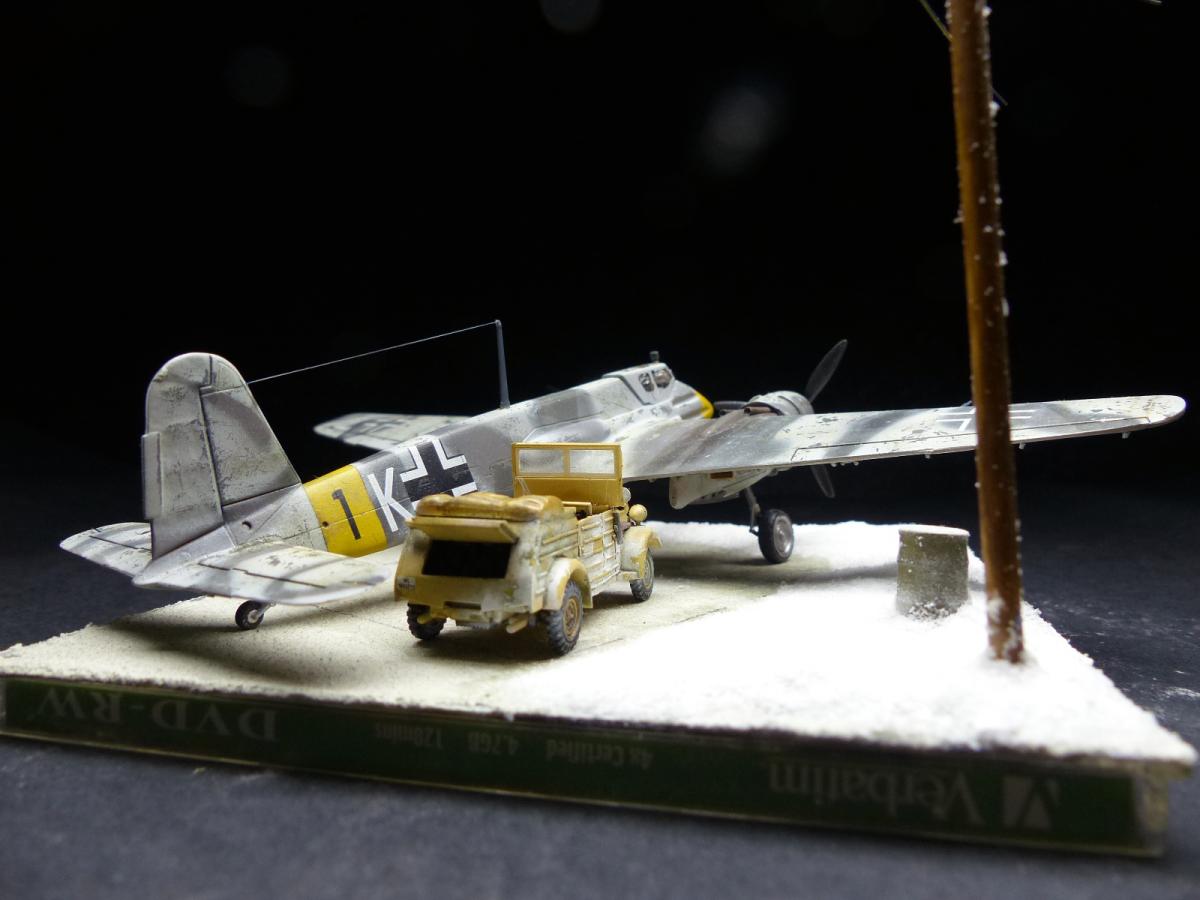
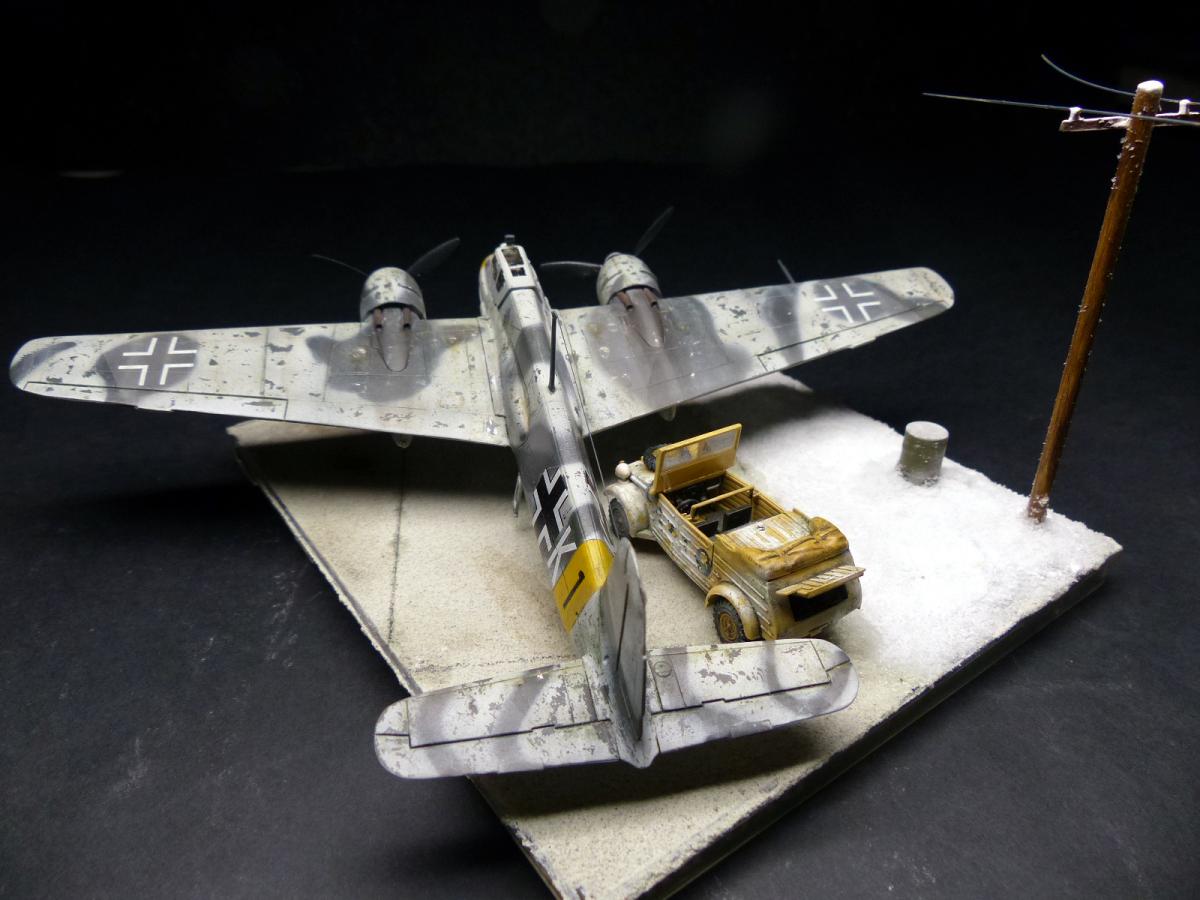
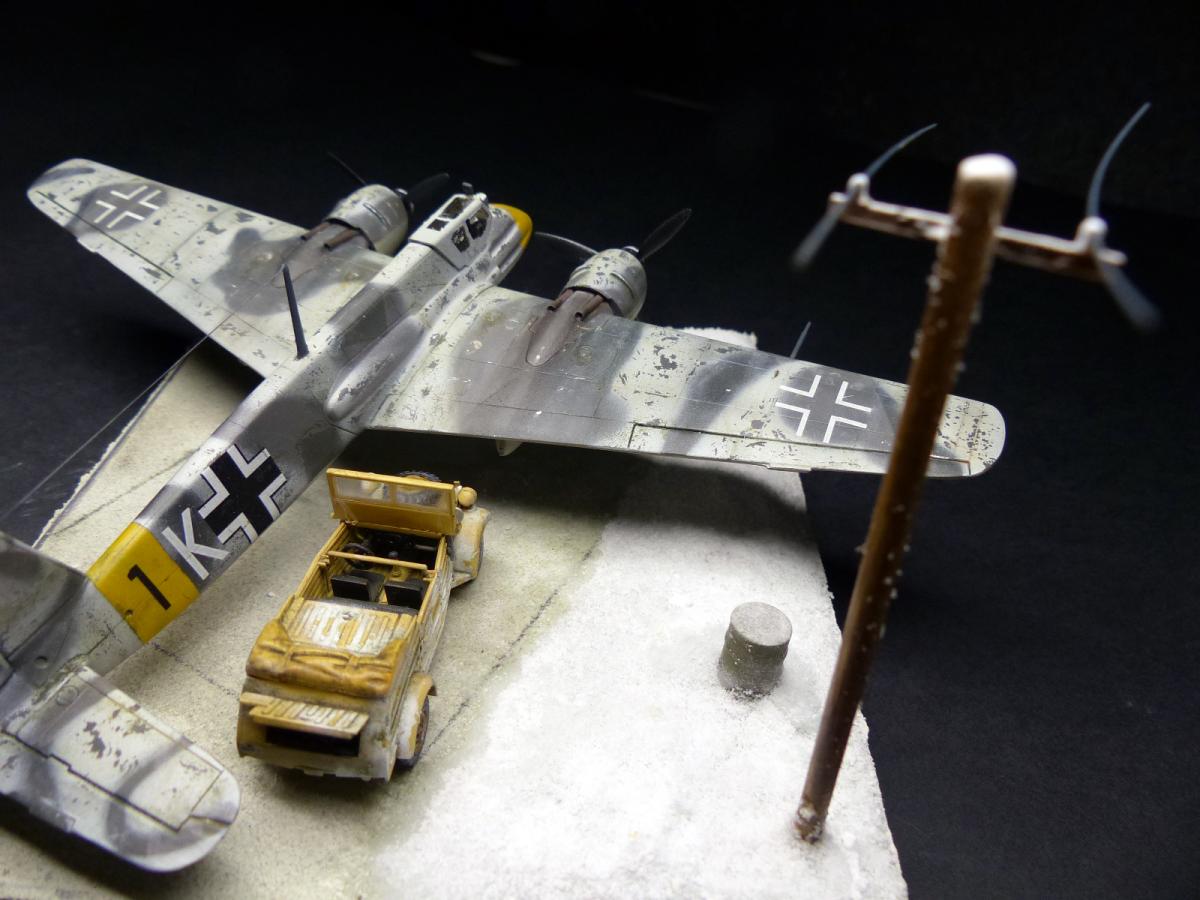
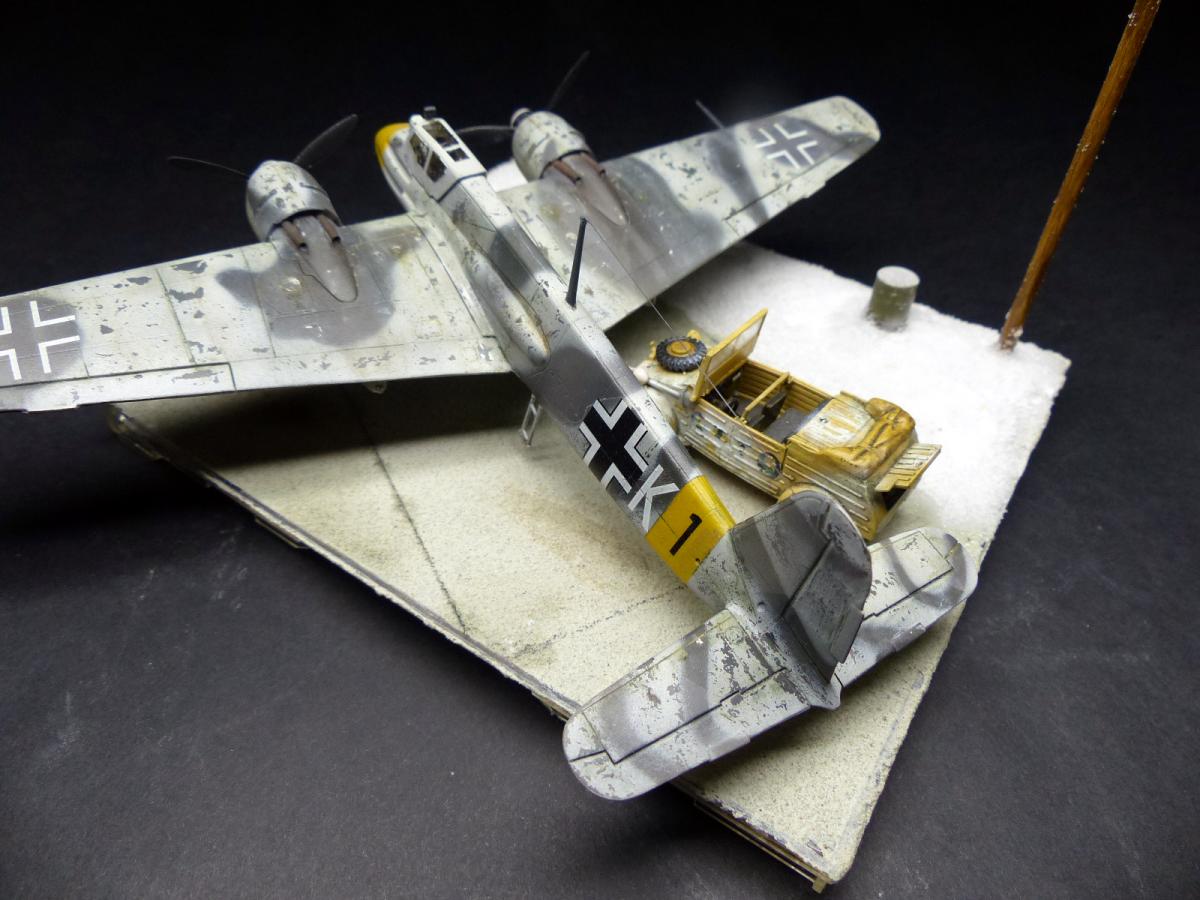
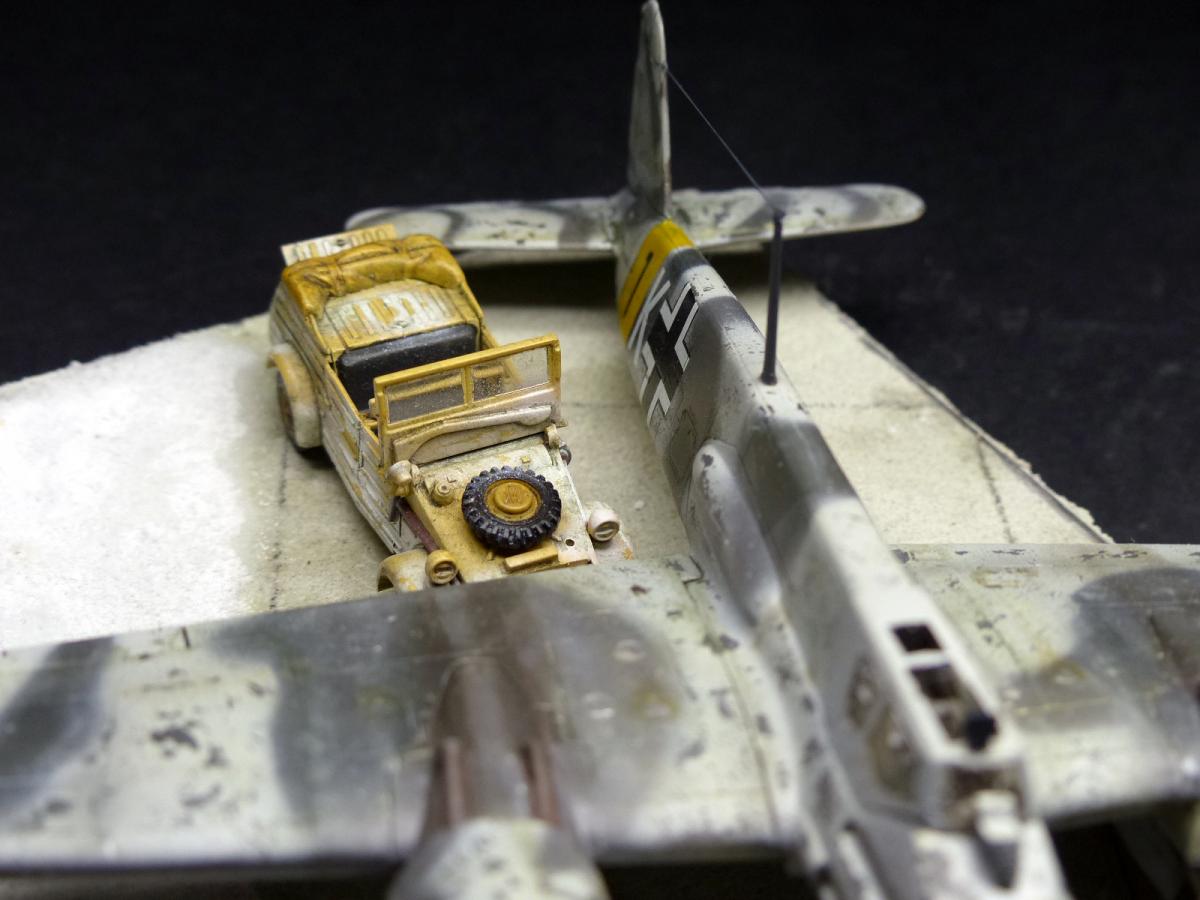
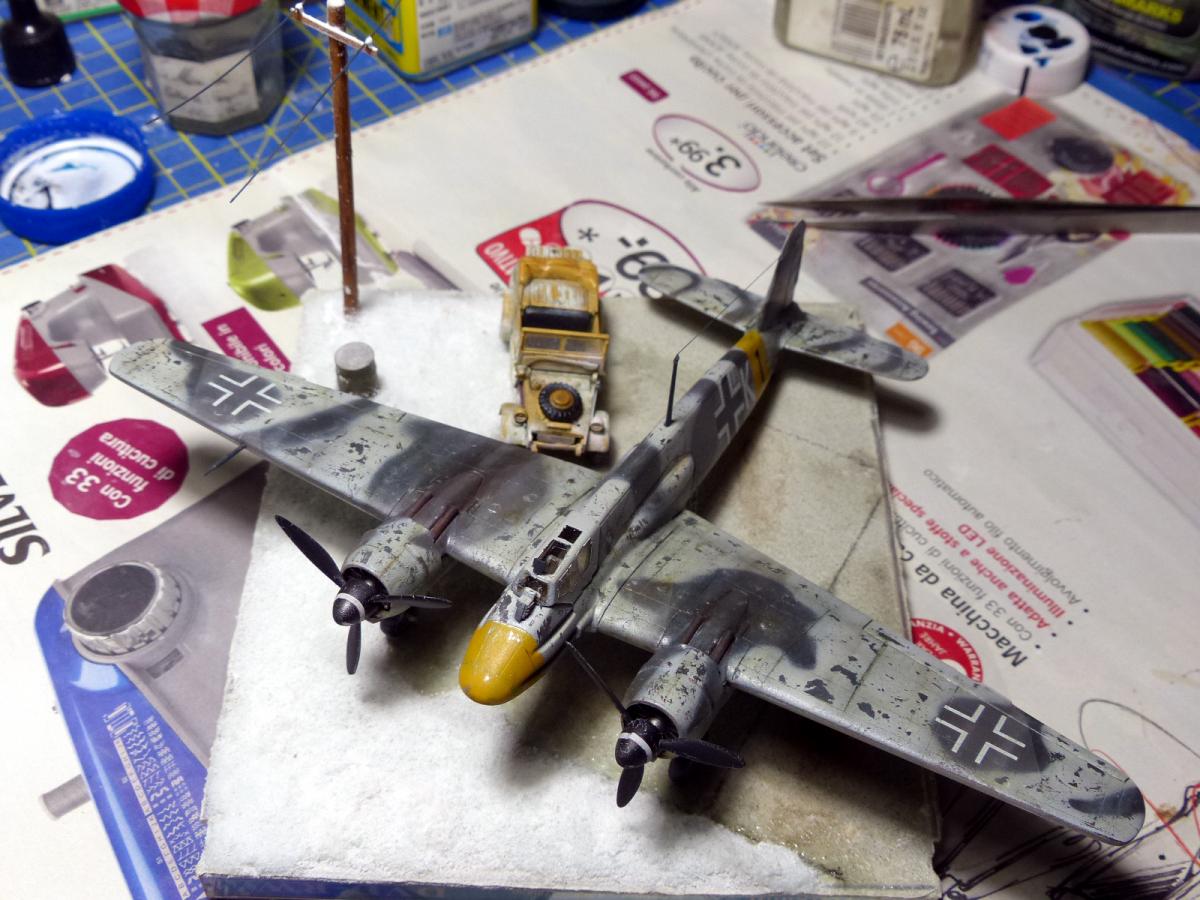
I spread some Vallejo Sandy Paste on the base, and leveled it with a spatula. Then i scribed some line on the dry paste, and applied 4-5 washes. The electricity pole is made with some sprue from the kit, the barrel comes from the spare parts box. The Kubelwagen was an old model... i just added a whitewash to her, and added to the dio. The snow was applied at the side of the concrete surface, with some white glue on the base and then sprinkled liberally: the product was a dedicated one. Scenic Snowflake from Deluxe Materials: but in my opinion not worthy of the price. You can achieve the same result just with some baking soda.


The final reveal images