
Submitted by admin on Tue, 02/25/2014 - 16:55
Model, text and images by Luca Cinacchio
In the last months I enjoyed more and more the 1/72 scale: perhaps because it is still possible to find them a place inside my home crowded with models; or because i can start and finish a full project within weeks and not months.
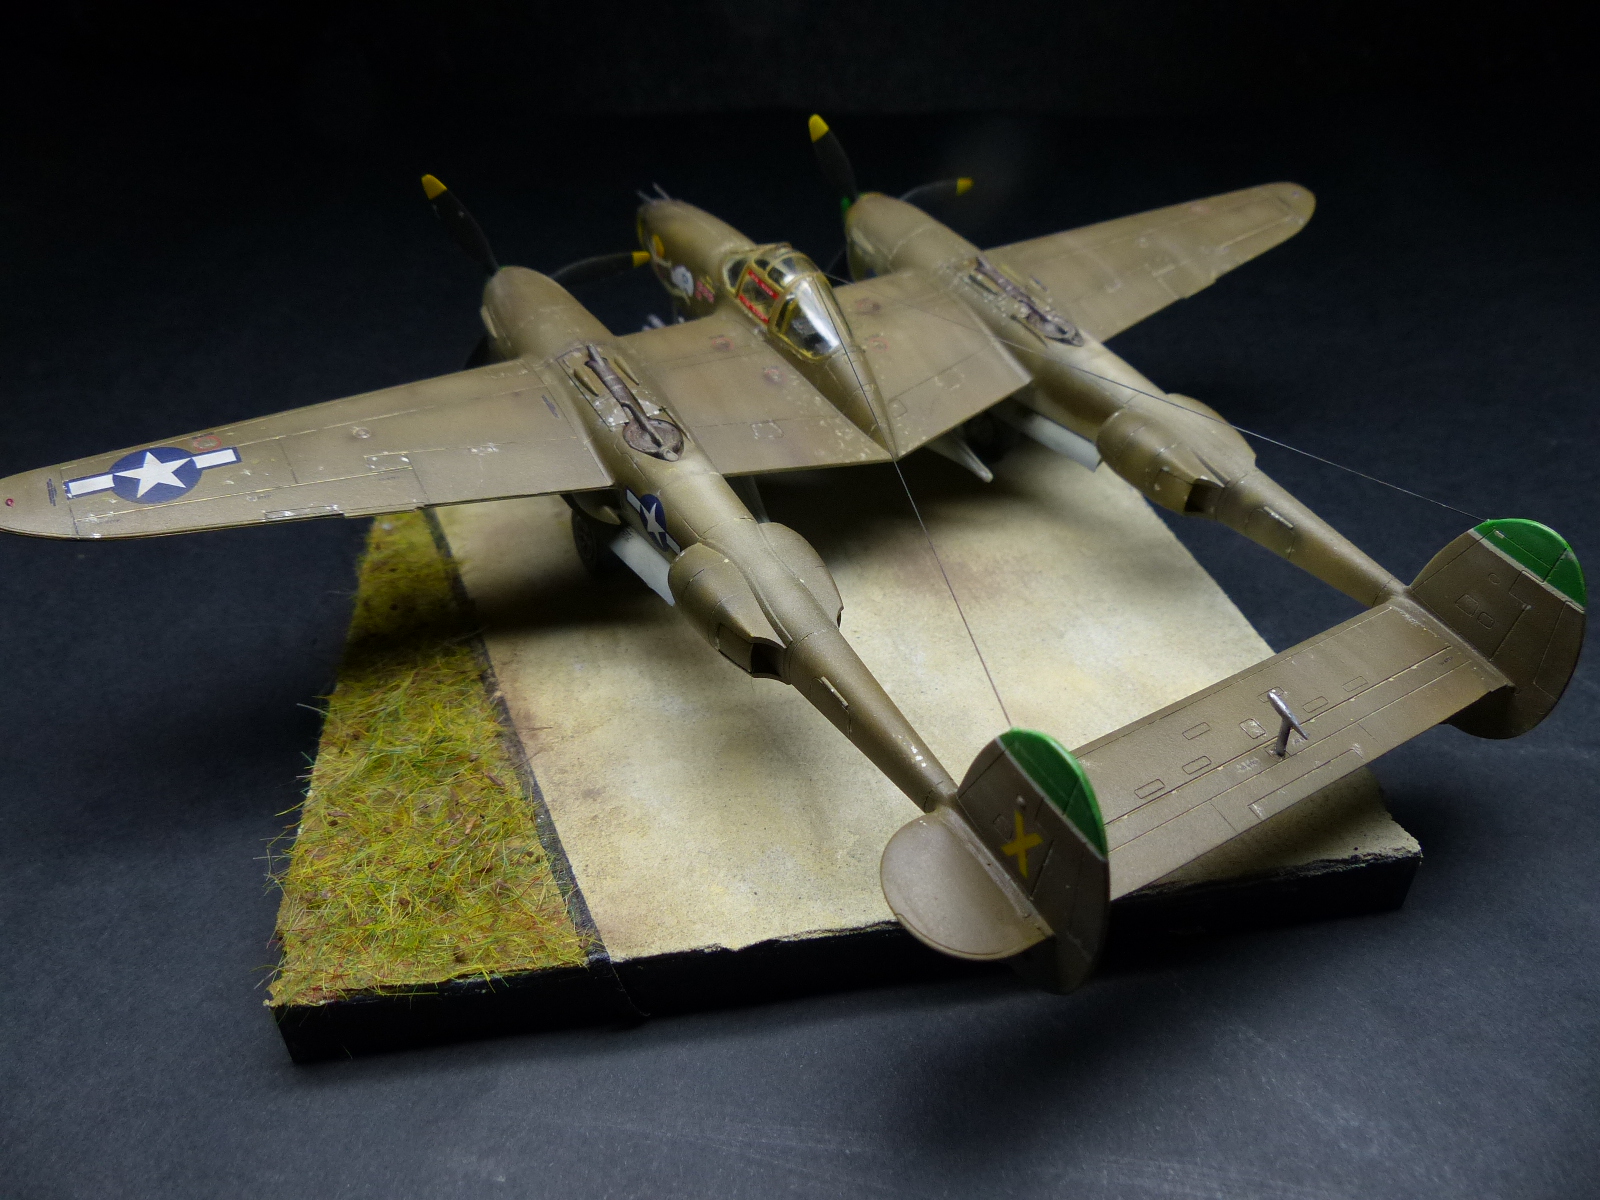
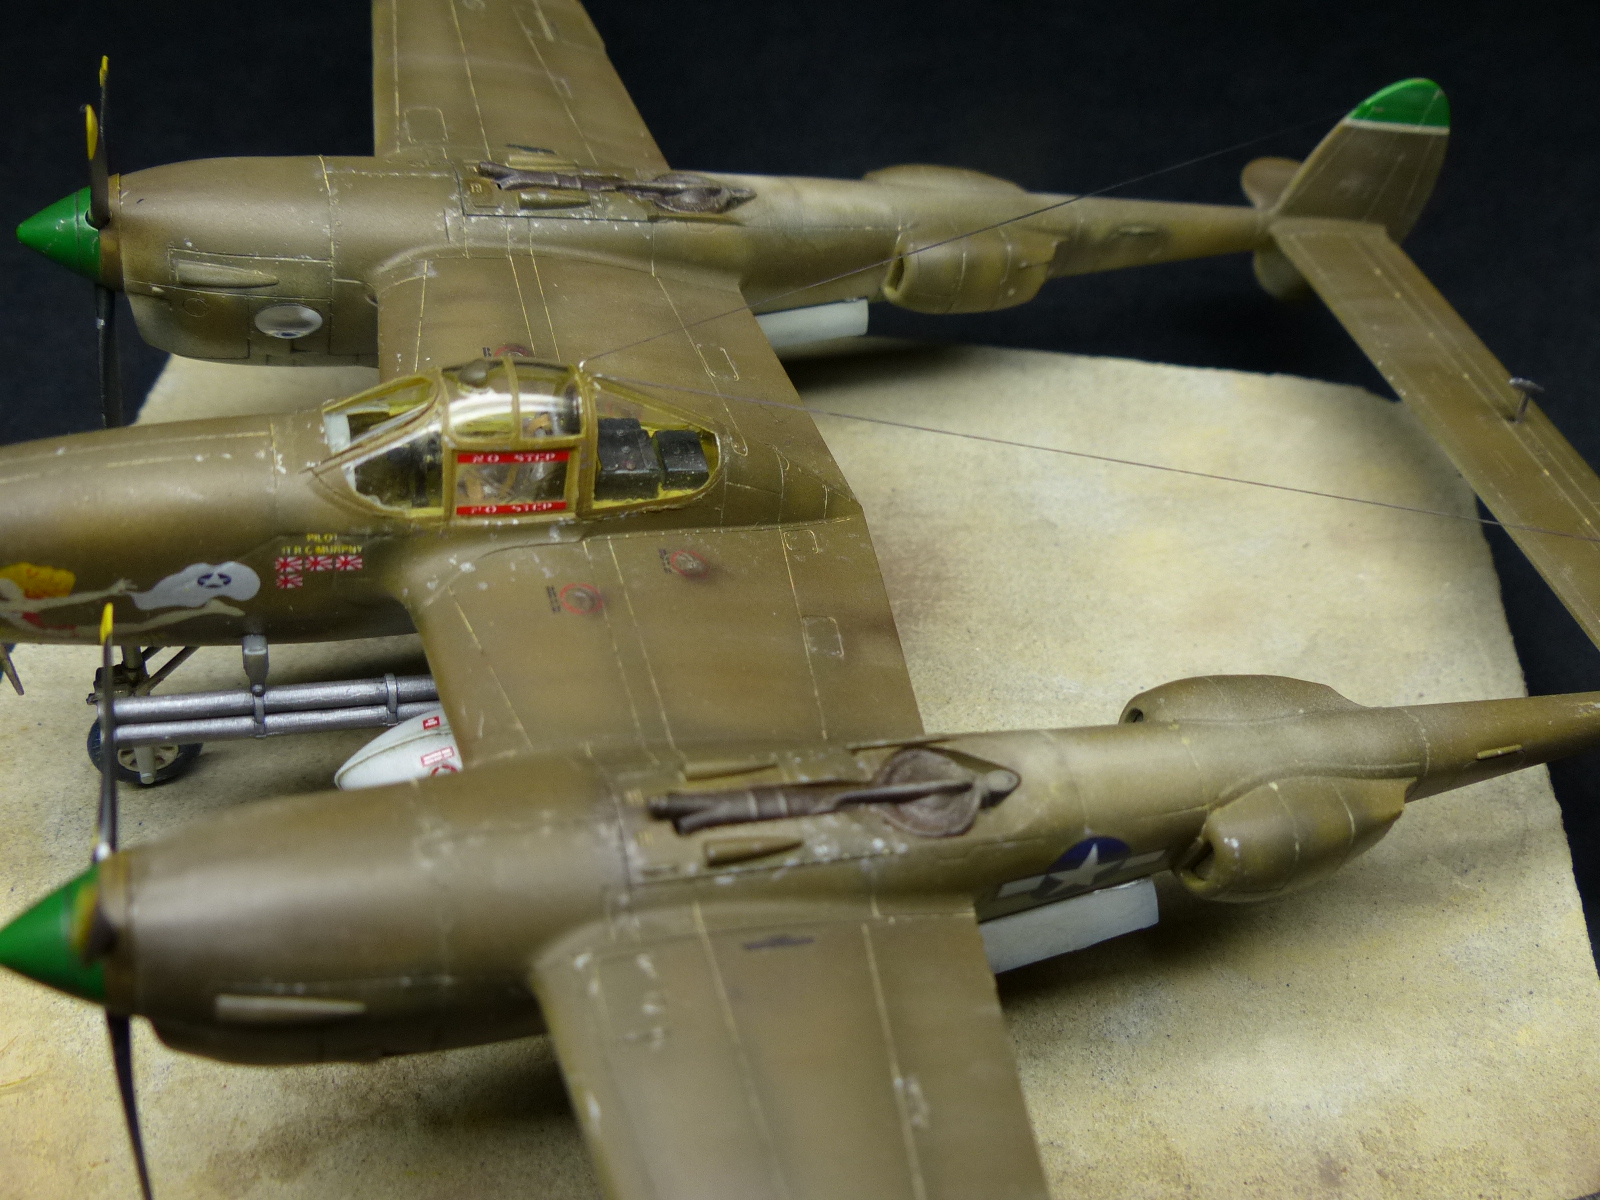
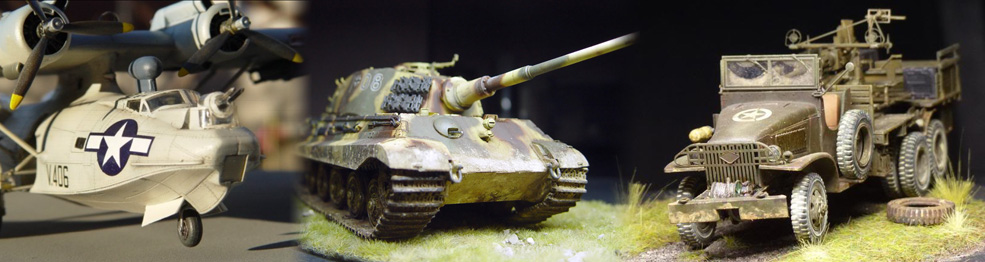
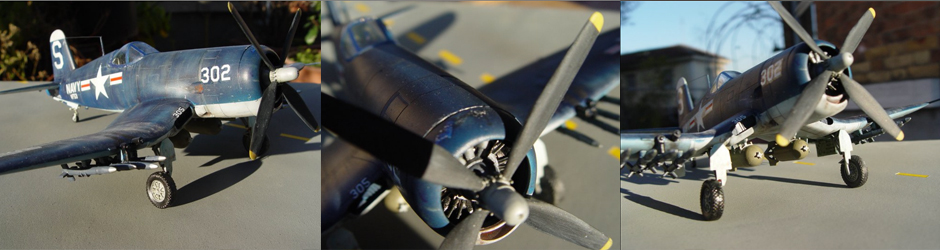
One of my last was the Lockheed P-38J Lightning by Academy.
It is a very nice kit: very easy to assemble, although the shape of the plane can potentially present some troubles; nicely detailed; with no fitting issues at all (all the pieces went together in a breeze); and last but not least very reasonable priced.
Since i was happy with the completed model, i also added a small base.
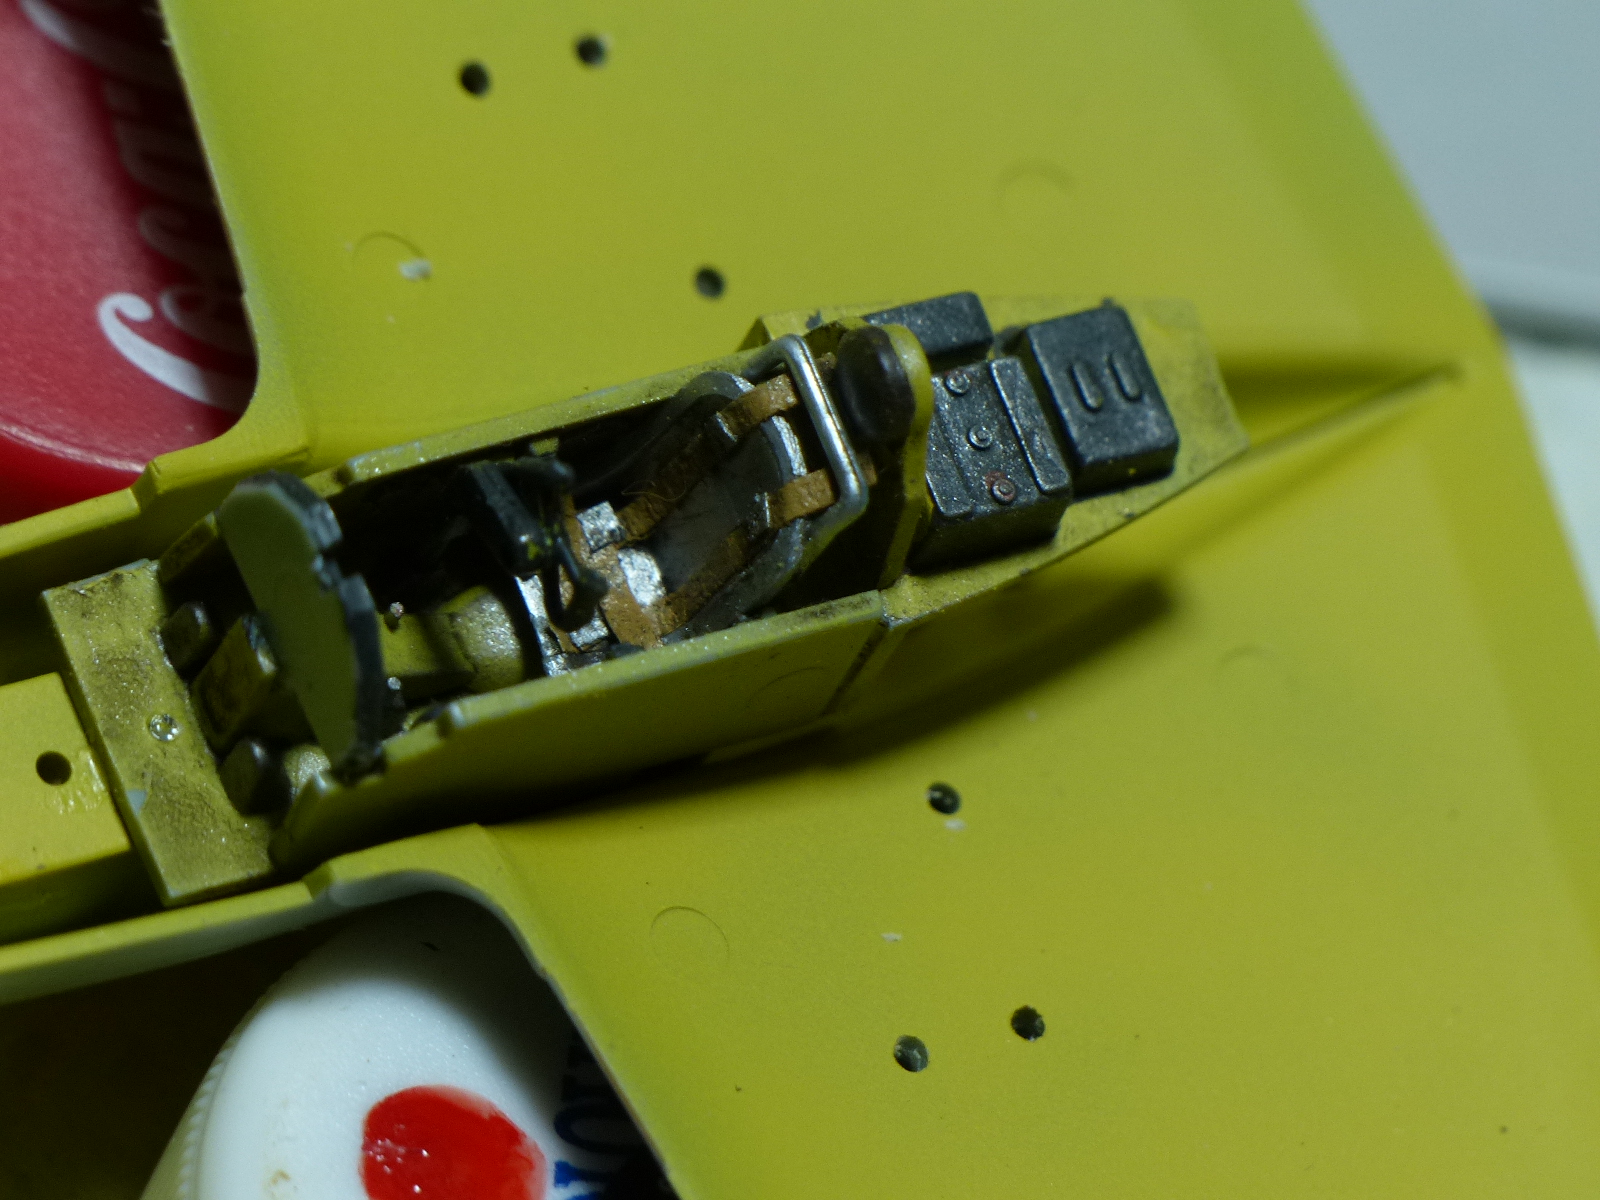 |
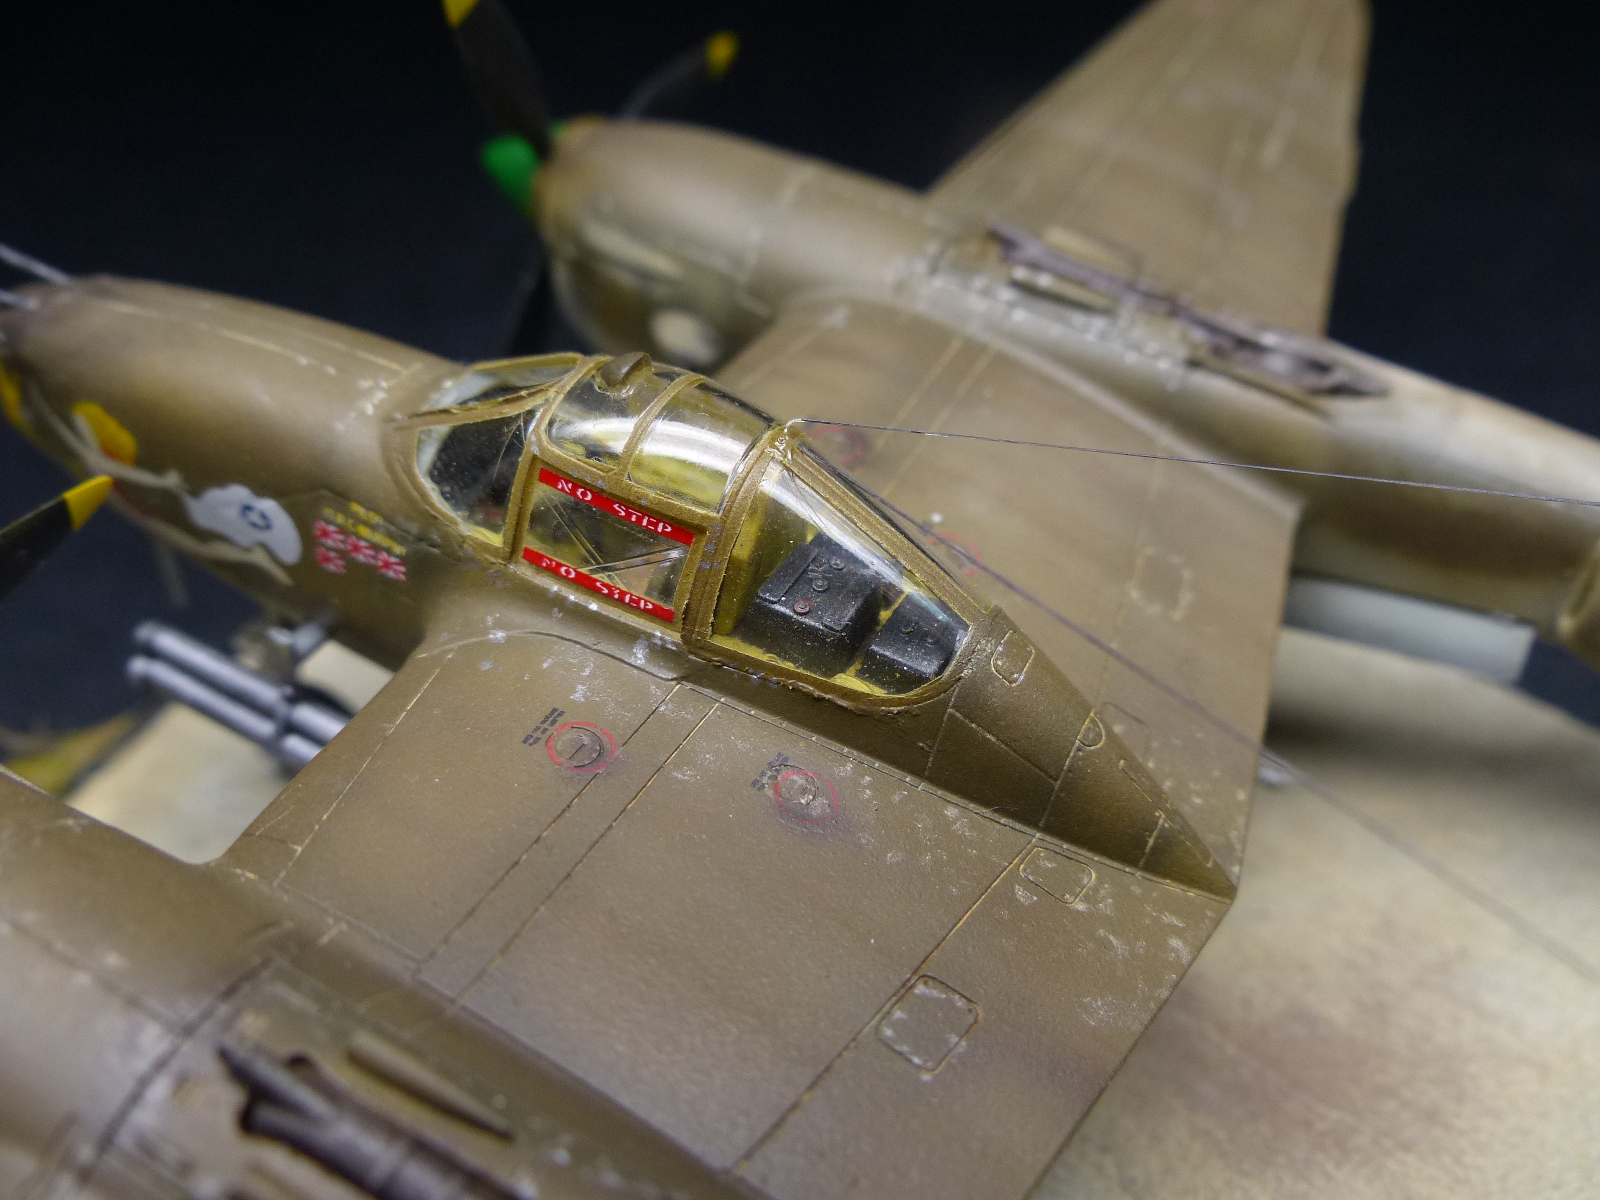
Construction started as usual from the cockpit, painted with Gunze Aqueos interior green. The radio equipment was painted in black. Some drybrush in metallic color here and there to pick-out the details. Seat-belts were scartch-built using some 0.6 mm tape. The job was completed with some black-brown wash. |
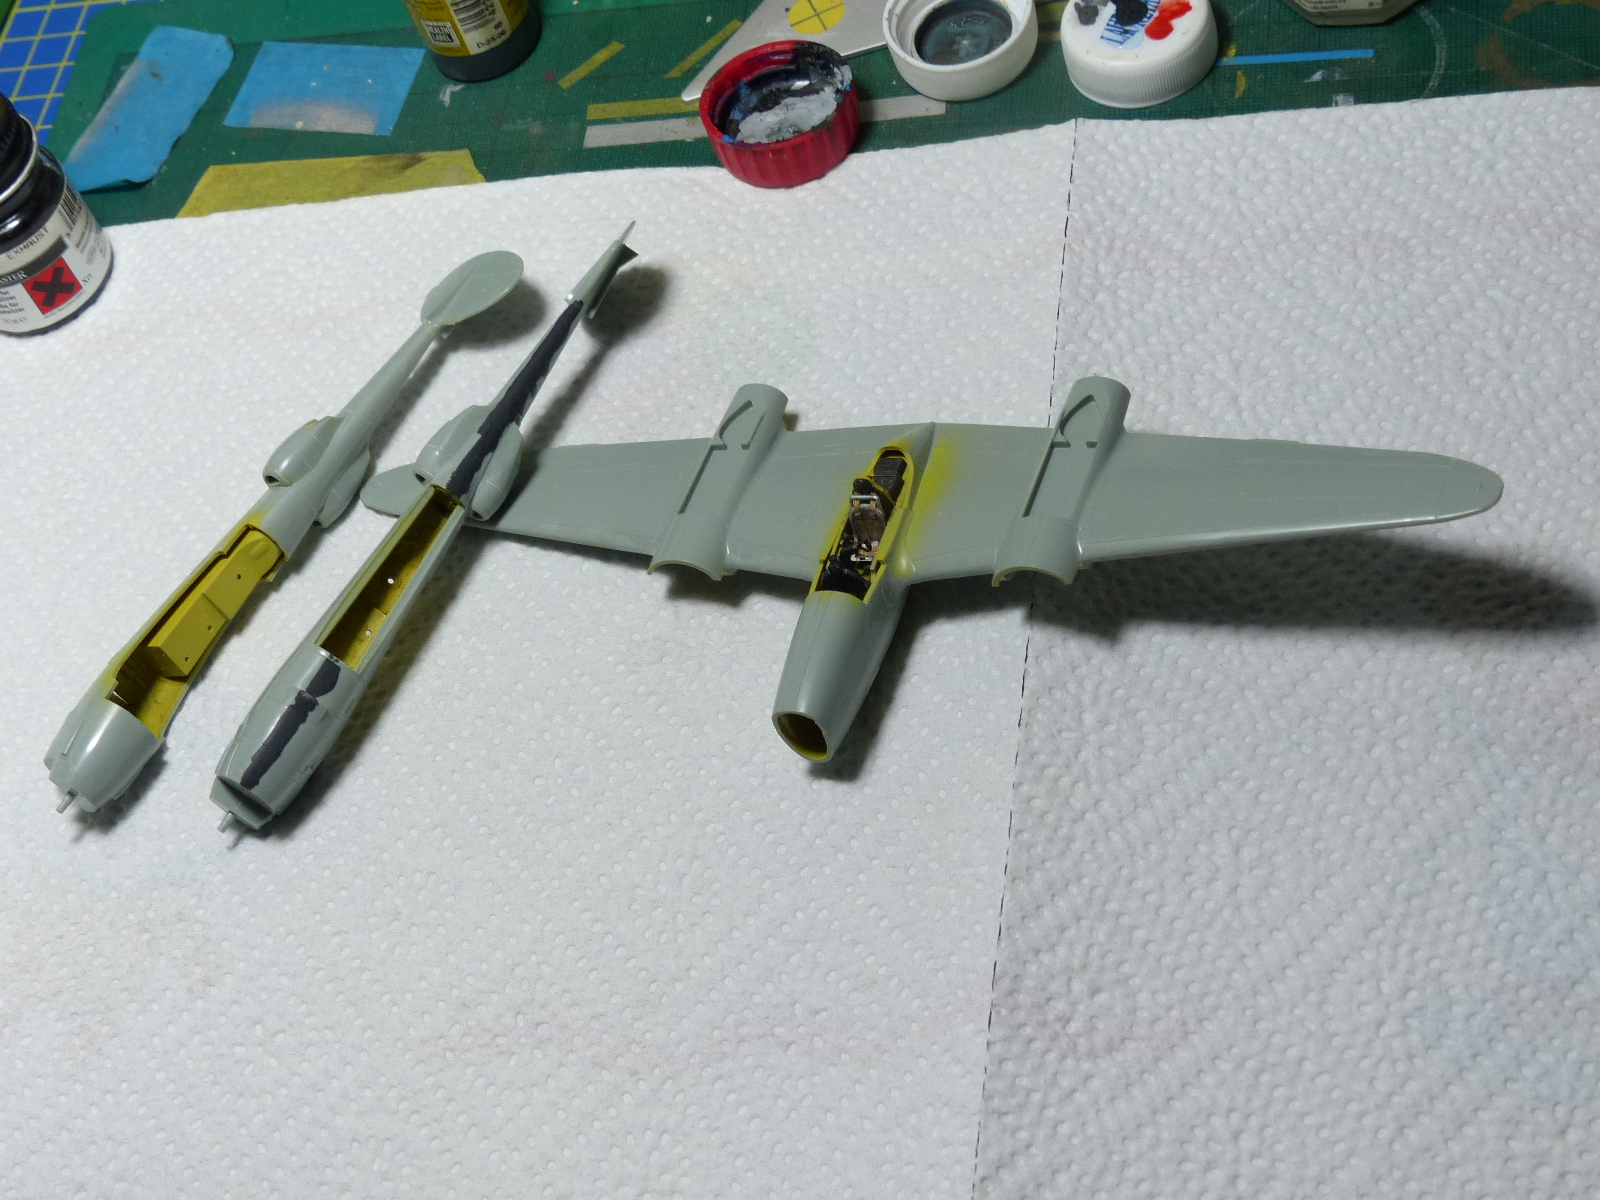 |
Assembling of the main components followed |
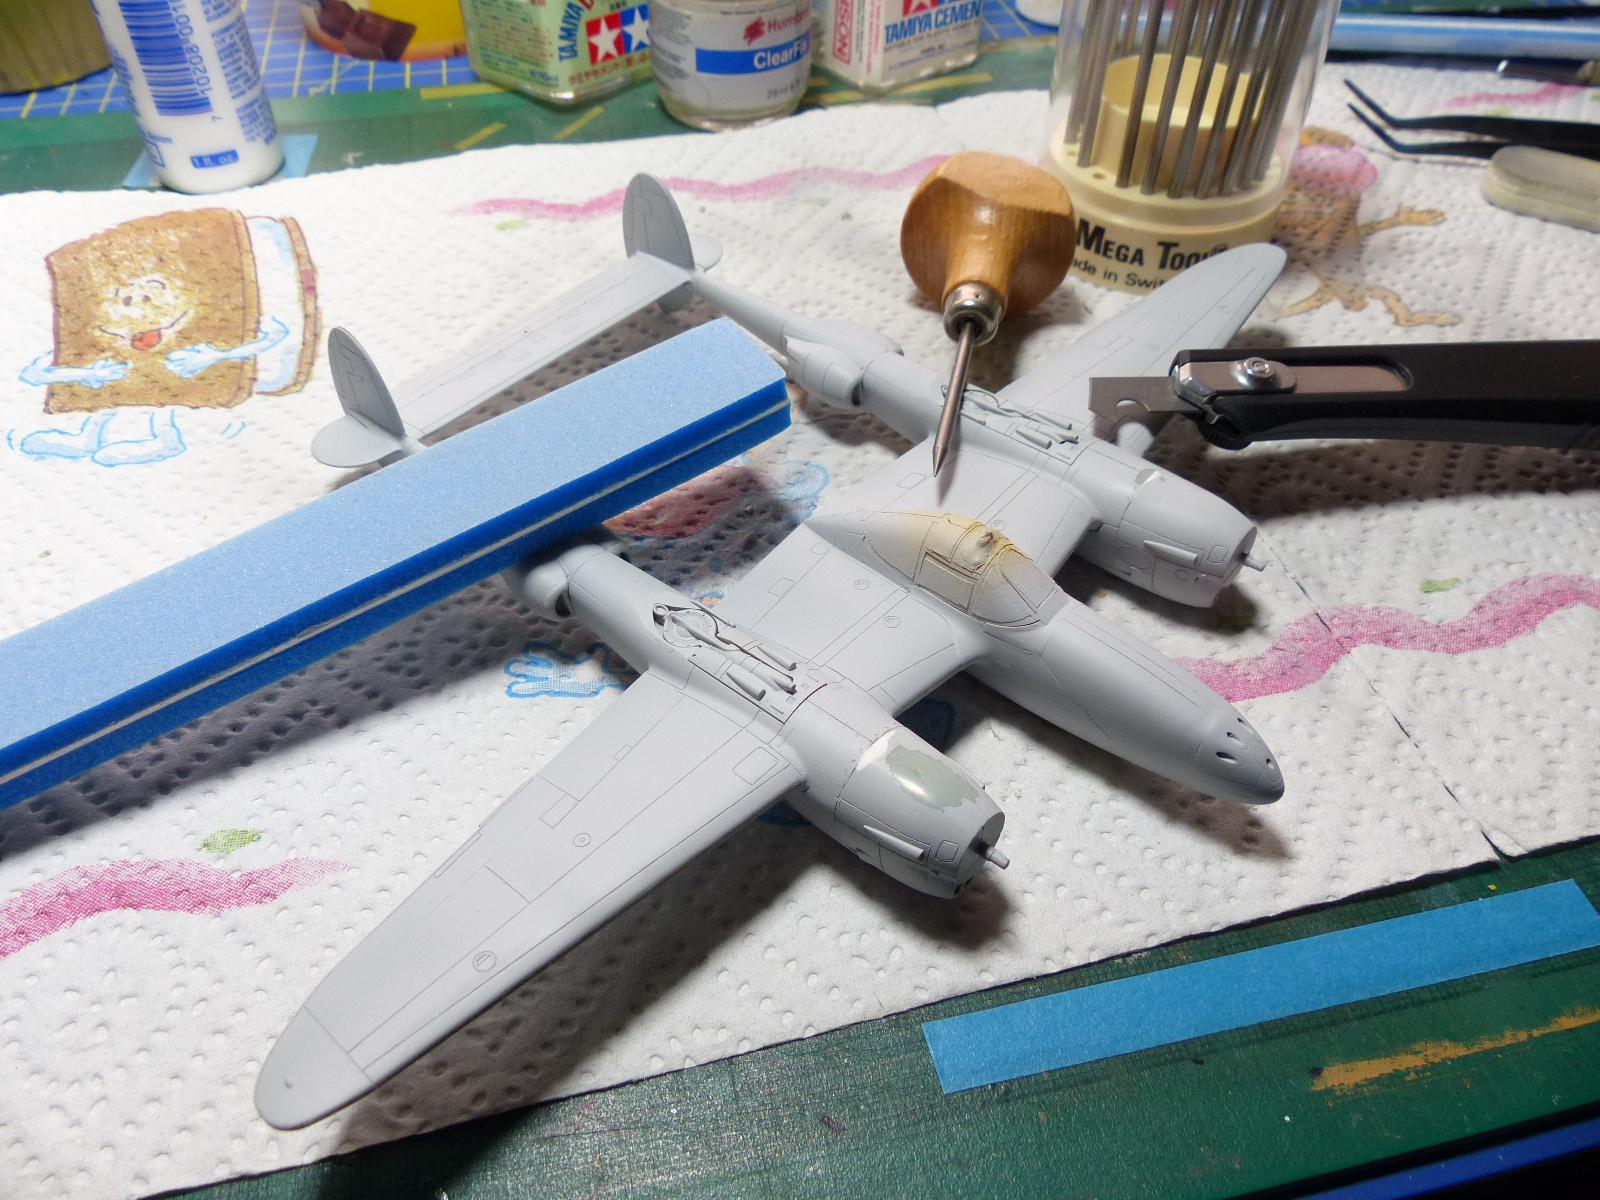 |
They were glued together: no problems at all, although the problematic shape of the plane, no fit issues. After danding the seam lines, i rescribed the missing panel lines, and added the missing rivets with the tool that you see in the image. |
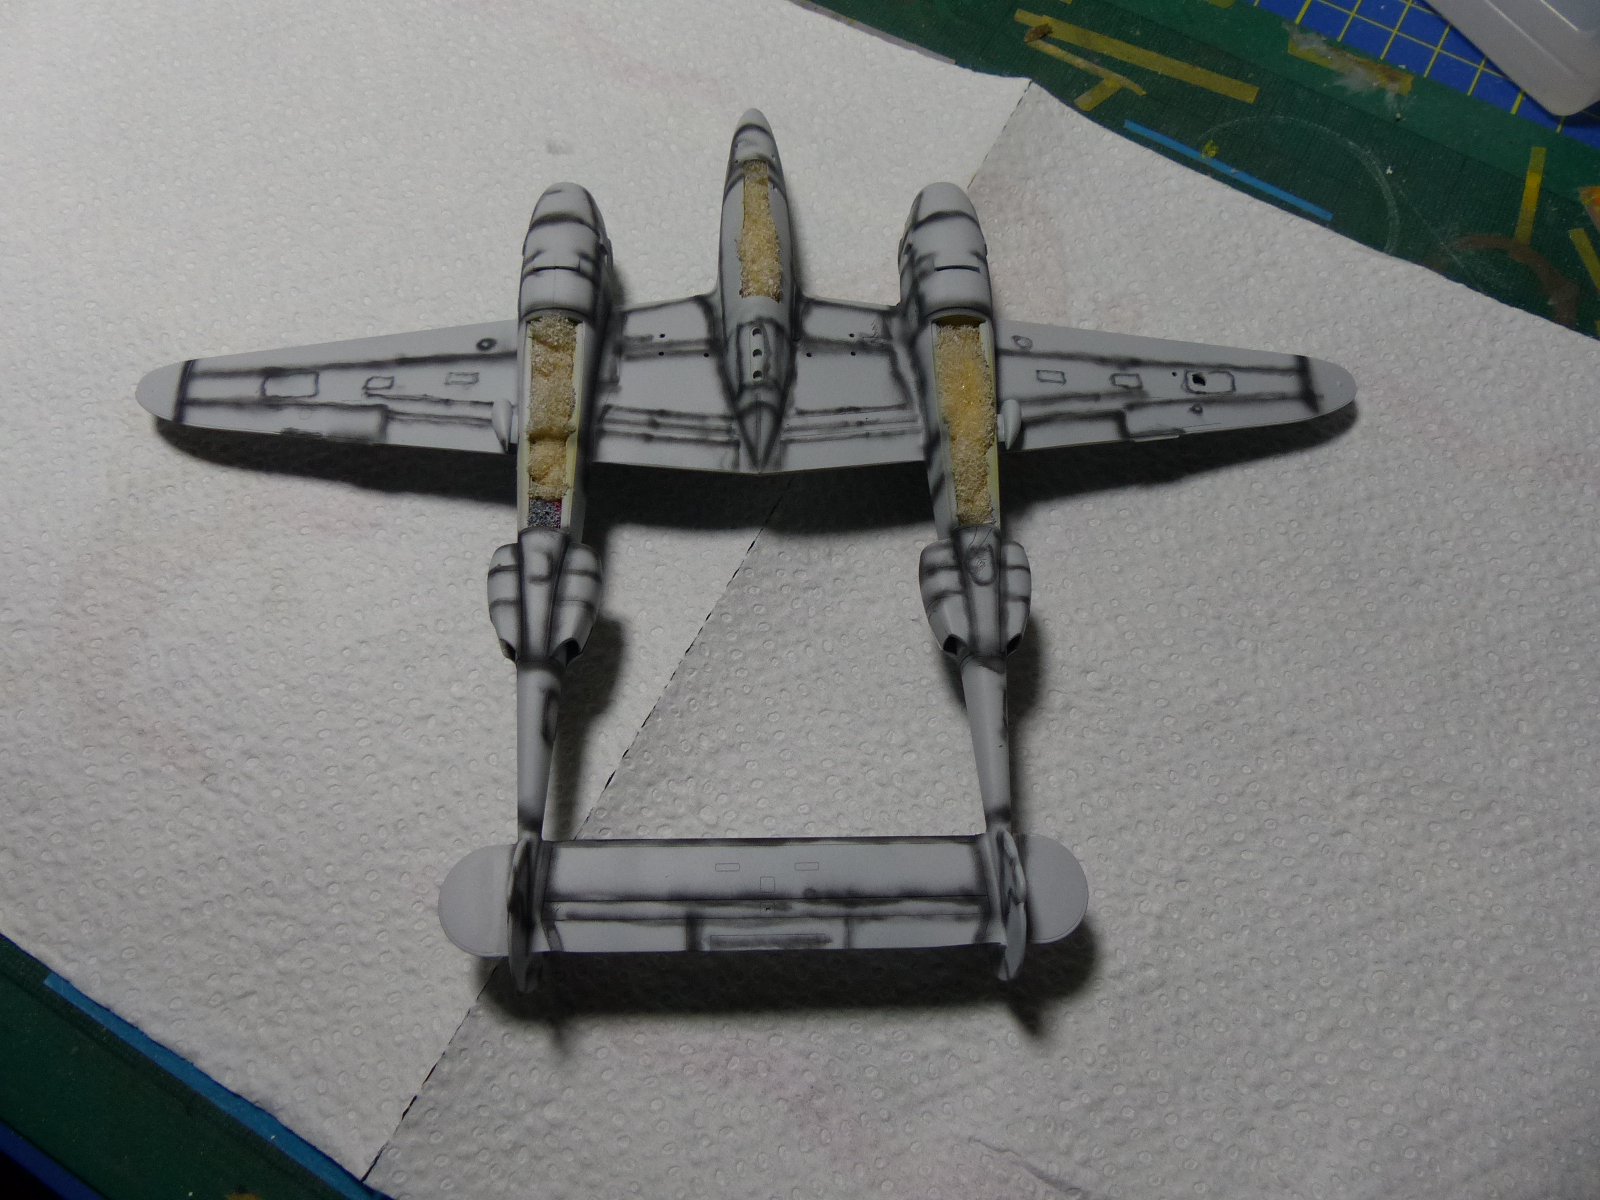 |
After primining, the pre shading followed. |
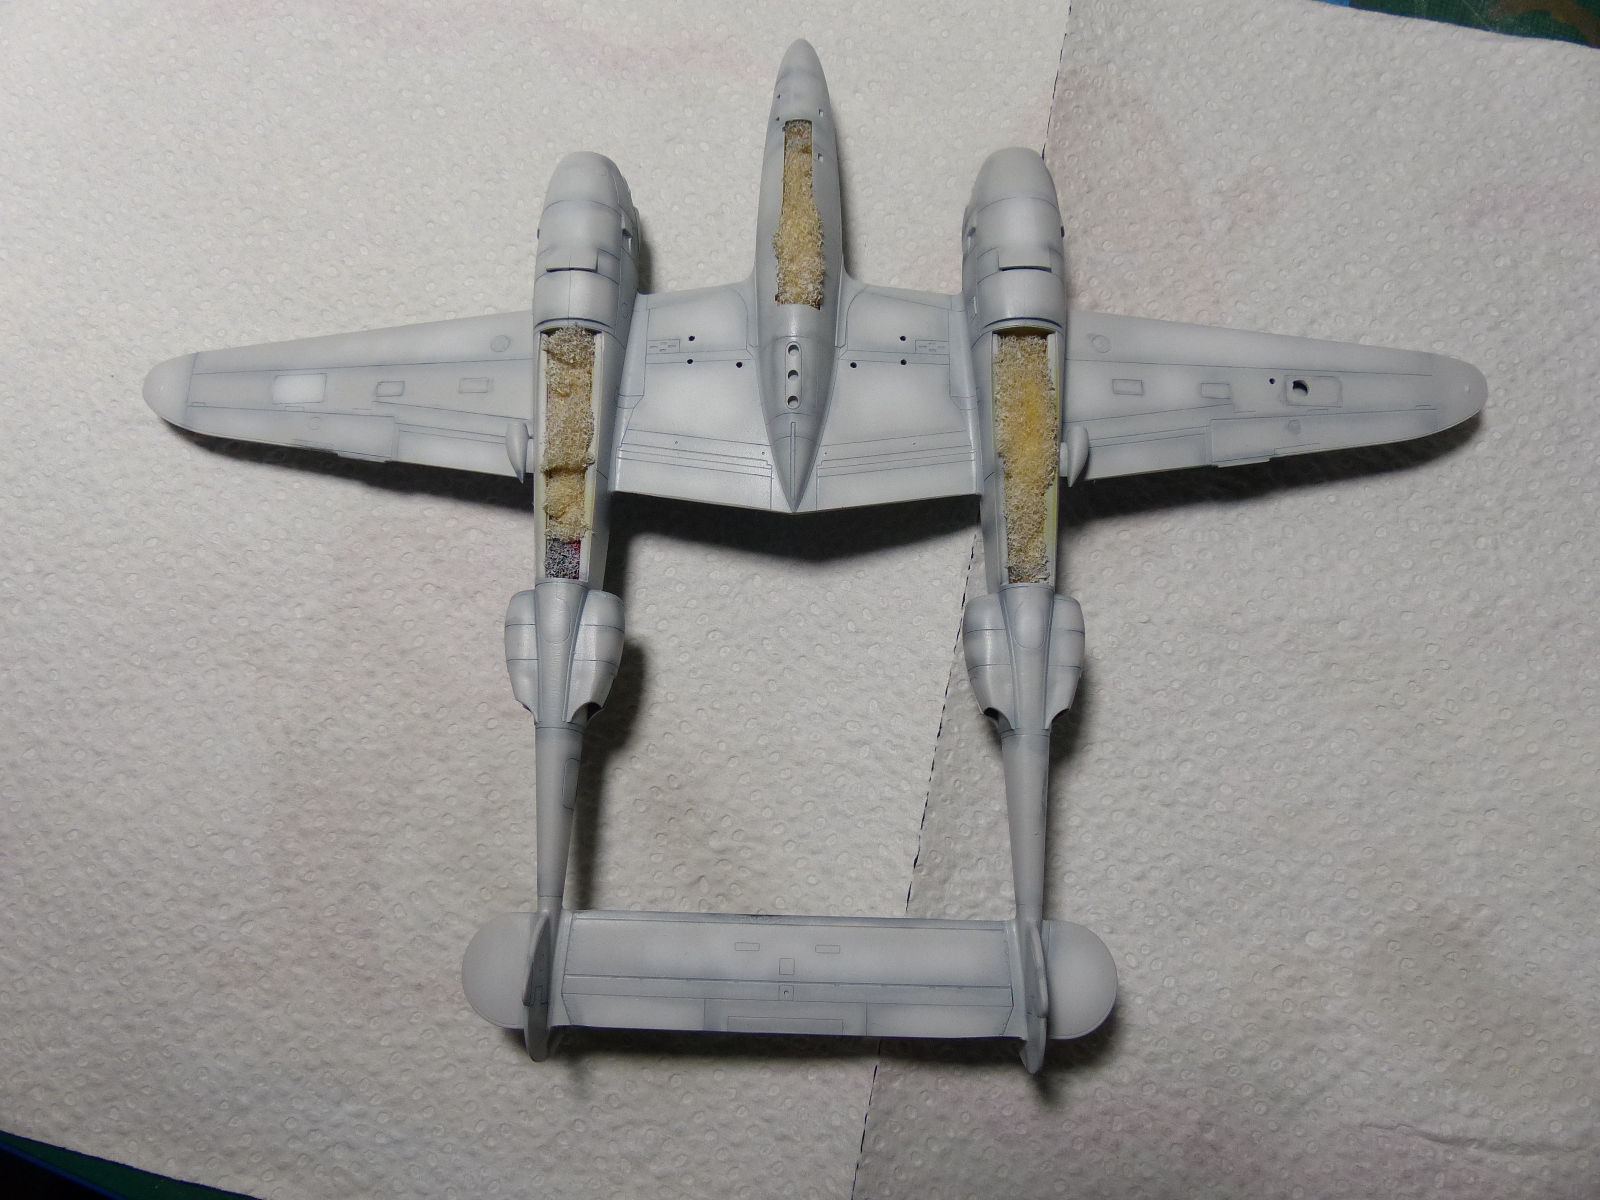 |
Lower side of the model painted with Gunze Aqueos custom mix, in the ratio 50% paint 50% thinner, applyed in thin coats to preserve and control the pre-shading. Then i added some white to the basic color, further thinned everything and highlighted the center of the panels. |
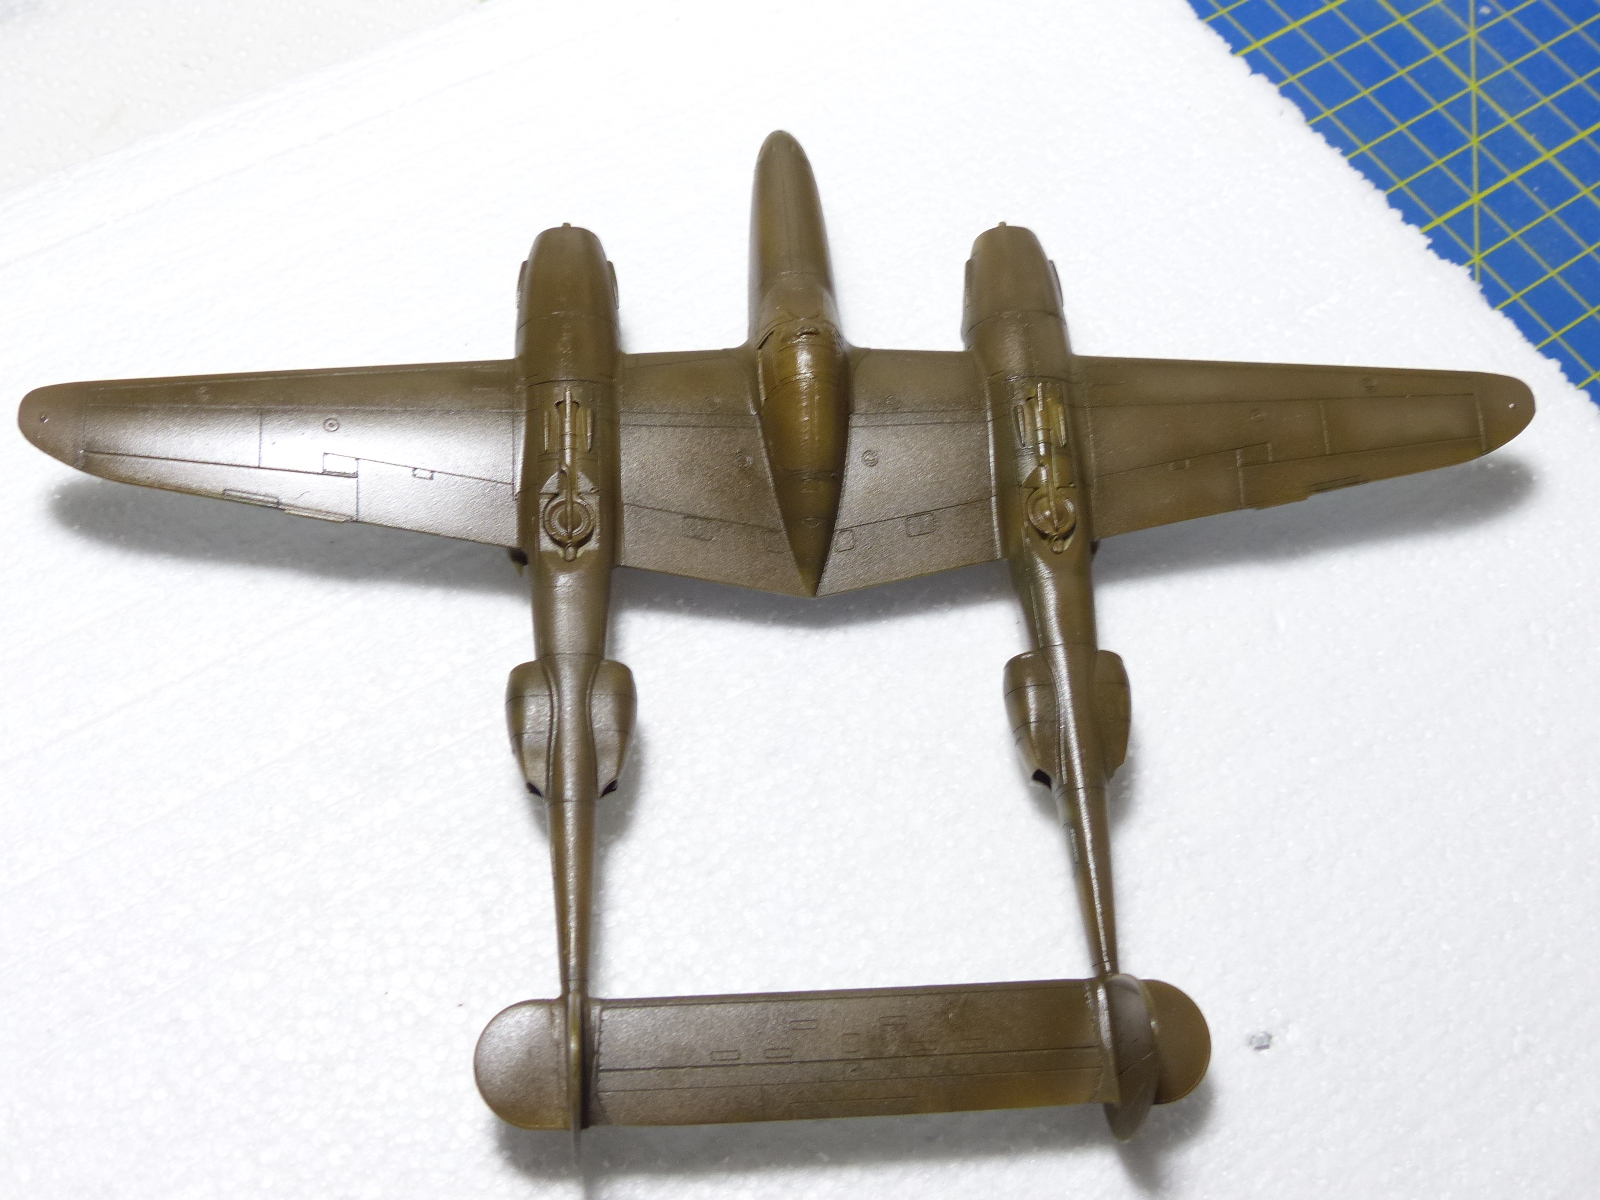 |
Same procedure for the upper part, this time in olive drab. No masking, but free-hand aiurbrushed. |
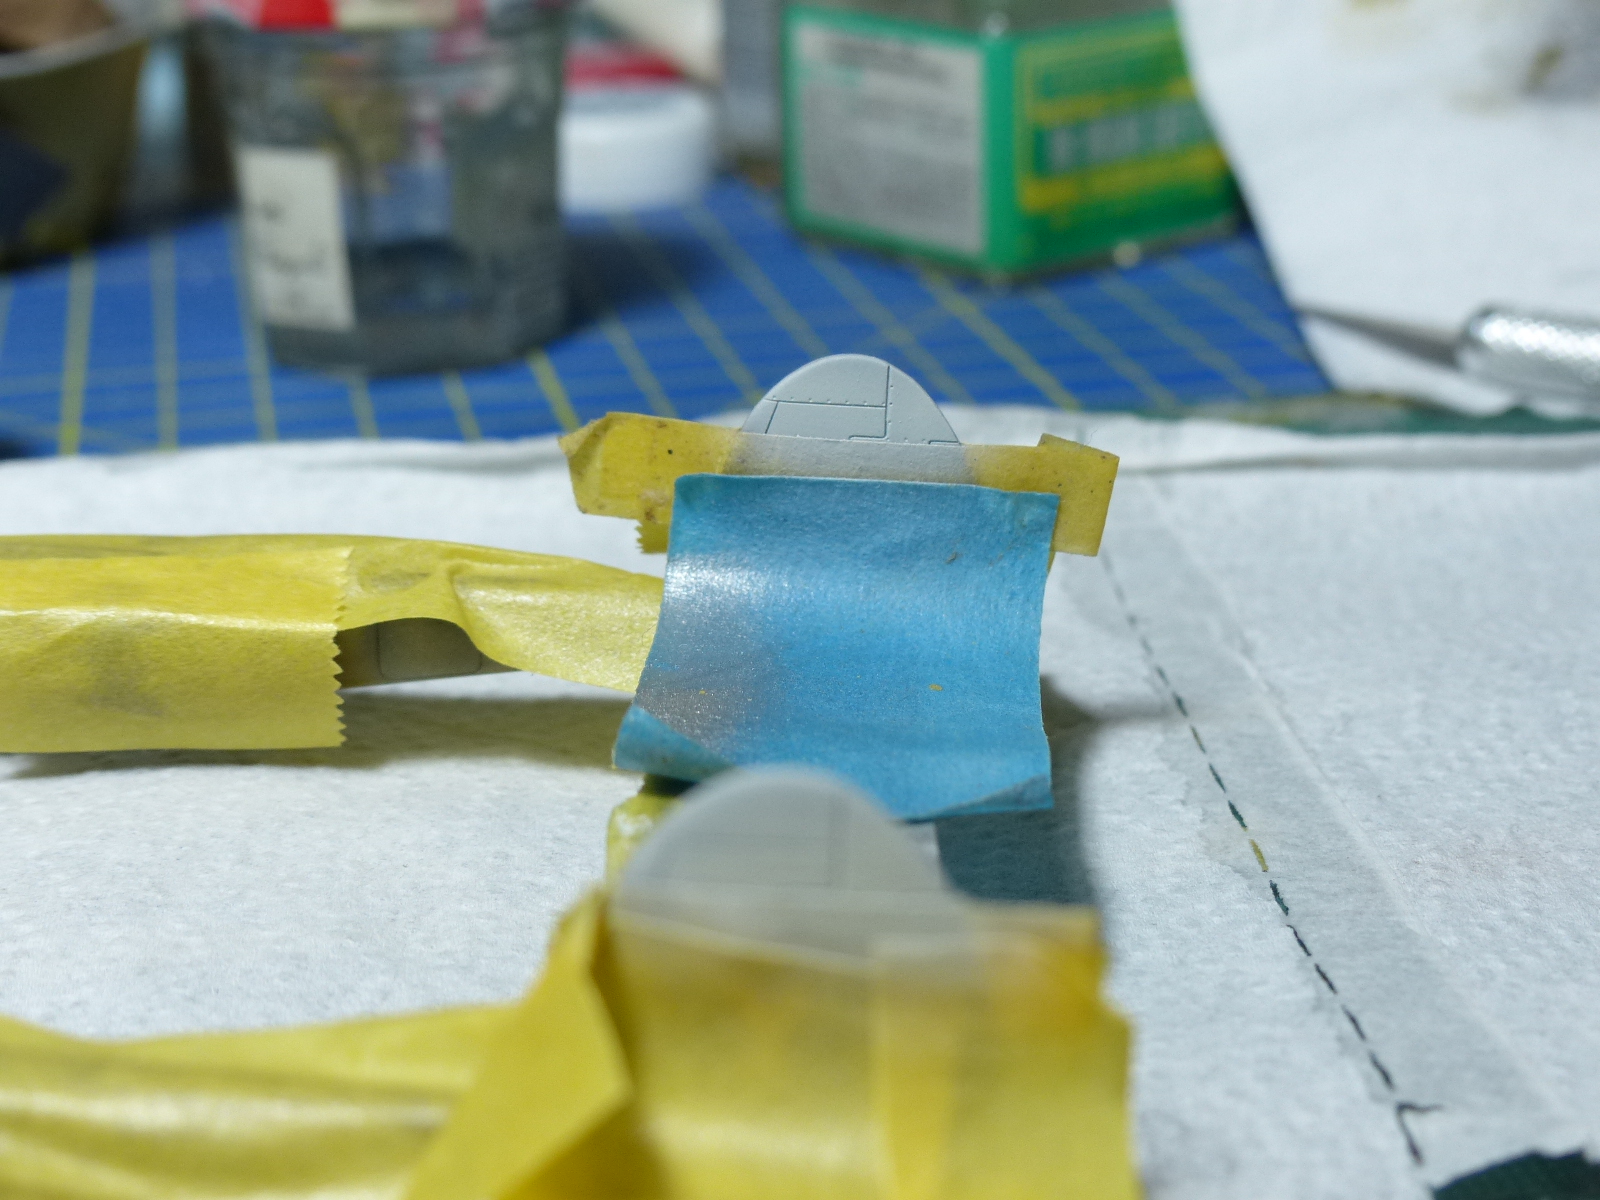 |
The tail was originally painted in white and green. Because i try to avoid the decals as much as possible, I masked the area and sprayed the white... |
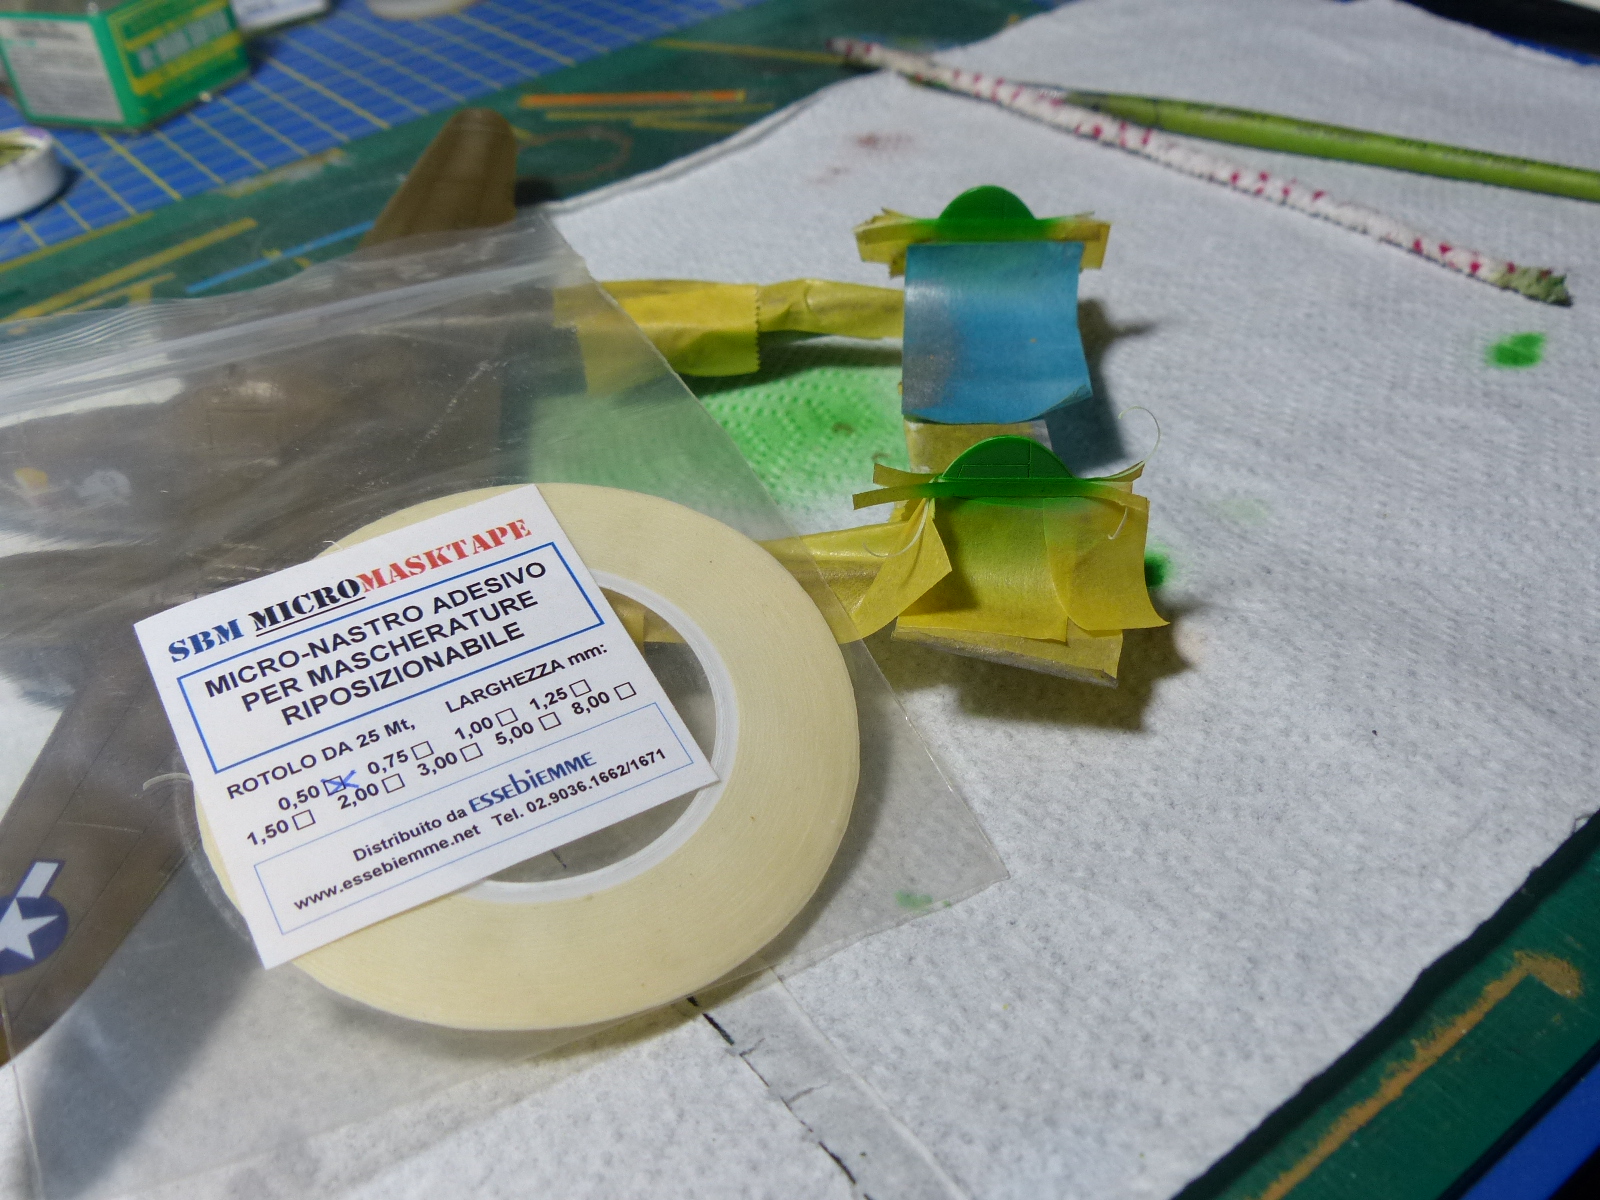 |
...masking again with 0.5 mm. tape, and sprayed the green... |
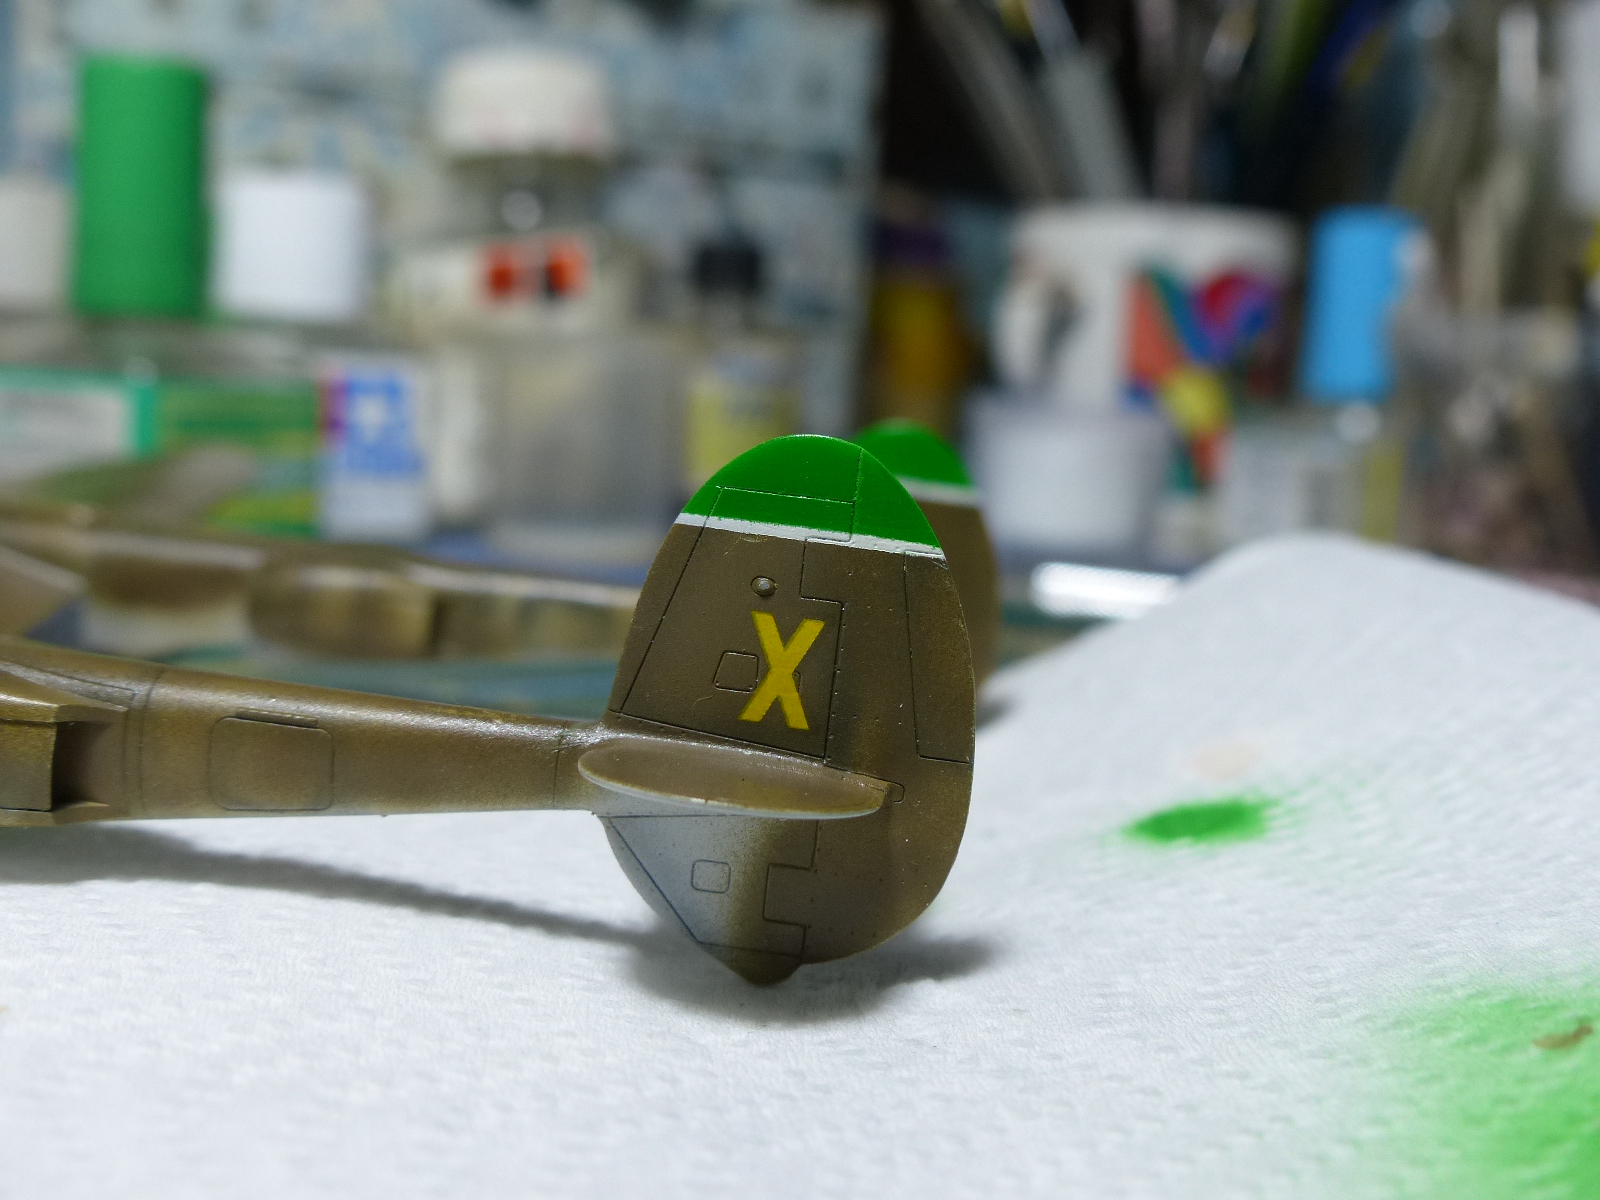 |
...for the final result. |
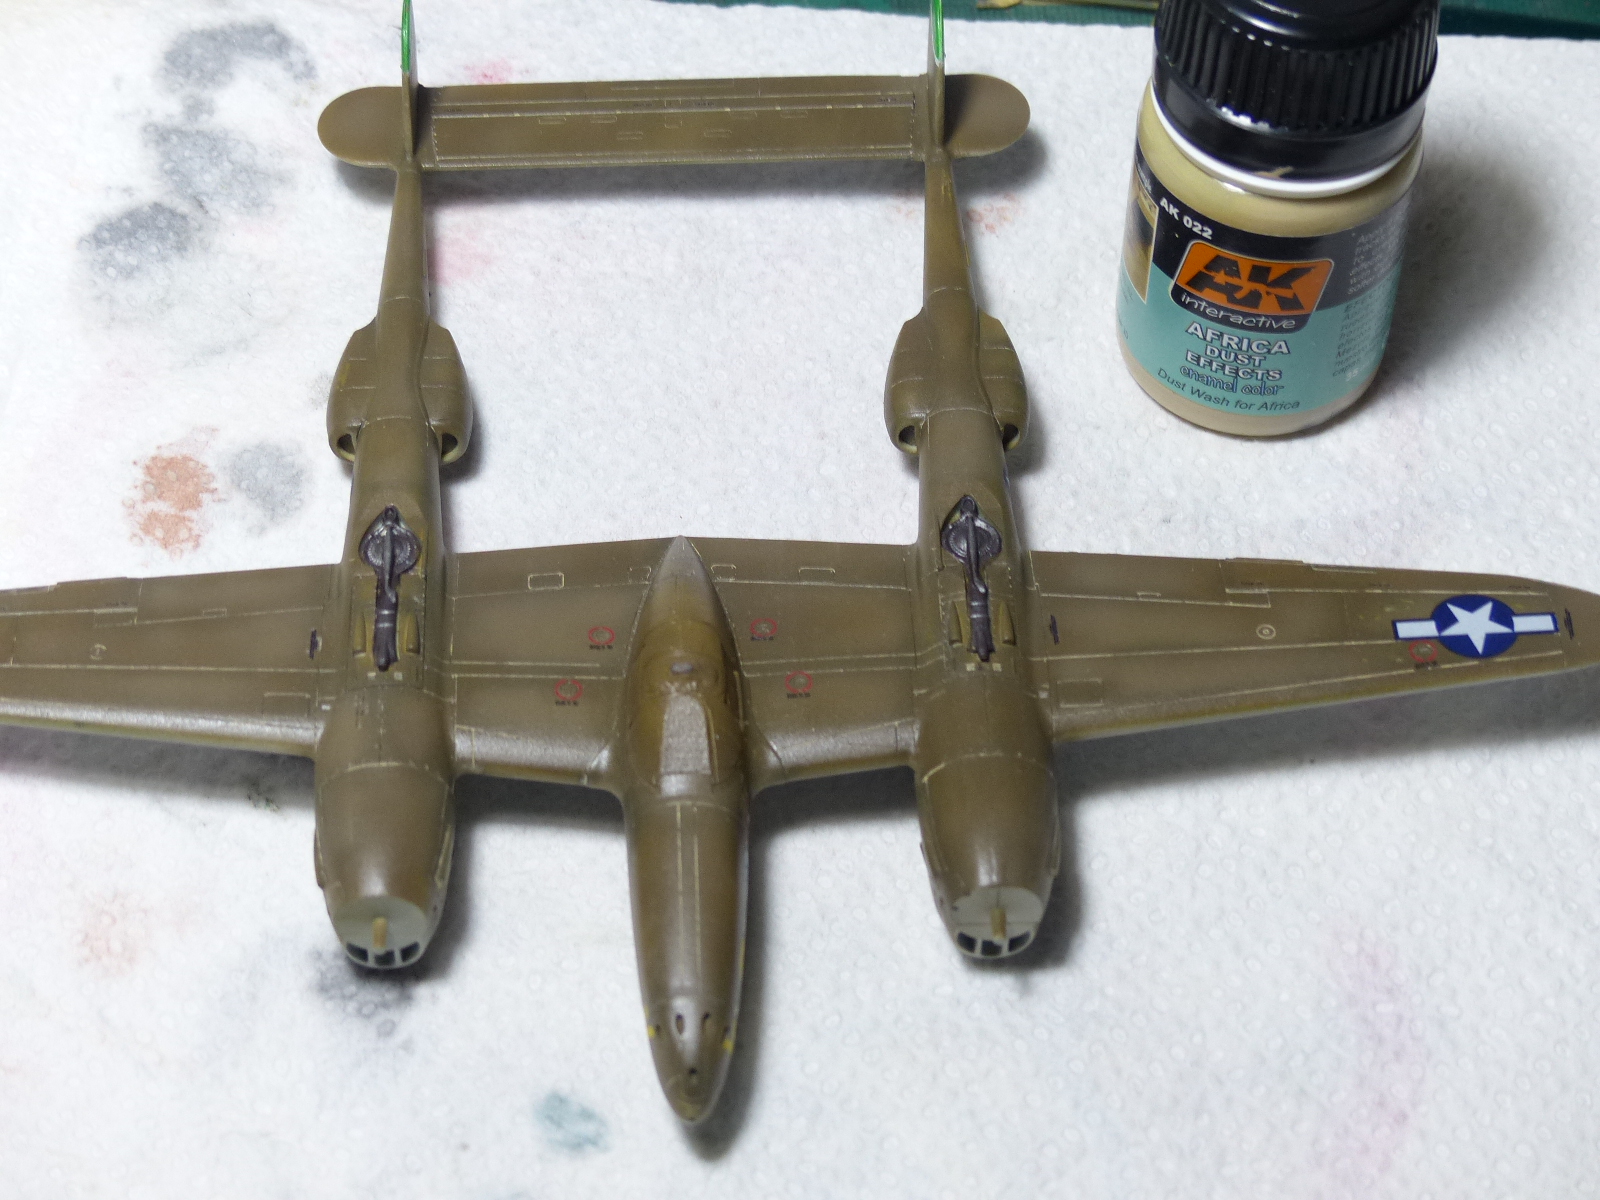 |
Weathering started on the upper part, with an enamel sand wash from AK range: i roughly applyed it all along the panel lines, waited for 15 minutes, and then cleaned it with a brush slightly damped with white spirit, moving it in the direction of the airflow, to obtain some subtle streaks. |
 |
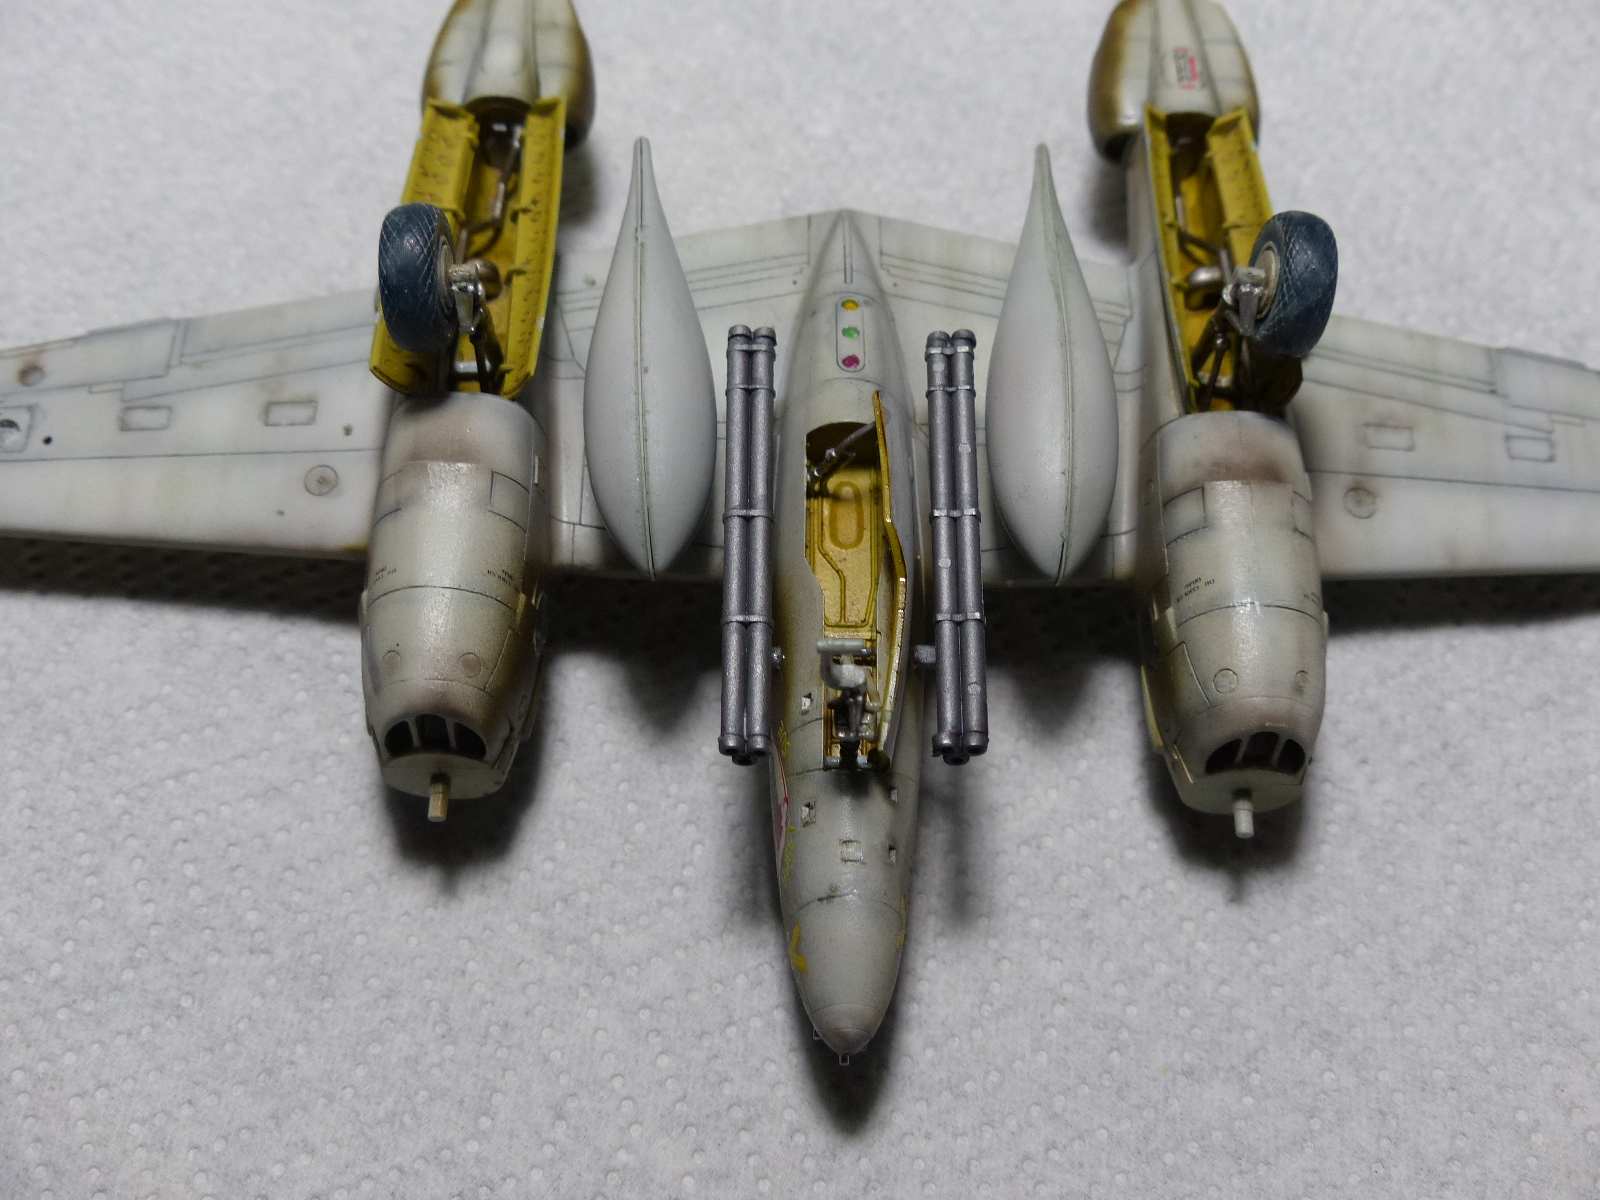
For the lower side, firs a brow-blue wash, applied same as before, followed by a damp heart wash, this time in a much more "clean" way, focused only on the inside of the panel lines. |
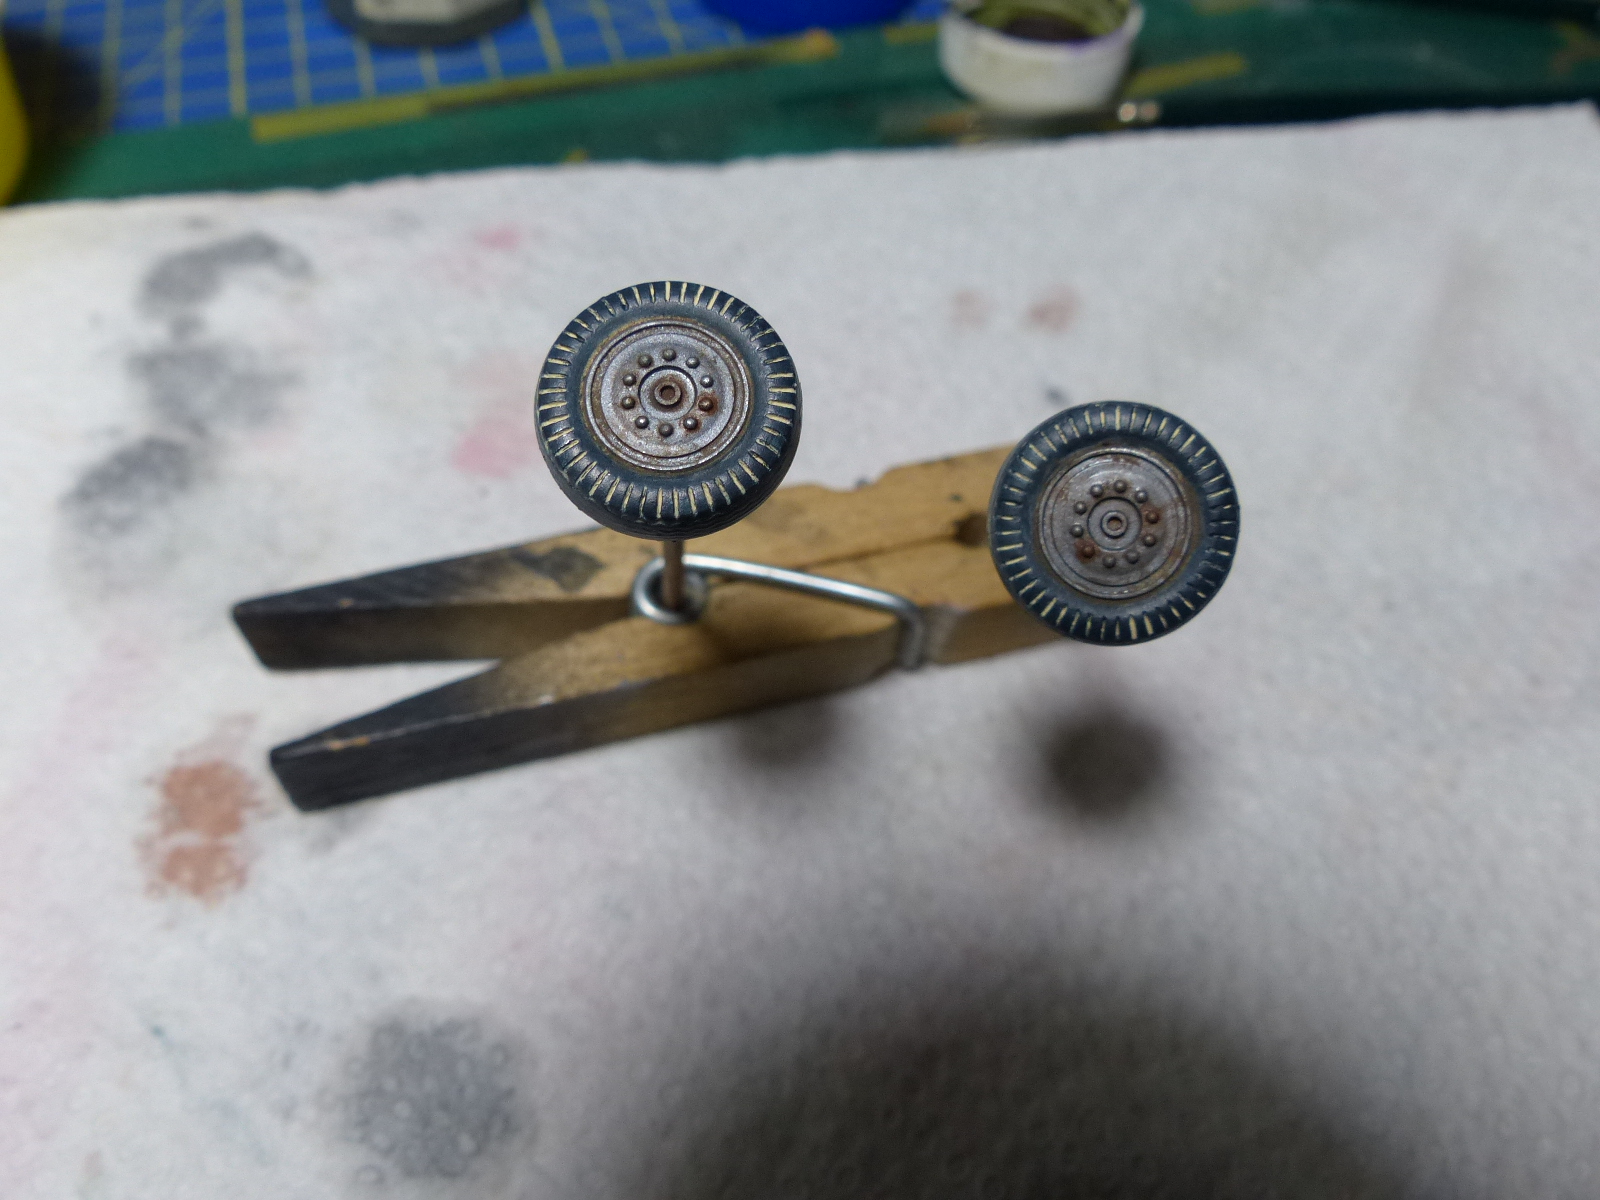 |
Also the wheels had their own weathering: sand on the rubber, black/brown and some rust on the metal part. |
|
|
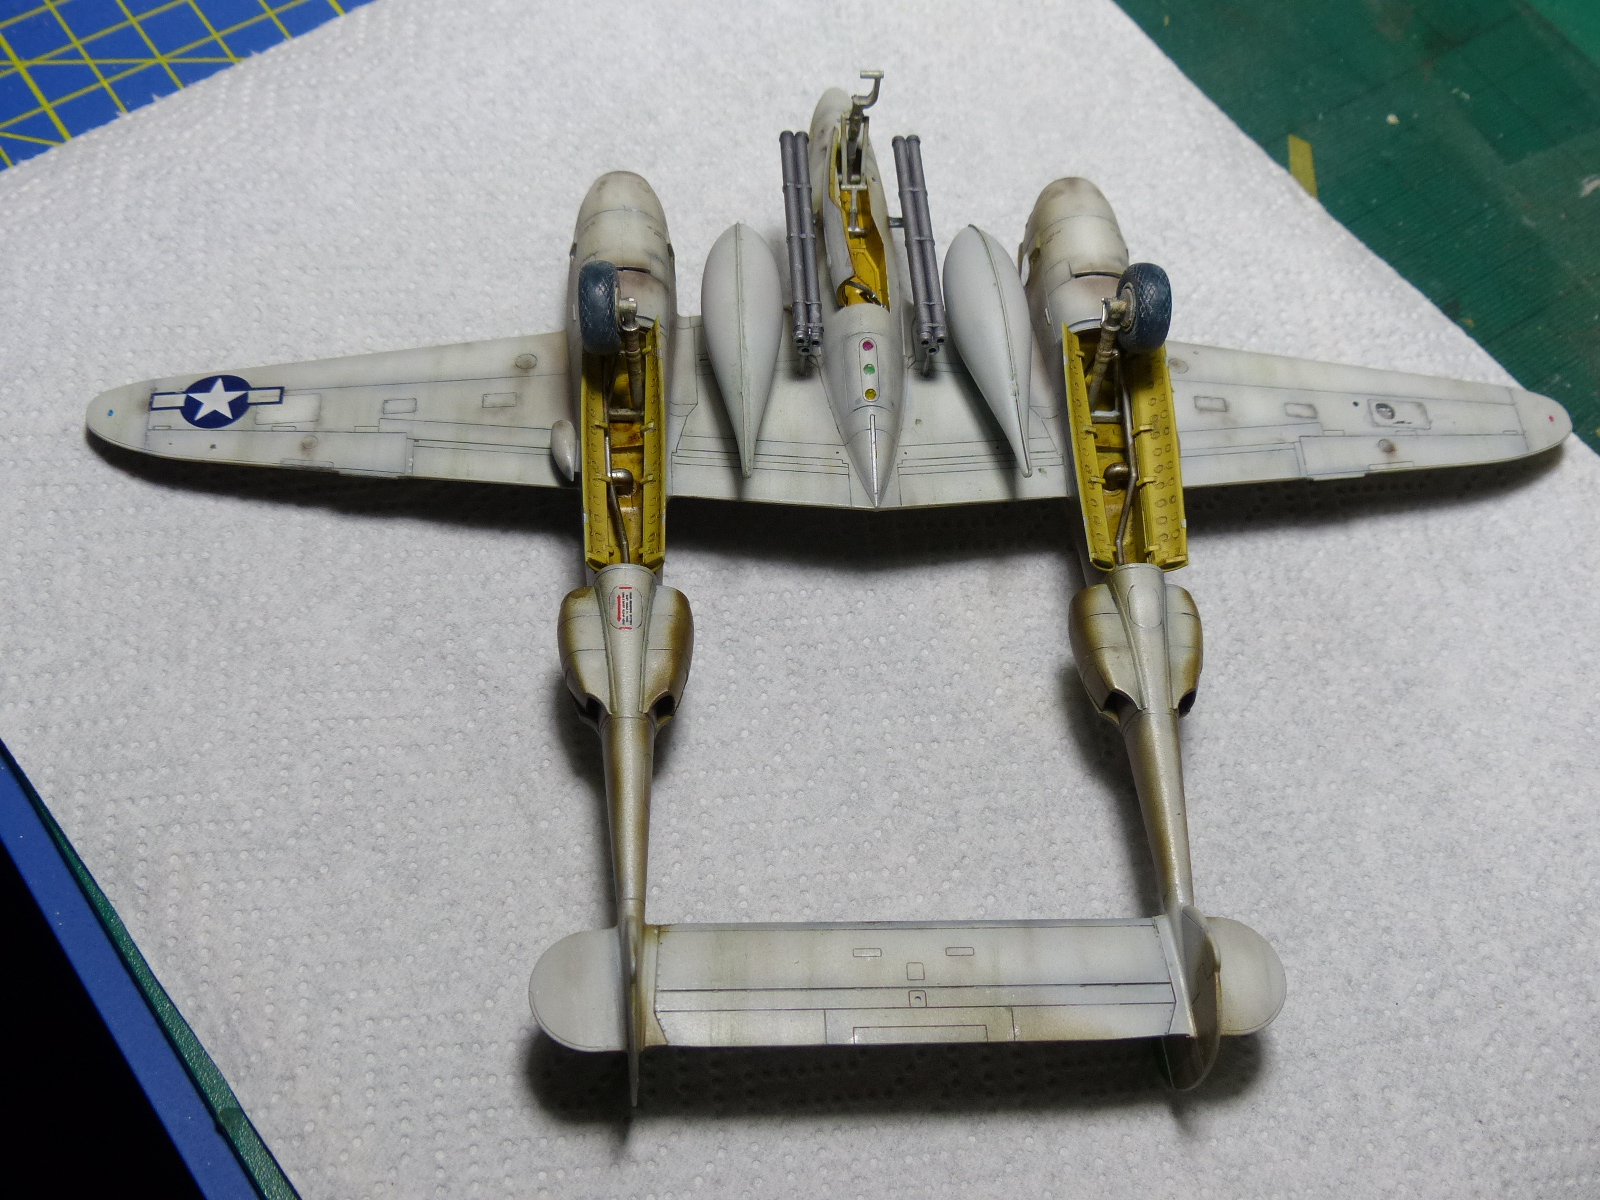
Here you can see the lower side almost completed. |
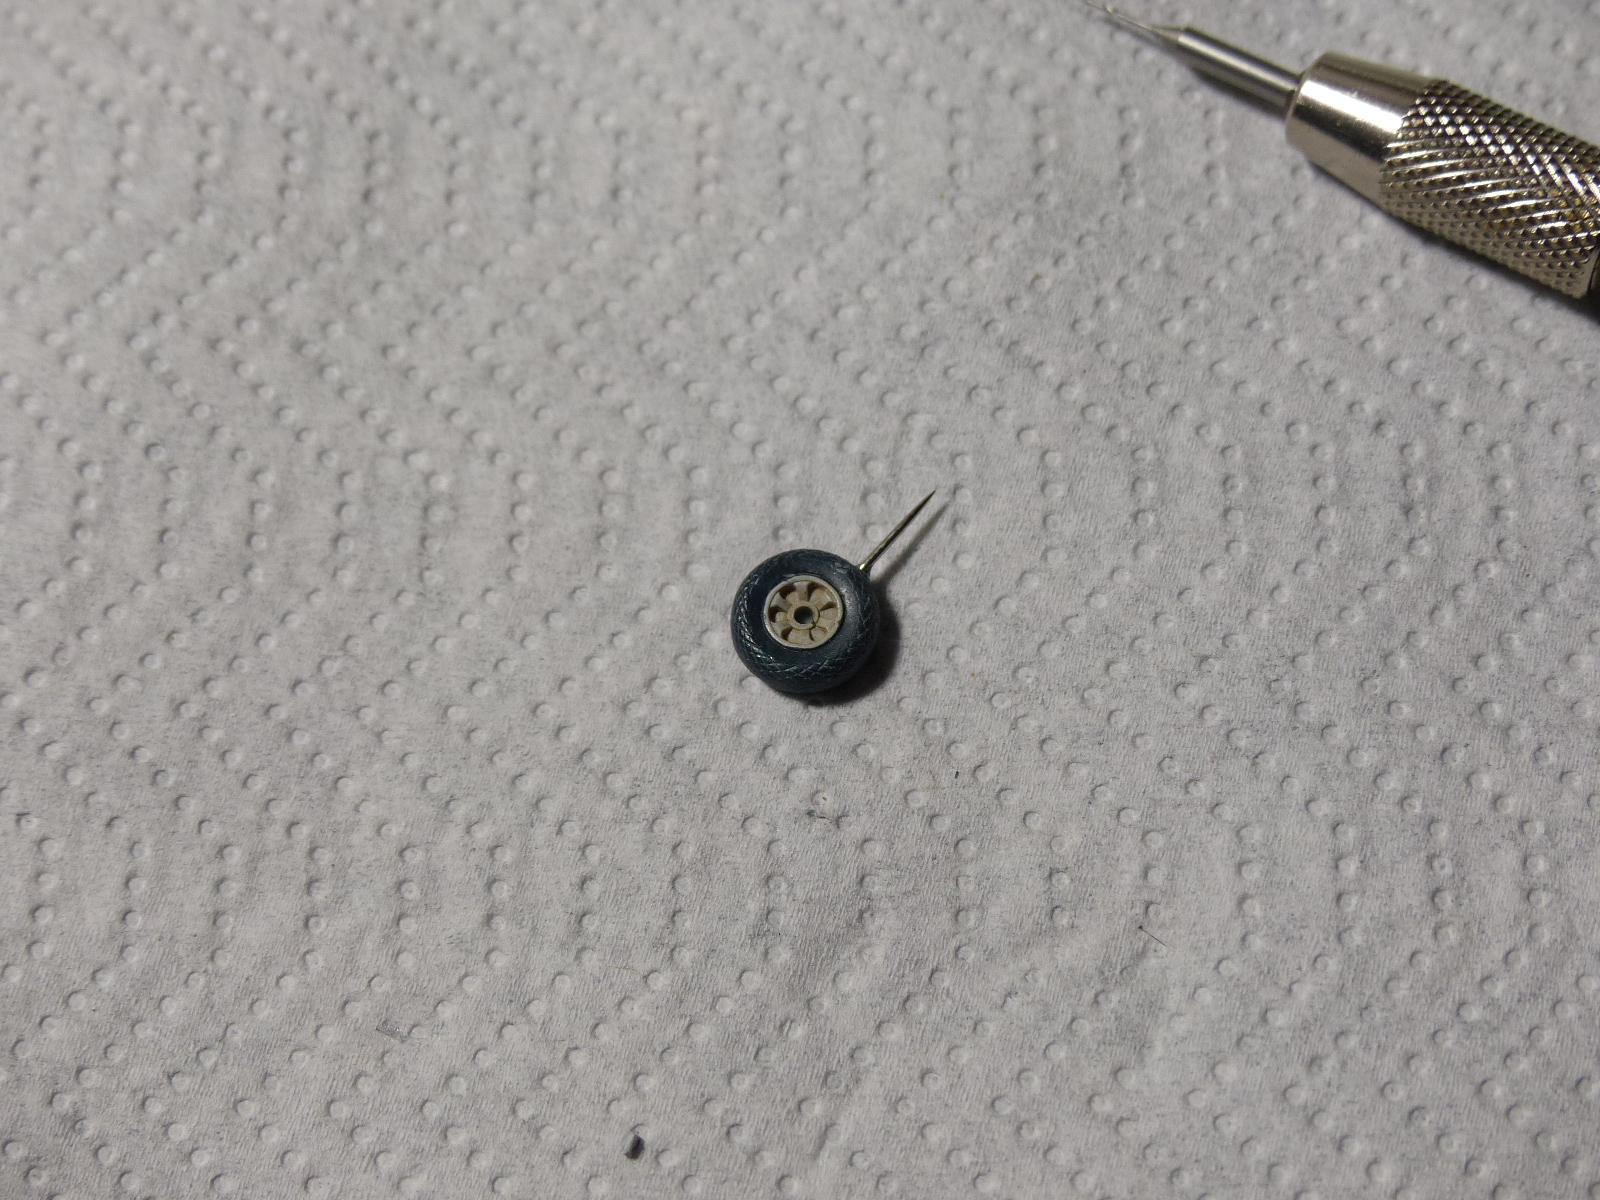 |
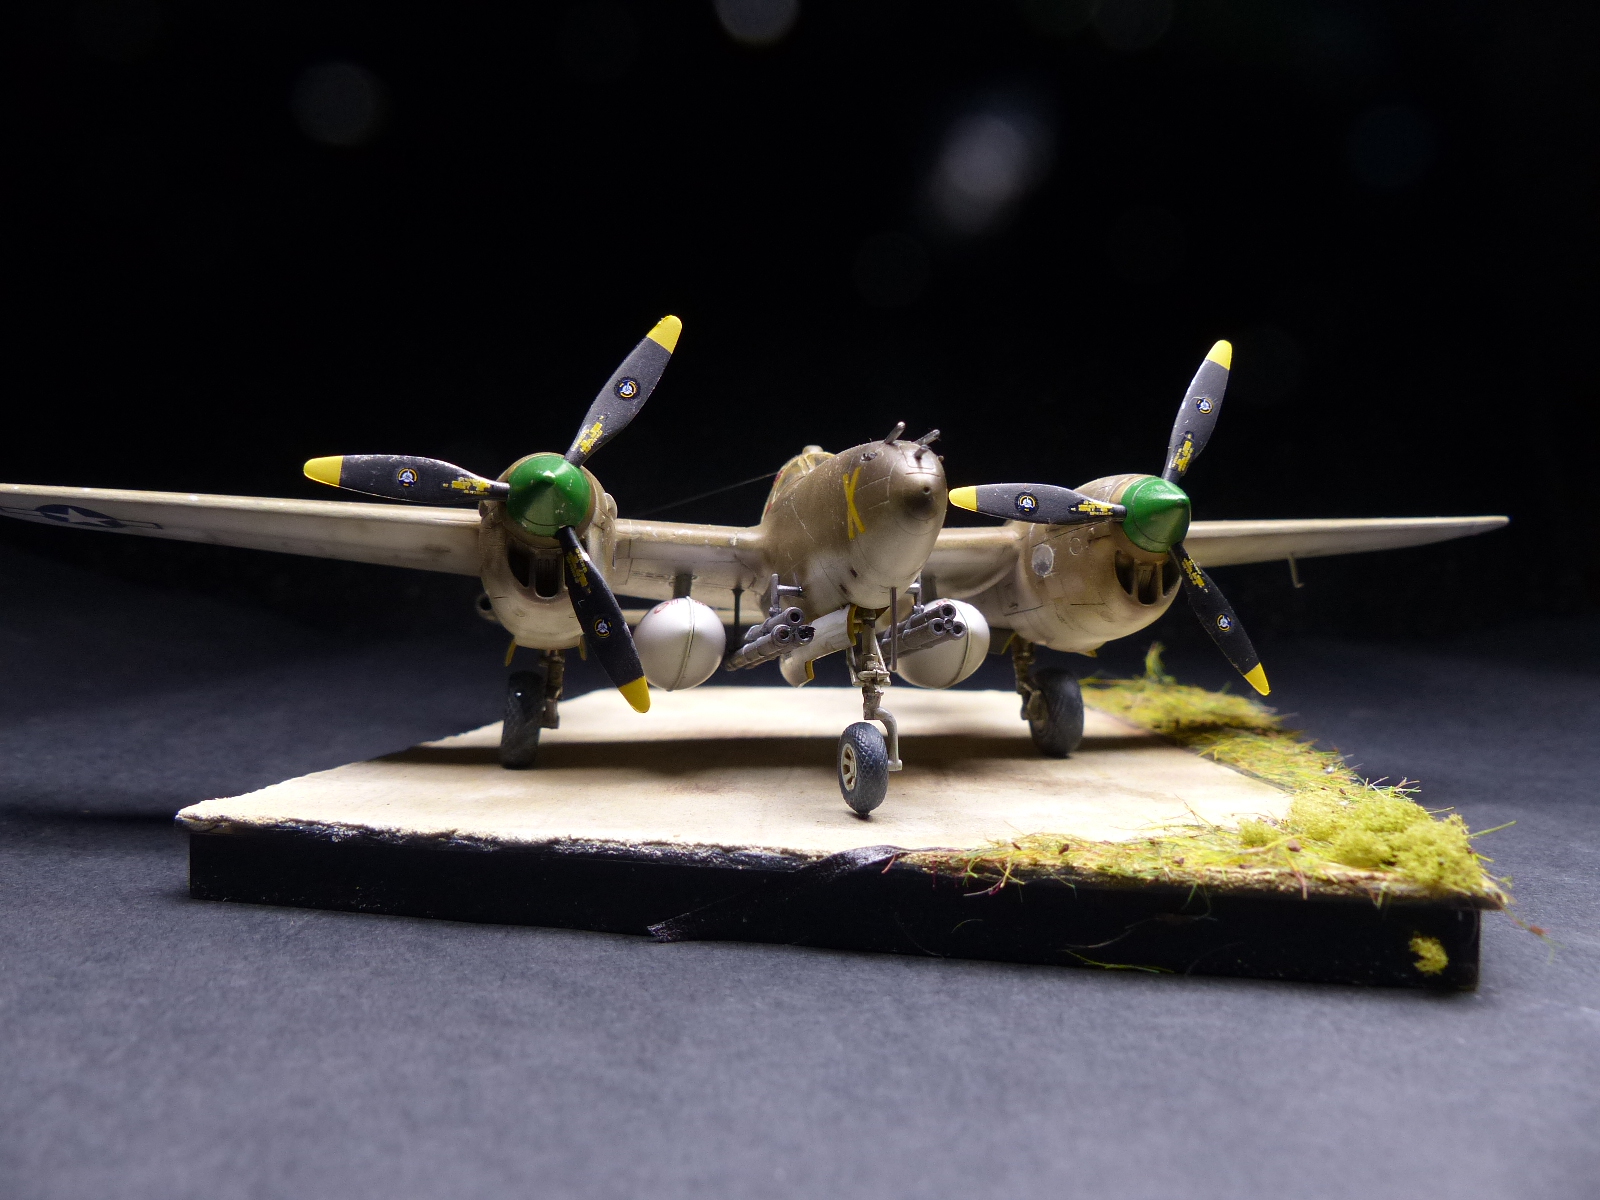
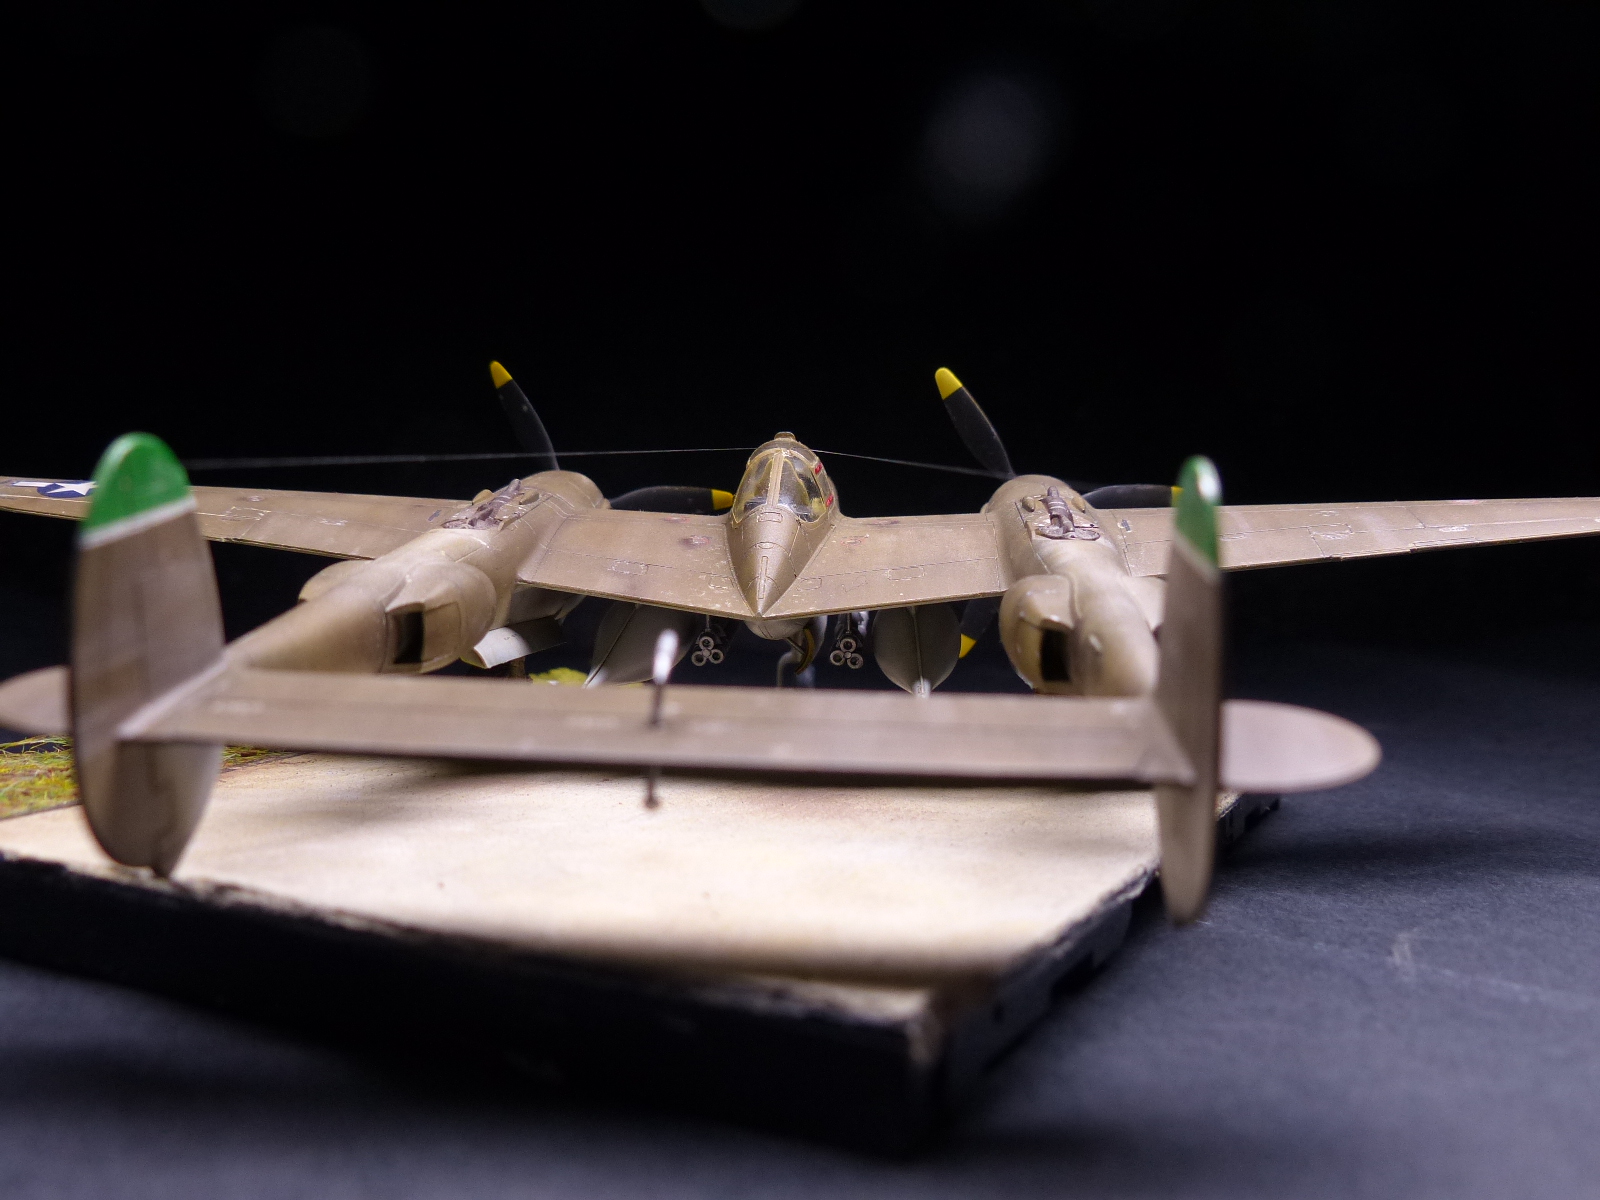
It was at this time that i realized that i did a big mistake: i forget to weight the model, and as a result it was a perfect tail-sitter. To correct the mistake, i drilled an hole in the wheel, inserted a needle inside: it will keep it attached to the base (i drilled an hole on the base too). |
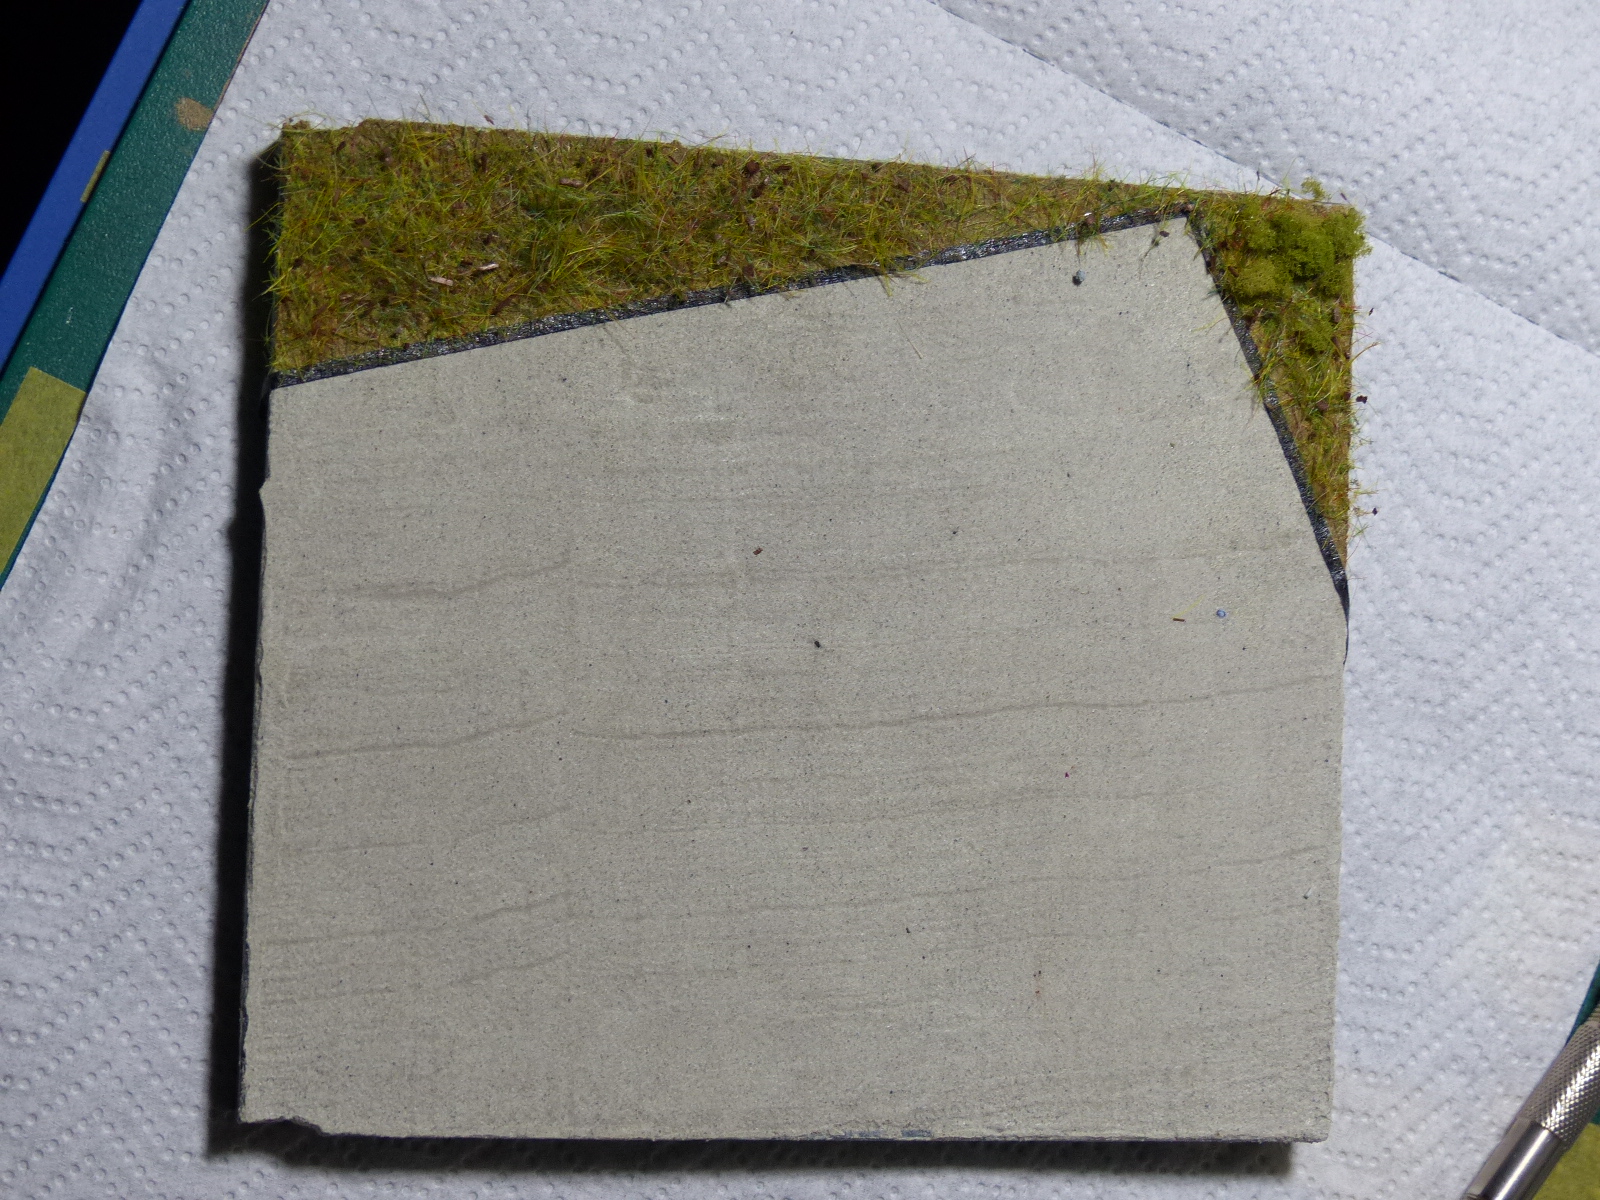 |
For the base, as usual some Vallejo paste for the airstrip, and some static grass around (masking the airstrip when applaying the glue for the grass) |
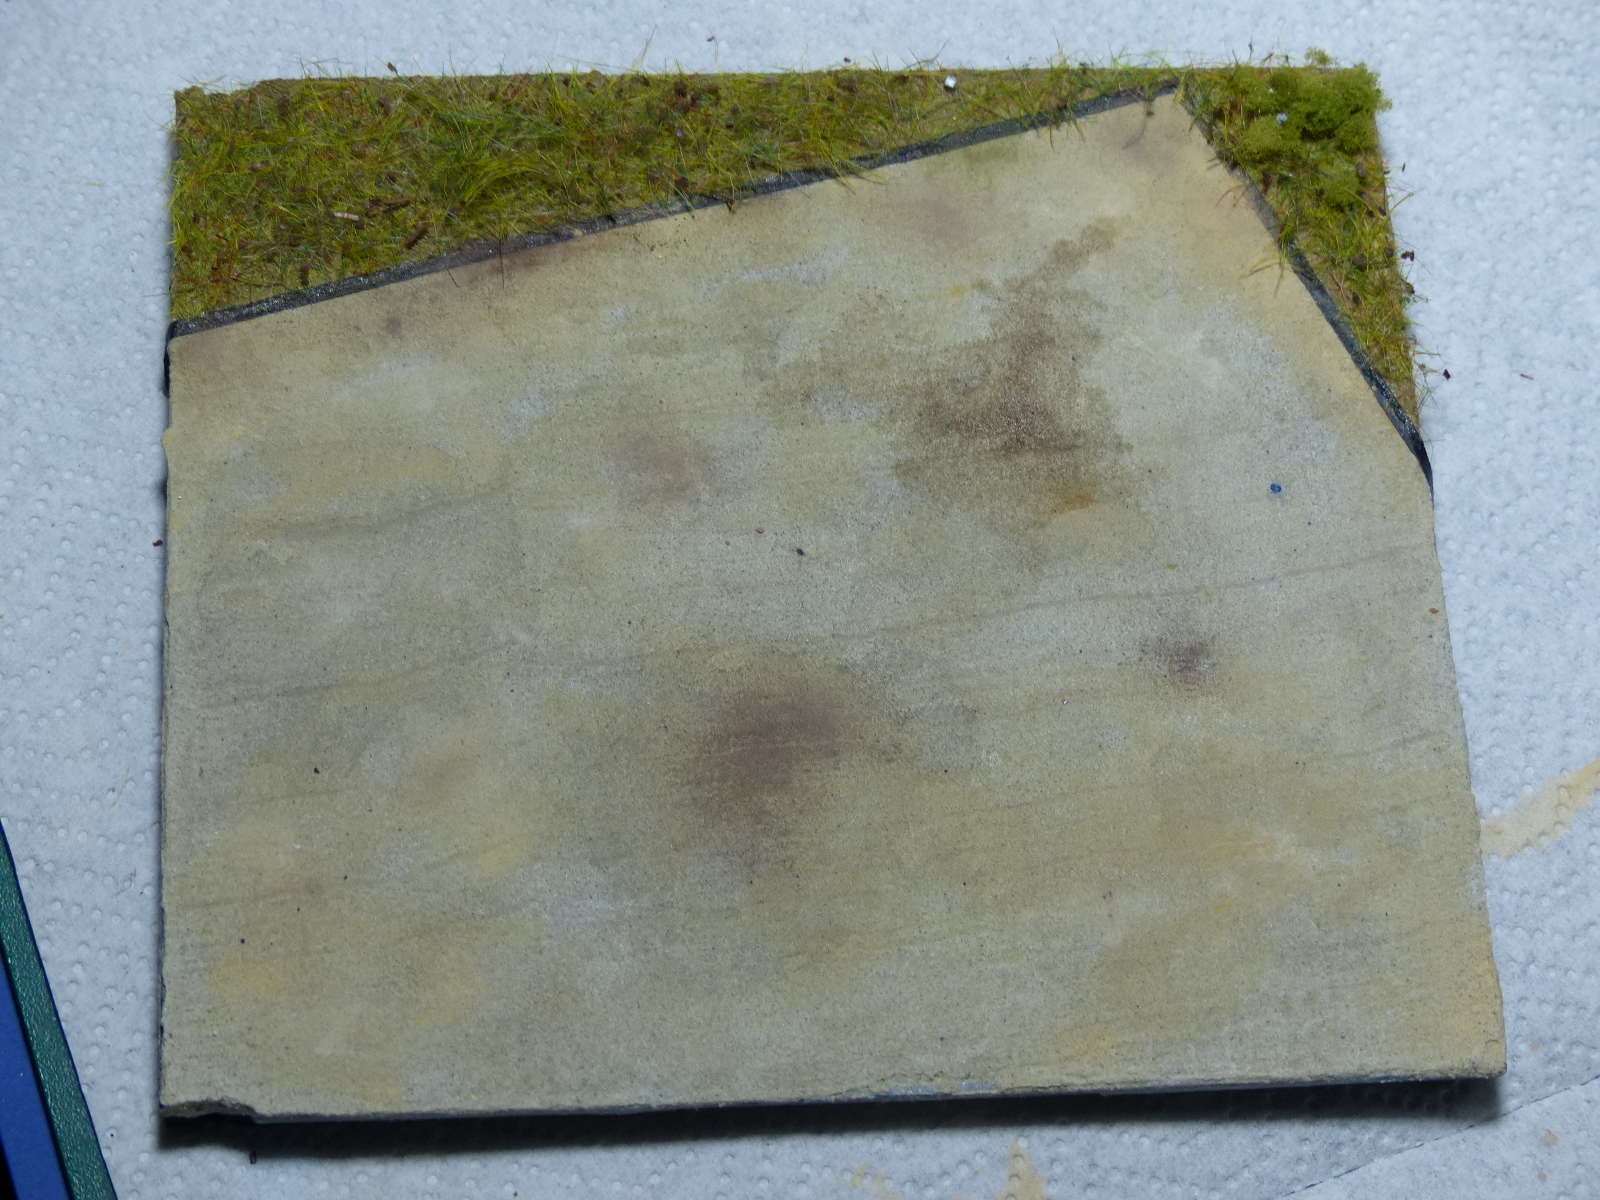 |
Some weathering with washes and pigments completed the base... |
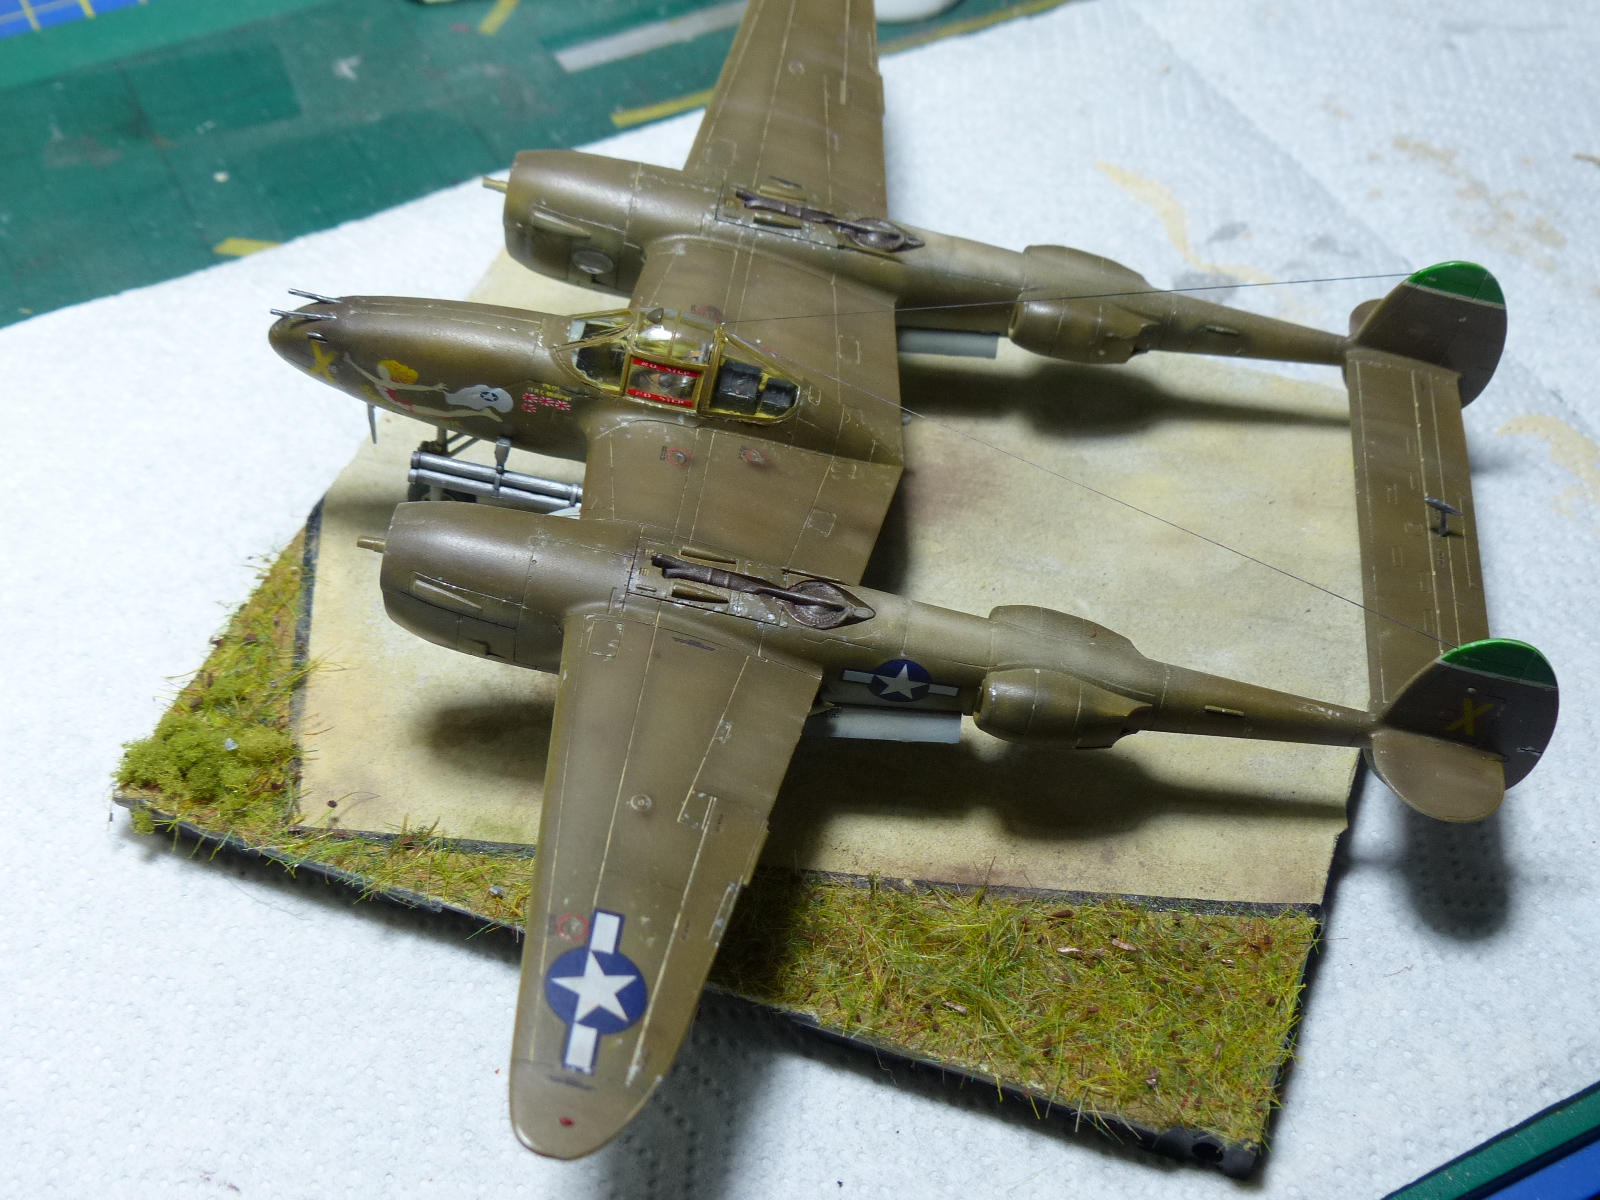 |
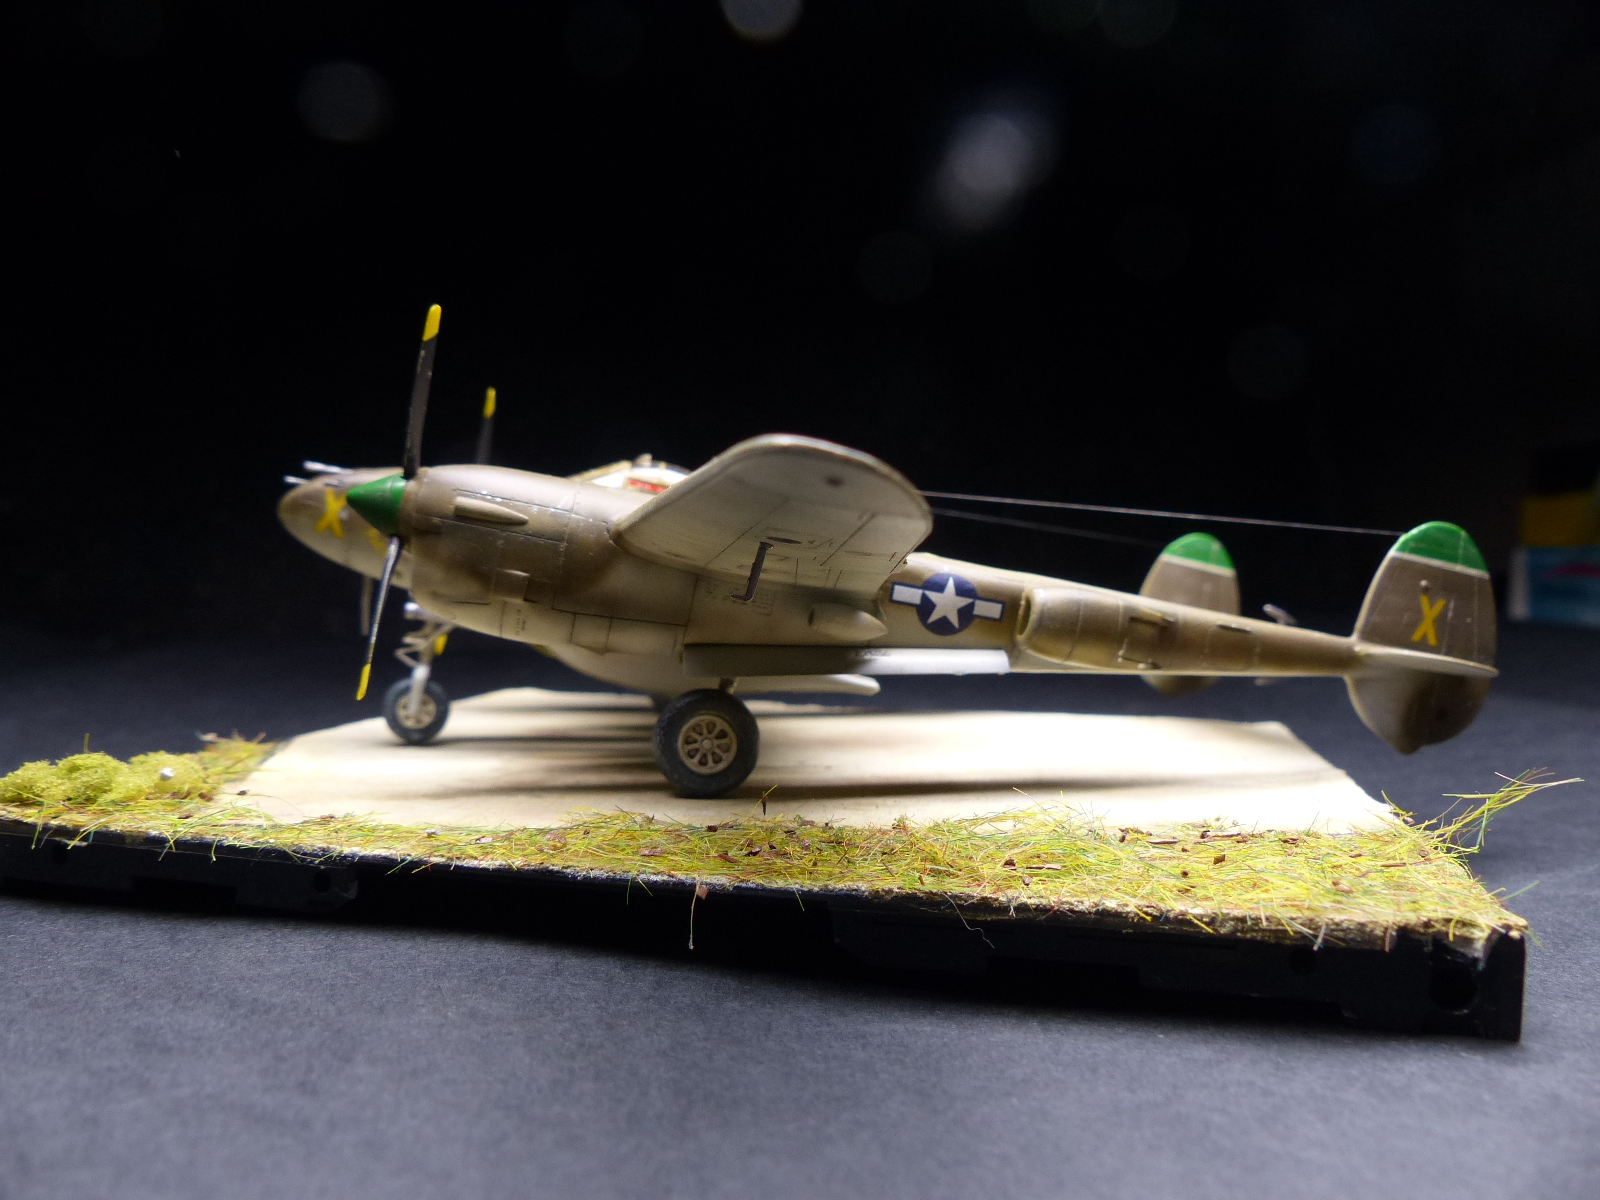
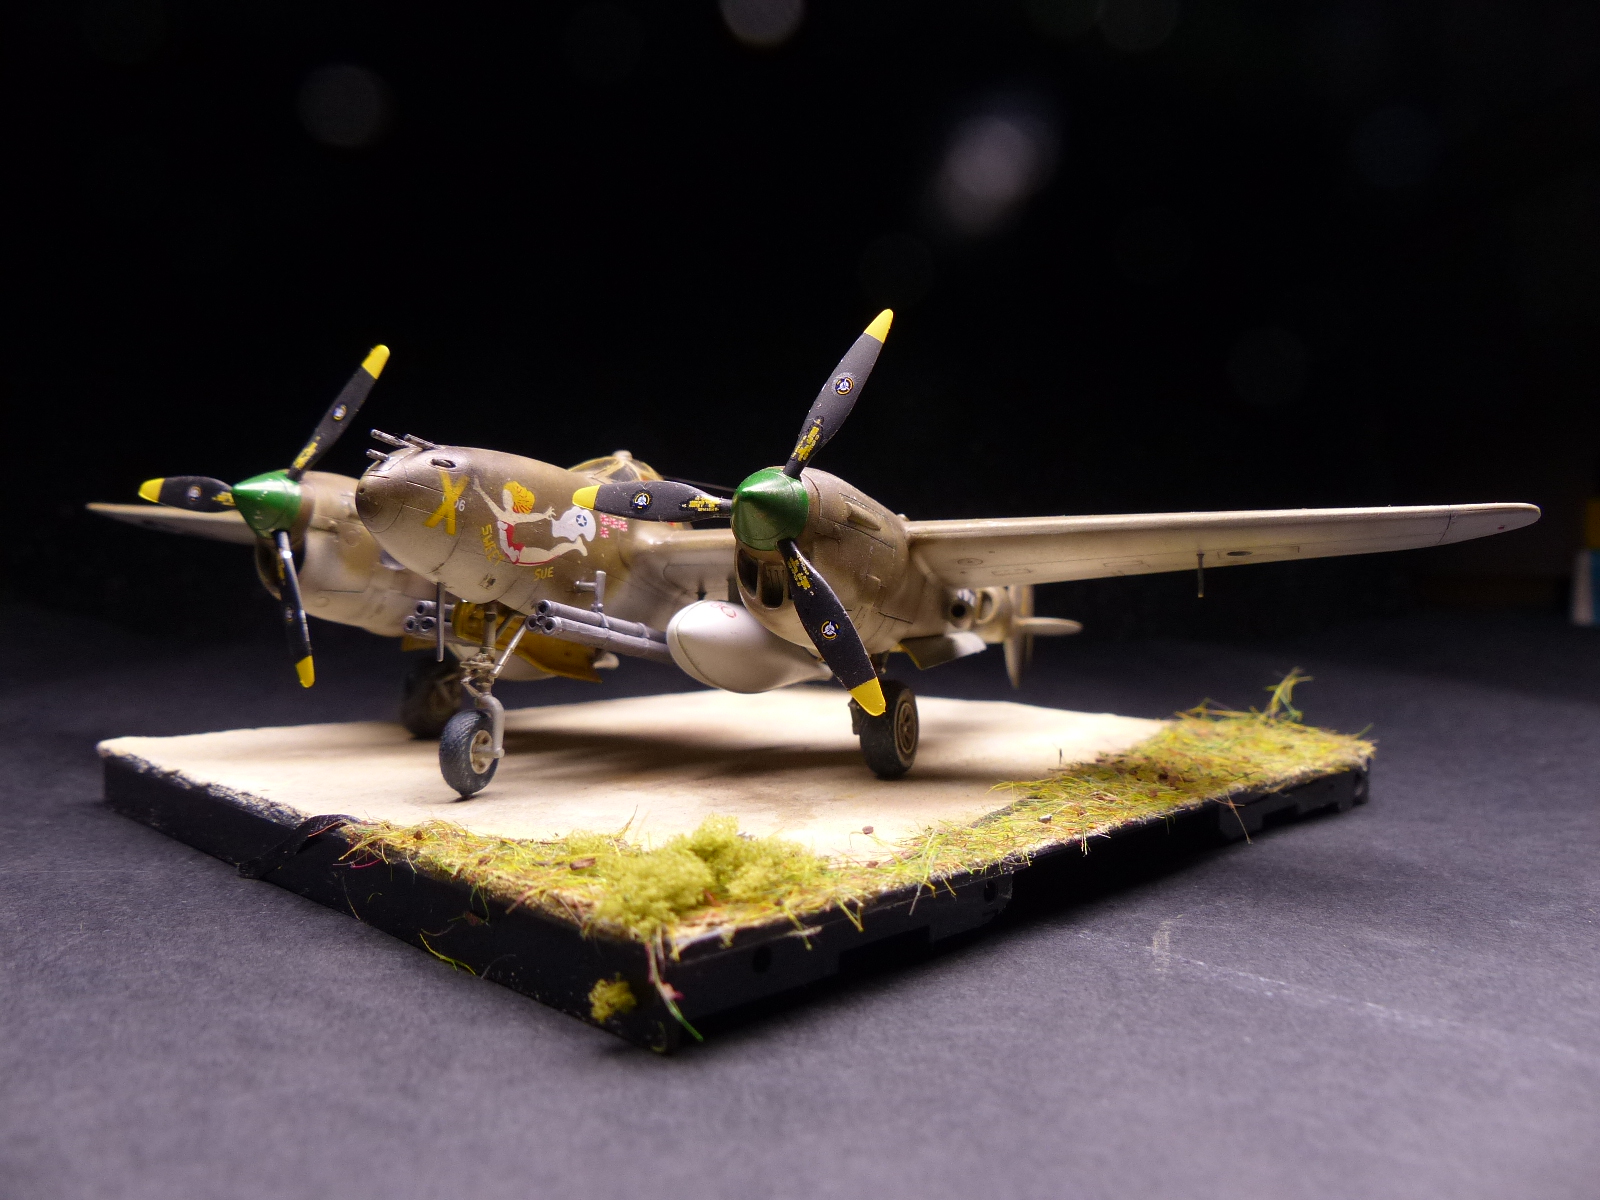
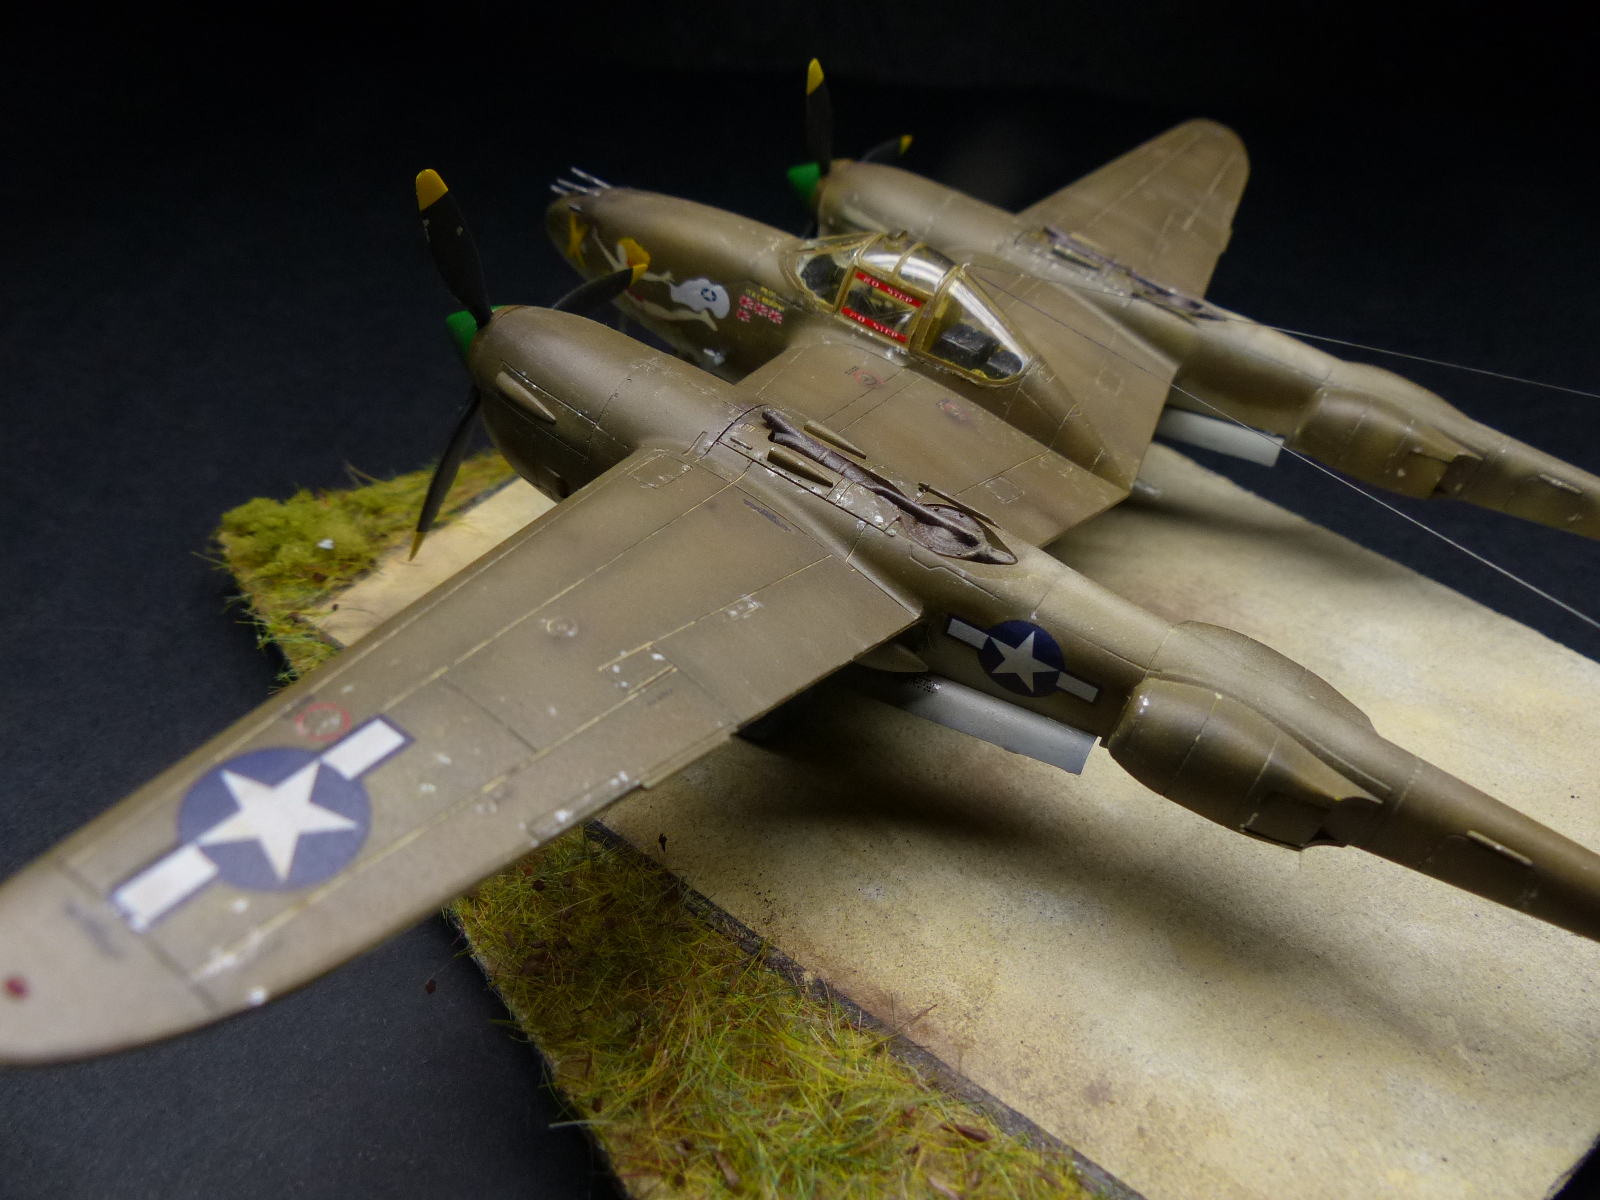
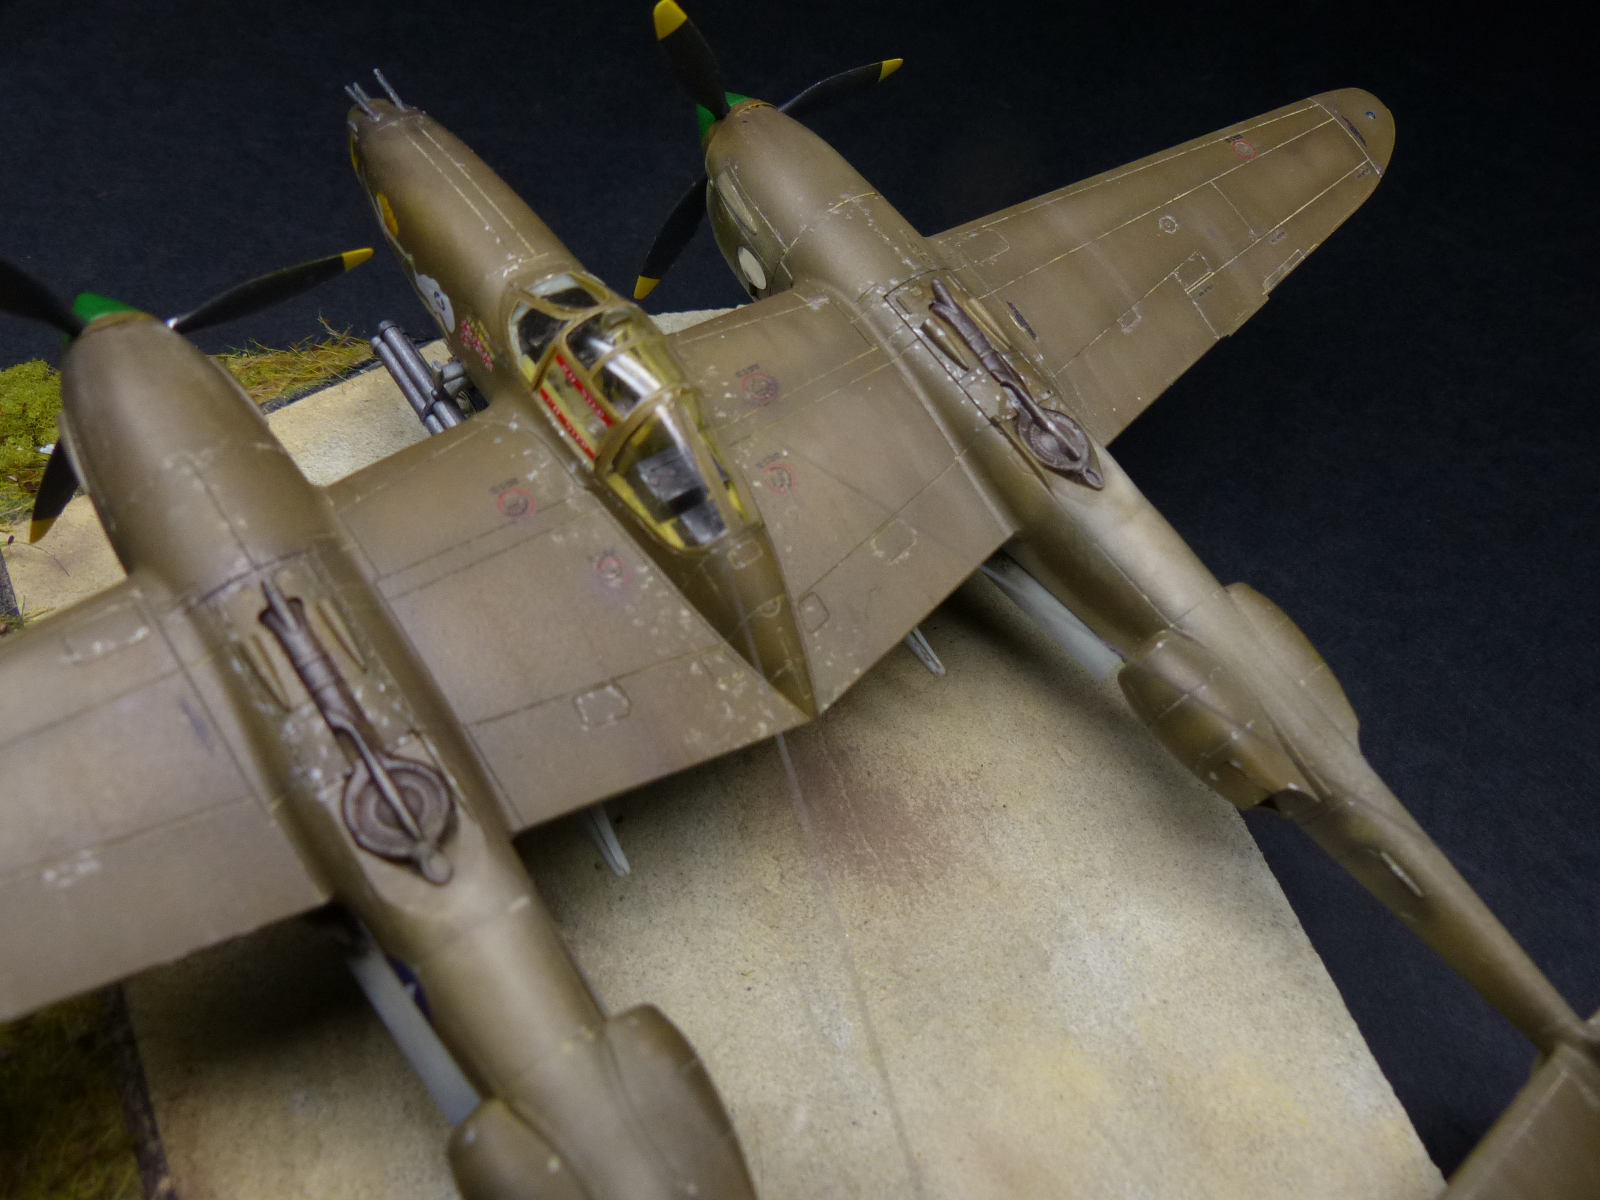
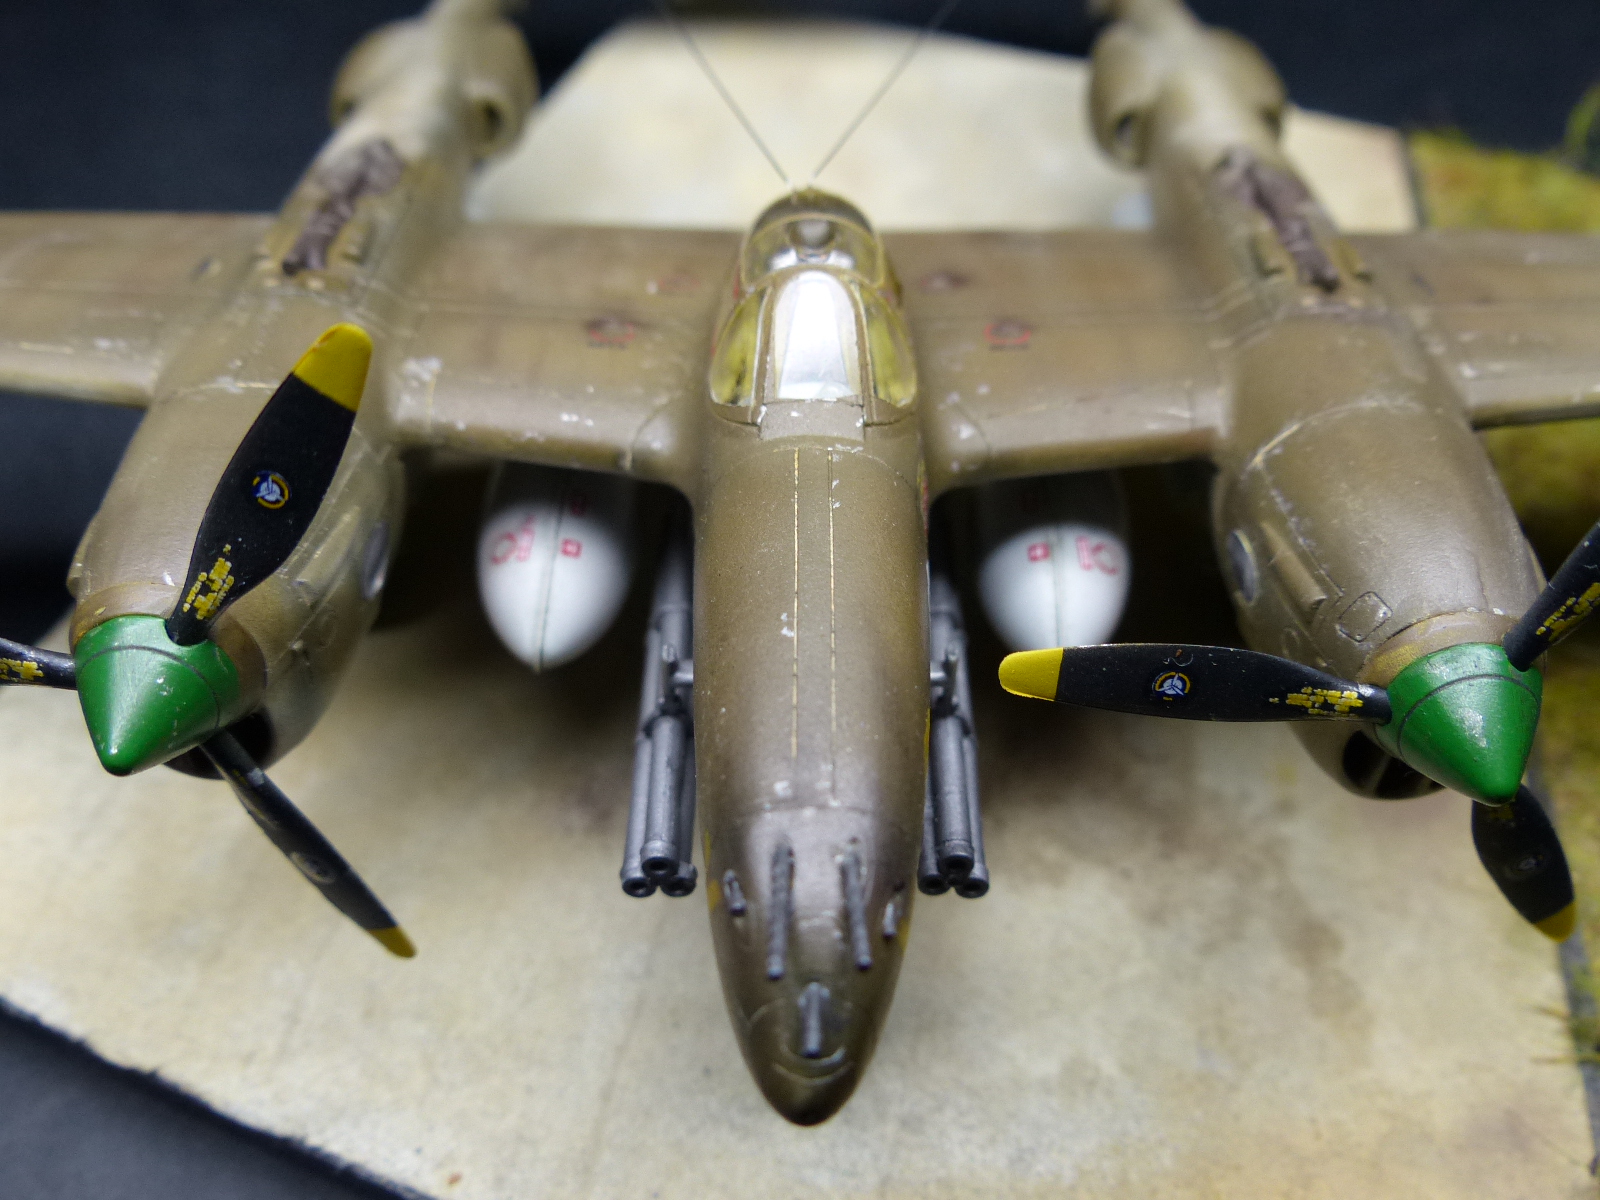
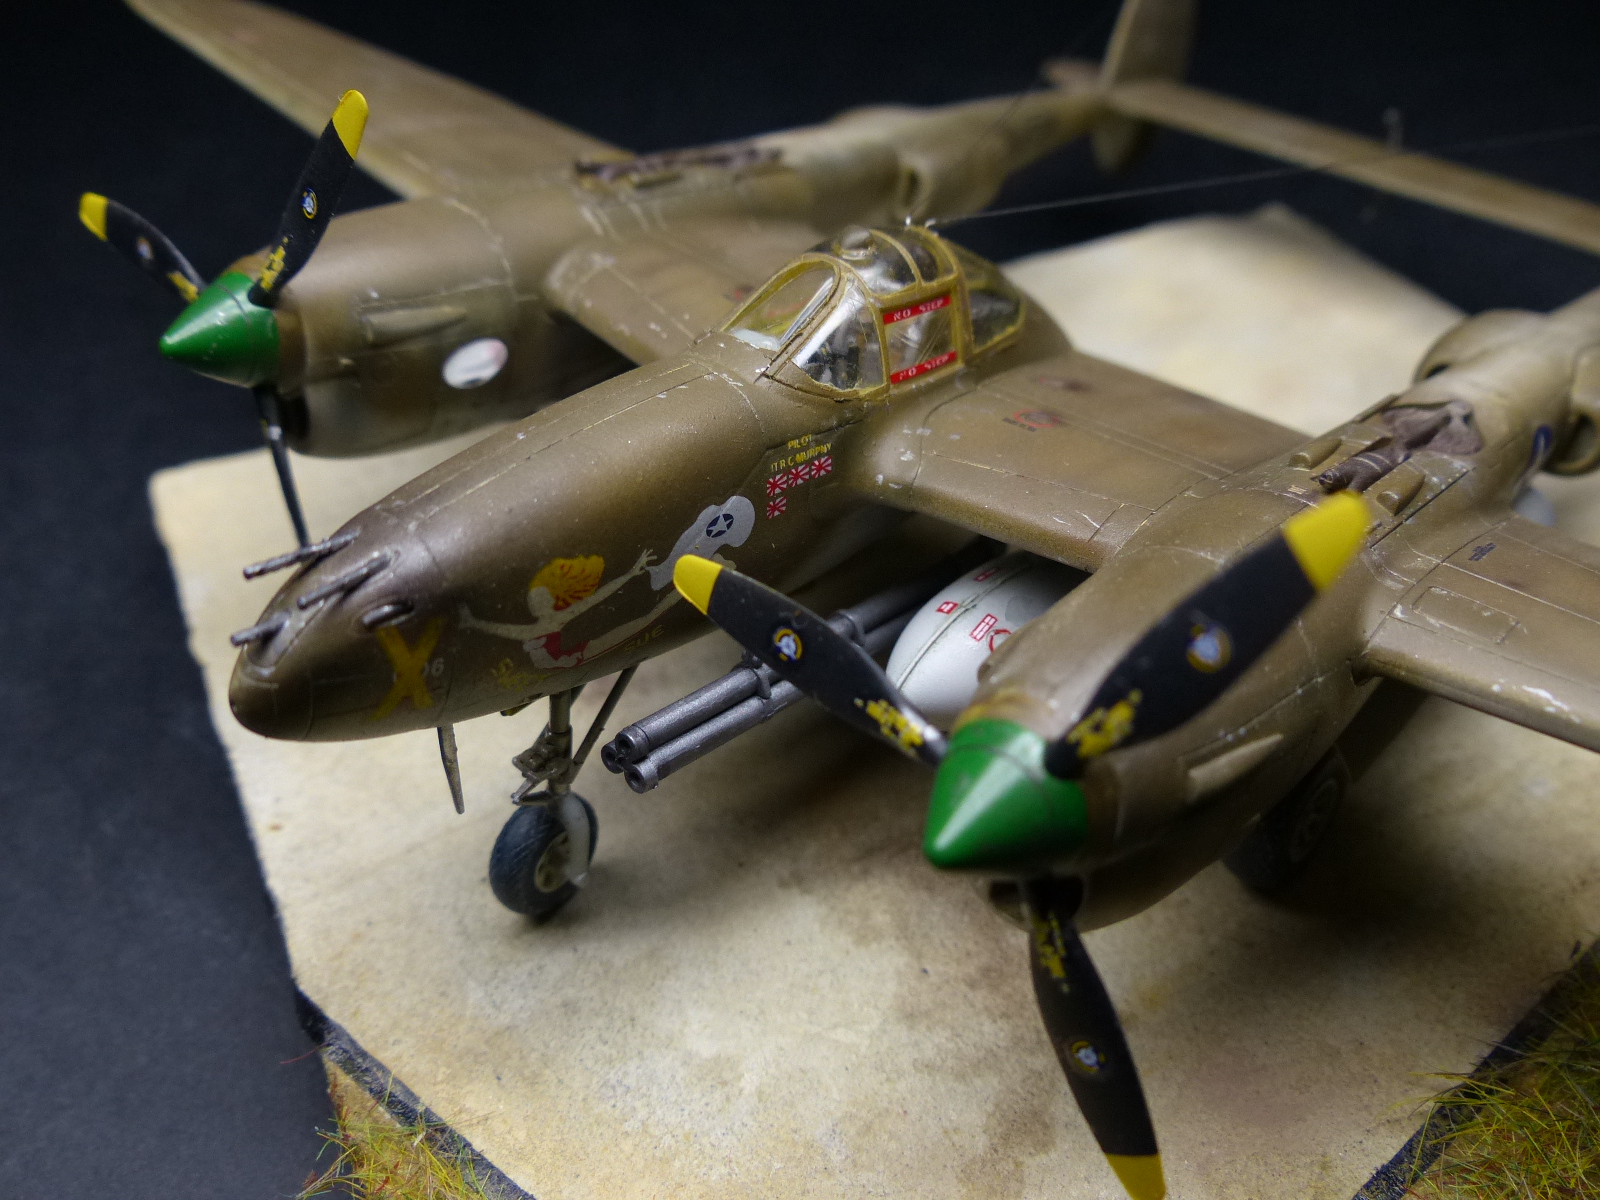
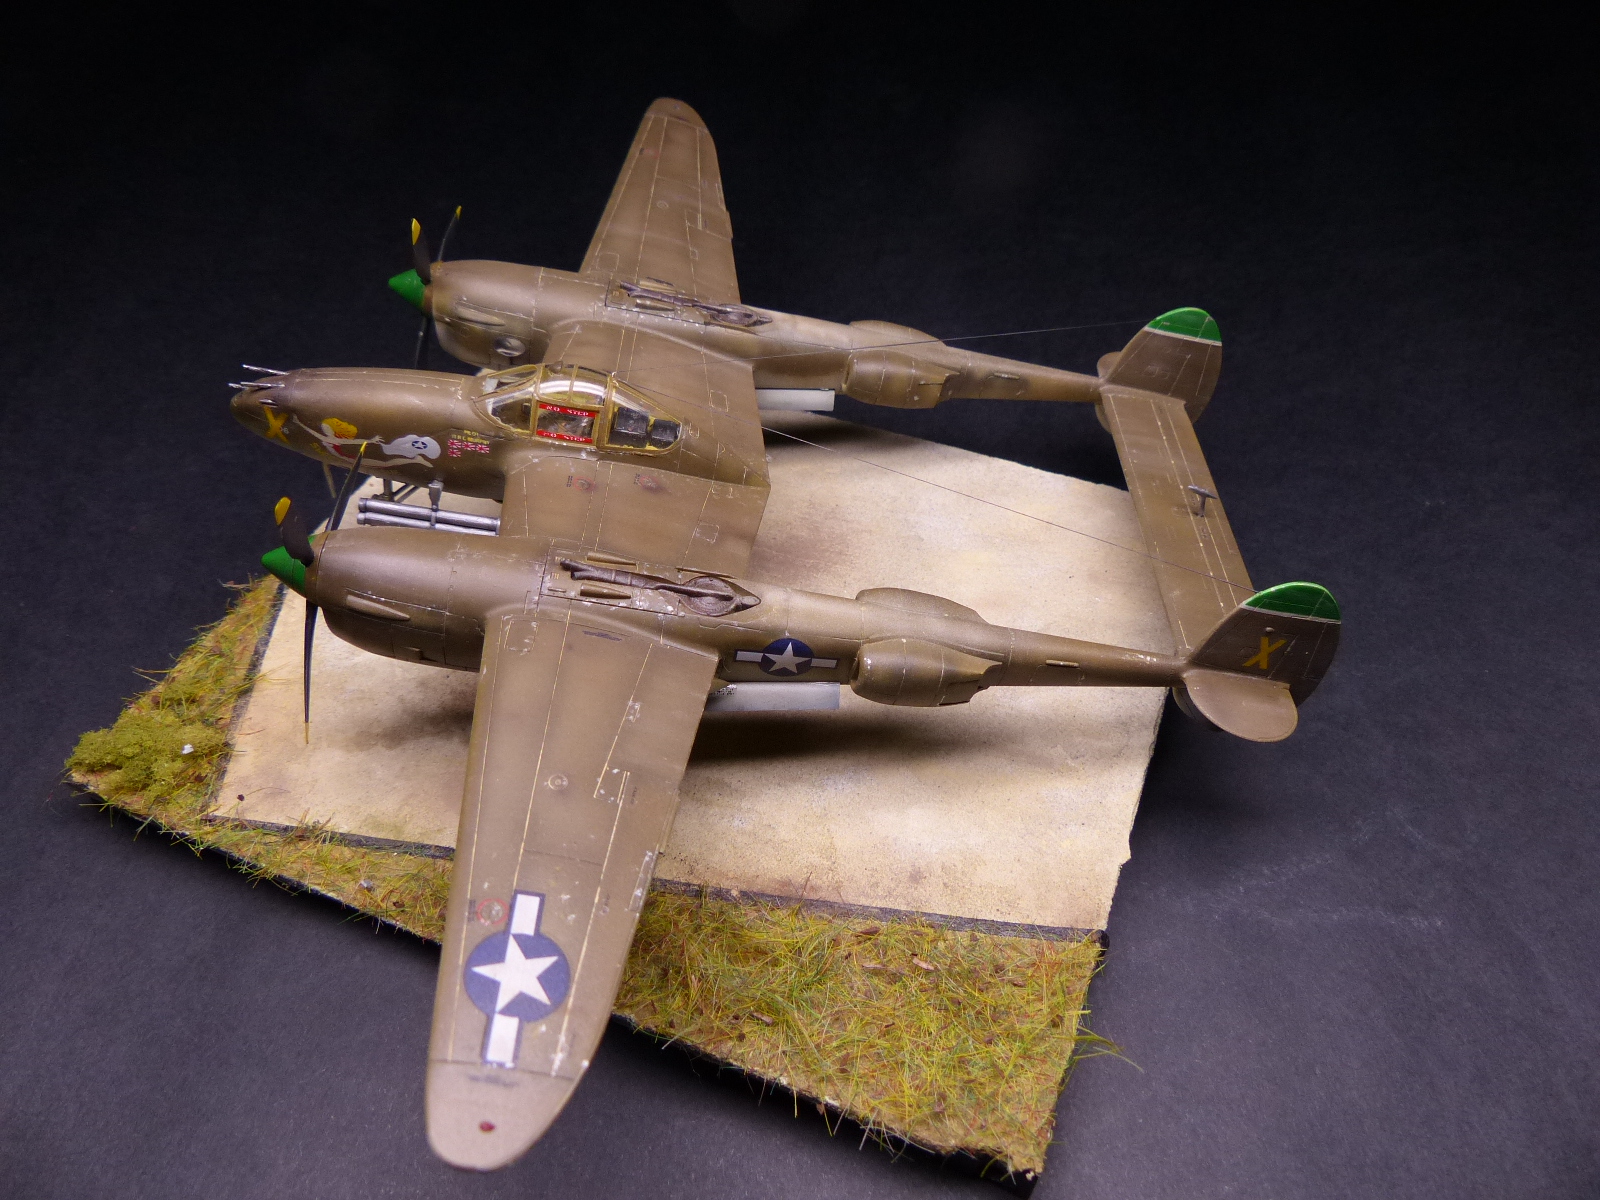
...and here you can see the completed model before the final reveal images. |
Final reveal images