

Full progressive build, model and diorama, with many images step by step.
This is a bargain kit that I bought on Ebay, made by the Russian company Eastern Express. Don't expect any finesse here: detail is very basic (one of the worst I have ever seen in a 1/35 tanks), flash is everywhere in great amount, instructions are vague and fuzzy. Then only good thing is the fit, that is good in all the parts.
A model perfect for a quick build where you can focus on painting and weathering (or in superdetailing and scratchbuilding, if you like it).
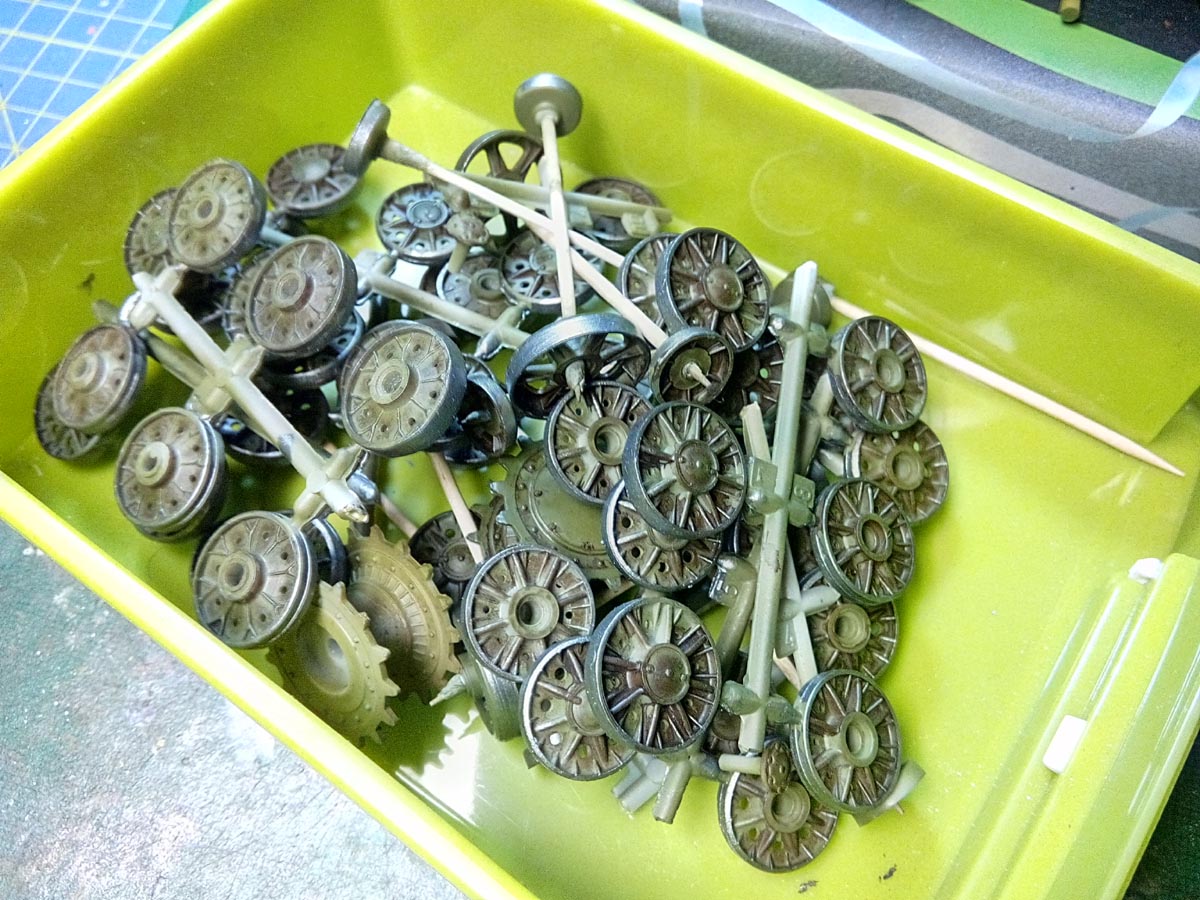
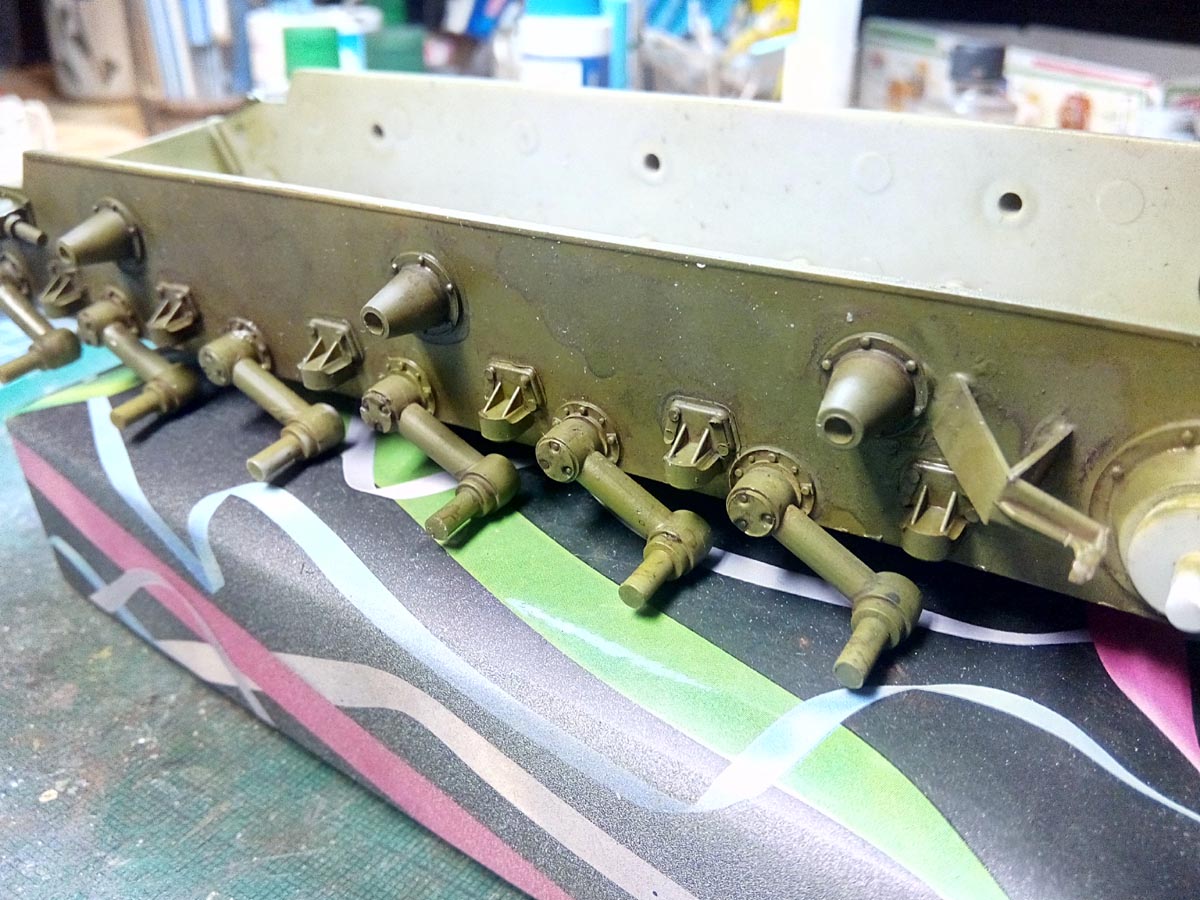
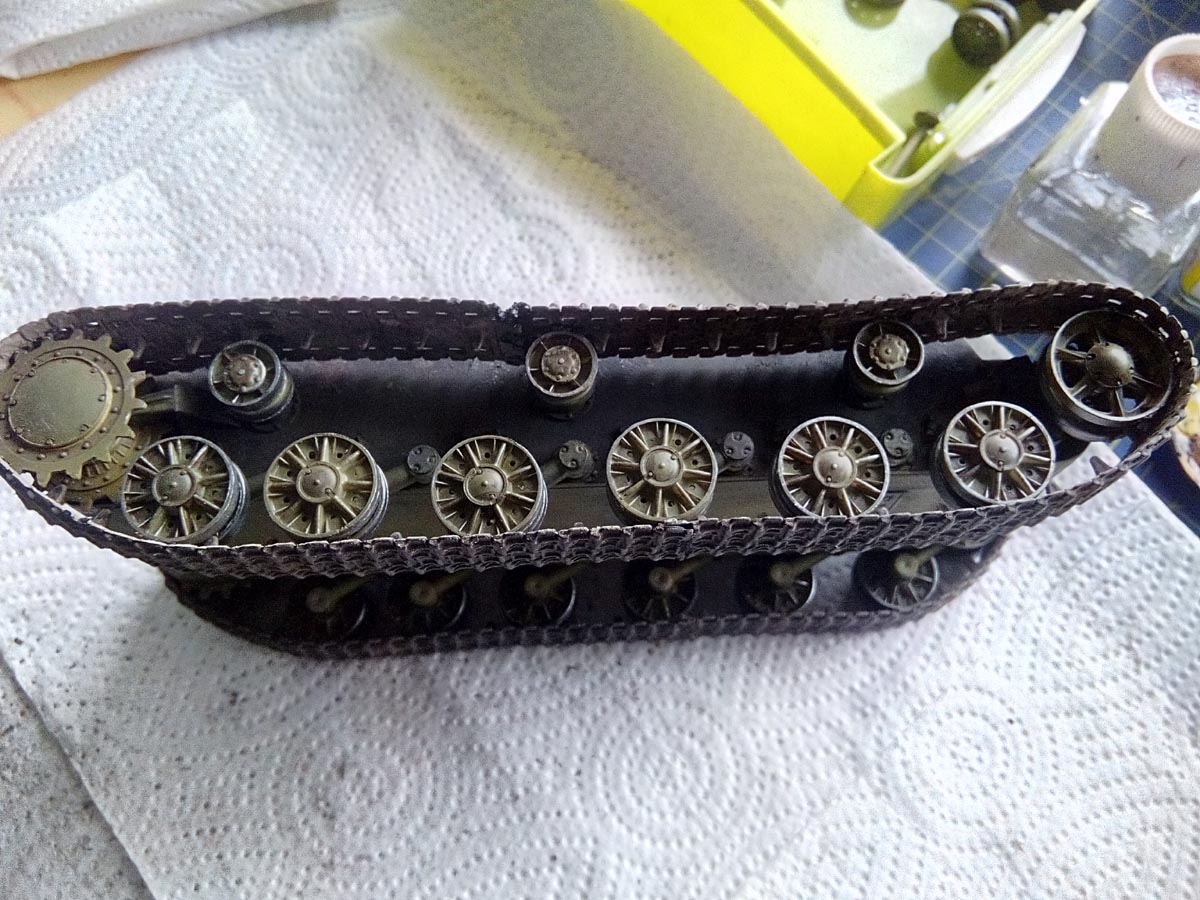

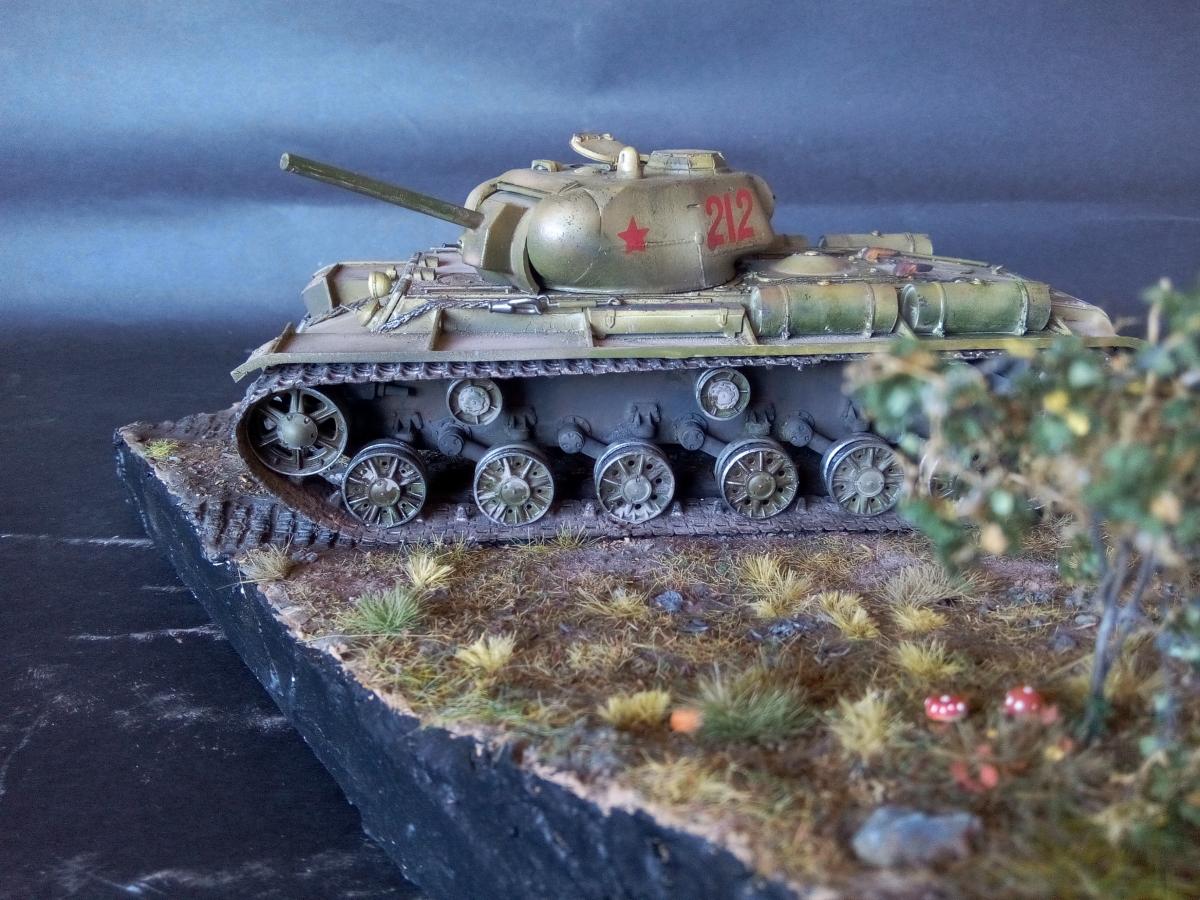
Here you can see the main steps of the building: as usual I painted the wheels before to glue them, and I painted and weathered the sides of the tank before to assemble the wheels.
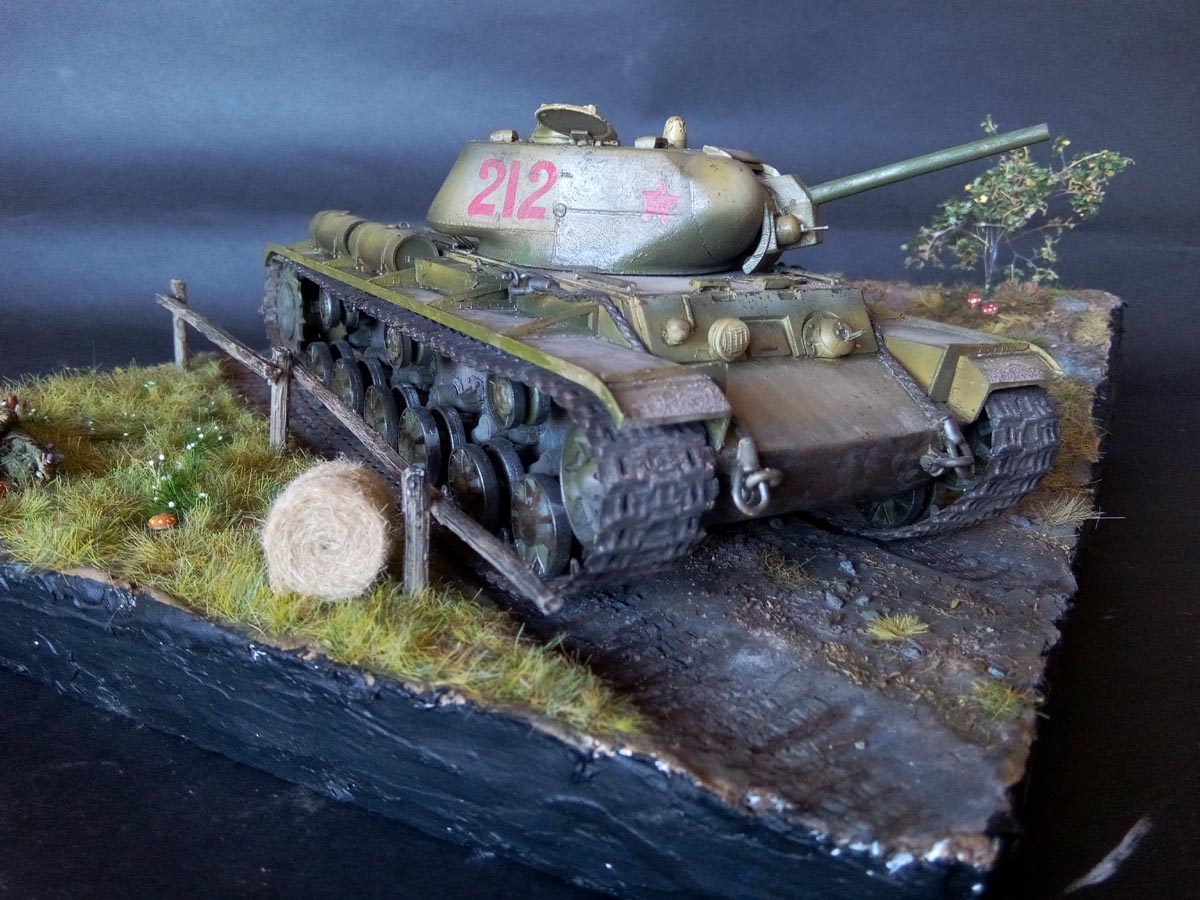
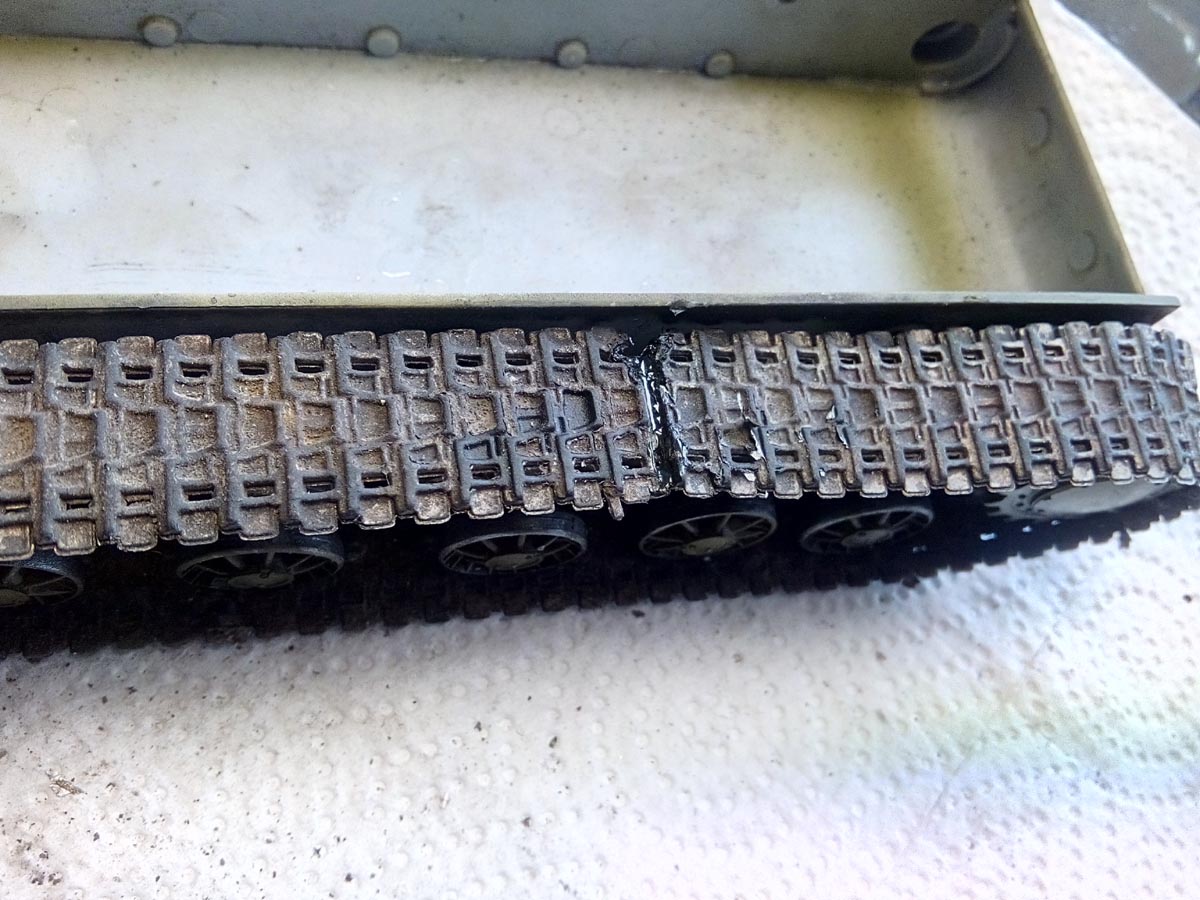
Tracks are in the old style: no glue can work on them, and you need to melt them: as usual with this method the joint is a little bad, but it will be partly hidden later by the fenders.
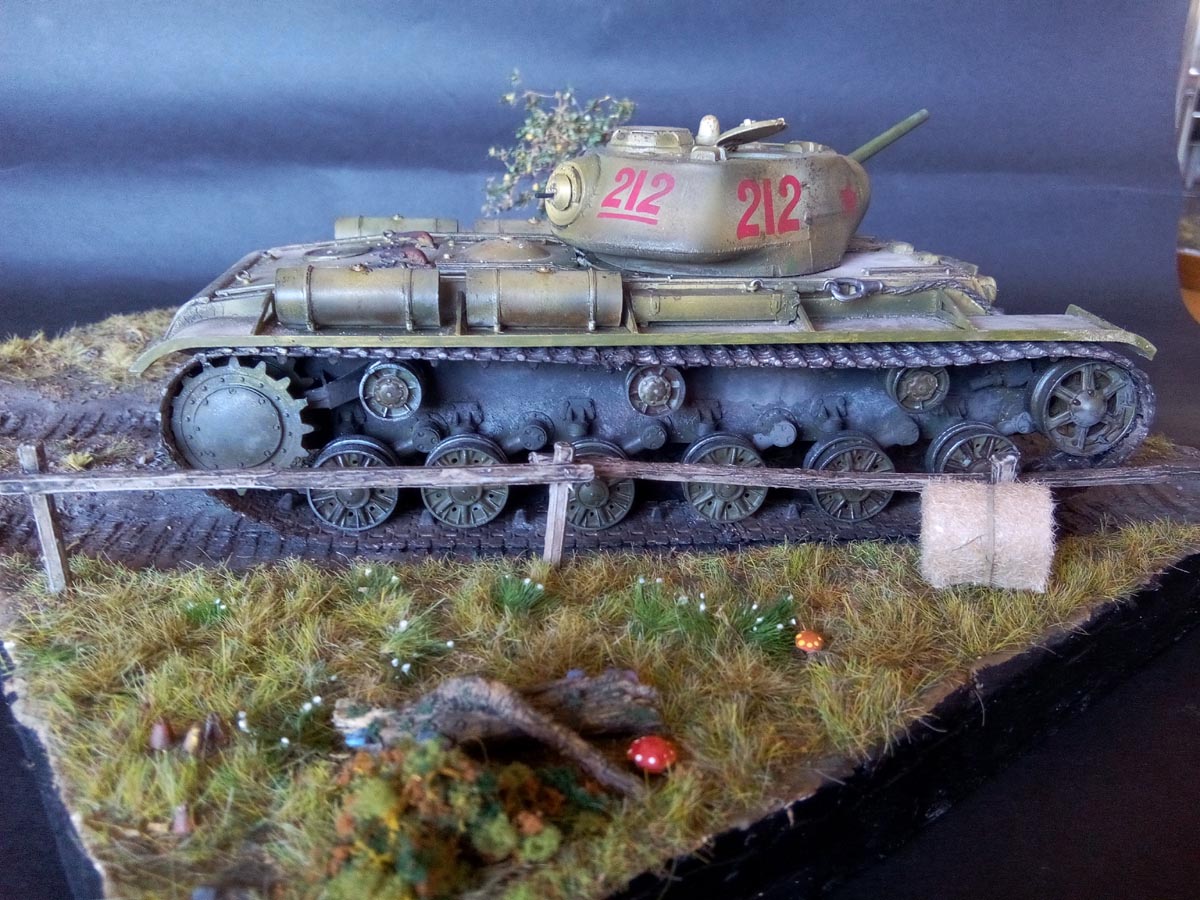
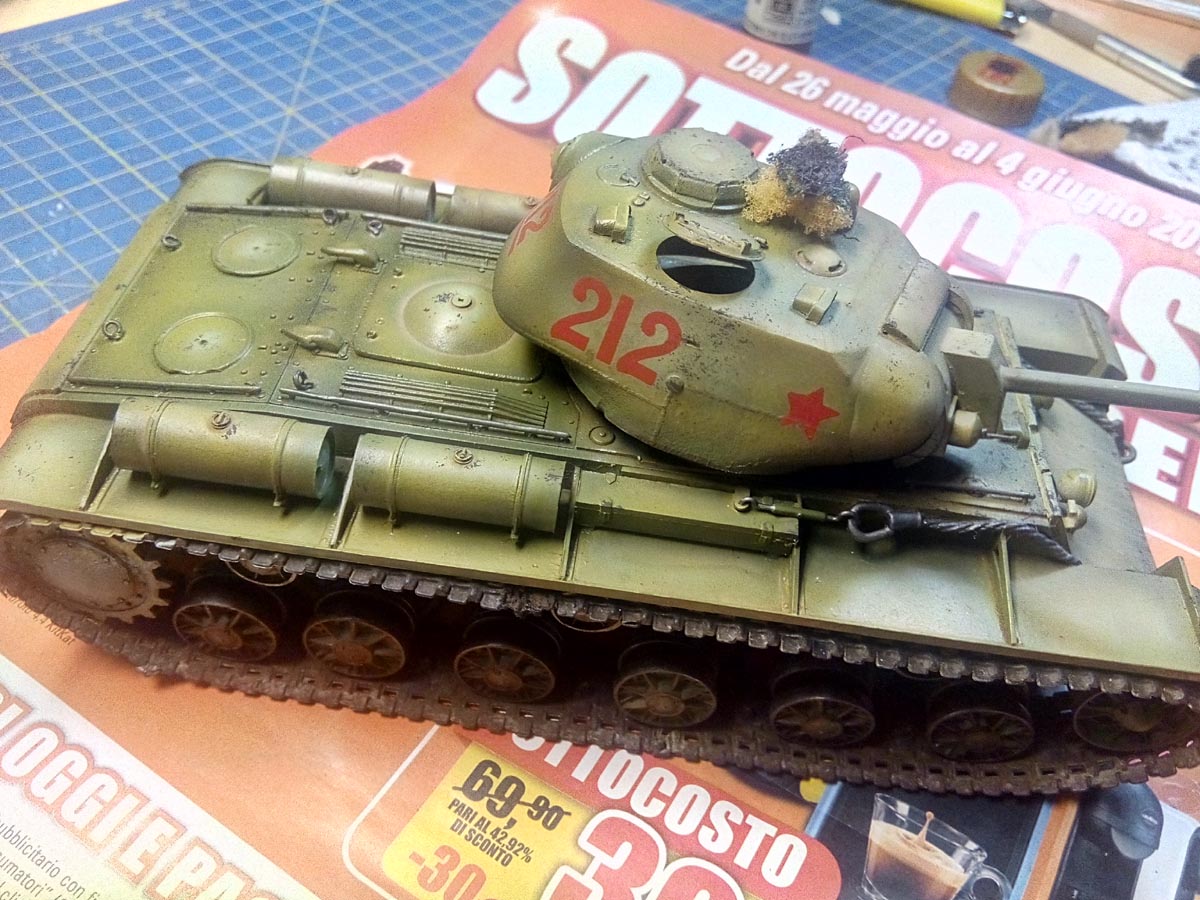
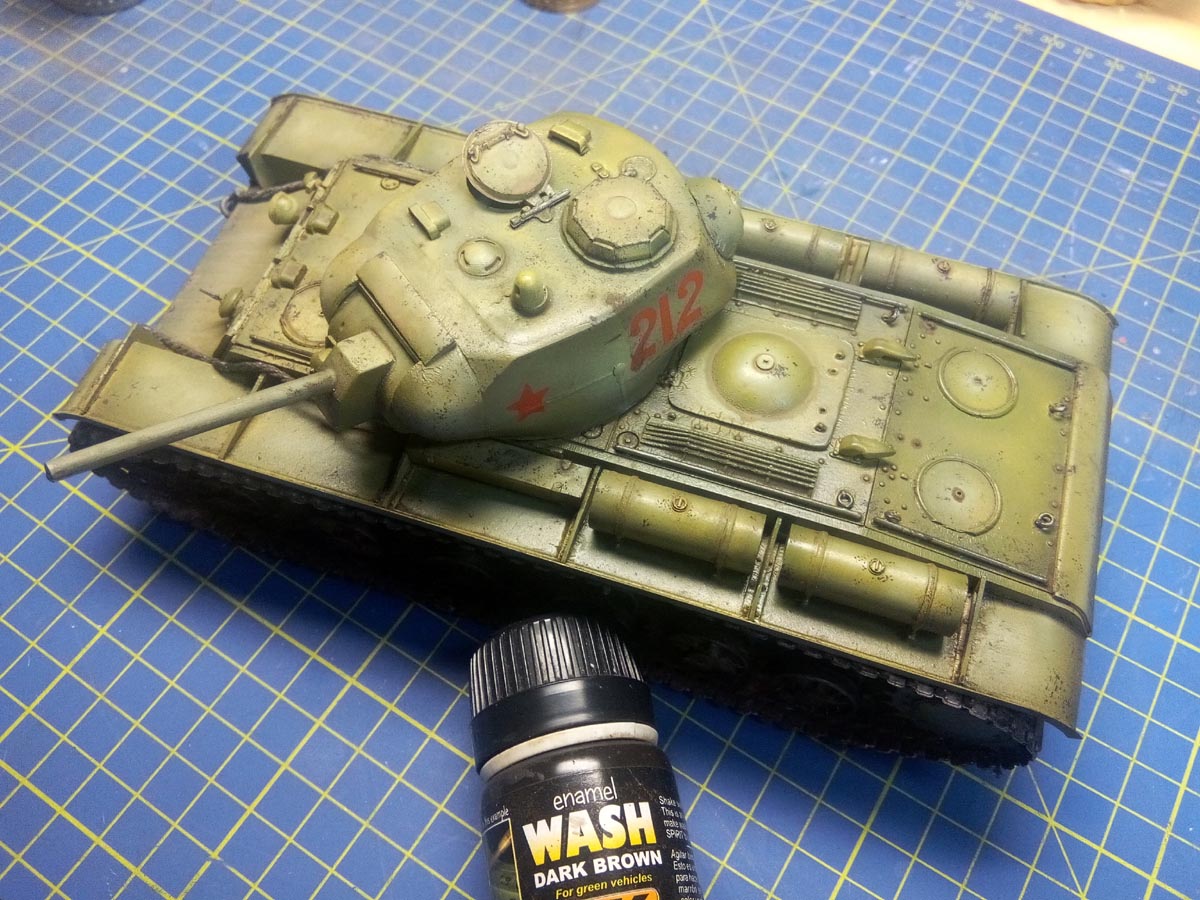
I painted the tank with modulation, and used the Russian set by AK. I have various sets from AK and honestly... I DON'T like them. They go well in the airbrush, but for my taste, even with no thinner at all, they cover too little !! Plus, they have a sort of satin varnish that I truly don't like.
Chipping was added with the sponge (after so many coats of paint to decently cover the surface, I doubt that the hairspray can work well).
Finally followed the usual washes, a filter, some drybrush... And the tank was completed.
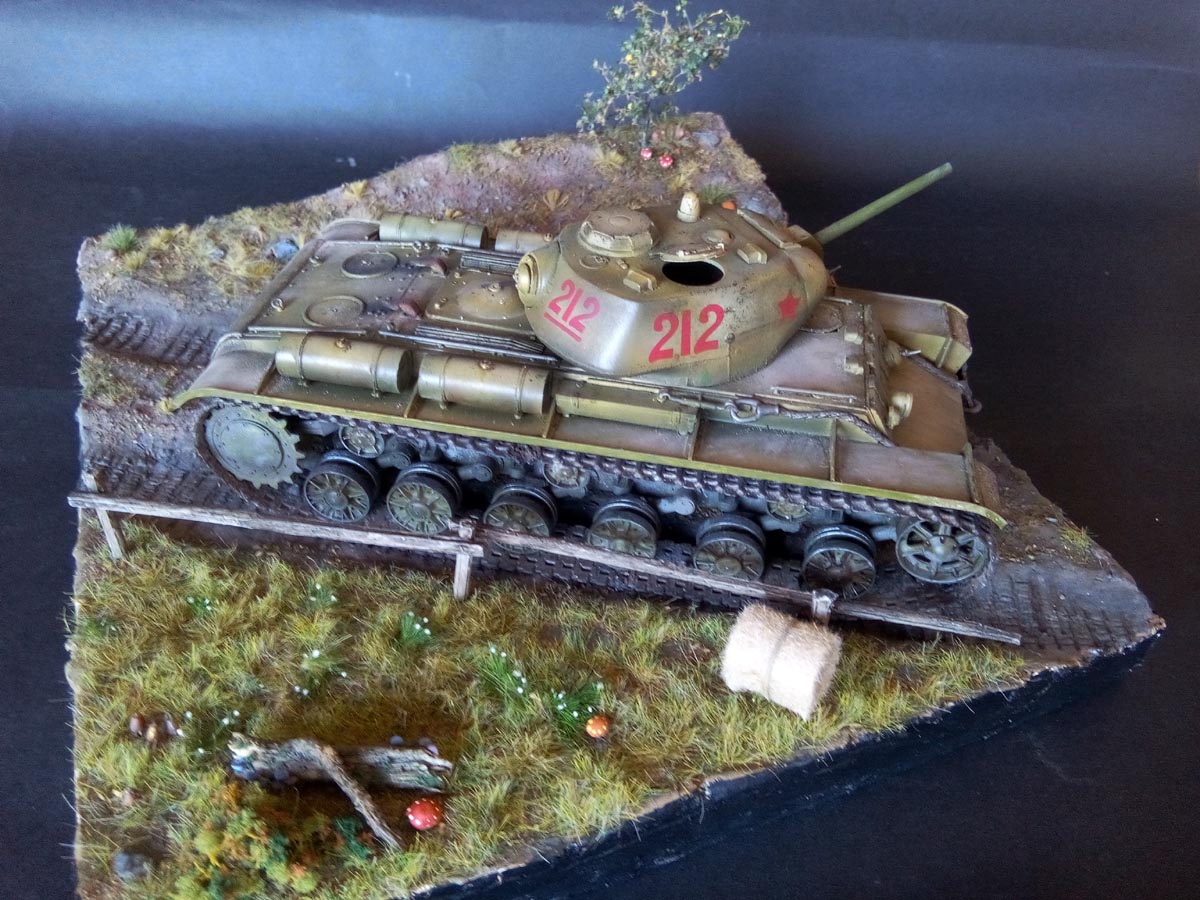
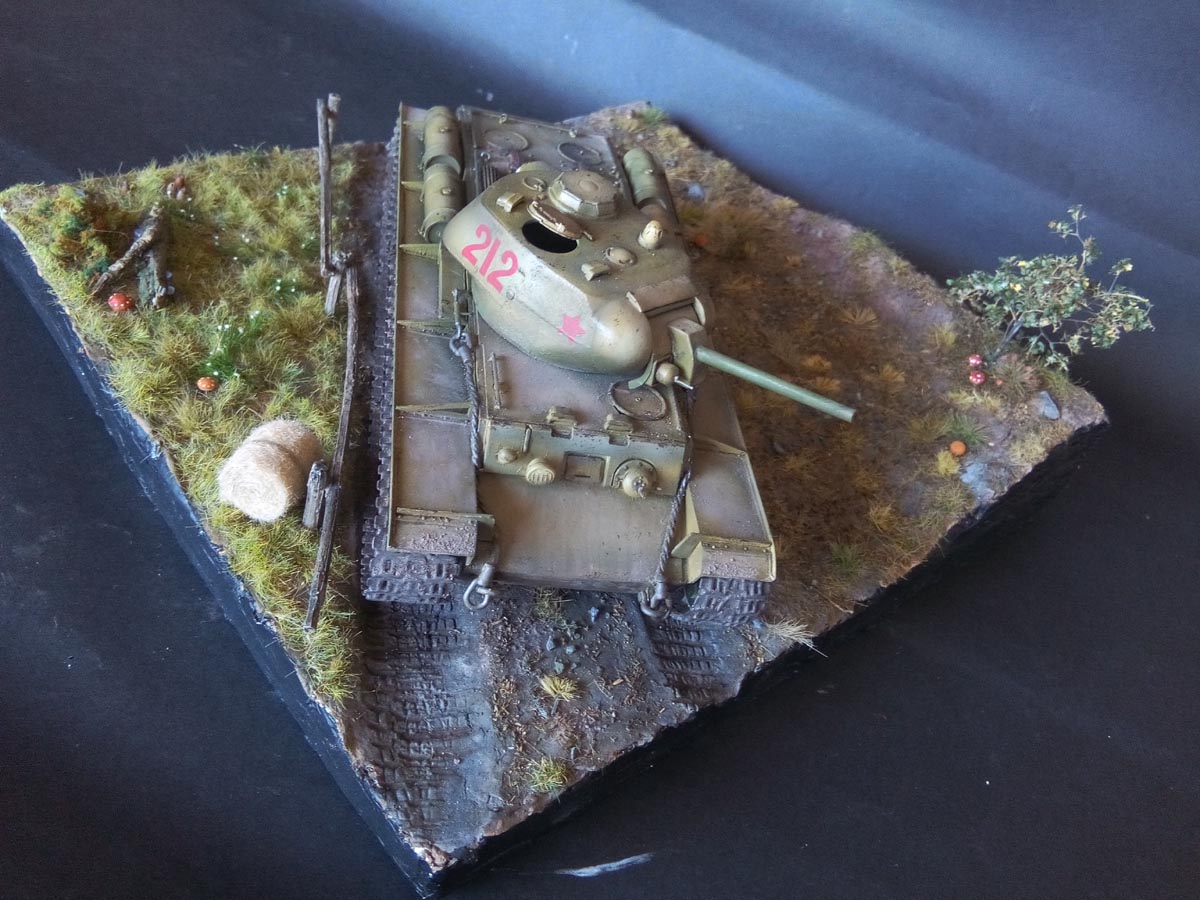
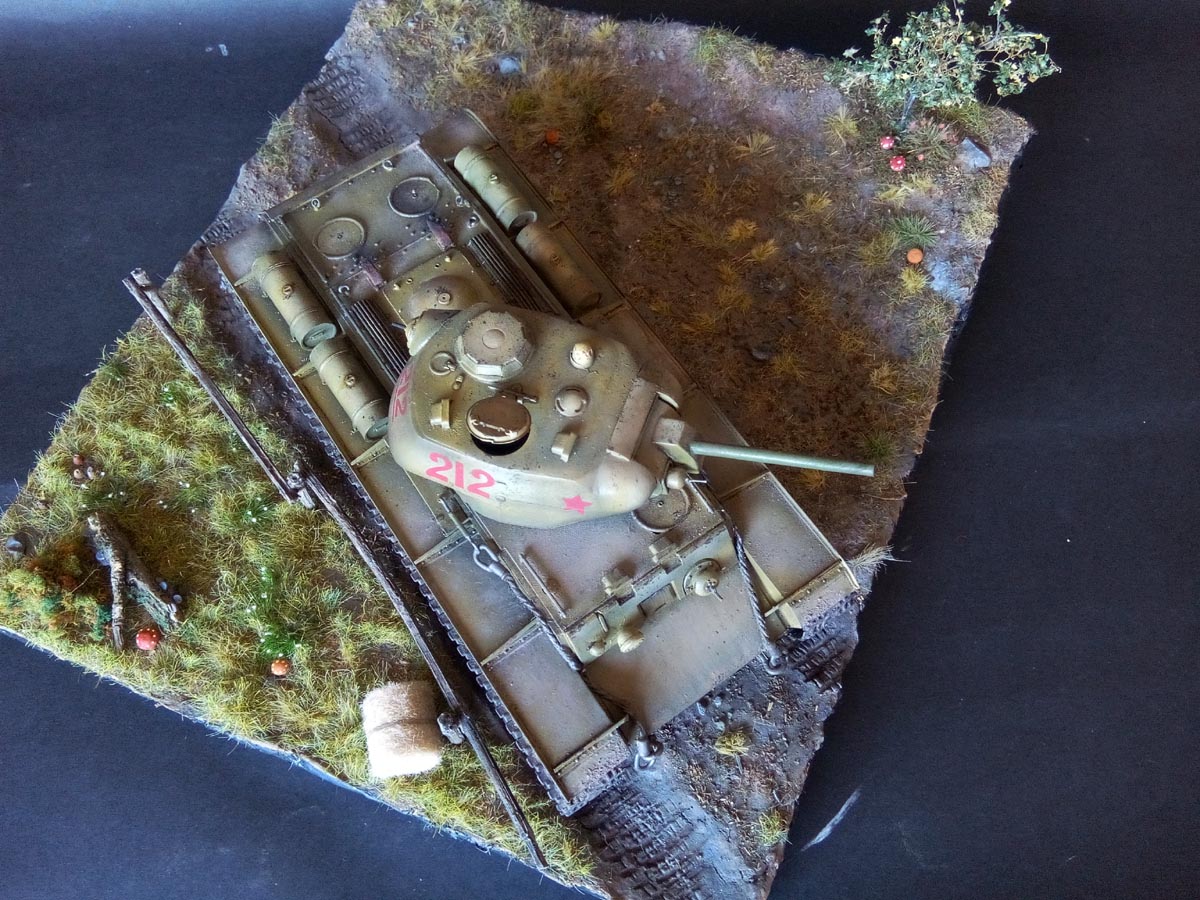
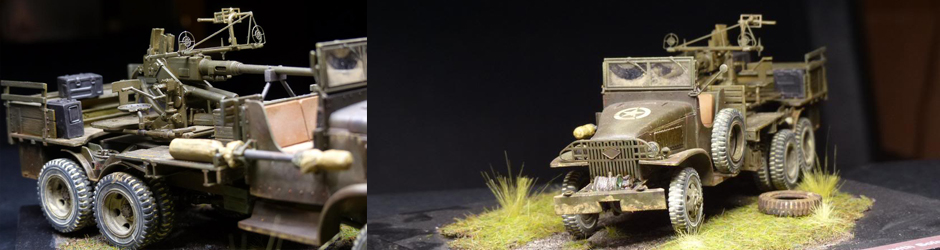
It was time to start the dio... I wanted to practice the laying of grass and some vegetation, in a sort of nice, quiet summer landscape.
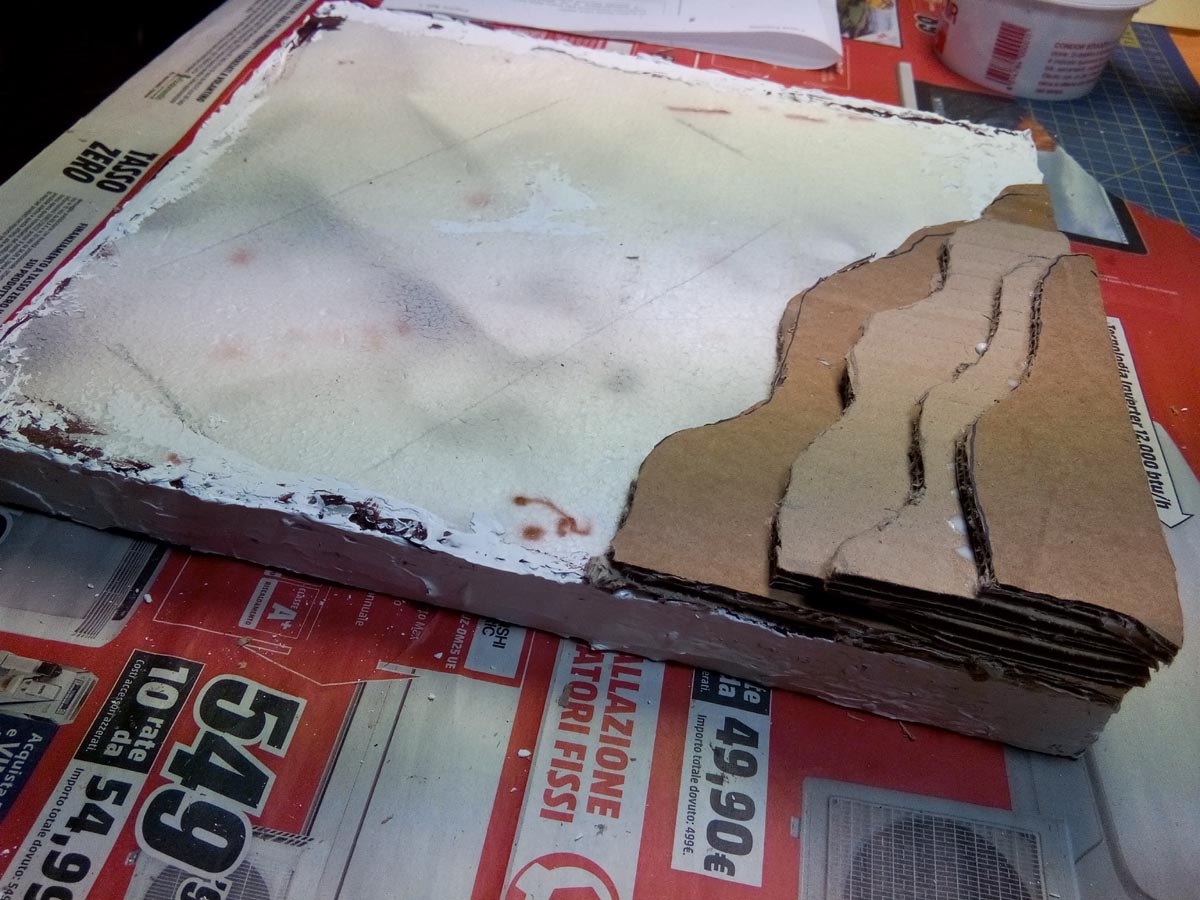

On a piece of wood i glued some foam: it will allow me to dig the road with no effort. For the small hill i cutted some profile using just a carboard from a box. I know... Cork works better. But guys... cork is expensive, very expensive, so why to use it when you can achive the same result with some free material?
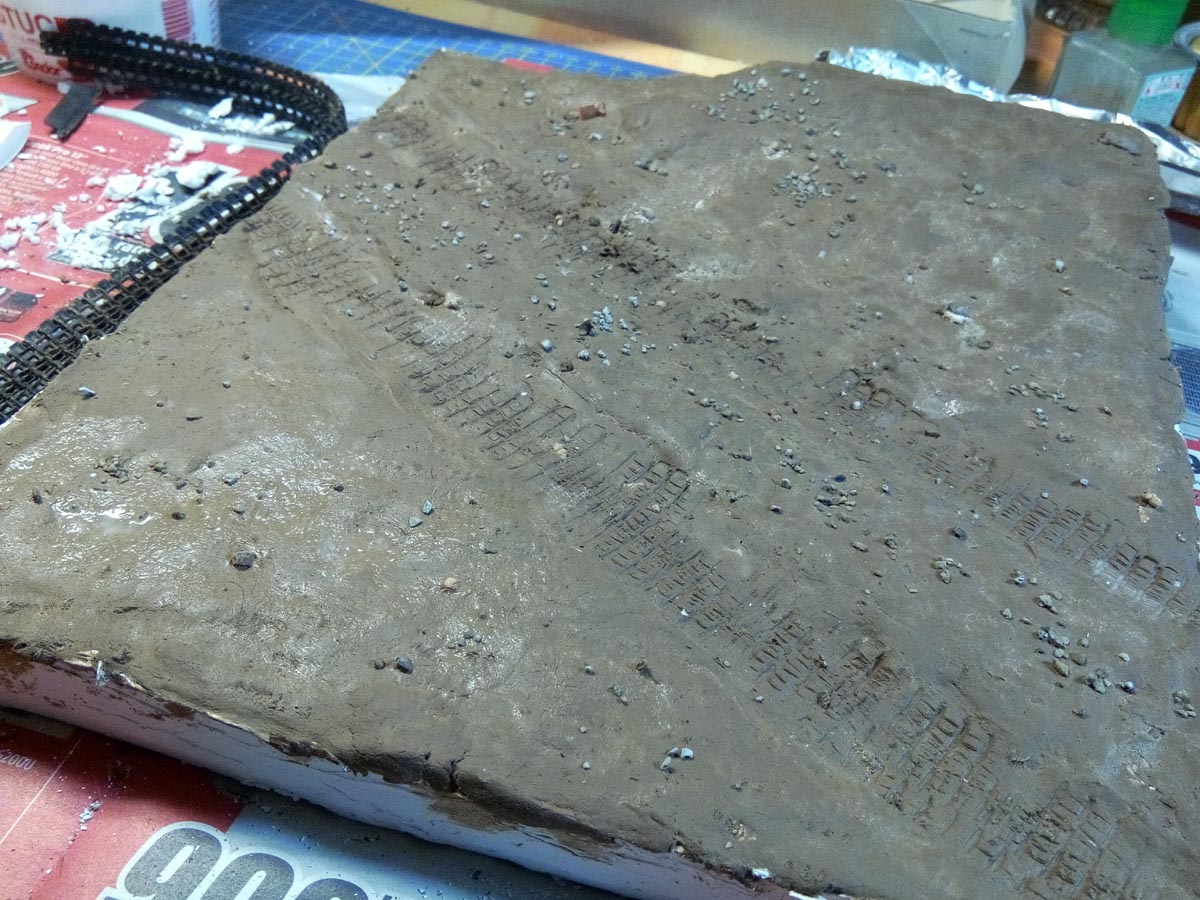
Then i covered everything with a sort of Das, adding some debris while it was still soft.
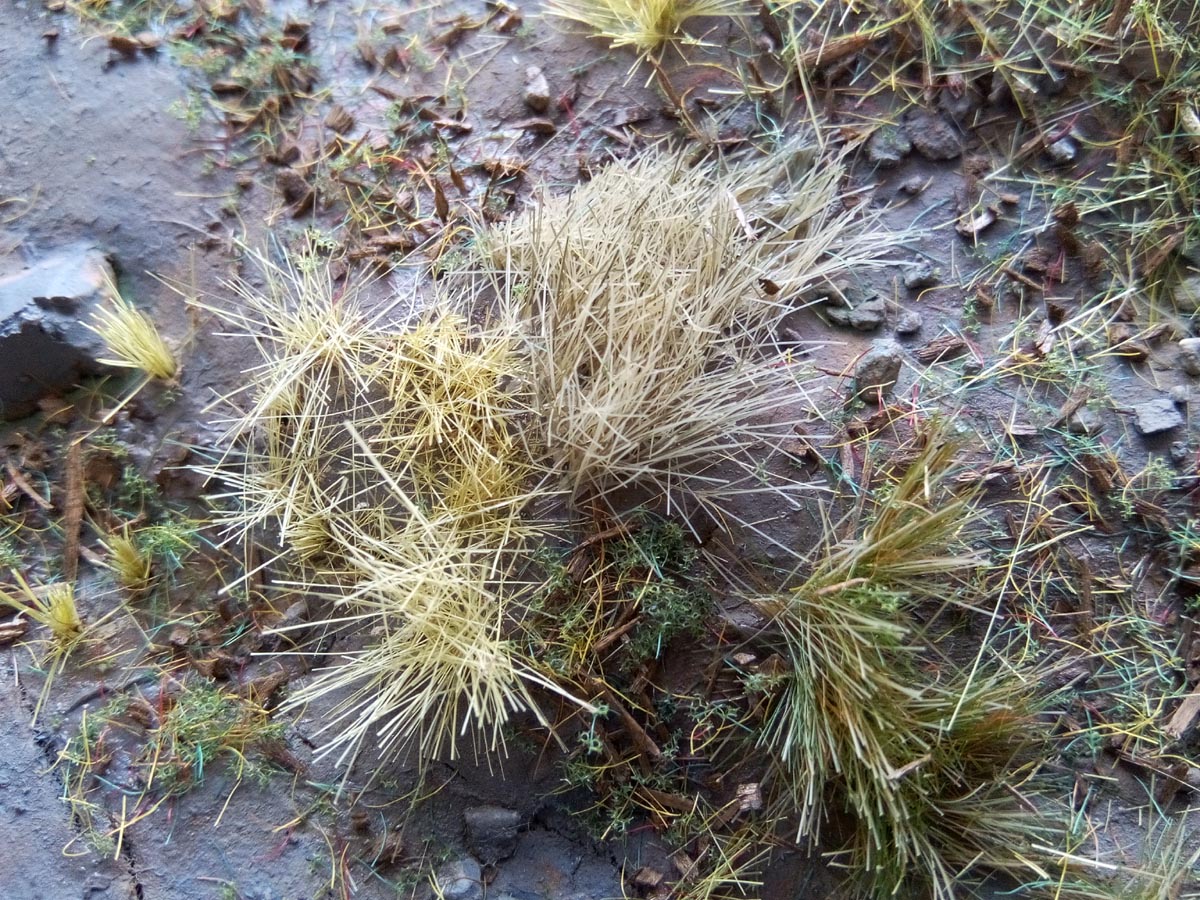
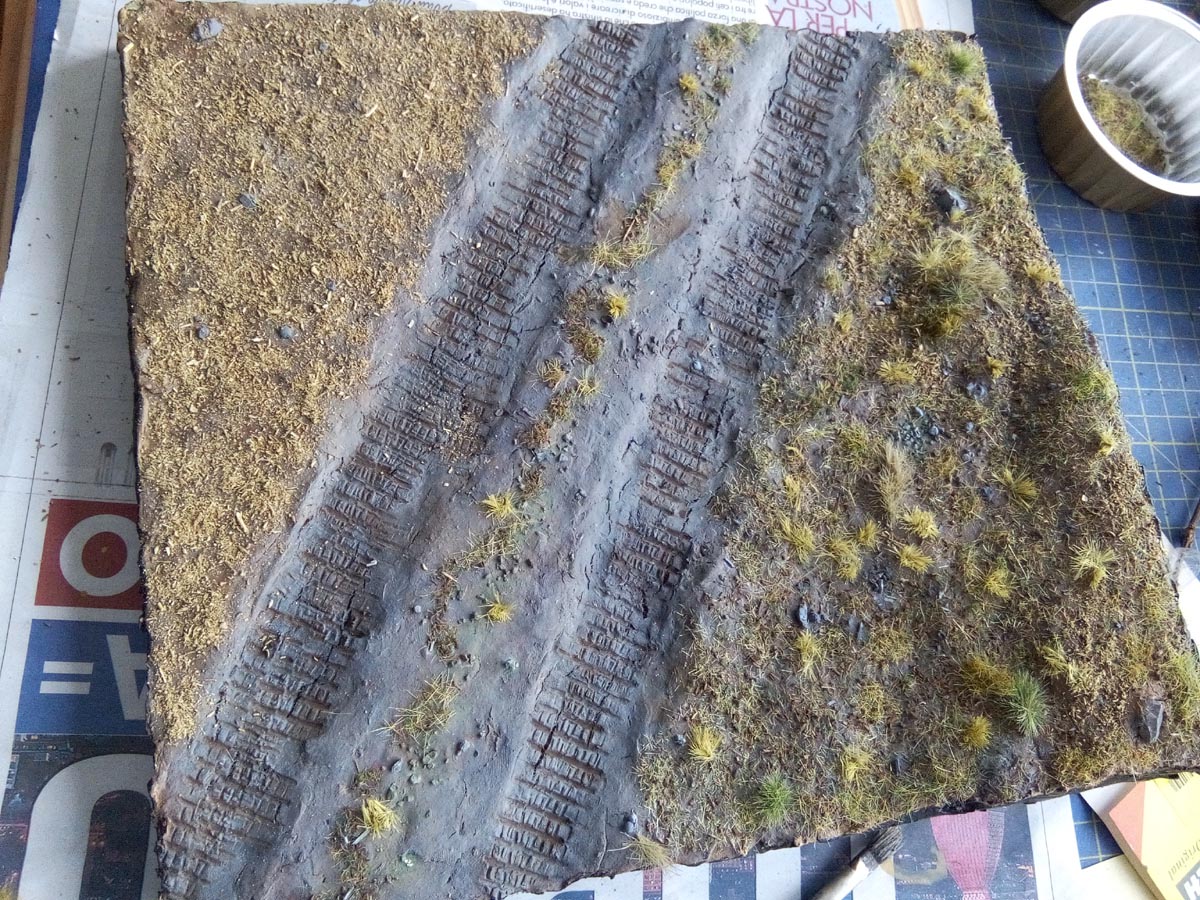
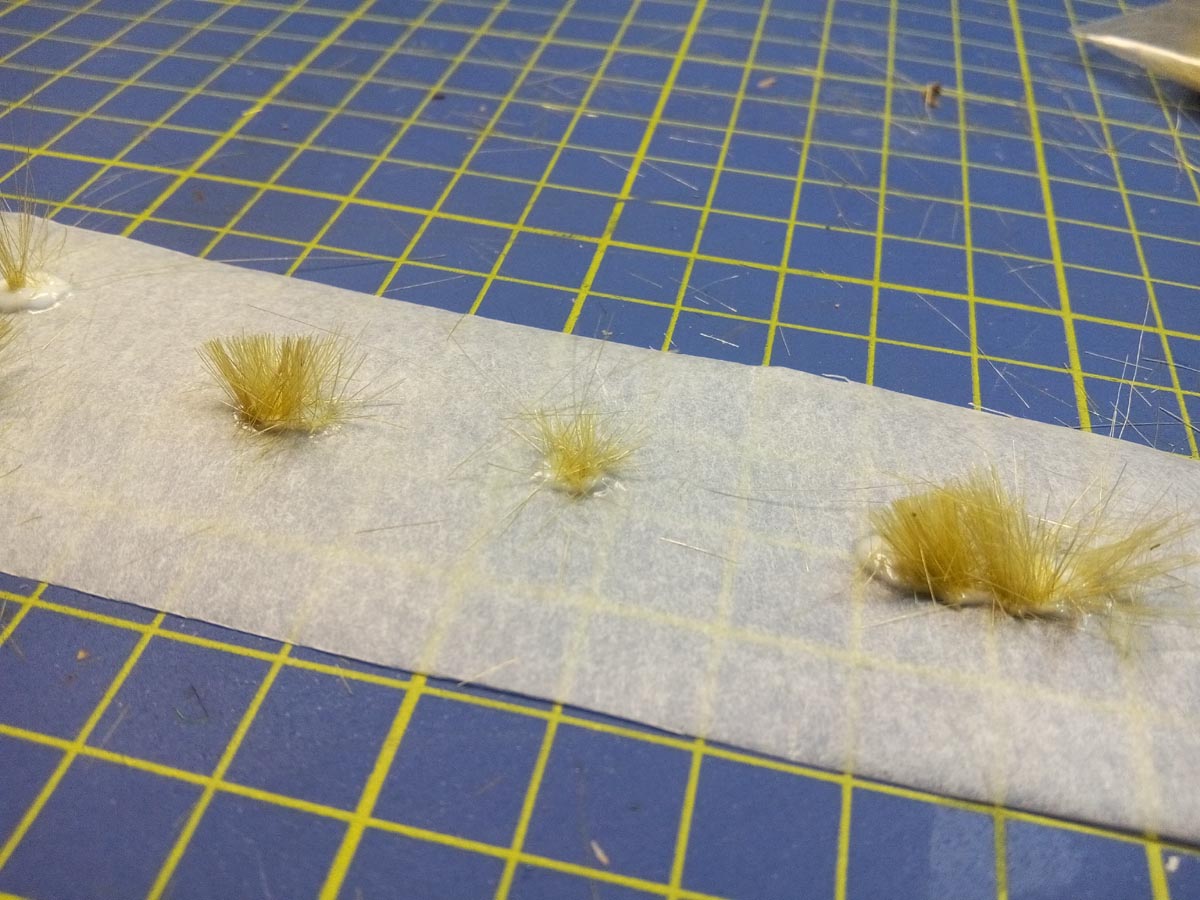
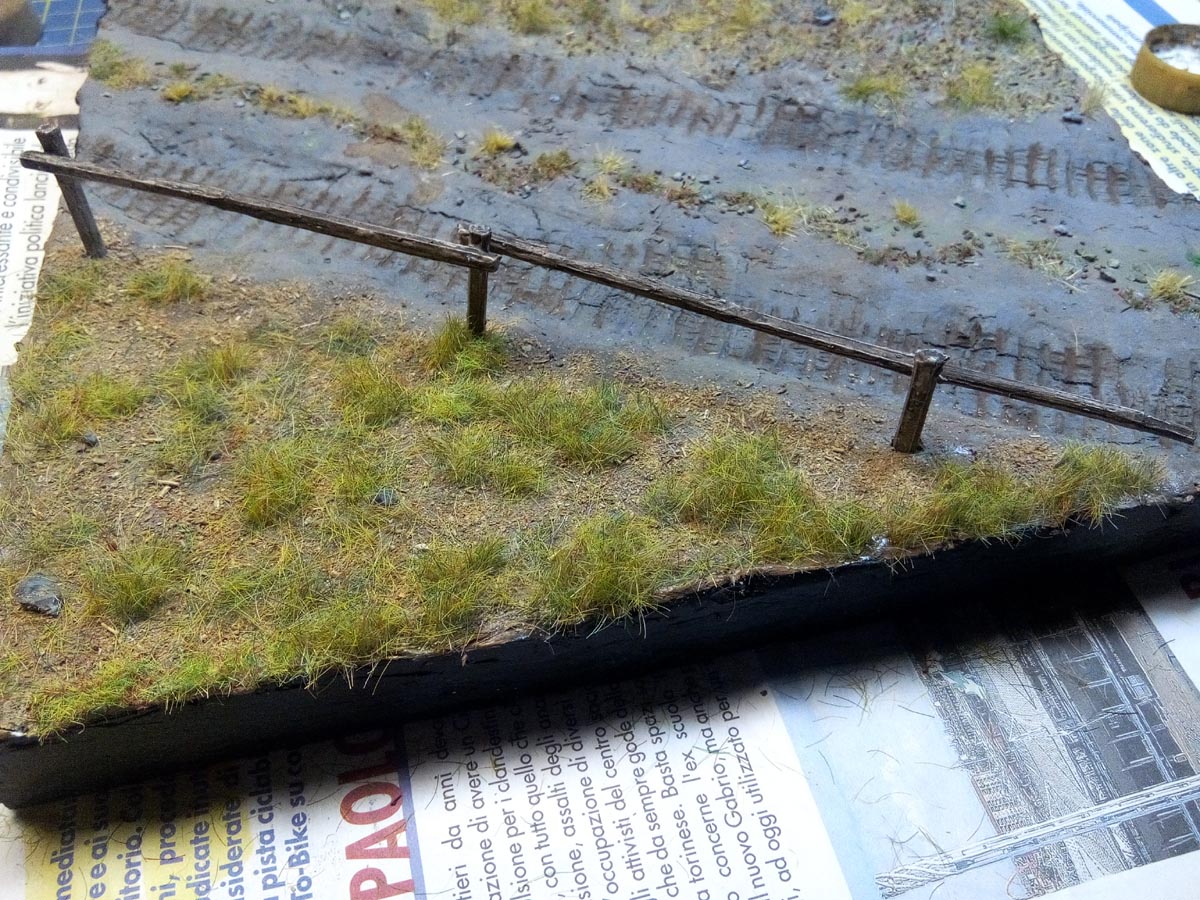
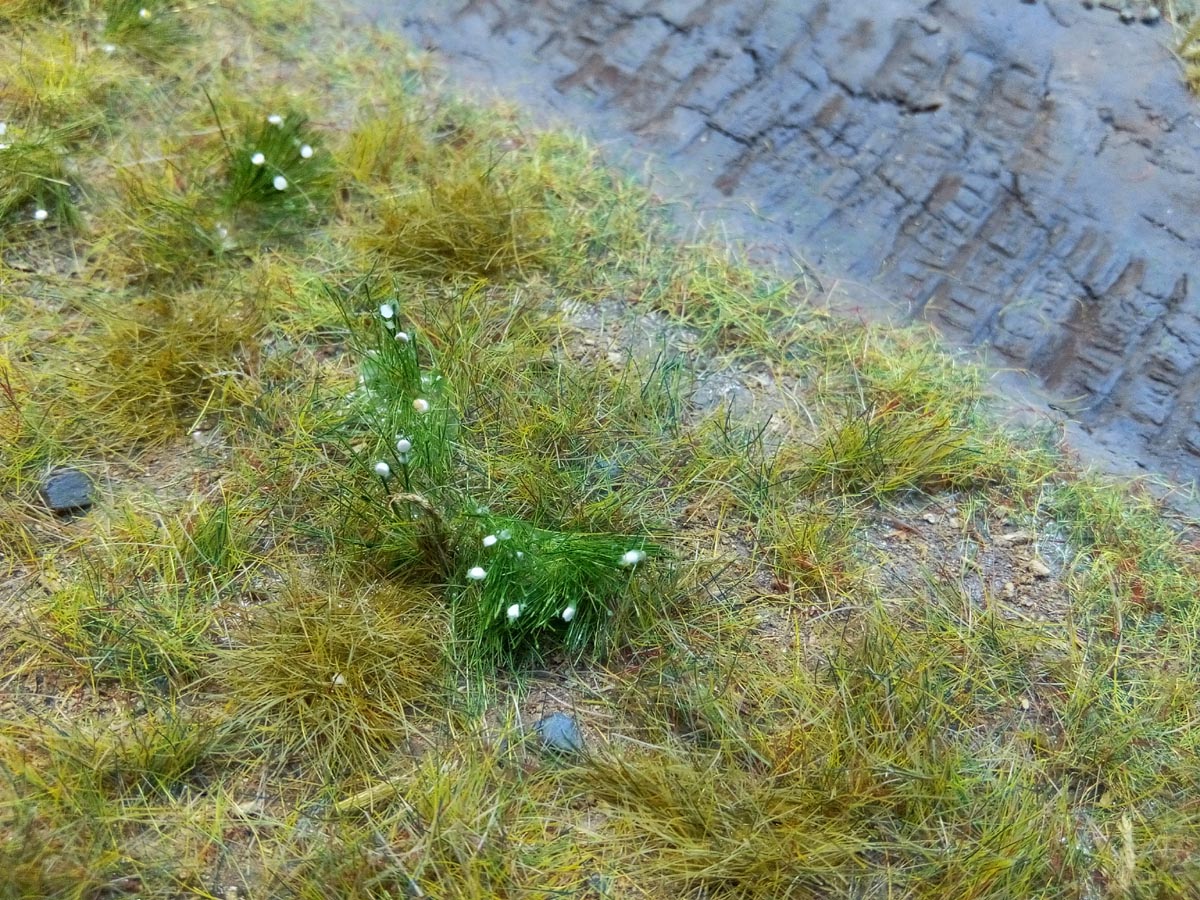
My attention was now focused on the vegetation, that i builded in layer. For the grass i didn't use any static applicator, but I made by myself the tuffs that i needed, first on a piece of backing paper, then directly on the diorama. I used 3 different kind of static grass, cutting it in various lenght for a more realistic effect. In some spots i also added some flowers: just some small plasticard circles that i made with the Punch-an-die-set and then glued on the top of the grass. I also added a small fence, that i made used some wood cutted from a plant on the terrace :) (of course it was weathered and painted as well).


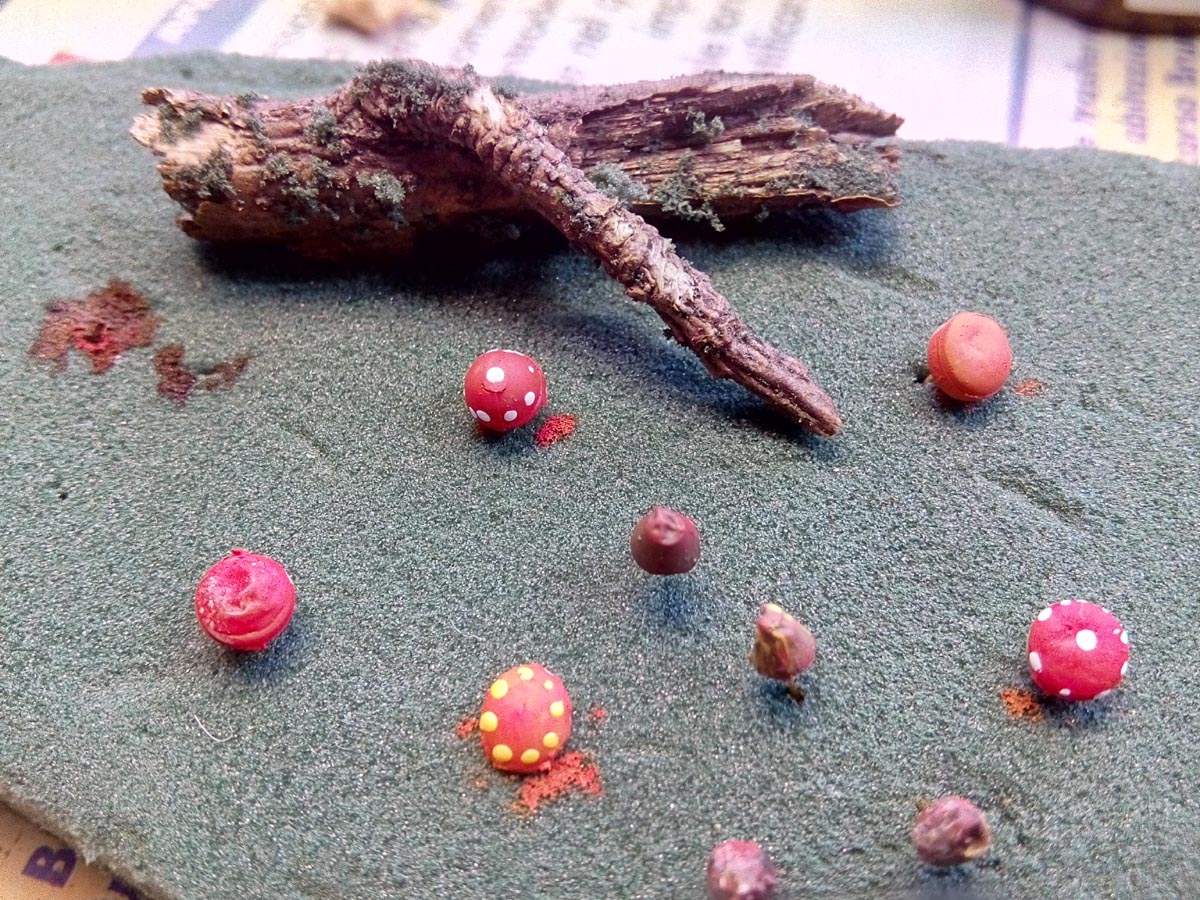
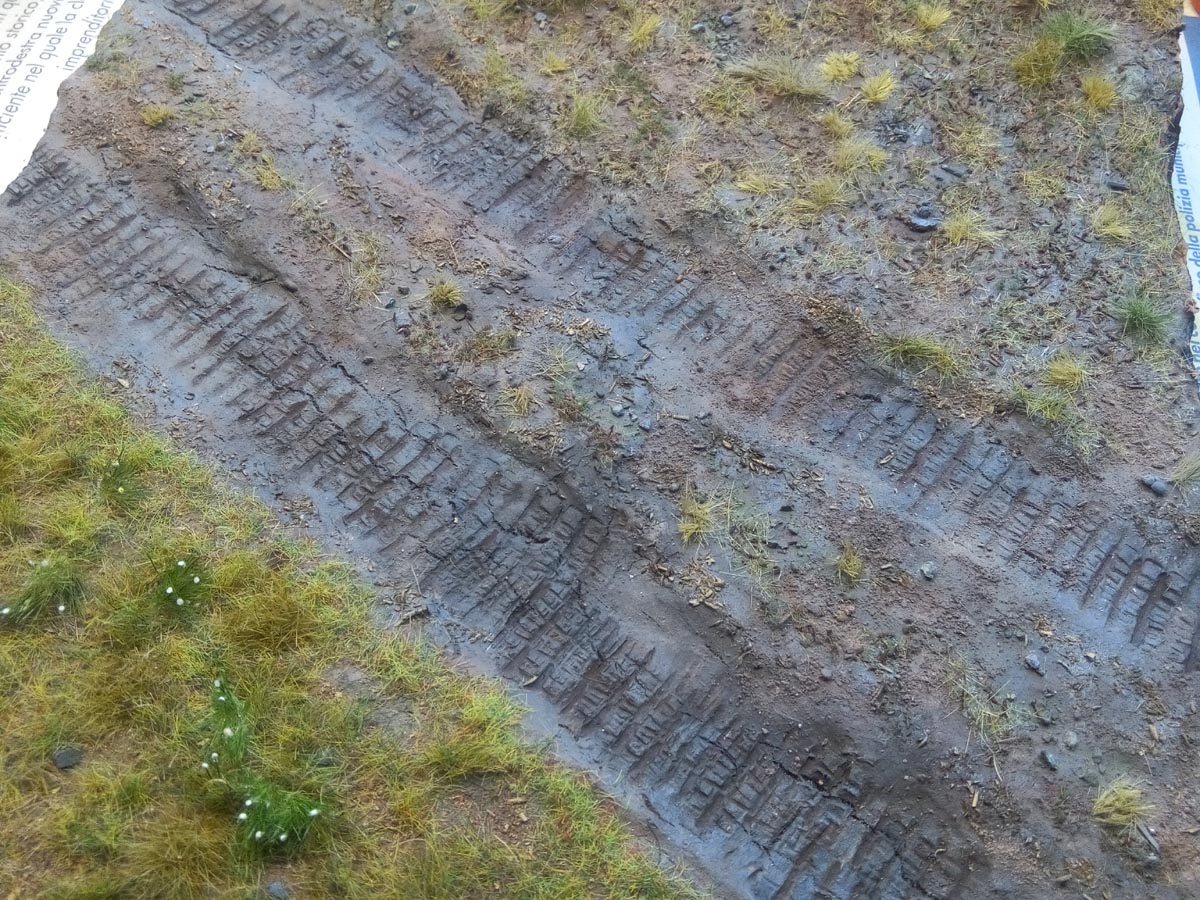
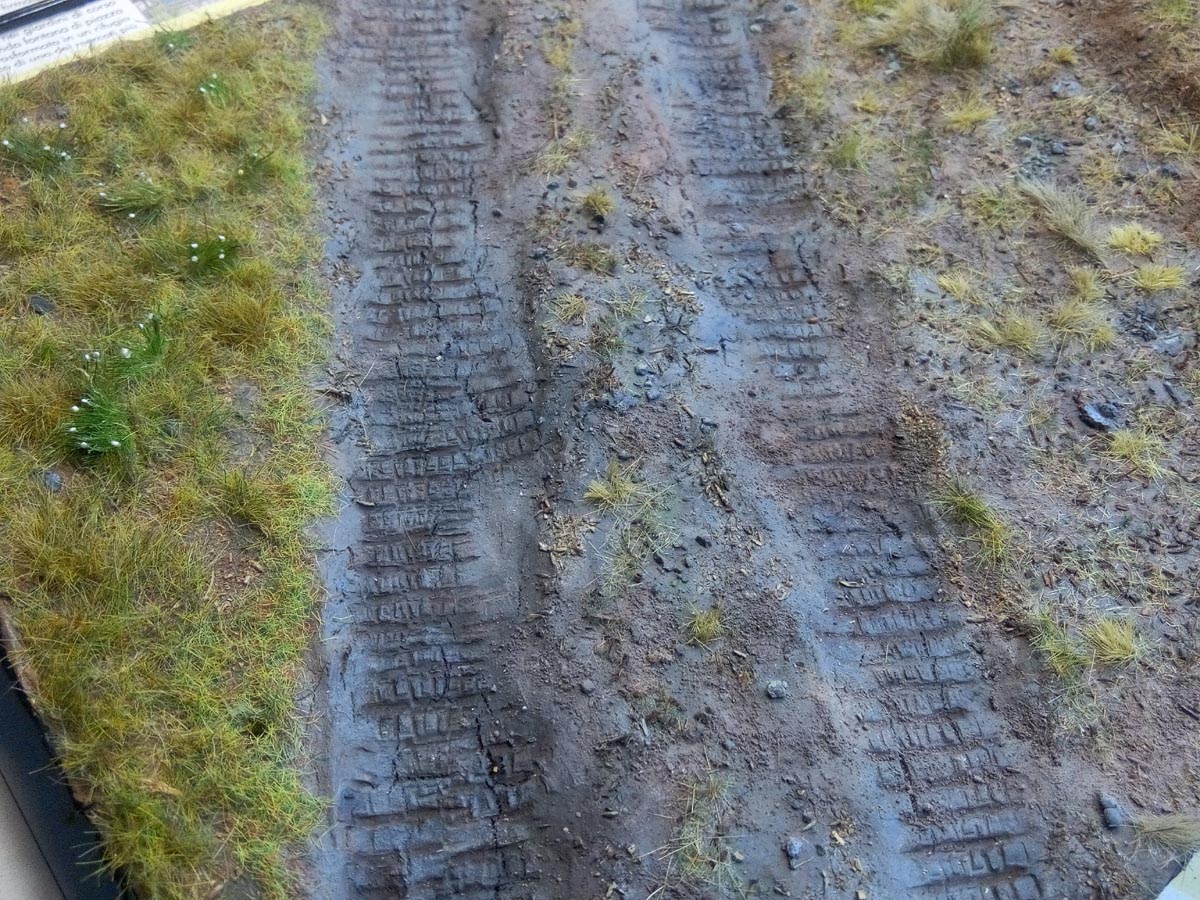
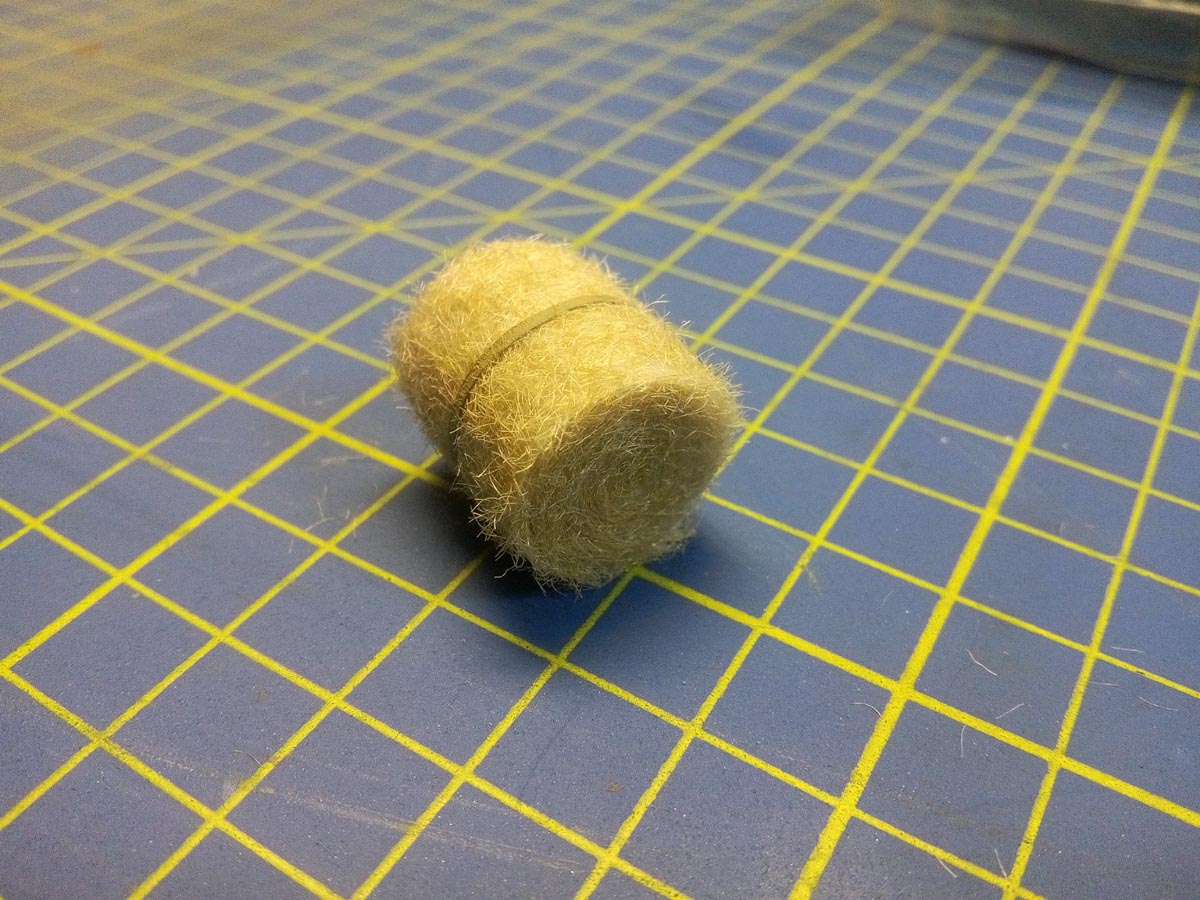
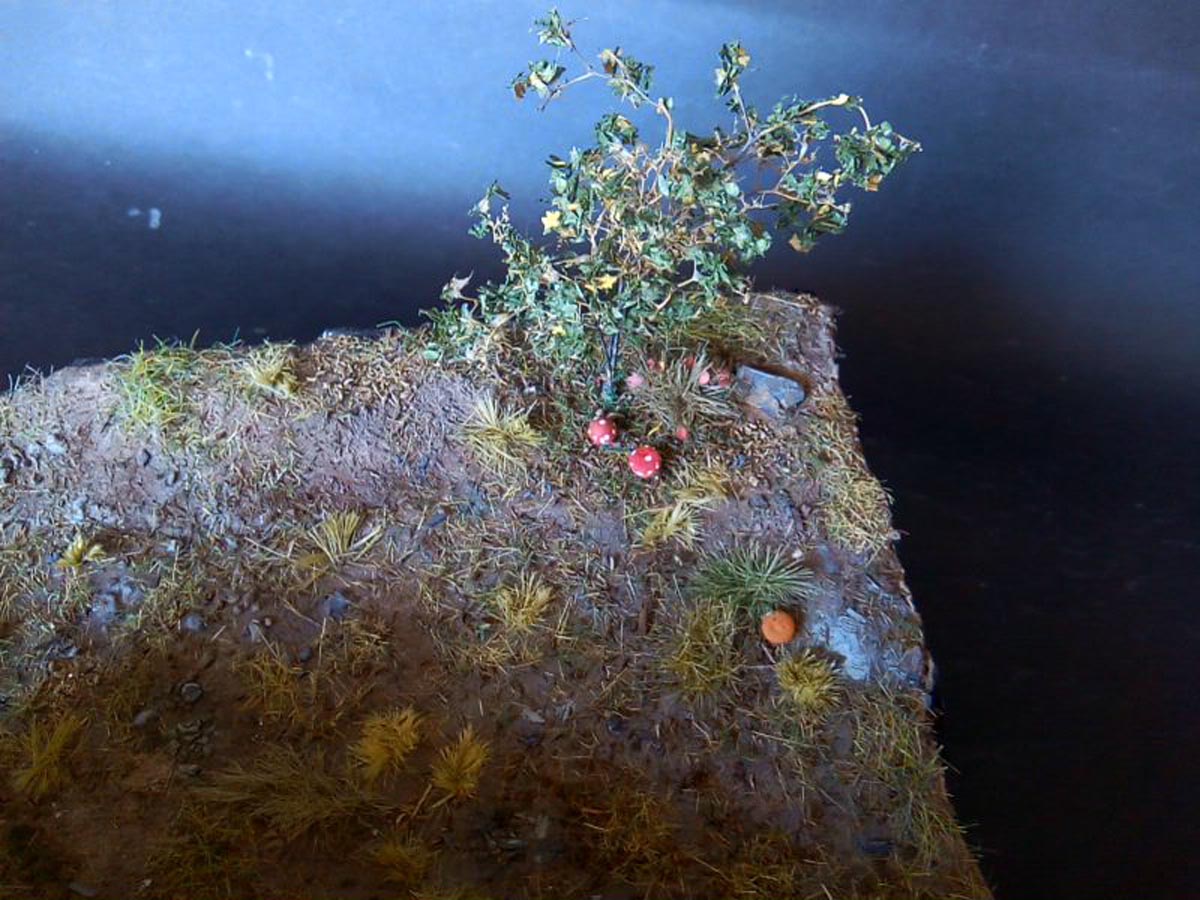
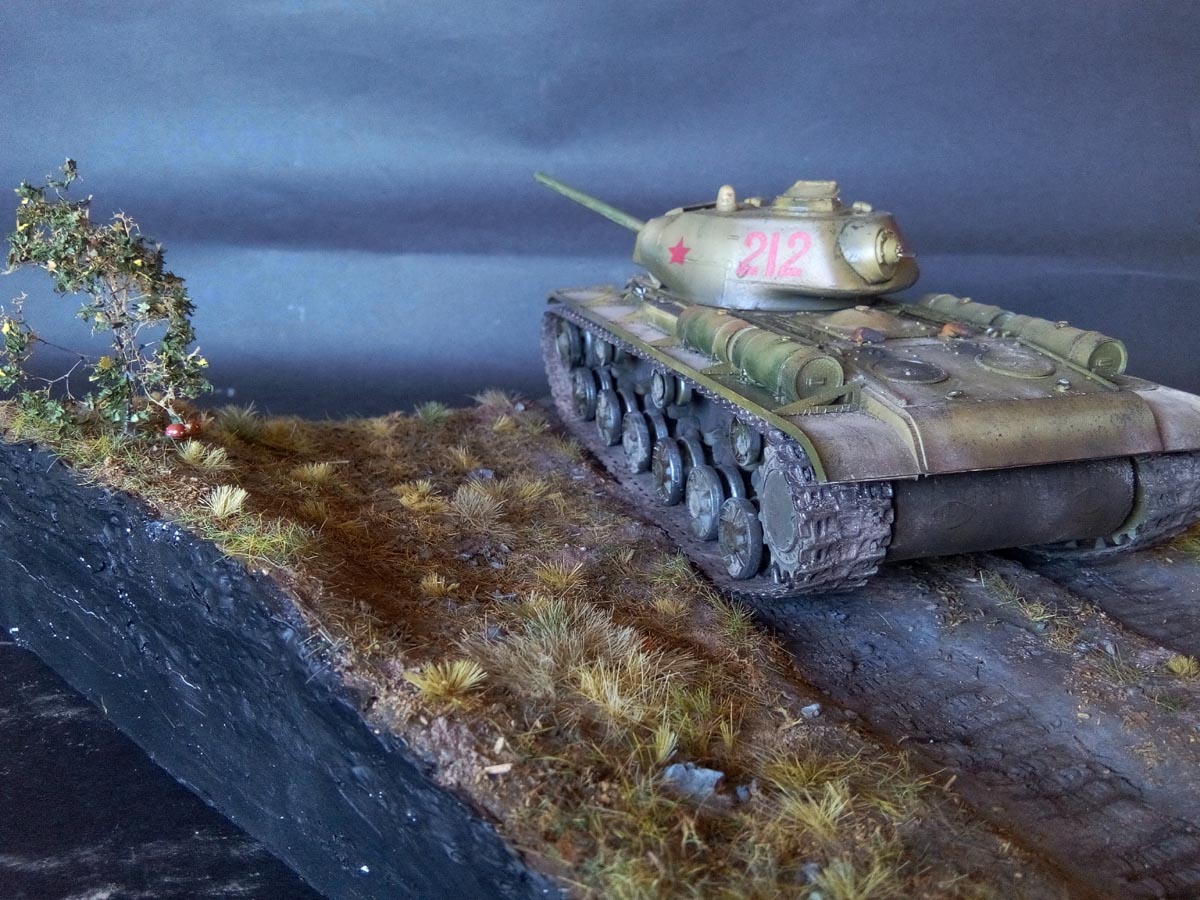
For the road i did many different washes, until i was happy with it. I also added a small bush on one of the corner, made a small trunk and some mushrooms (i just used some small palstic bits) and a small bushy tree. Oh, i also did a Hay Bales (you can find the tutorial about how to make your own here).
The dio was finished... and here you can see the final reveal.