
Model, text and images by Shannon Steel
The good thing about these kits is that them come with loads of resin goodies already in the box. Indeed, This is a multimedia kit with injection moulded airframe and resin interiors plus a sheet of Eagle Strike decals.
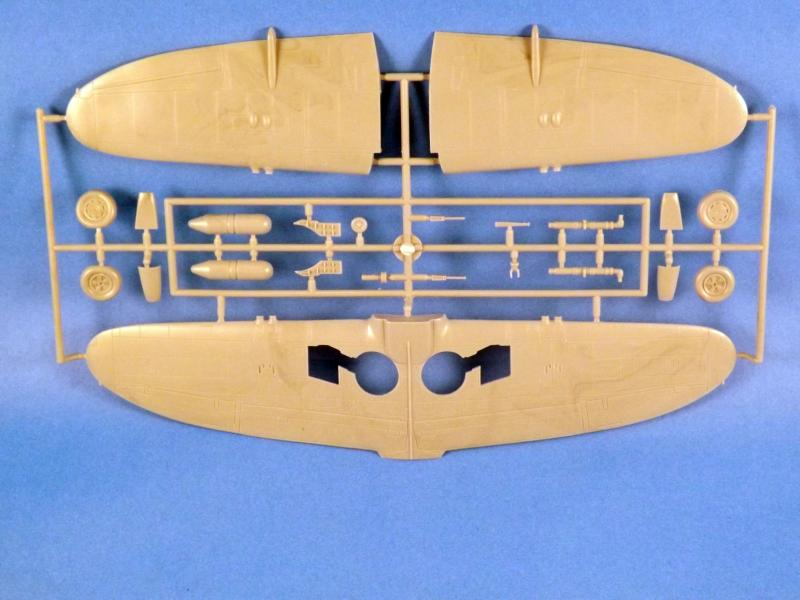
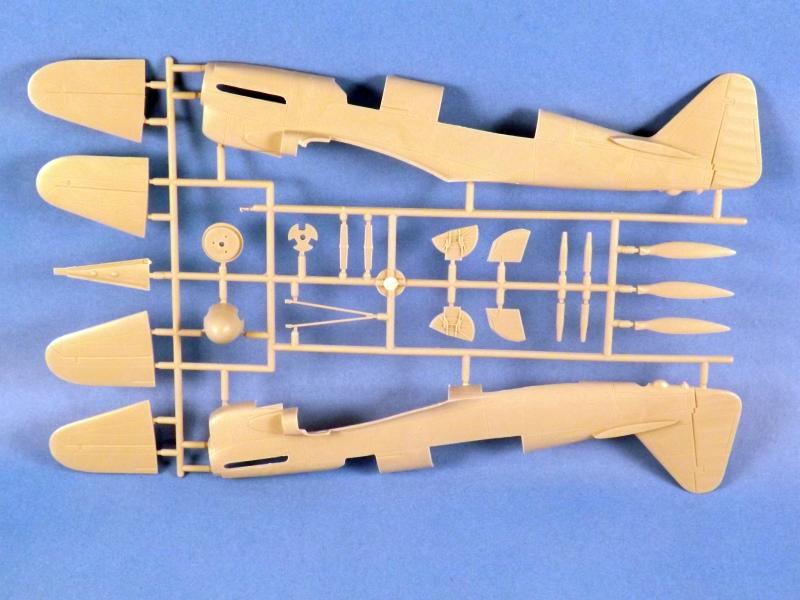
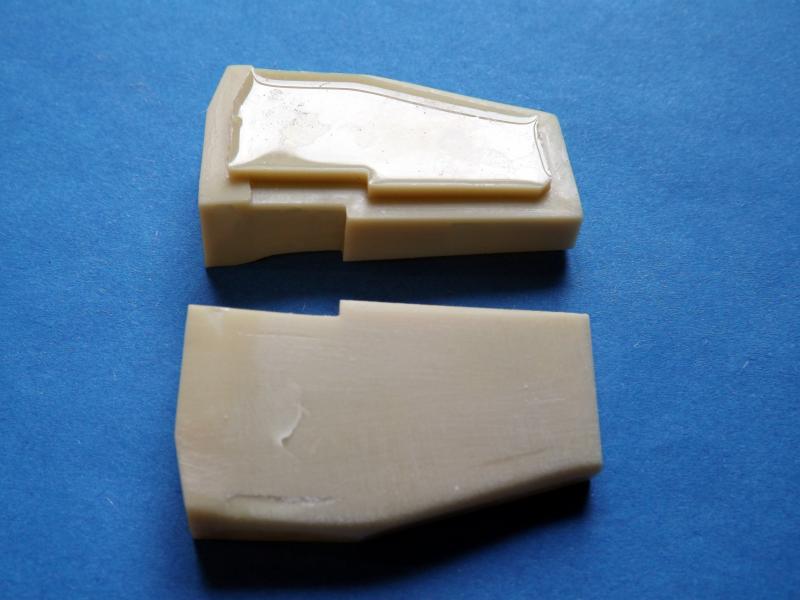
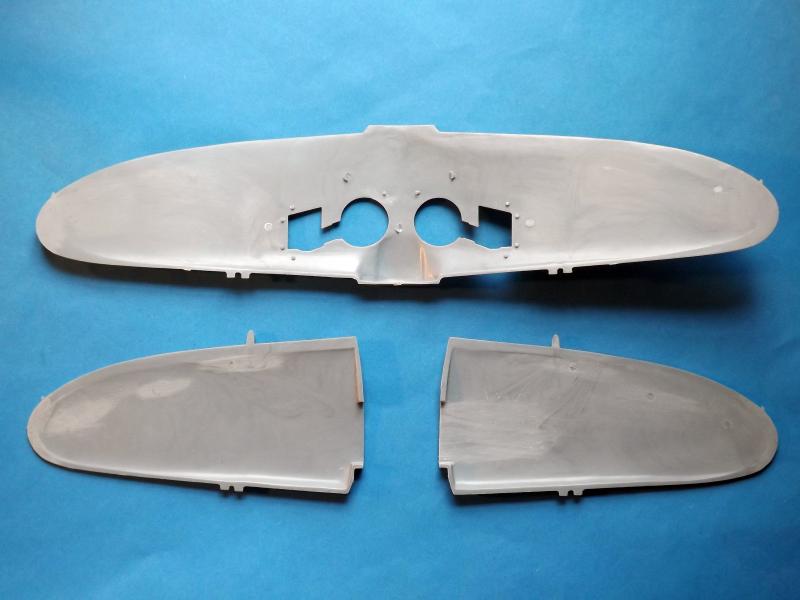
The Sprues. They seem quite rough to the touch so will need to be polished before painting.
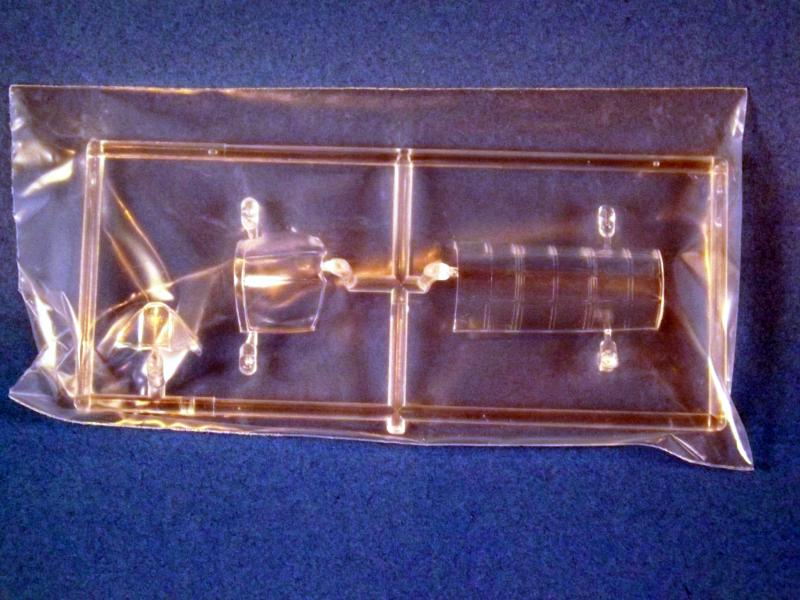
The Clear Bits
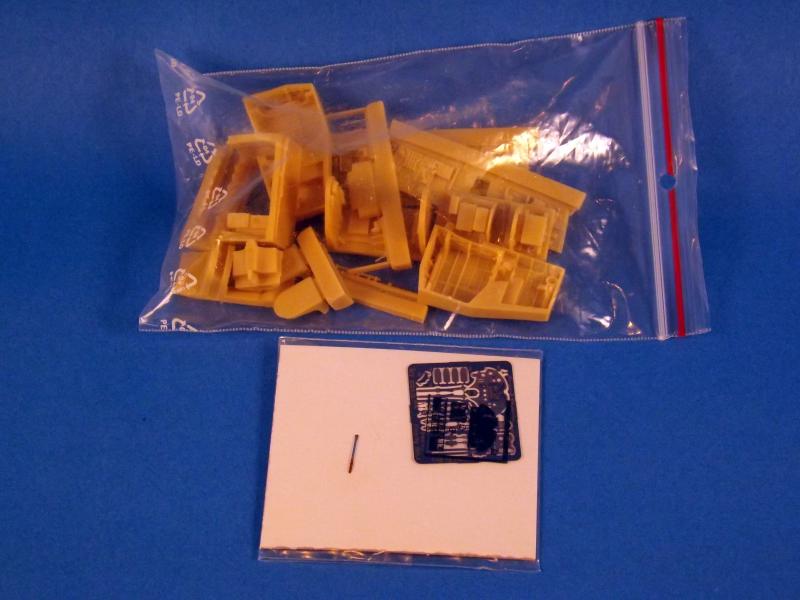
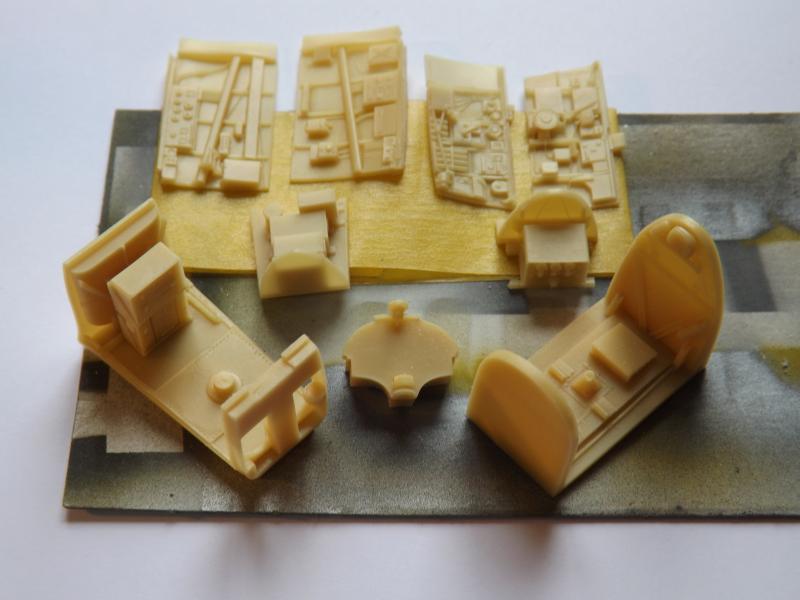
A Bag of resin Goodies.
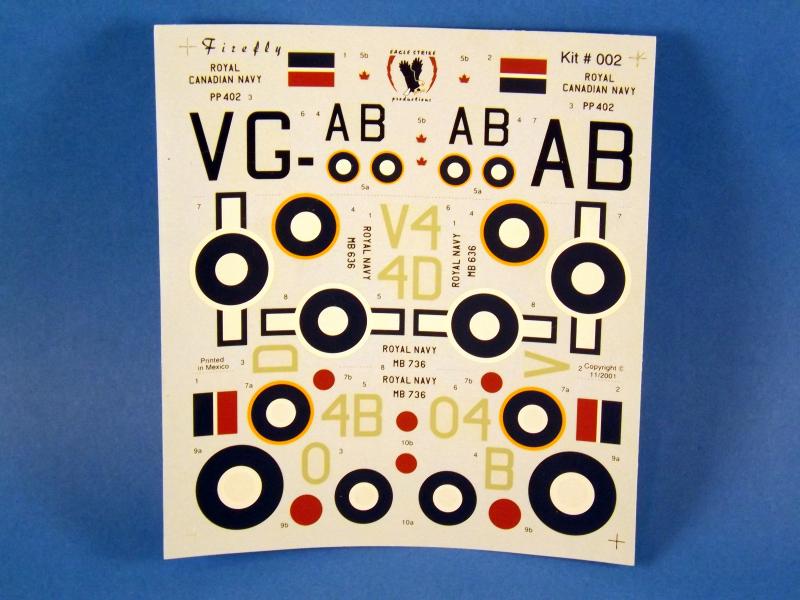
Kit Decals
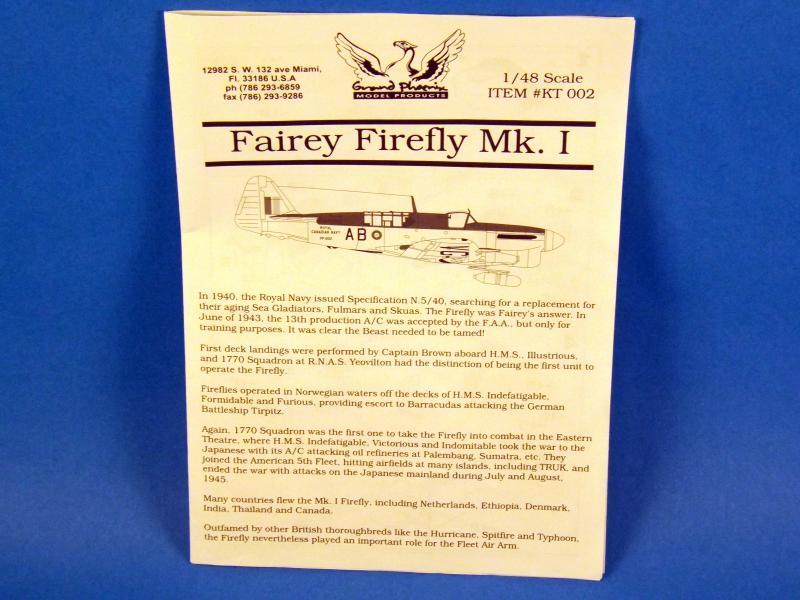
Instructions
The Berna Decals that I will be using for the build.

Following my last foray into a Grand Phoenix kit I decided to start with the wings and not the cockpit as I ended up scraping to much wing away last time.
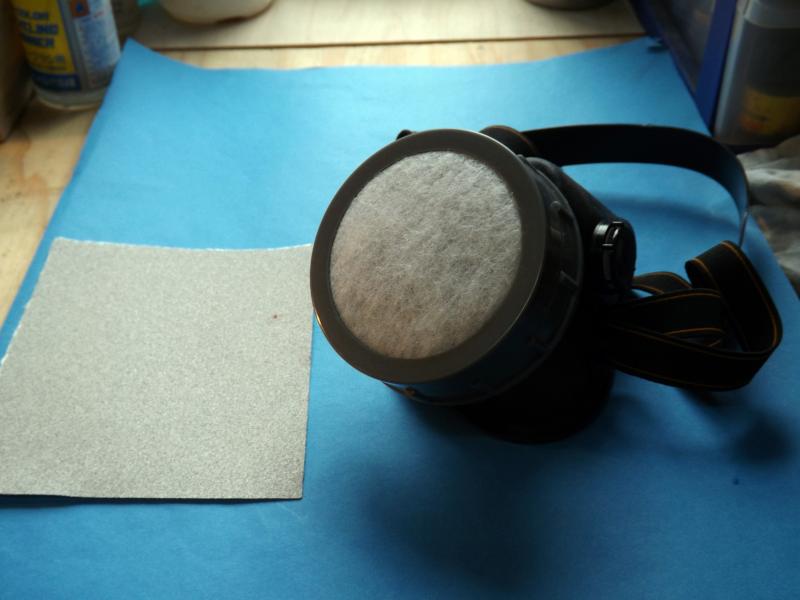
First things first got the respirator out before starting to sand down any resin. After all no one wants to breath in this stuff.
Following a wash down in warm soapy water and left overnight to dry off I set about sanding down the casting plugs to make the wheel well fit.
Lots of ejector pin marks to take care of before the wings would go together.
Success the wheel well fit really quite nicely.
Small hole in the top but its not noticeable from inside the wheel well.
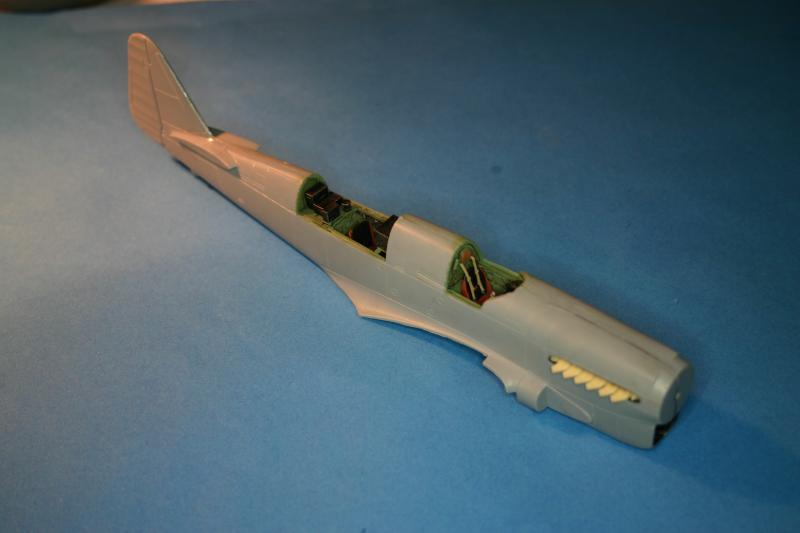
Taped it all together and it is quite a nice fit. Onto the cockpit tub next as the casting plug on this needs to miss the top of the wheel wells for the fuselage to fit on the wings.

The Wheel Wells all painted, installed and the wings glued together.
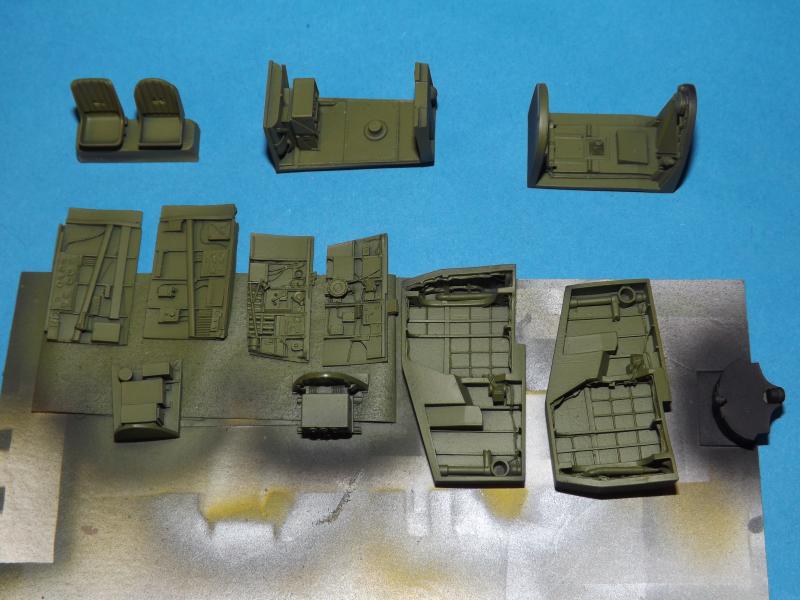
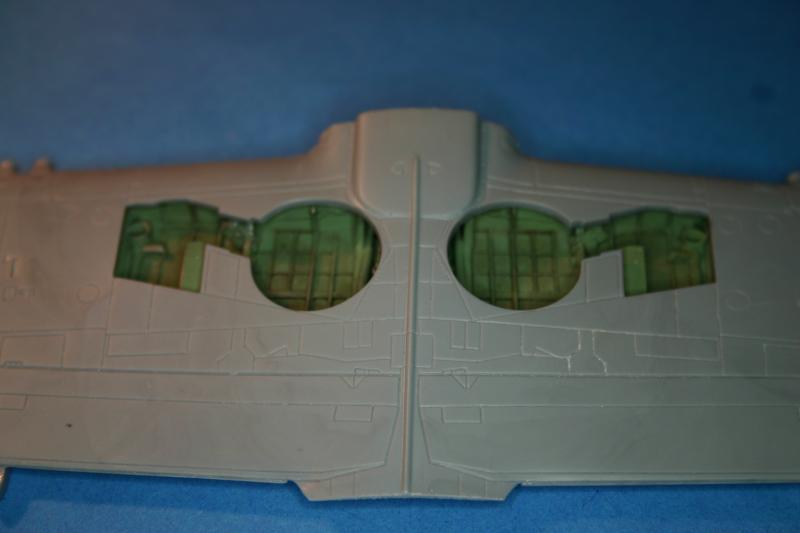
The Resin front and rear cockpits.
The front and rear cockpit.
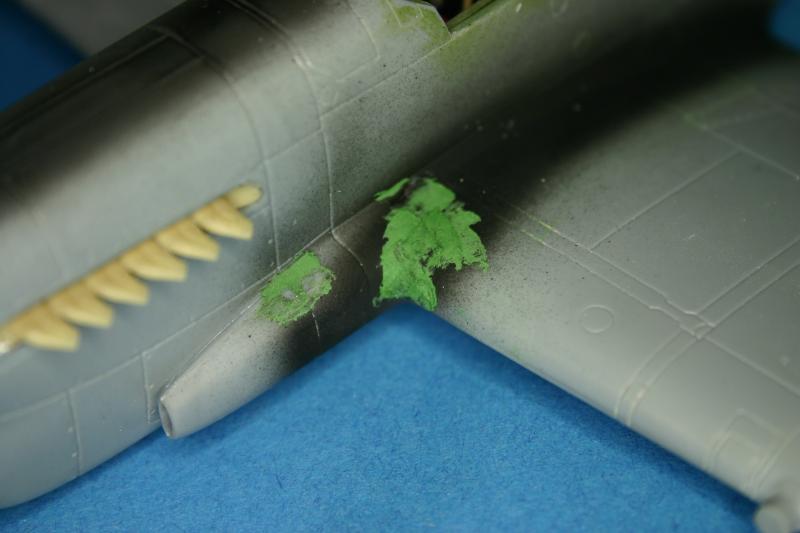
Before putting the fuselage halves together there were some awesome ejector pin marks to take care of.
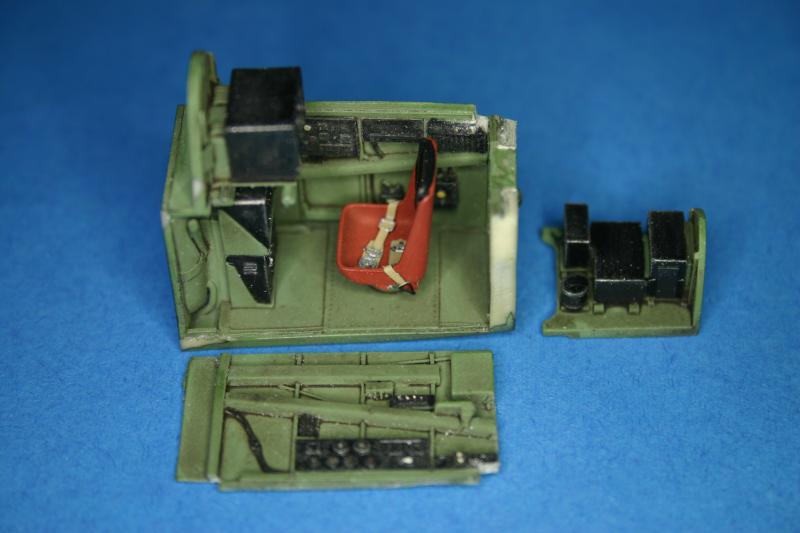
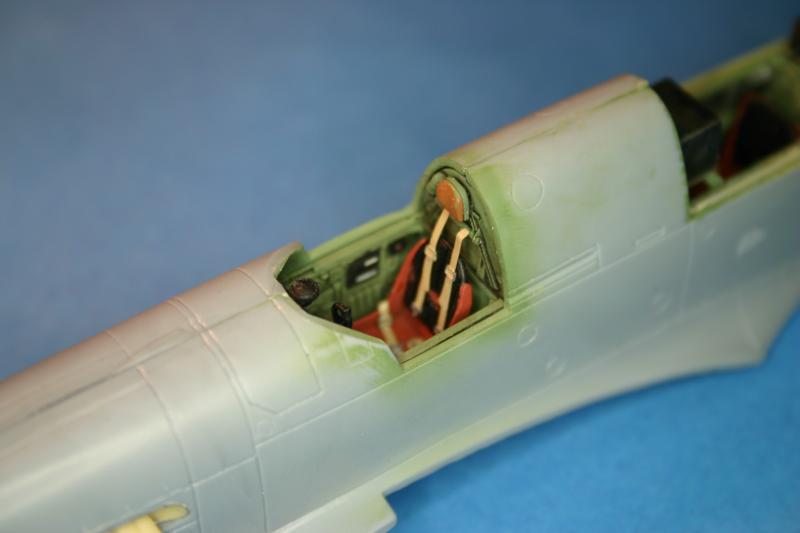
The Cockpits and Exhausts installed. The parts have no location tabs so getting it lined up correctly was a bit of a challenge.
All of the seams look like that they will need considerable work to get them right.
After fitting the wings I was left with really bad gaps Joins.
The gaps were filled with plastic card and filler. After spraying the joins I did not like the joins so decided to apply more filler.
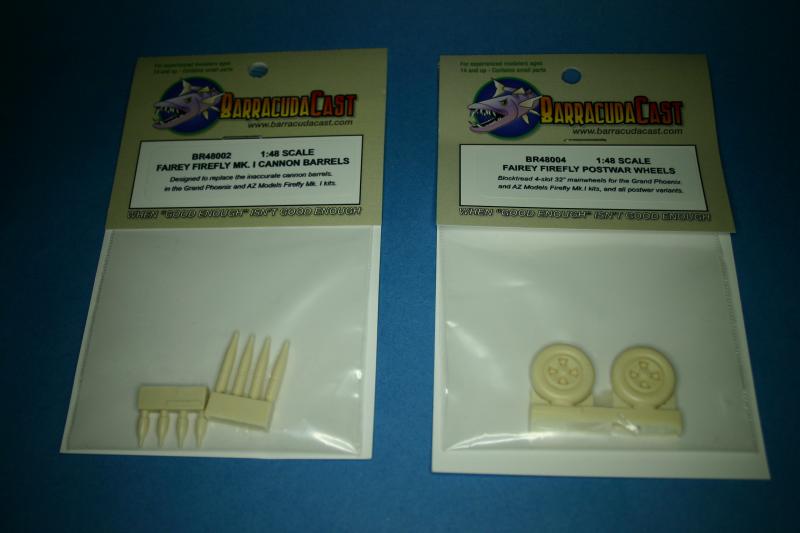
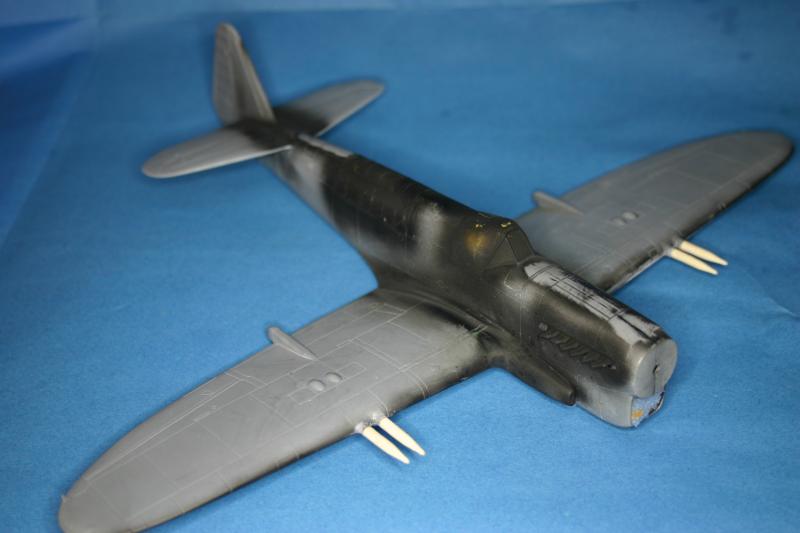
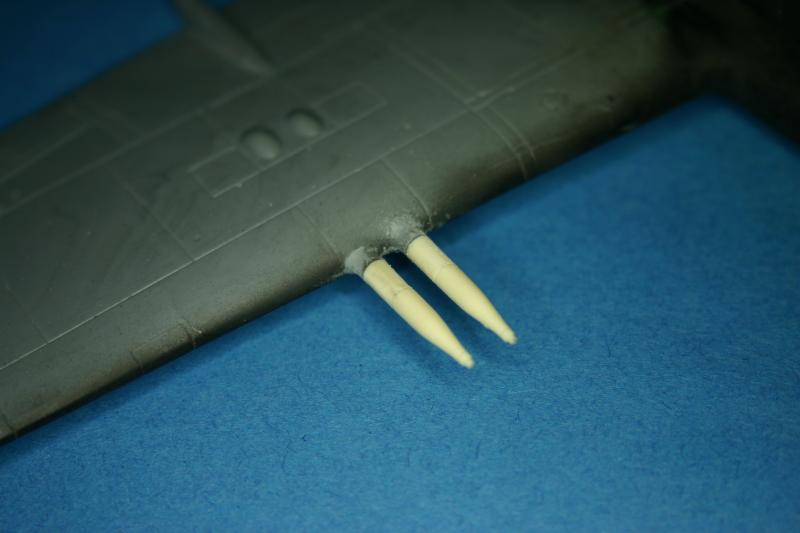
Looking at the kit gun barrels and wheels I decided to change them because the other are very crude and overscale.
Gun barrels fitted.
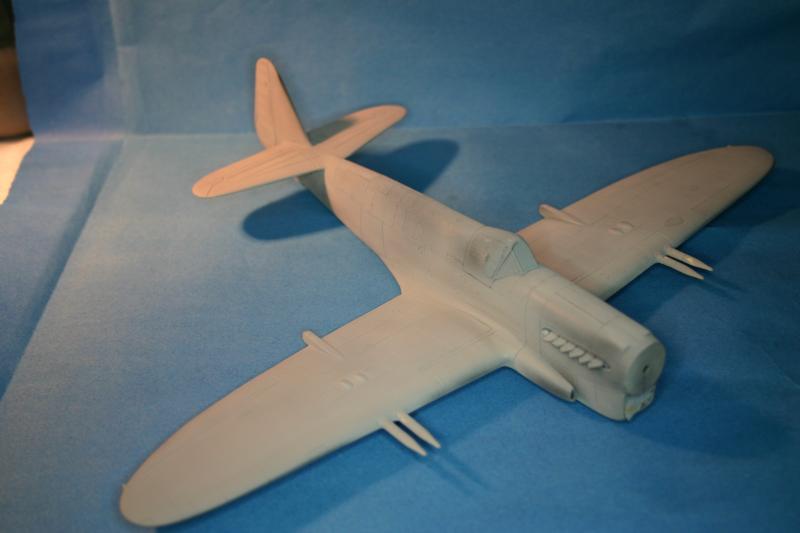
Given a coat of primer.
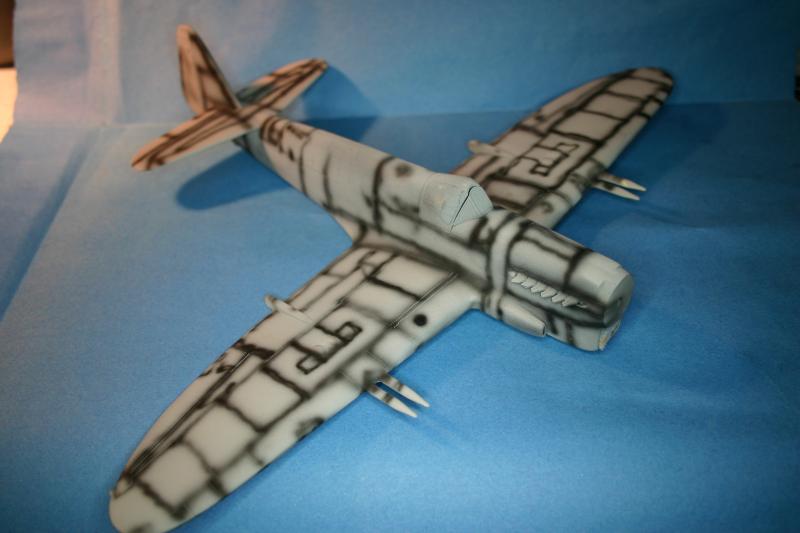
Pre-shaded.
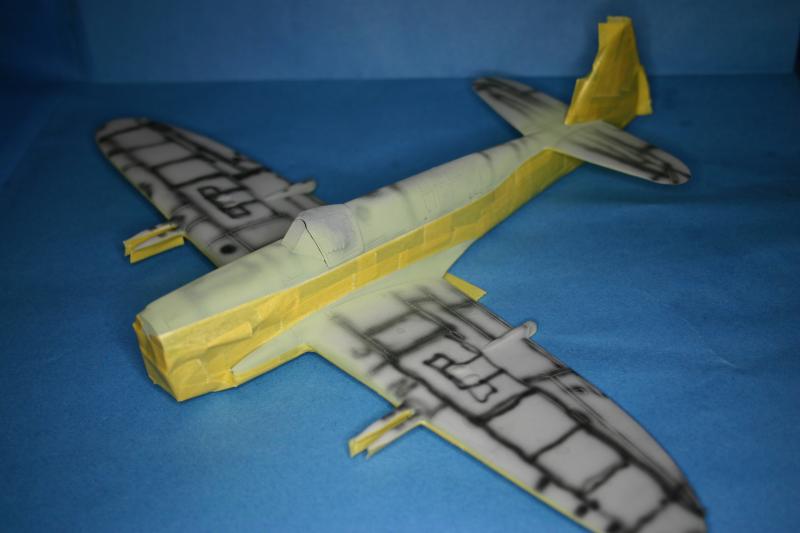
After the undersides and fuselage were painted it took two hours to mask up get ready for the Extra Dark Sea grey.

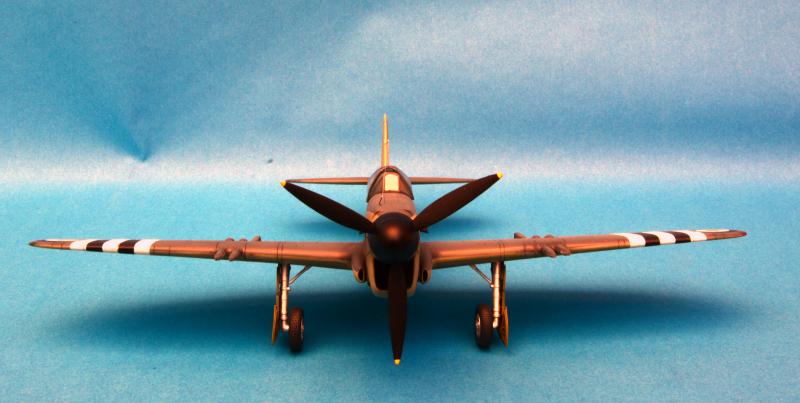
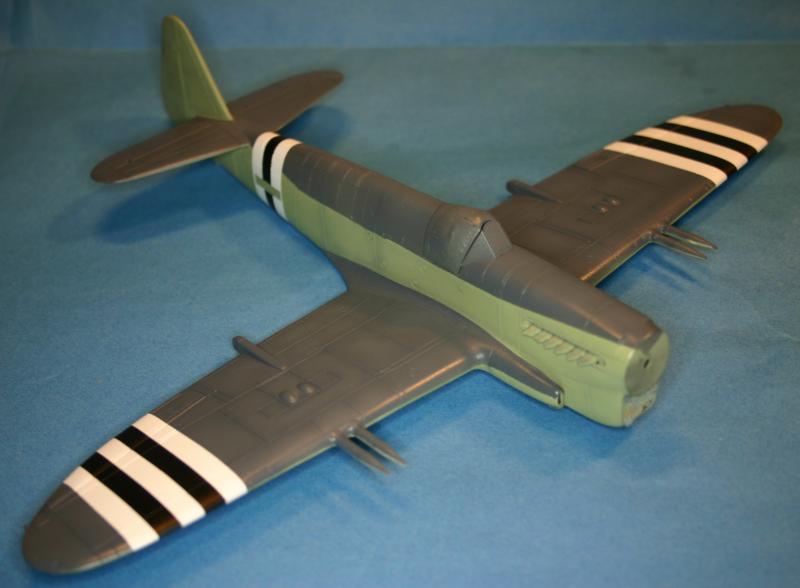
Well with all the painting done and the miles of masking tape removed I was very happy with what turned out.
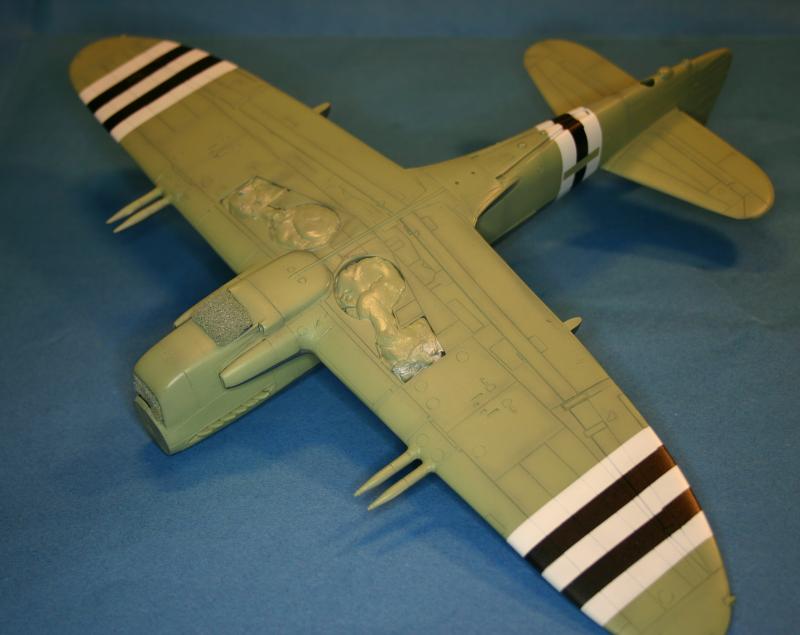
Onto the Decalling.
The MB of the number had to be cut to simulate that it was painted over with the Stripes.
The Berna Decals went on quite nicely.
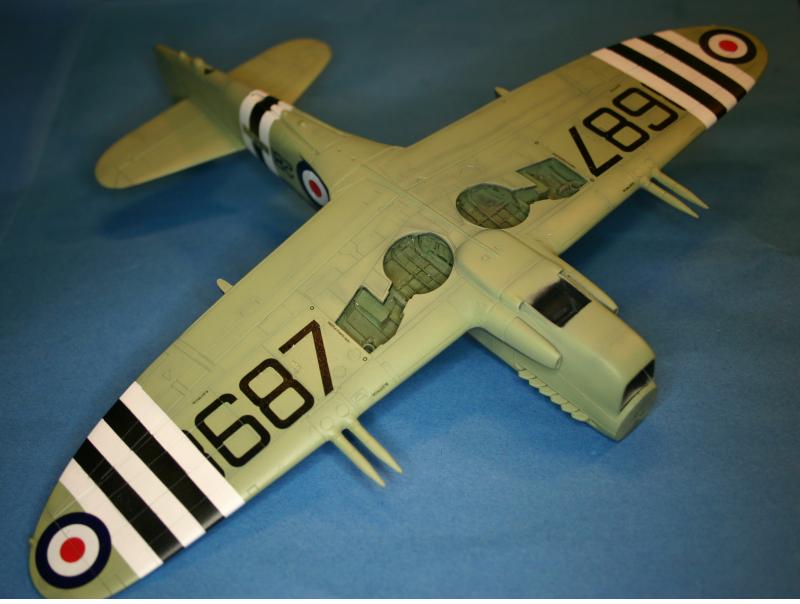
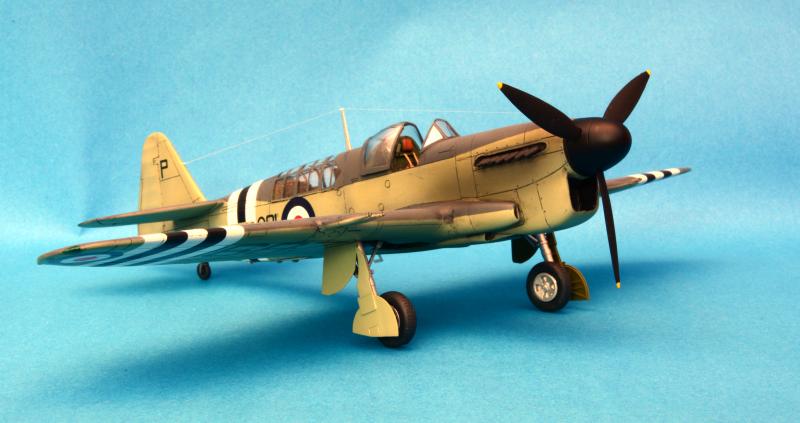
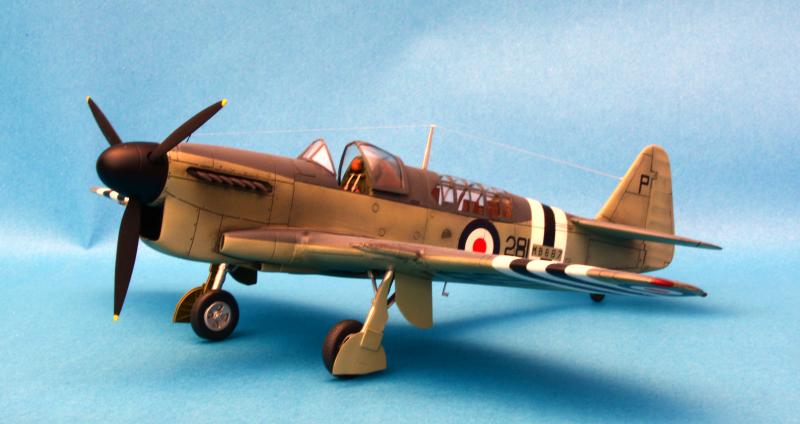
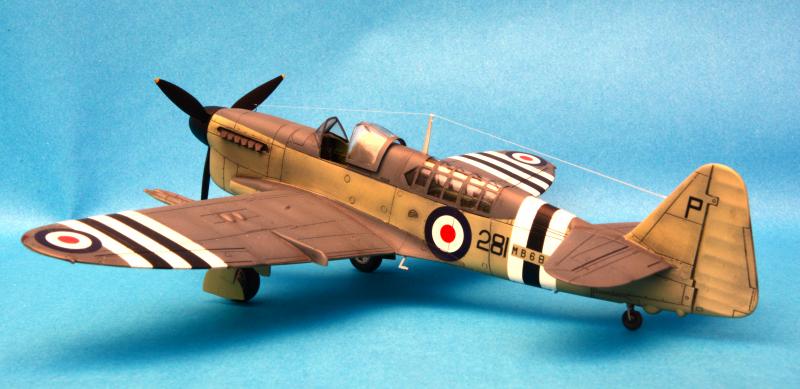
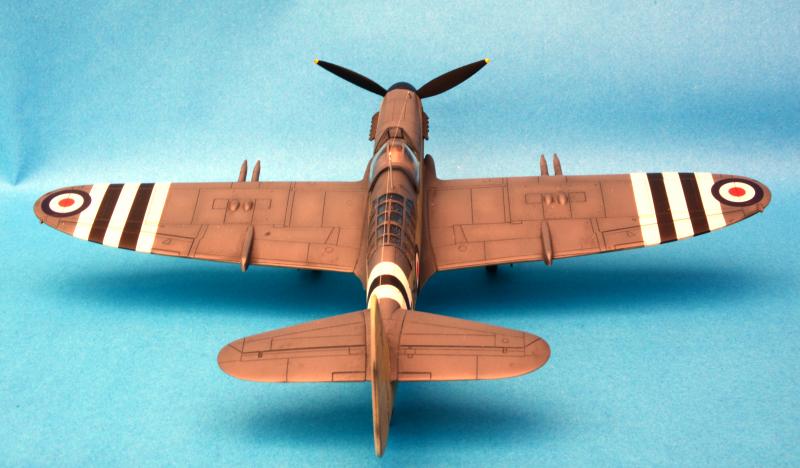
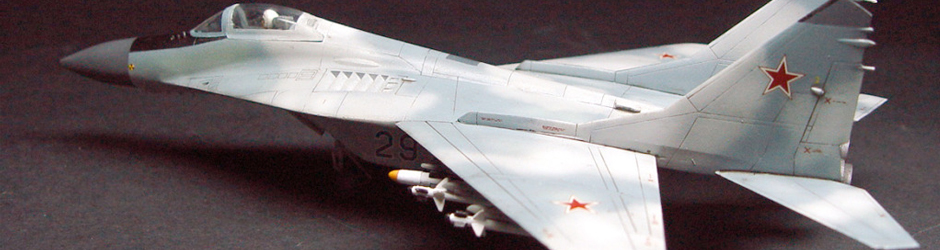
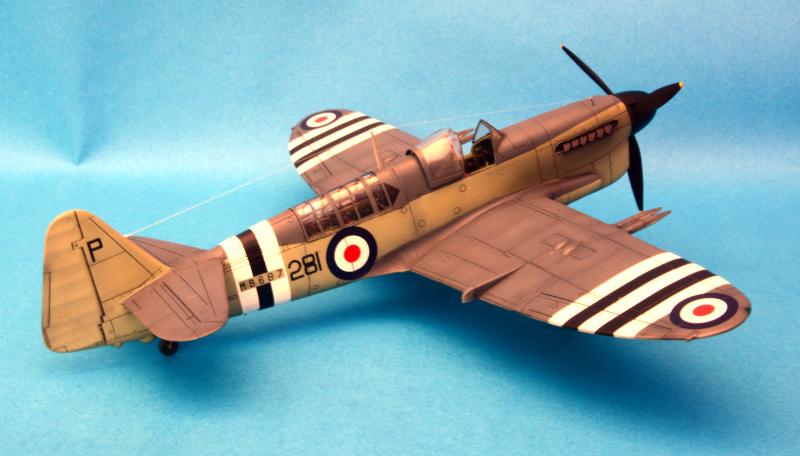
And here the final reveal...