

Model, text and images by Eoin Coughlan
The Progressive Build
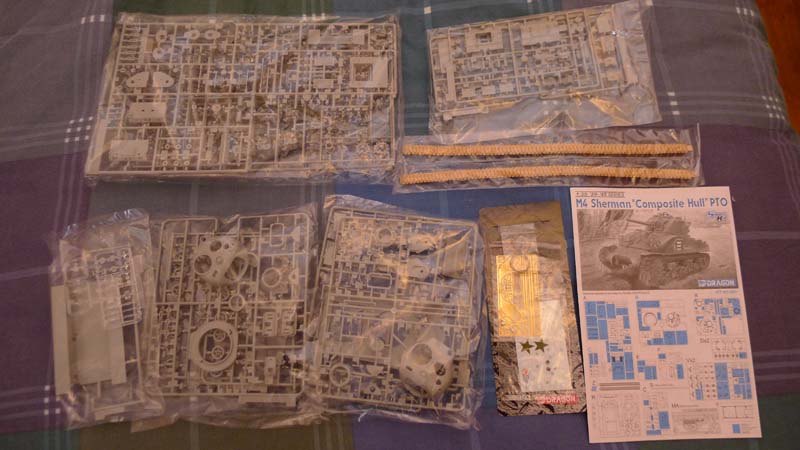
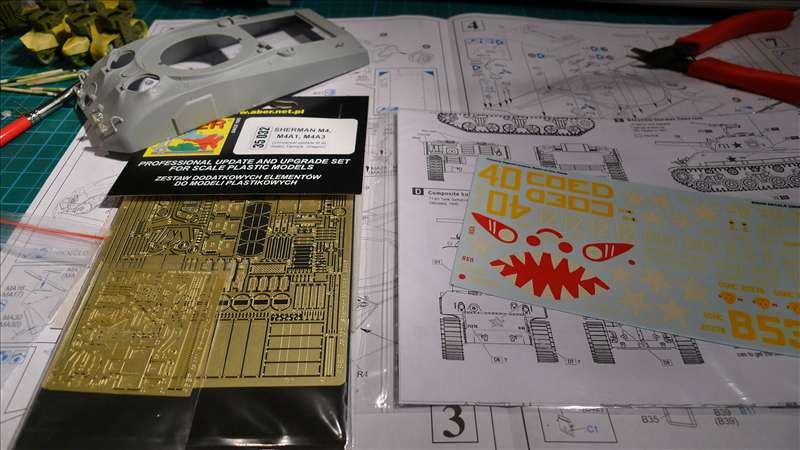
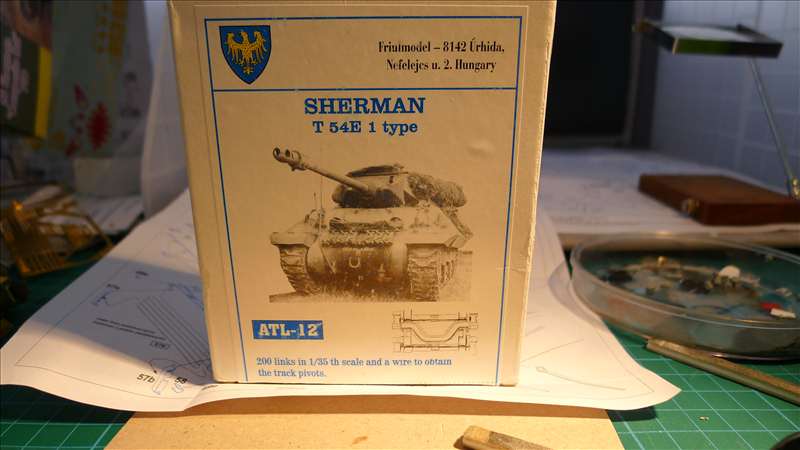
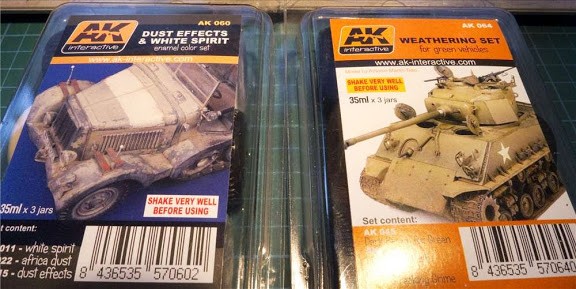
I got a few upgrades from ebay .. as I found them difficult to find anywhere else. I got the Aber photo etch set, Fruil tracks, a metal barrel to convert it to the later higher powered 76mm and the Korean Firefly decals, which I will save for another time.
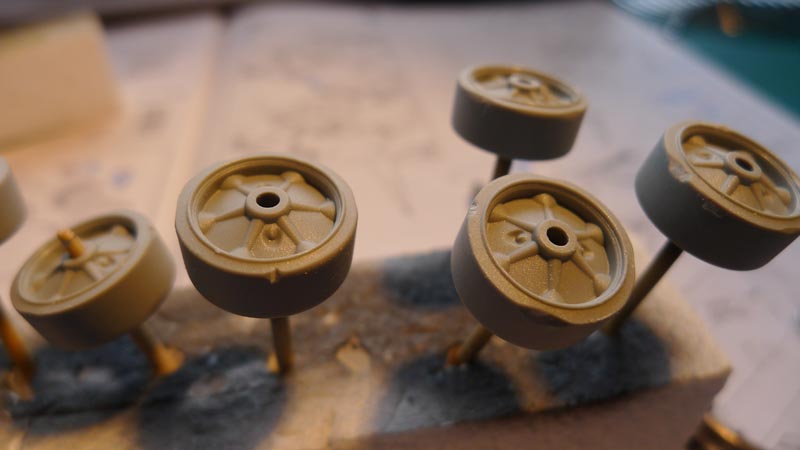
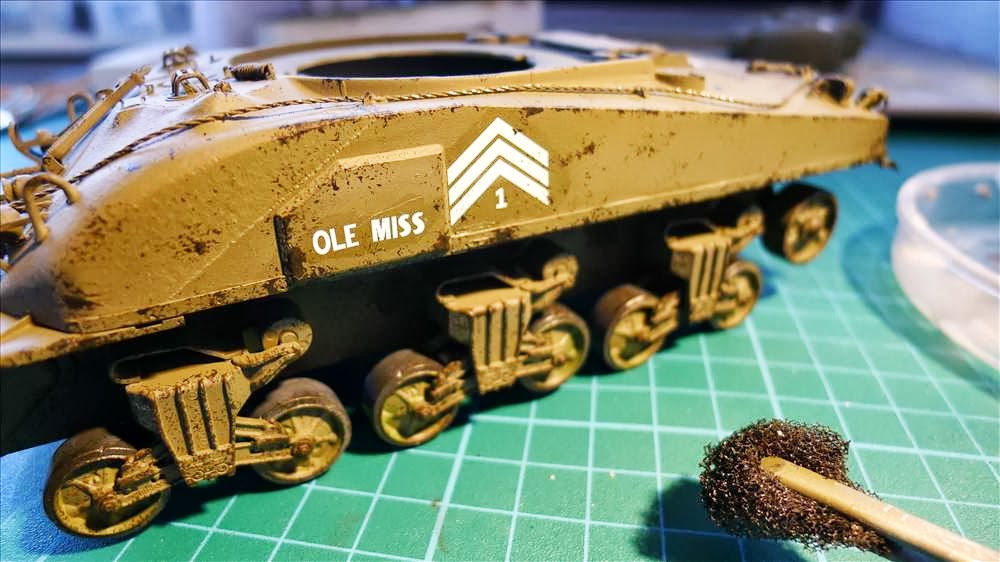
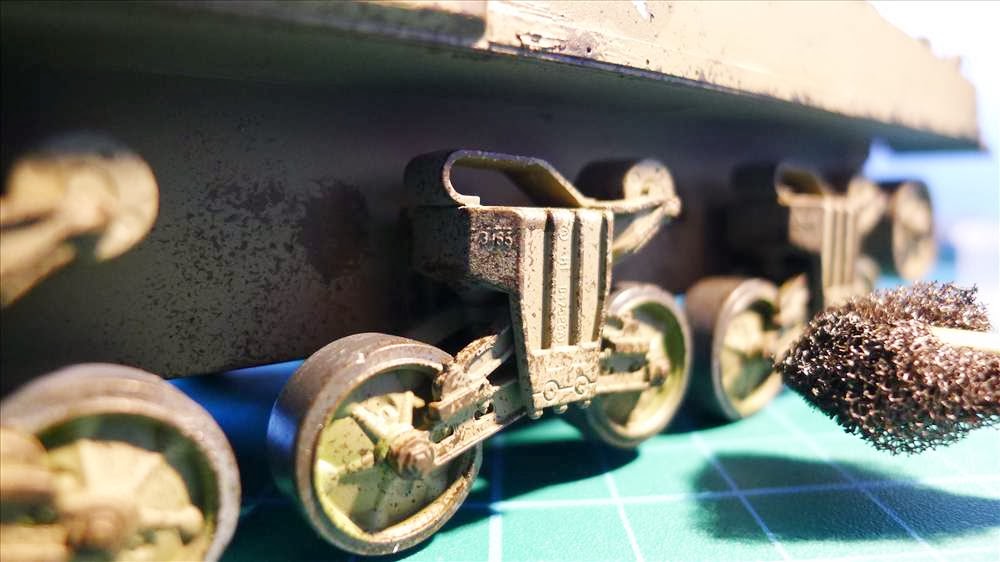
Cut some chunks out of the "rubber" sections of the wheels to make them look like old worn rollers. I also pressed on the rims with a rounded file to try mimic dents .. like kerbing your rims!
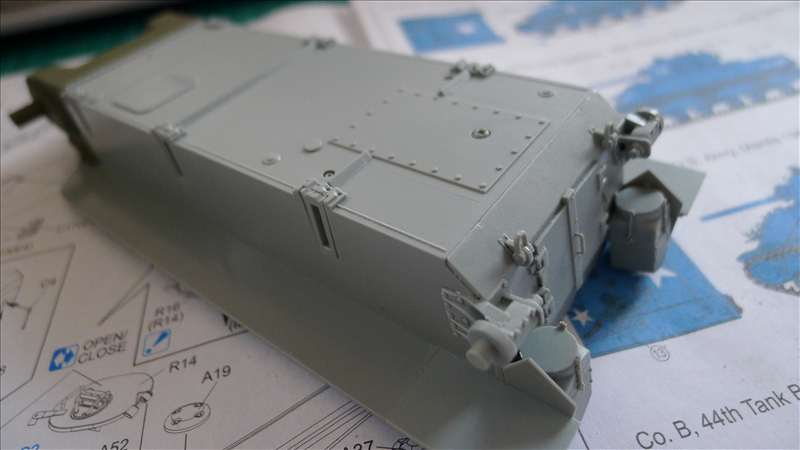
Was impatient to get started so used the wrong green .. fixed this later though once the right colours arrived.
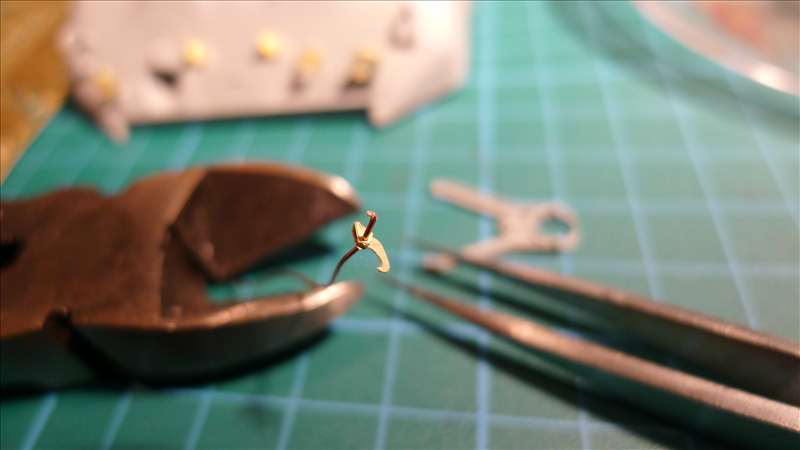
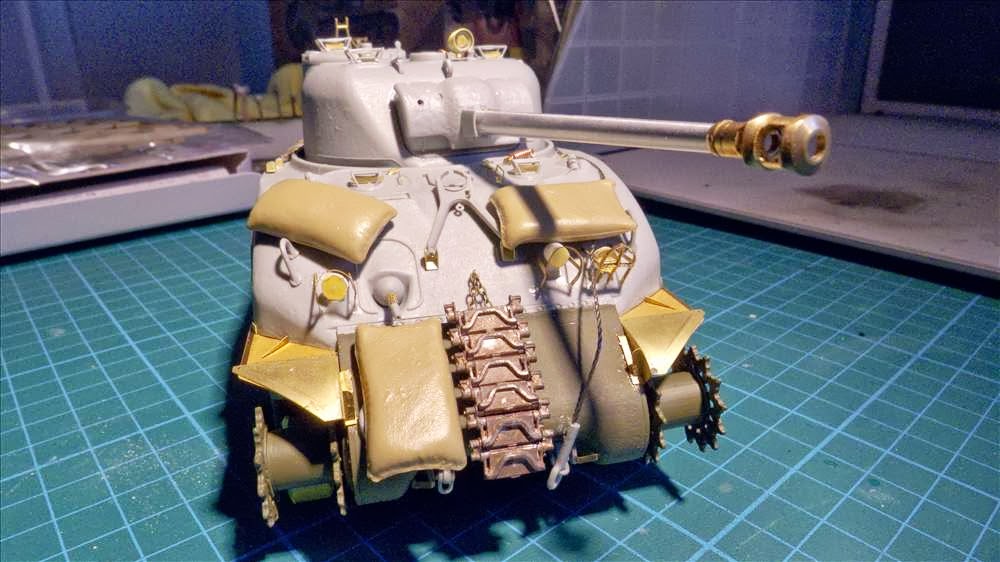
Some of the photo etch is soooooooooo small I think I spent about a week of evenings adding the parts.. I'm really learning the technique and finding it a little easier with each build.
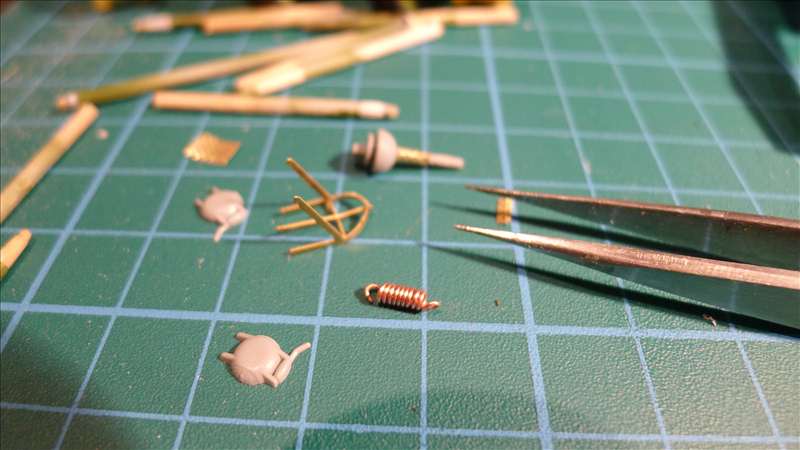
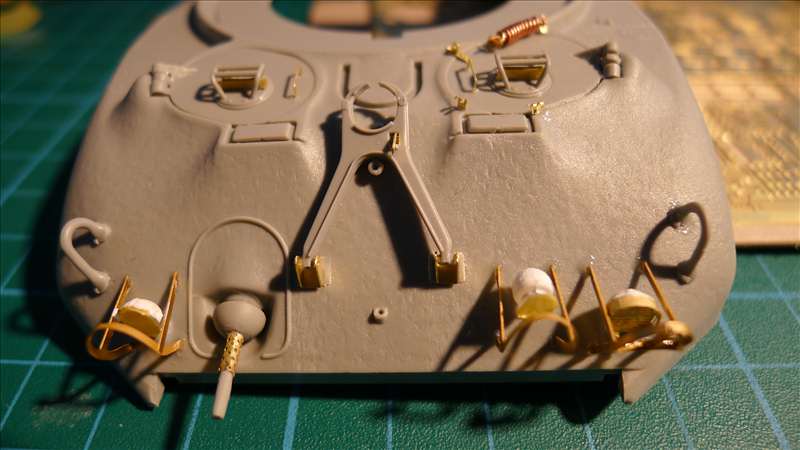
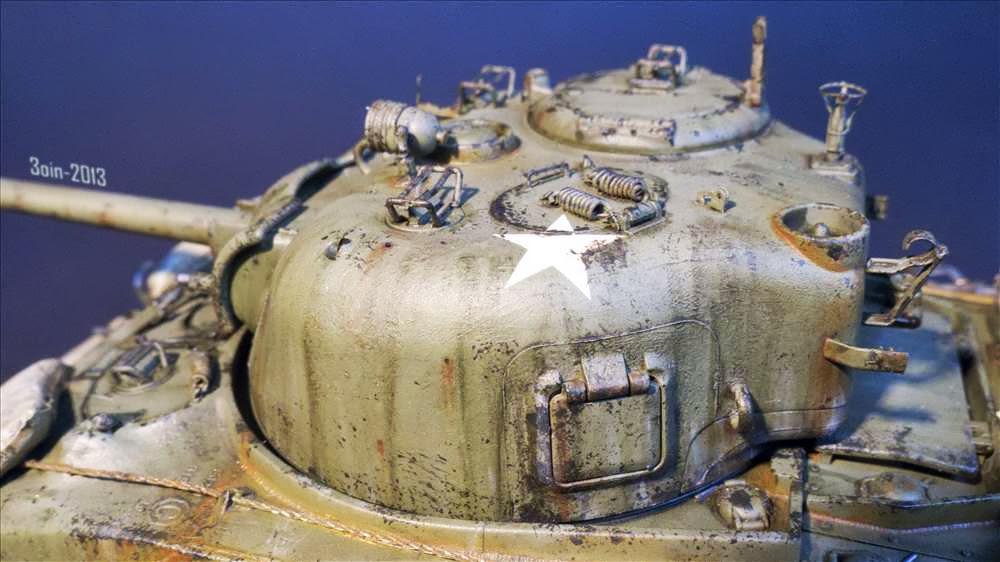
The light guards were so hard to do. The spring is the first of three needed for the hatches.
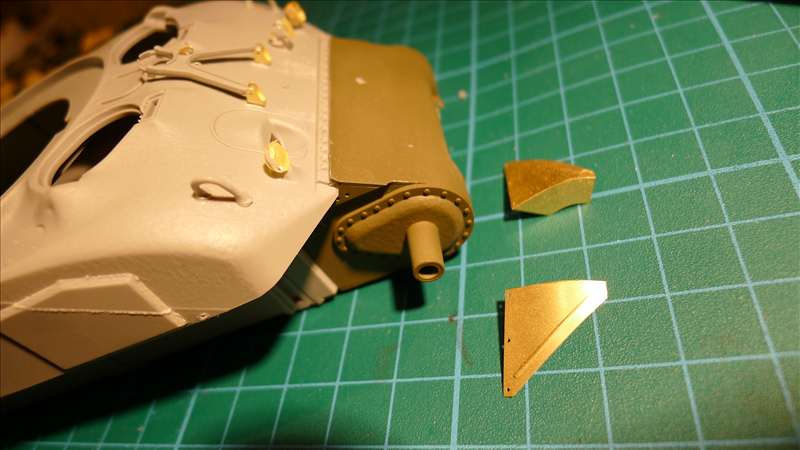
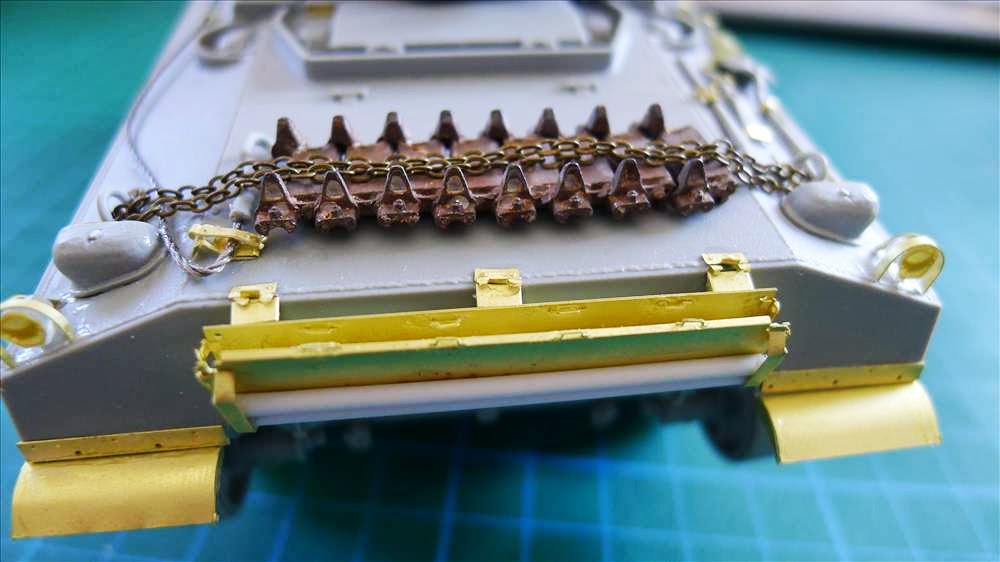
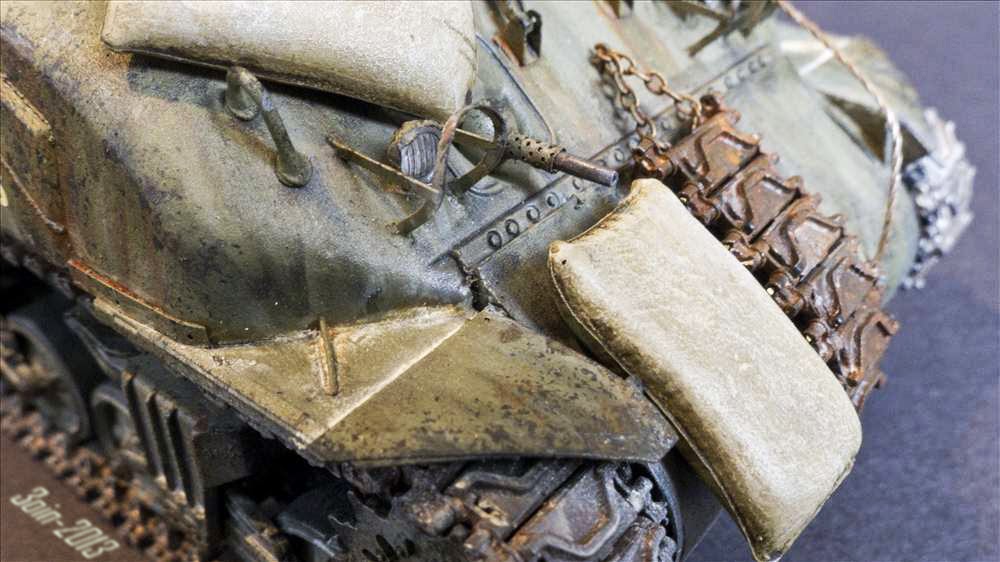
Great trick with the fenders.. you use a ball point pen to emboss the surface from underneath then you bend .. I will use that again in the future. you can see other bits going on too.
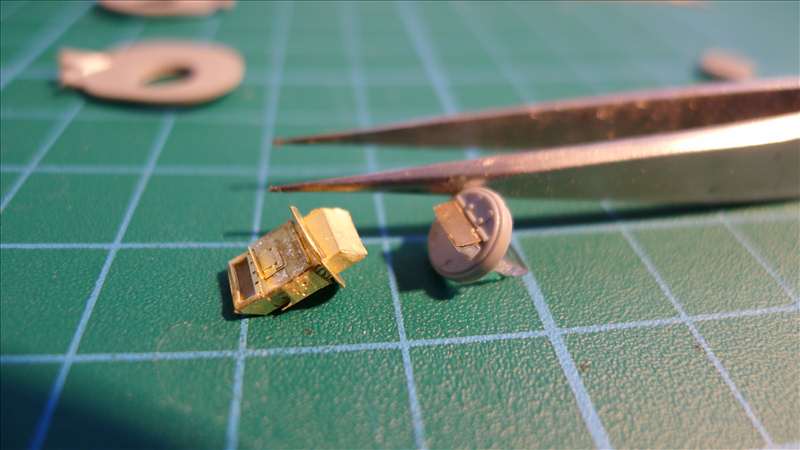
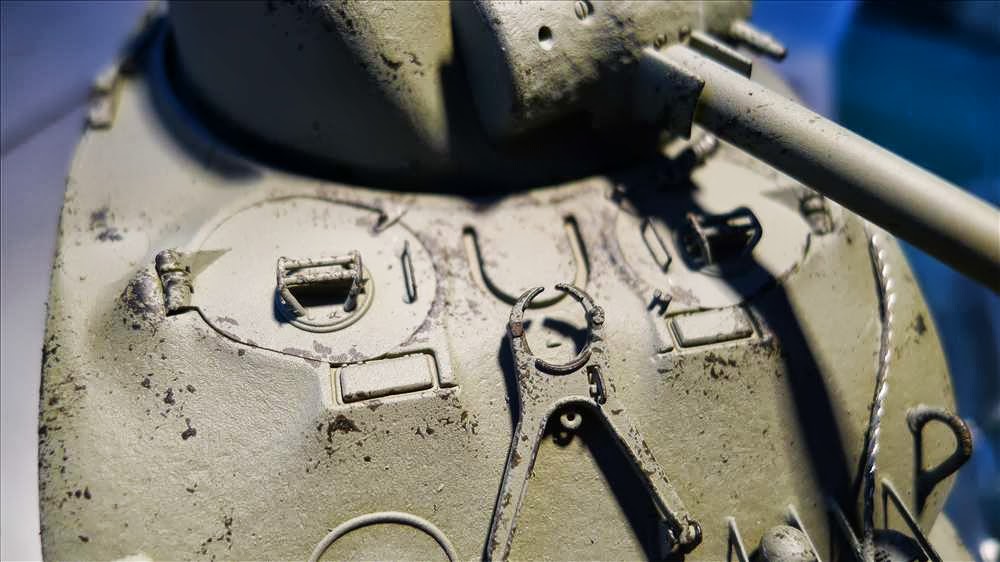
So I made a photoetch periscope (left) but in the end, all the detail is hidden inside the hull (plus the fit was tricky) so I decided to mod the originals and just add a etched door to the top of the scope cut from some spare brass.
Spot the "deliberate mistake" ? I put the guard for the spotlight on the headlight Still its getting there.
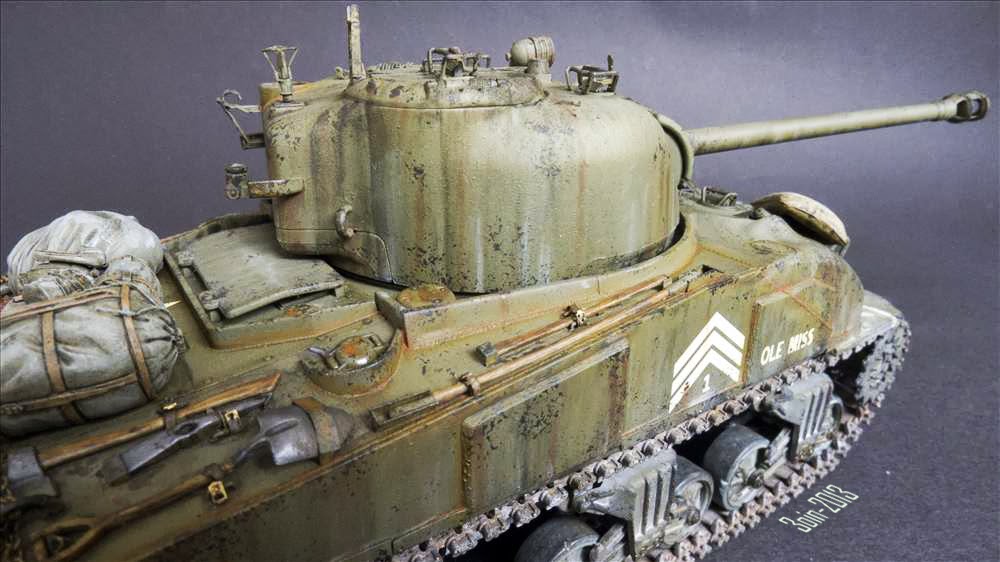
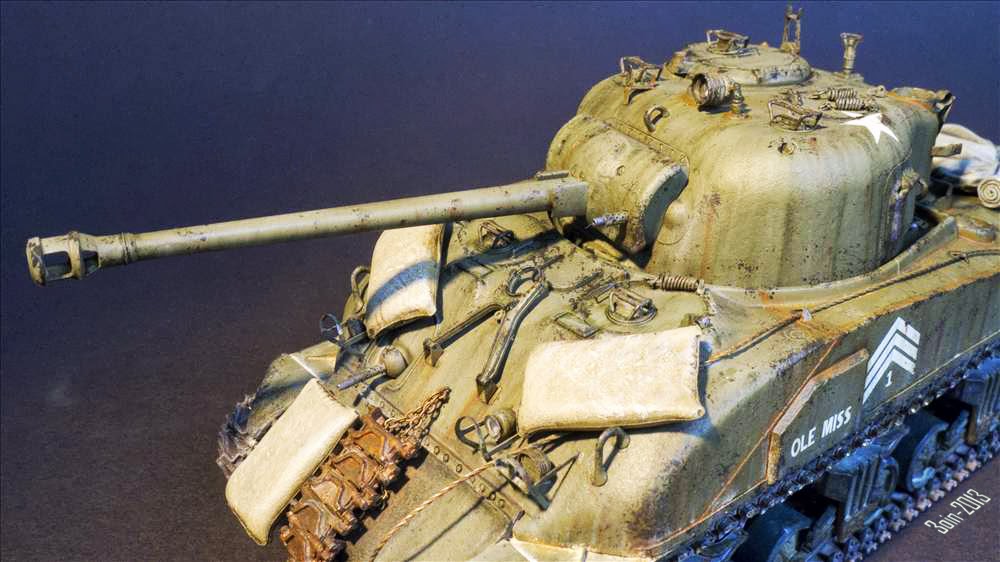
So here I have dry fitted the turret and I have got 95% of the phototetch on. Really nice tow cable with the kit and I added the barrel cleaning platform/carrier at the back.
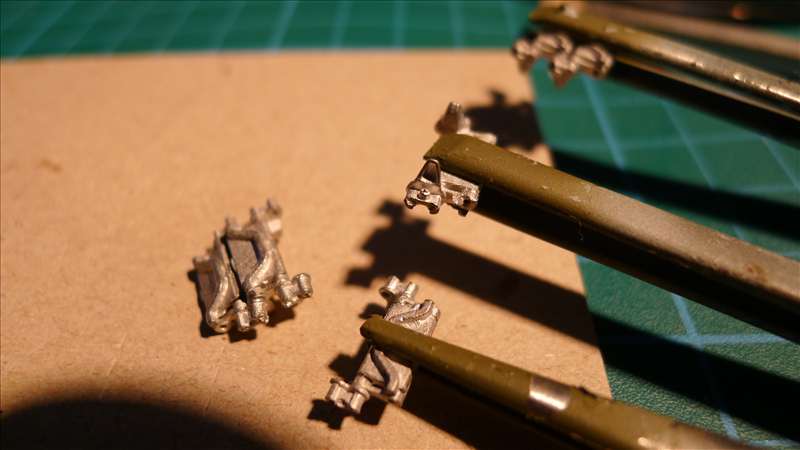
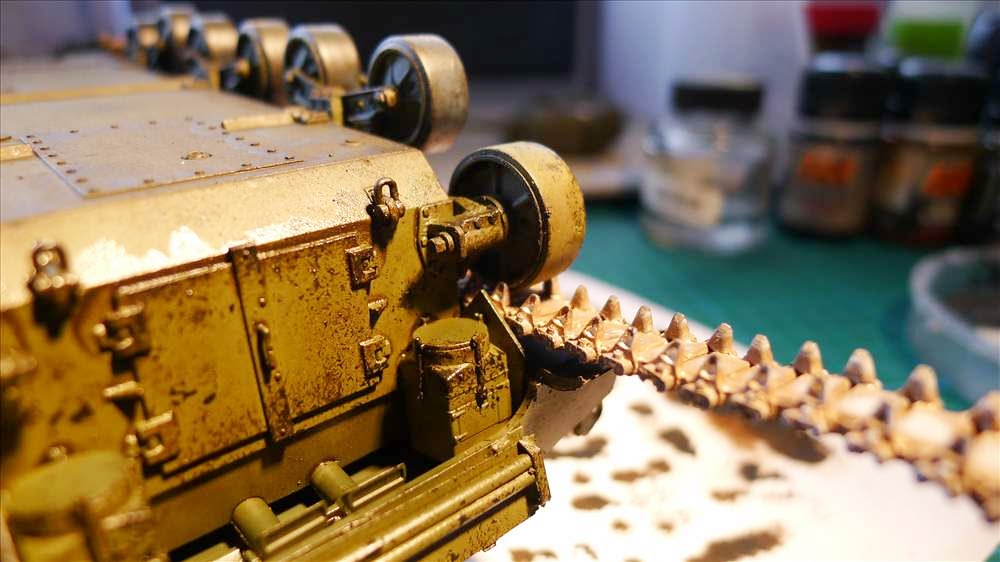
Tracks time ! . .So the Fruil tracks need to be assembled before you can start drilling, wiring, cutting, drilling, wiring, cutting, drilling, wiring, cutting, drilling, wiring, cutting.
Thank god for formula 1 practice sessions where I only need to look up every time someone raises there voice
Skipping a little bit here but I have used track burnishing fluid and I'm looking at the final layout of kit and the extras im going to add to give it a hopefully individual feel.

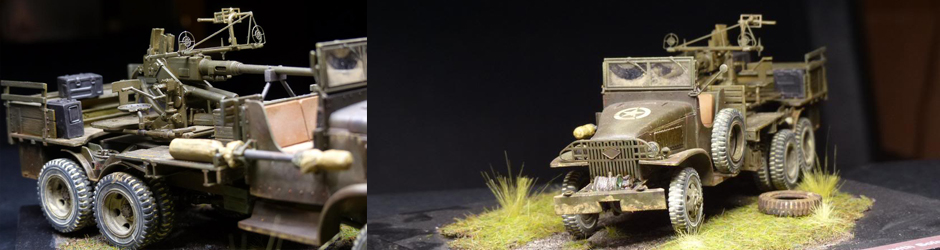
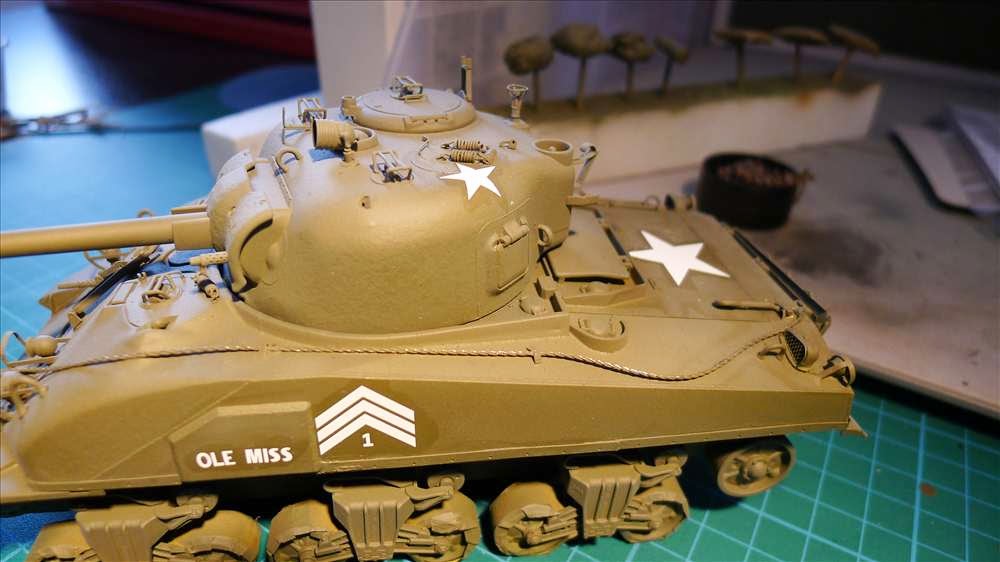
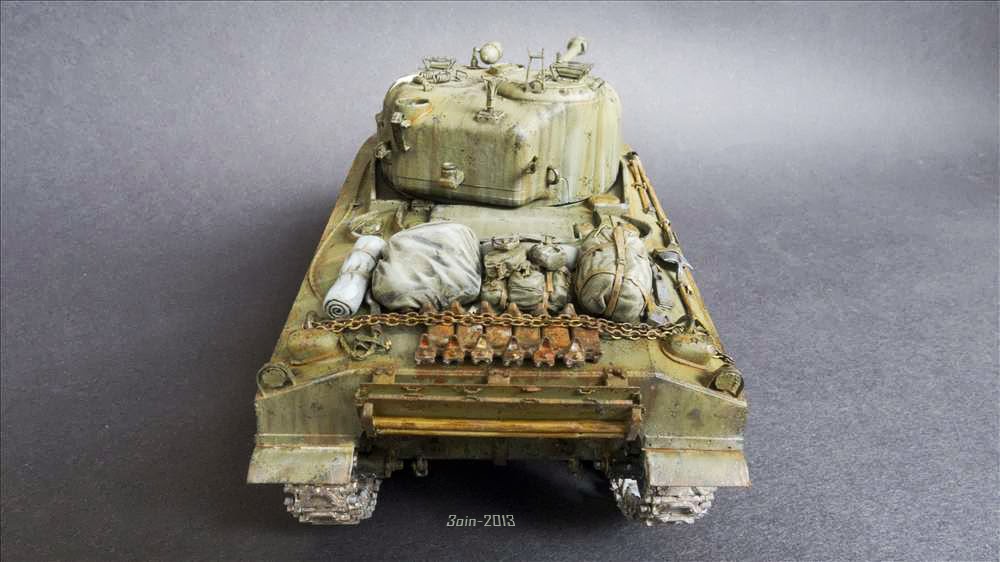
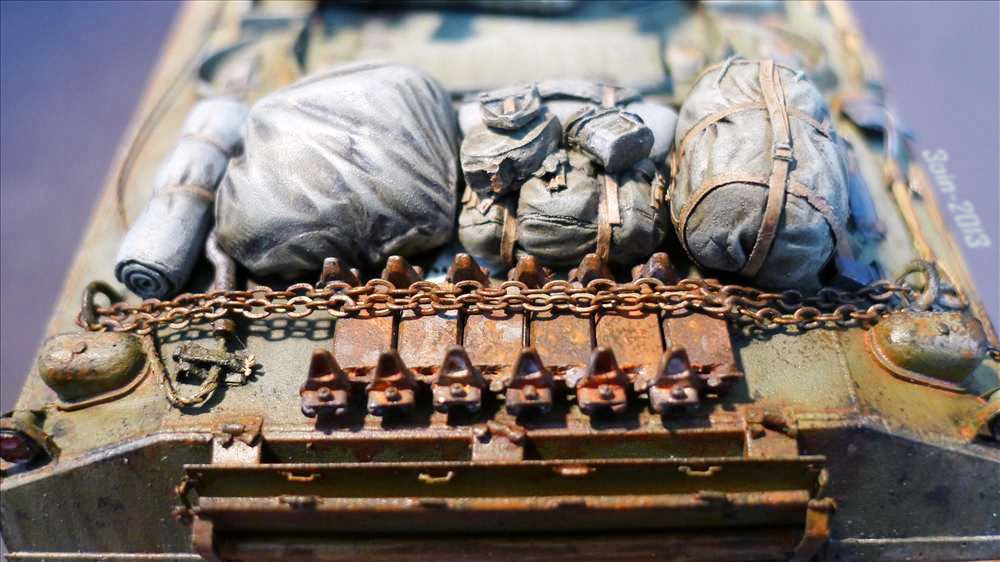
Just about there, no tracks. Added some resin storage I had, some Tamiya sandbags, plus some more spare track.
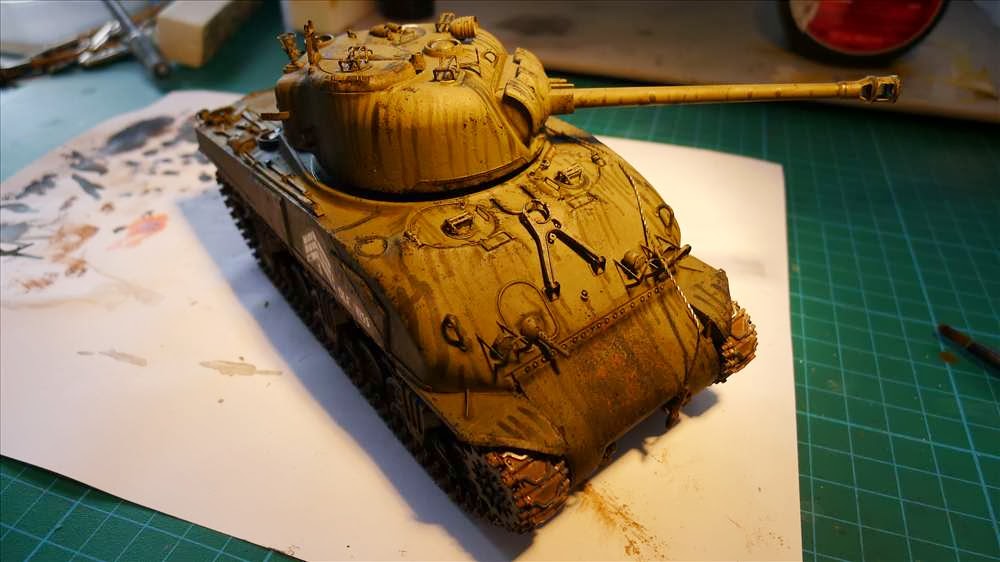
So I primed and layered up 4 colours of paint Darkest to Lightest from a Vallejo US Vehicles kit. Then satin varnish.


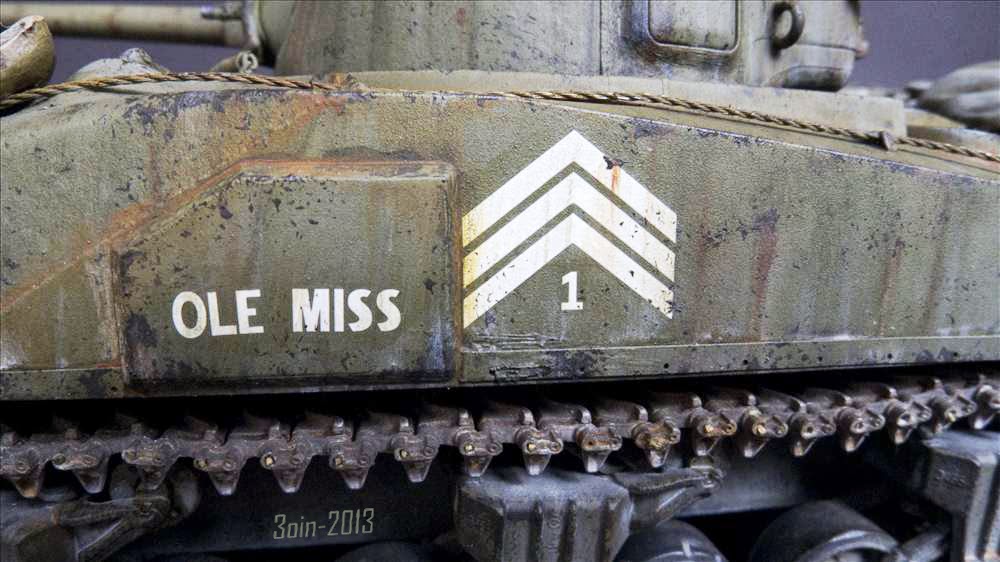
So .. a small problem I've not encountered before when decaling.. the carrier film I guess has glue on it when I transferred the decals on some of the water carried over ( this helps position the decal till your happy, right ?) Well its seems to have dried a kind of wet look gloss ? and when I tried to wash it off it just created a water/tide mark
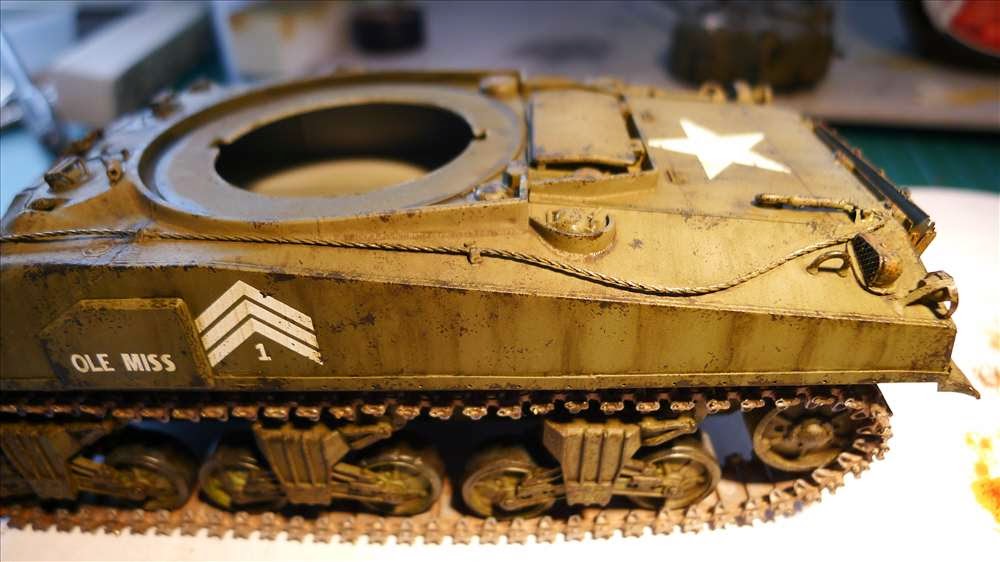
So here I'm chipping with some sponge and some dark dark brown acrylic. I find putting it in a "clamping tweezers" turns it into a kind of brush which is handy. You can still see the water mark I'm hoping it will be buried under the weathering .. I'm going to go a bit heavy on weathering I think
I've also been using a size 0 brush to add specific chips where I want them, like on one half of the commander's hatch and not the other to create some differentiation and make the two parts more distinct I hope.
Next the washes.
Problems.. While being impatient waiting for the wash to dry I tried to fit the track. The way Dragon use multiple parts to make (attach) the rear roller it seems a bit too weak to handle the weight of the metal tracks. Had to do an emergency re-gluing.
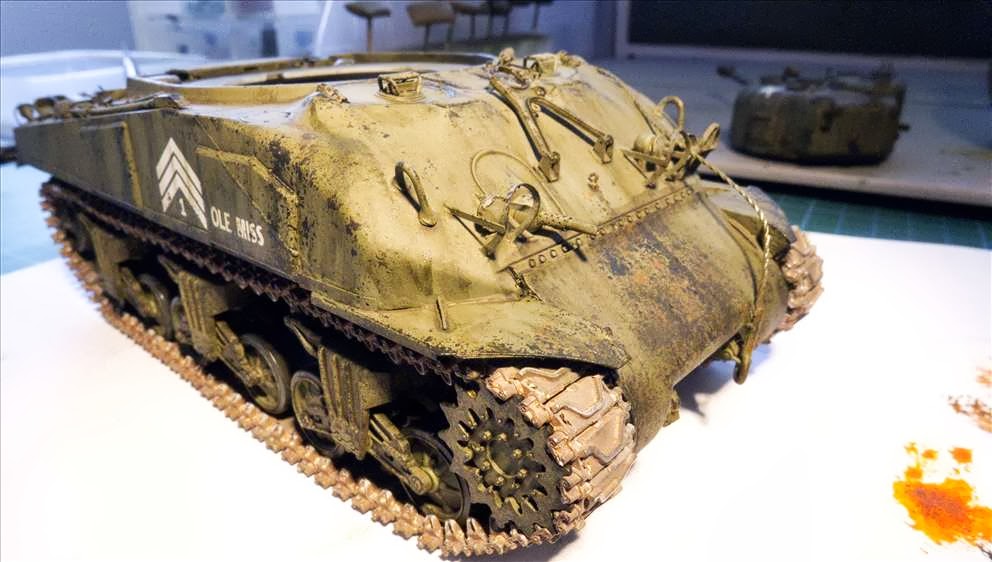
Here the 'Streaking' is drying a little before I knocked it back. The very dark section on the transfer casing is intentional I am going to hang some spare track over it so I wanted it to look quite beaten up.
Starting to bring it back, "stumping" it down as they say. I haven't tried this technique before but after reading FAQ2 I had to try it
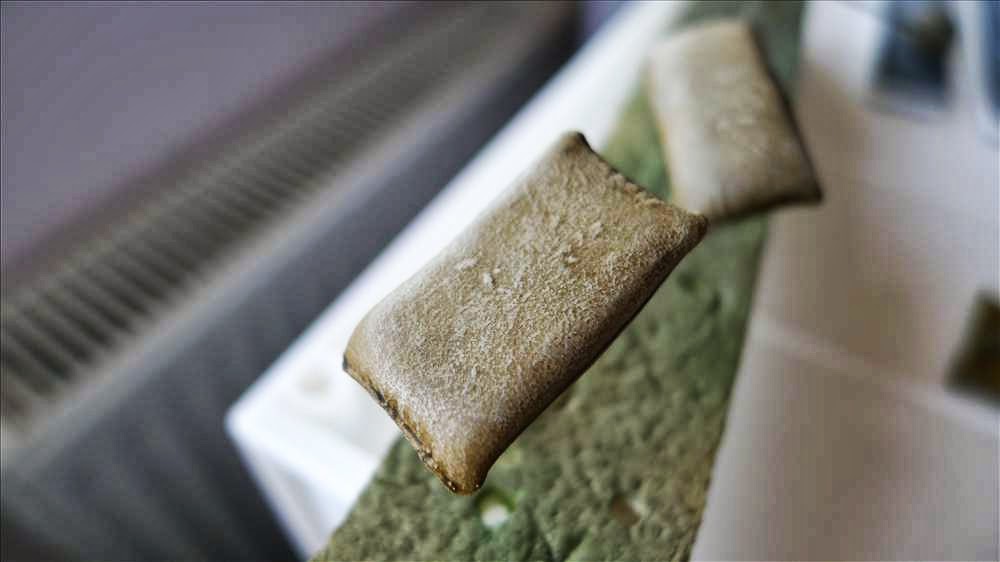
While waiting for certain stages to dry I have been painting the stowage and sandbags which I intend to add at the end. This is straight back to my teens when I used to paint Games Workshop figures... Only .. my eyesights not quite so good
Drybrushing a really light colour over the medium base and a dark wash really makes things look like a rough fibrous cloth. I forgot to take a picture but the sandbags are from the Tamiya "Sandbags" Kit and they have really good detail for such a cheap set.. and theres loads of them in the box!
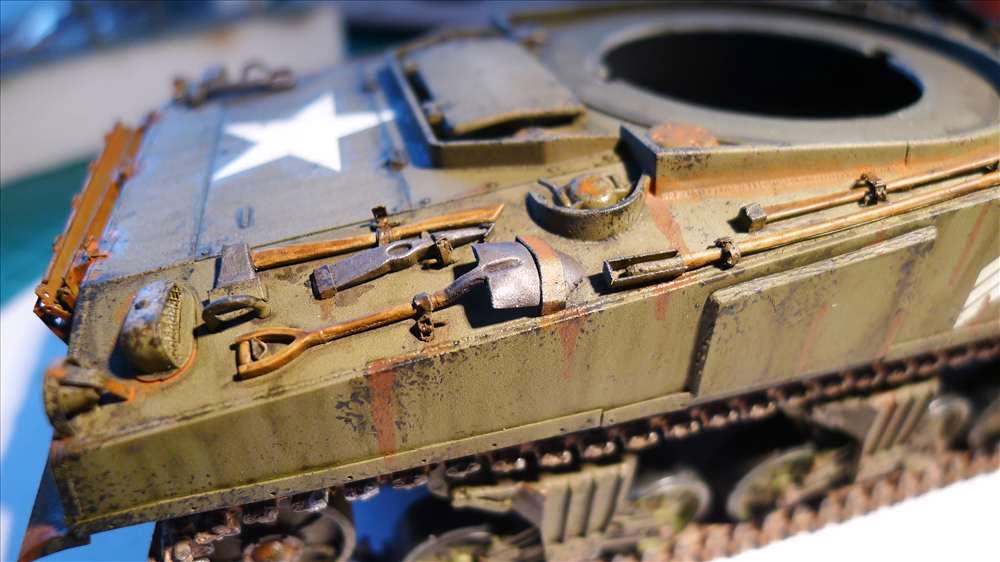
So here I have painted the tools and I have applied a rust wash and streaks all over. I am writing this as it dries a bit, and I am going to knock it back later.
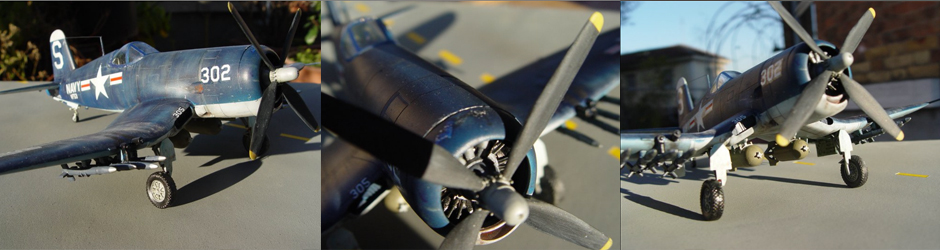
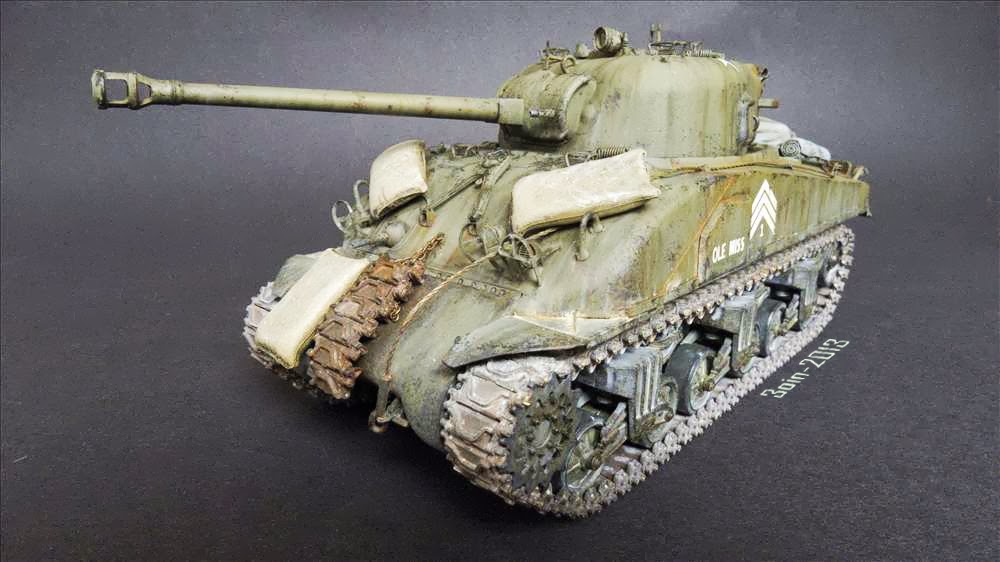
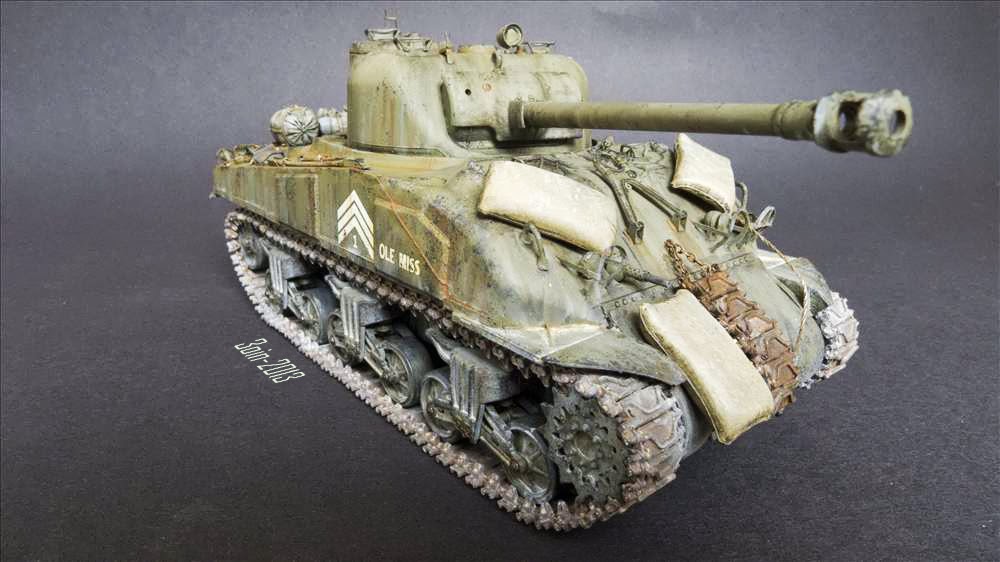
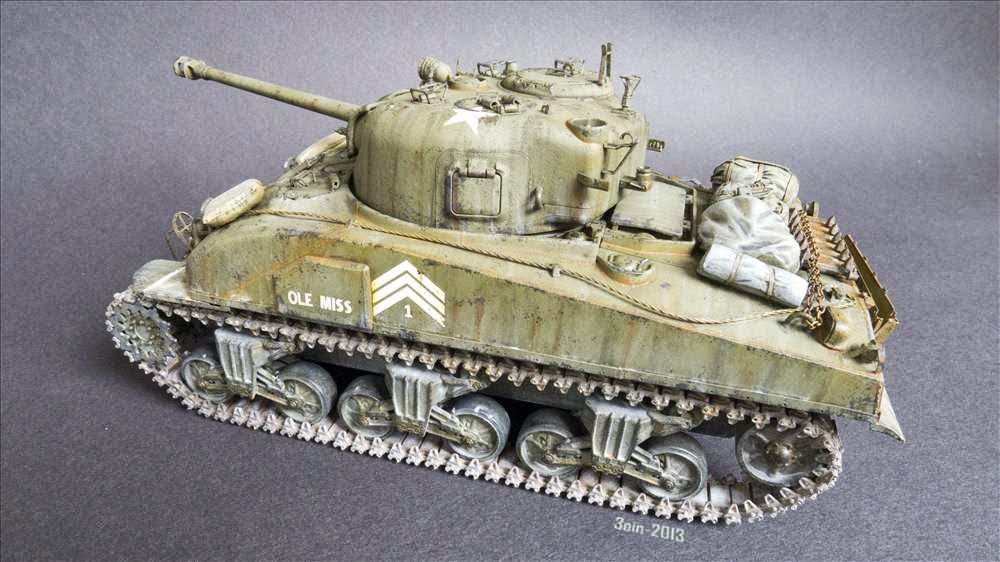
The Final Reveal


Comments
plastic mould
Plastic mold world leading level, professional customized various types of feed products
email: plasticandmould@gmail.com